

StarWind Ceph all-in-one Cluster: How to deploy Ceph all-in-one Cluster
- June 14, 2017
- 6 min read
INTRODUCTION
This guidance will show you how to deploy a Ceph all-in-one cluster. The paper will walk you through the Ceph cluster configuration process and describe how to create a Ceph monitor and Ceph OSD.
Ceph is an open-source project, which provides unified software solution for storing blocks, files, and objects. The main idea of the project is to provide a high-performing distributed storage system which can provide an ability to perform a massive storage scale-out and will have no single points of failure. It has become one of the most popular Software-Defined Storage technologies.
Ceph becomes more attractive to the storage industry due to its openness, scalability, and reliability. Cloud computing and IaaS era requires a system which must be Software-Defined and ready for cloud technologies. Ceph injects here more than perfect, regardless the environment where it is going to be used (public, private, or hybrid cloud).
This guide is intended for experienced IT and Storage administrators and professionals who would like to deploy the Ceph all-in-one cluster to check out all the benefits of Ceph object storage.
A full set of up-to-date technical documentation can always be found here, or by pressing the Help button in the StarWind Management Console.
For any technical inquiries, please visit our online community, Frequently Asked Questions page, or use the support form to contact our technical support department.
Before you begin
This guide describes the installation and configuration of the Ceph all-in-one cluster, which means that we are going to build the Ceph cluster using only one VM. We are going to deploy the ESXi VM and install Debian 8 on it.
You can download our pre-deployed OVF template or follow these steps:
Virtual Machine Deployment and OS installation
1. Download Debian 8 ISO for OS installation here:
https://cdimage.debian.org/cdimage/archive/8.8.0/amd64/iso-cd/debian-8.8.0-amd64-netinst.iso
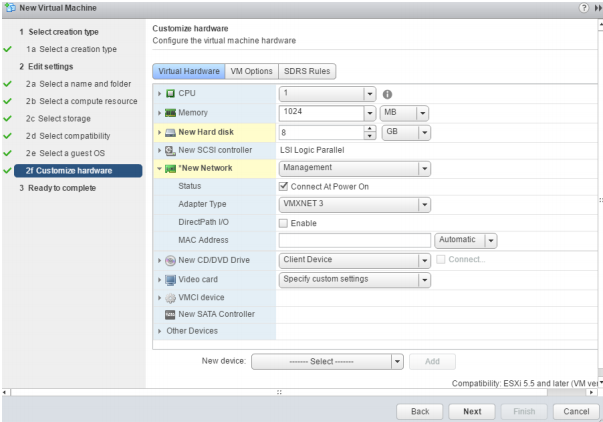
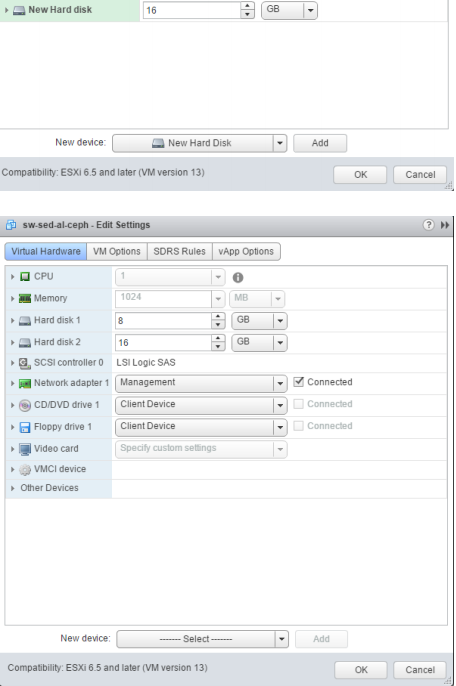
2. Create the ESXi VM with following settings:
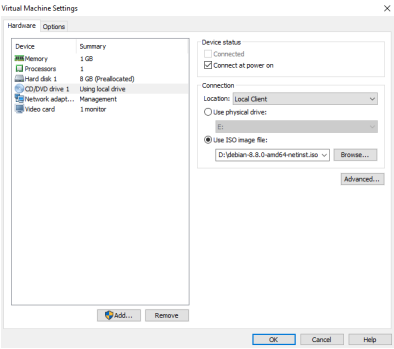
3. Mount the ISO image to the VM and boot from it.
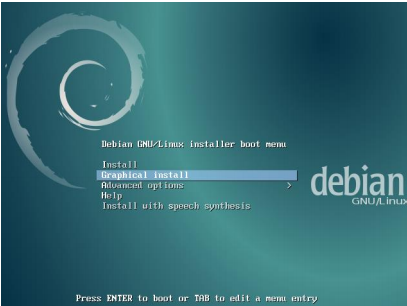
4. Choose Graphical install option
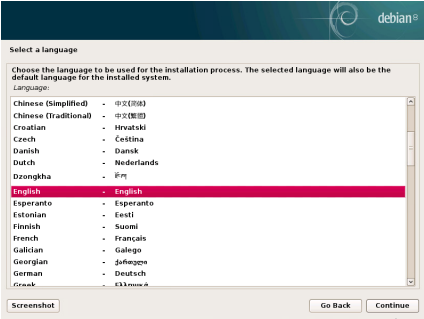
5. Choose an eligible language for the installation process
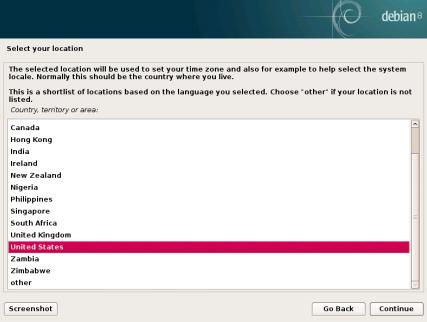
6. Select your location, which is going to be used to set your time zone.
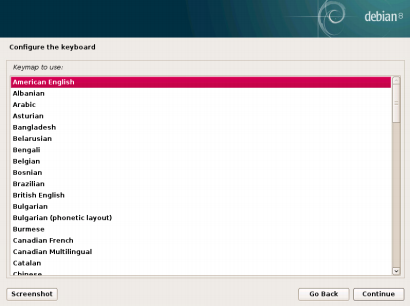
7. Configure the keyboard (choose American English)
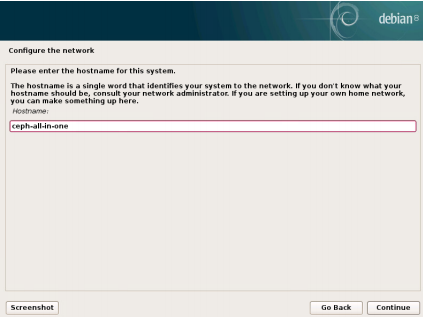
8. Enter the hostname
9. Configure your network.

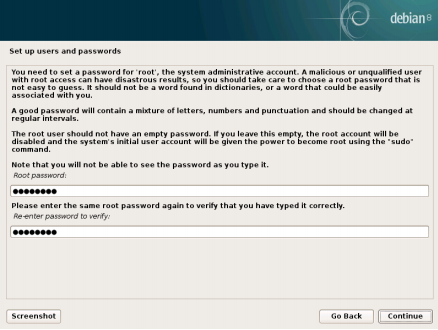
10. Set up a password for ‘root’ account
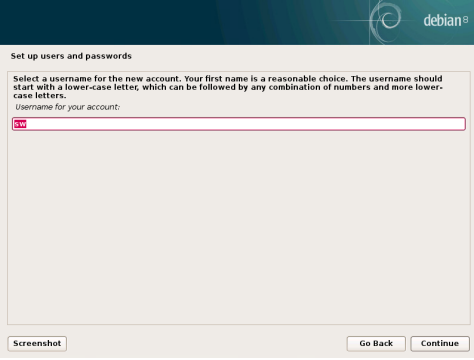
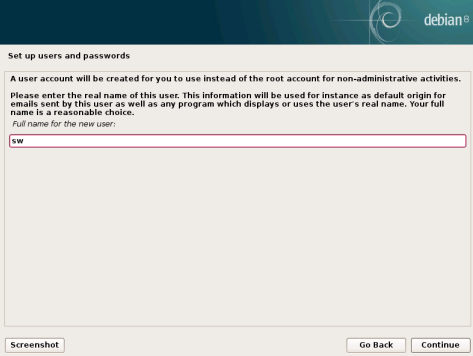
11. Create a user account which is going to be used instead of the root account for nonadministrative activities
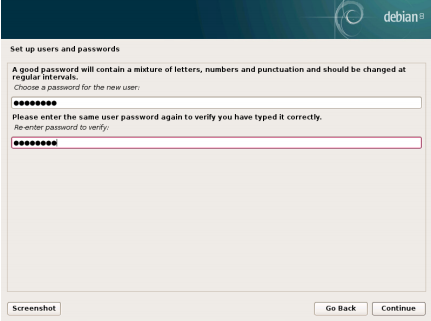
12. Set up a password for the newly created account
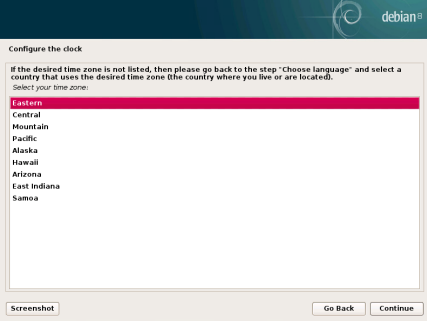
13. Select the desired time zone for you
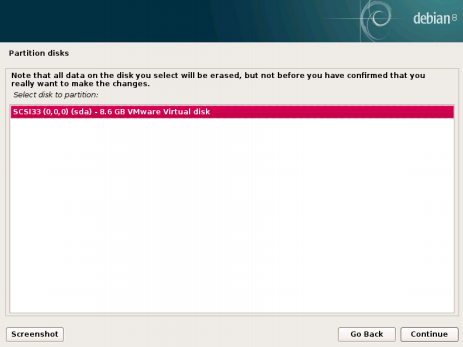
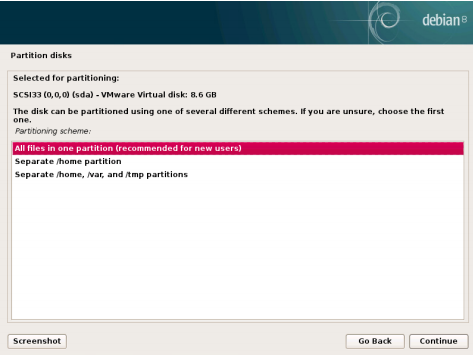
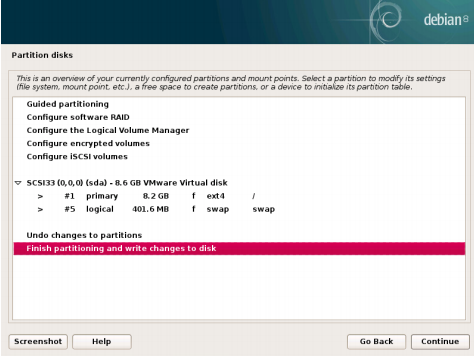
14. Partition the disks

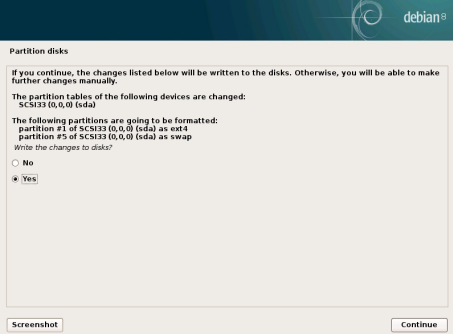
15. Write changes to the disks
16. Configure the package manager
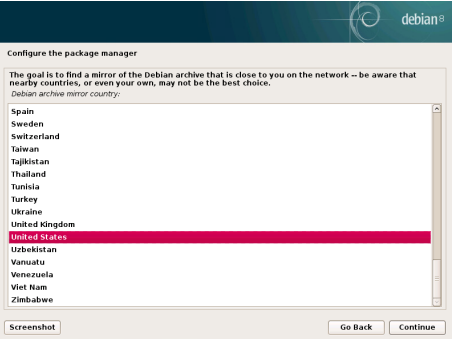
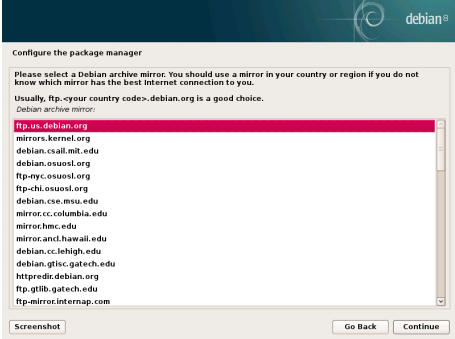
17. Select a Debian Archive mirror
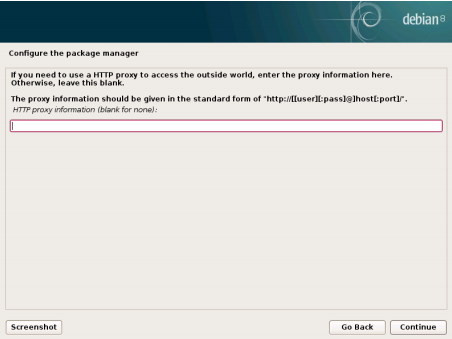
18. Enter proxy information if you need to use HTTP proxy.
19. Configure popularity contest

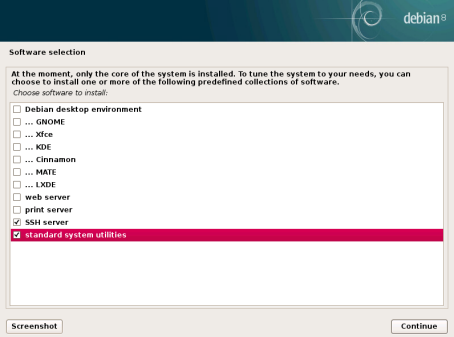
20. Select software needed
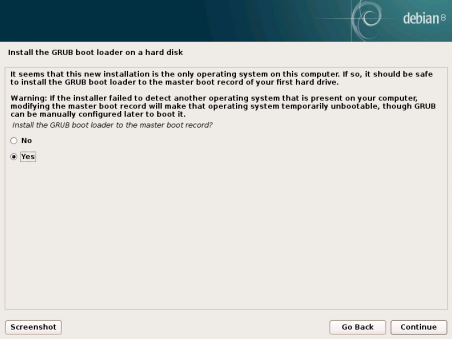
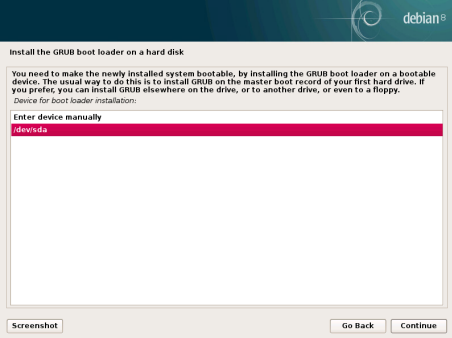
21. Install the GRUB boot loader
22. Finish the installation
Virtual Machine configuration
23. Add a Virtual Disk with a desirable size to the VM. This Virtual Disk will be used by OSD Daemon.
24. Boot the VM into the recently installed OS and log in to it using the root account. Update Debian using the following command: apt-get -y update
25. Install packages and configure NTP.
apt-get install -y sudo python python-pip ntp;
systemctl enable ntp;
systemctl start ntp;
26. Add user you have created to sudoers (where %USERNAME% is the user account you have created during OS installation):
usermod -aG sudo %USERNAME%;
echo “%USERNAME% ALL = (root) NOPASSWD:ALL” | sudo tee
/etc/sudoers.d/%USERNAME%;
chmod 0440 /etc/sudoers.d/%USERNAME%;
27. Connect to the VM via SSH and log in using your user account.
28. Configure SSH:
Generate the ssh keys for %USERNAME% user:
ssh-keygen
Leave passphrase as blank/empty.
Edit file id_rsa.pub and remove “%USERNAME%@host” (name of your user) at the end of the string
nano /home/%USERNAME%/.ssh/id_rsa.pub
cp /home/%USERNAME%/.ssh/id_rsa.pub
/home/%USERNAME%/.ssh/authorized_key
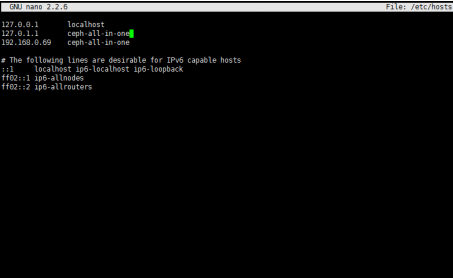
29. Add to /etc/hosts host ip (eth0) and a hostname
Ceph Deployment
30. Deploy Ceph “all-in-one”:
• Create directory “Ceph-all-in-one”:
mkdir ~/Ceph-all-in-one;
cd ~/Ceph-all-in-one;
• Install Ceph-deploy:
sudo pip install Ceph-deploy
• Create new config:
sCeph-deploy new Ceph-all-in-one;
echo “[osd]” >> /home/%USERNAME%/Ceph-all-in-one/Ceph.conf;
echo “osd pool default size = 1” >> /home/sw/Ceph-all-in-one/Ceph.conf;
echo “osd crush chooseleaf type = 0” >> /home/%USERNAME%/Ceph-all-inone/Ceph.conf;
31. Install Ceph and add mon role to node
Ceph-deploy install Ceph-all-in-one; (“Ceph-all-in-one” our hostname)
Ceph-deploy mon create-initial;
Ceph-deploy osd create Ceph-all-in-one:sdb; (“Ceph-all-in-one” our hostname,
sdb name of the disk we have added in the Virtual Machine configuration
section)
32. Change Ceph rbd pool size:
sudo Ceph osd pool set rbd size 1

33. After deployment:
Check cluster status: sudo Ceph -s
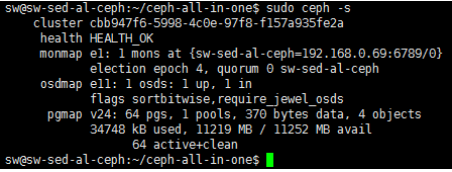
NOTE: Please keep in mind that we have deployed Ceph cluster without the replication. It is not recommended to use this scenario in production.
CONCLUSION
By following these instructions, you have deployed Debian VM and configured it for creating Ceph all-in-one cluster. We have configured the VM as a Ceph monitor and created an OSD and Ceph pool. As a result, you can create RBD device, format it and mount to store your data.
