StarWind iSCSI SAN & NAS: Configuring SPTI Tape and Medium Changer for Use with Symantec Backup Exec 2012
- March 30, 2013
- 6 min read

INTRODUCTION
StarWind enables tape drives to be exported via a standard IP network. Therefore, using StarWind any client machine can access a centralized tape drive as if it were locally attached.
This document provides basic step-by-step instructions on configuring StarWind software and making a tape drive accessible for Symantec Backup Exec. In particular, it describes configuration of a StarWind server, iSCSI targets and Backup Exec 2012.
To get more information regarding system requirements, compatibility, release notes and technical support of Symantec Backup Exec, please, visit http://www.symantec.com.
CONFIGURING A STARWIND SERVER
1. Launch StarWind Management Console: Start -> All Programs -> StarWind Software -> StarWind.
Note: The StarWind Console icon appears in the system tray when the Console is running. To open StarWind Management Console, double-click the icon or right-click it and then select Start Management Console from the shortcut menu.
2. Select the server you want to provide with the iSCSI target device from the Console tree. Double-click the host to connect.
Note: If you are prompted to enter login and password, specify “root” and “starwind”, relatively. These are the default login and password, but you can always change them later.
3. After connecting to StarWind Service, you can create devices and targets on the server. Open Add Device Wizard by one of the following ways:
- Select Add Device from the Target menu.
- Select Add Device from the Devices shortcut menu (right-click to open it).
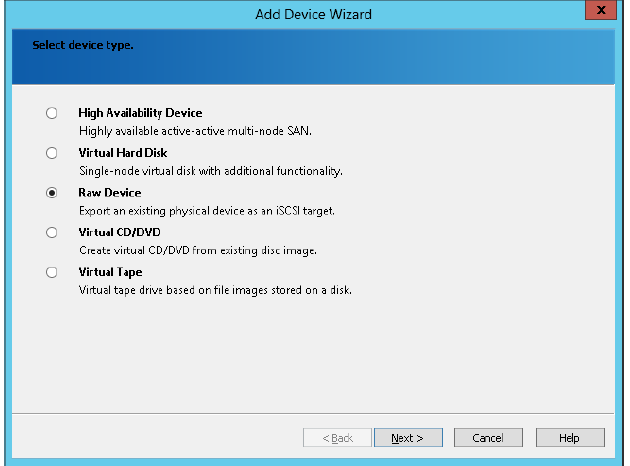
4. Add Device Wizard appears. Please, follow the wizard’s steps to complete creation of SPTI Device.
5. Select Raw Device.
6. Click Next to continue.
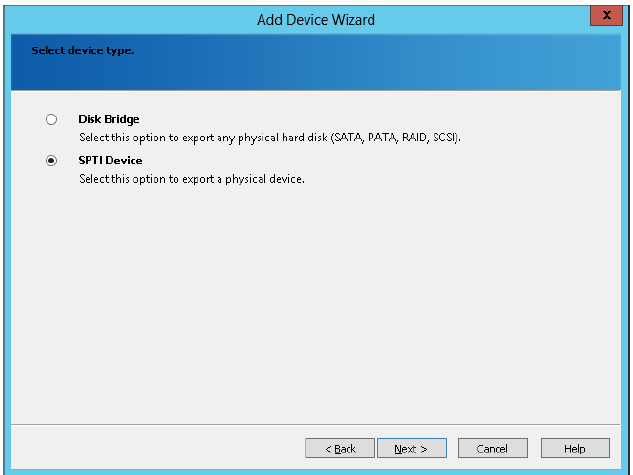
7. Select SPTI Device.
8. Click Next to continue.
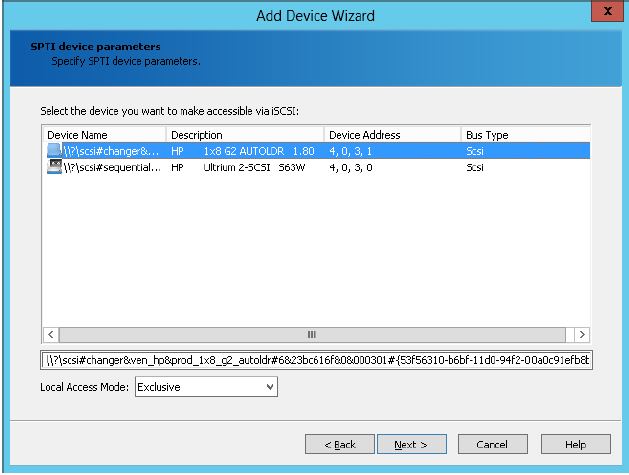
9. Select an existing autoloader.
10. Click Next to continue.
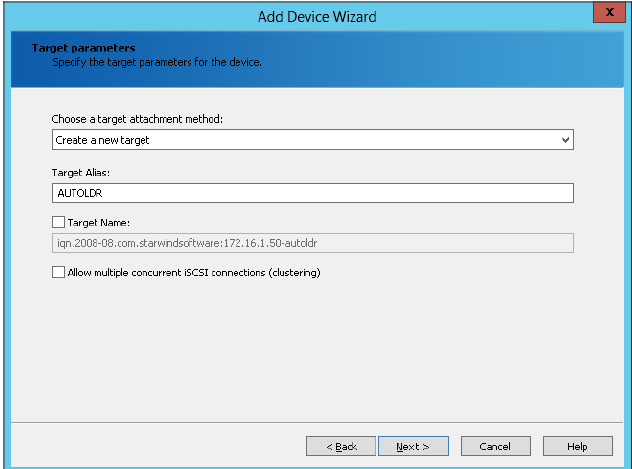
11. In the Target Alias and Target Name text fields, specify corresponding information.
Note: The name must be unique. Under this name the device is declared to the iSCSI initiators that are connected to StarWind Service over an IP network.
12. Click Next to continue.
13. Check whether device parameters are correct. Click Back to make any changes. Click Next to continue.
14. Click Finish to close the wizard.
Follow the similar procedure to create an SPTI device for a tape driver.
CONFIGURING AN ISCSI CLIENT
Connecting Targets
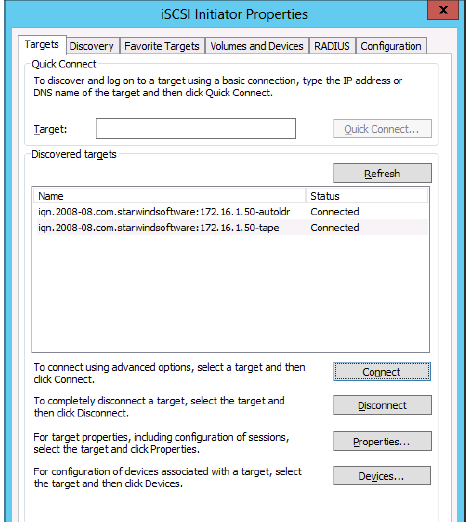
1. Launch Microsoft iSCSI Initiator. The iSCSI Initiator Properties window appears.
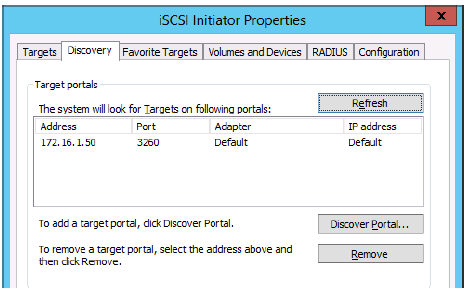
2. Navigate to the Discovery tab.
3. Click Discover Portal. Enter an IP address of StarWind server in the appropriate field of the Discover Target Portal dialog. Click OK.
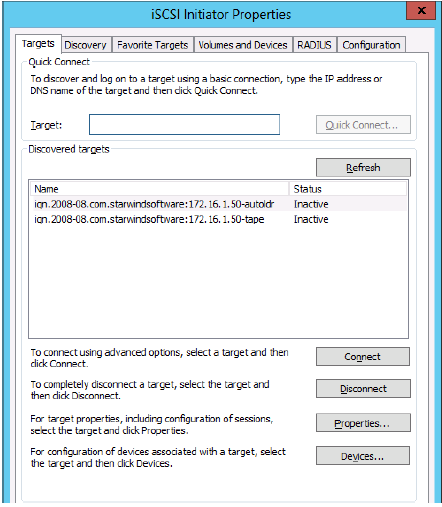
4. Click the Targets tab. The previously created targets are listed in the Discovered Targets section.
Note: If created targets are not listed, check the firewall settings on the StarWind Server as well as the list of networks served by the StarWind Server (go to StarWind Management Console ->Configuration -> Network).
5. Select each of the targets and click Connect to add them.
6. In the Connect to Target dialog select Add this connection to the list of Favorite Targets. Click OK.
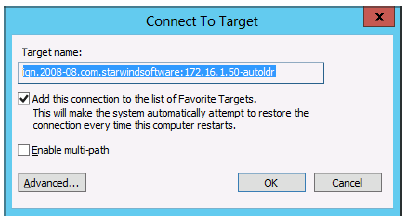
Targets will be connected and obtain the appropriate status.
Installing Drivers
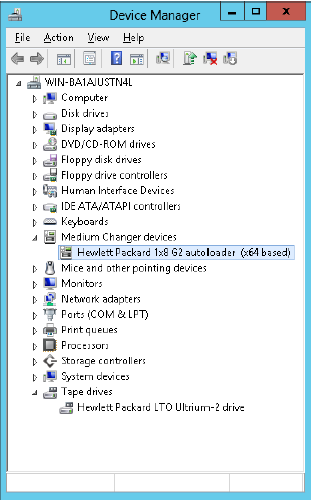
After the previous steps tape and medium changer devices appear as locally attached unknown devices.
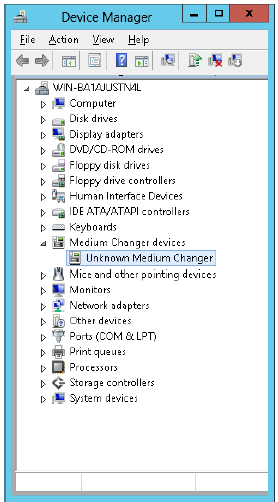
Install drivers for the unknown medium changer device to make it available via Device Manager.
BACKUP EXEC 2012
Configuring Storage
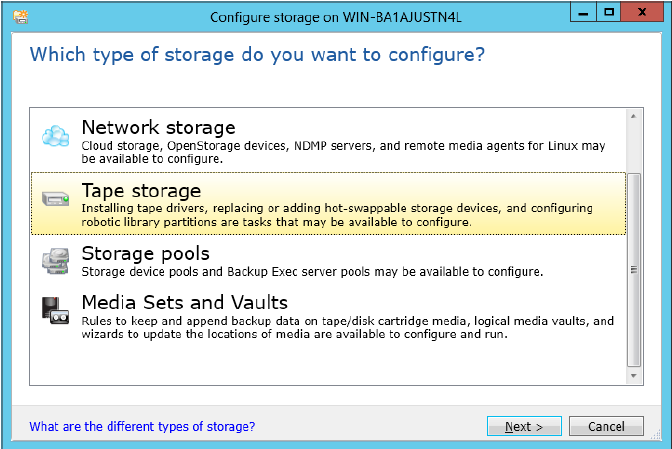
1. Install and launch Backup Exec 2012.
2. In the Home tab of Backup EXEC select Configure Storage.
3. As the configuration wizard is opened select Tape Storage
4. Click Next to continue.
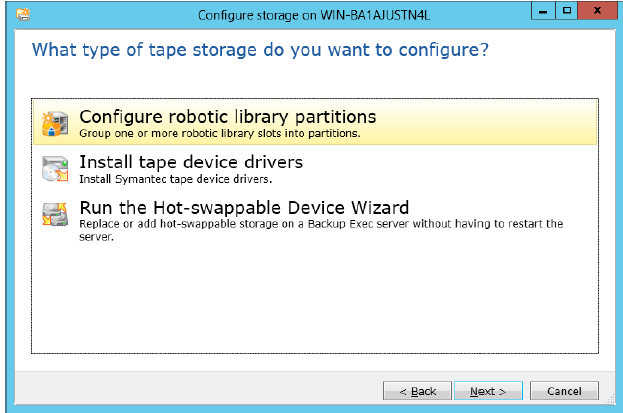
5. Select Configure robotic library partitions.
6. Click Next to continue.
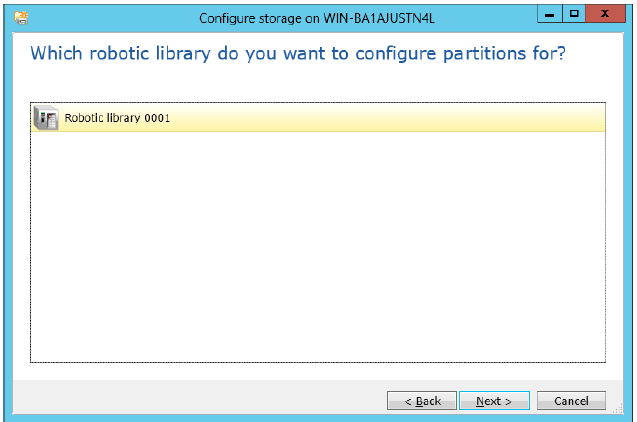
7. Select a robotic library.
8. Click Next to continue.
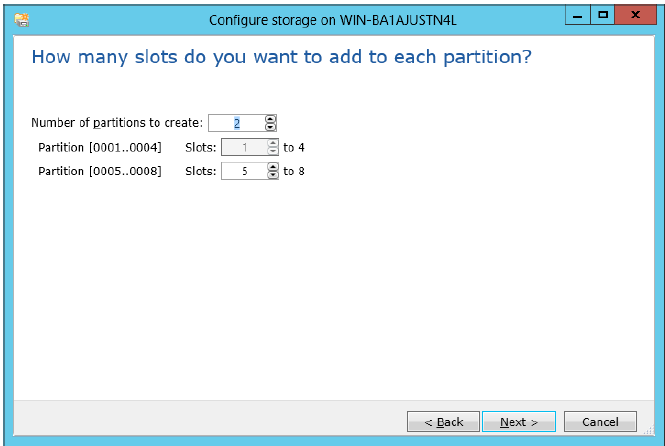
9. Specify a number of partitions and slots.
10. Click Next to continue.
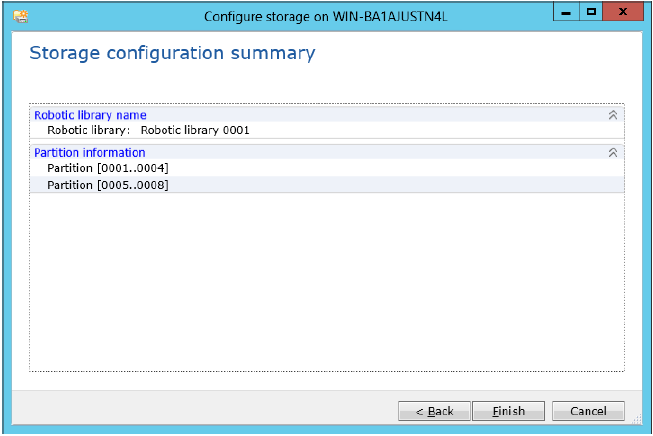
11. Check the Storage configuration summary.
12. Click Finish to close the wizard.
13. Go to the Storage tab and ensure that your Tape drive is online.

Performing Backup
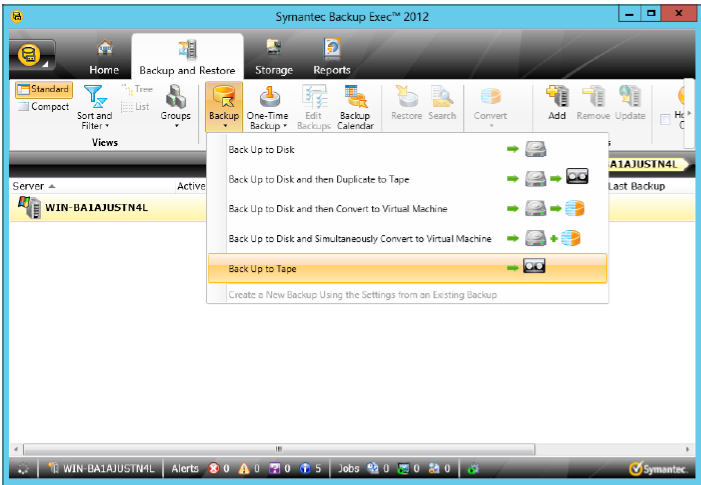
1. Go to the Backup and Restore tab and click Backup.
2. Select one of the backup options.
3. In the Backup Properties wizard select data and the backup type.
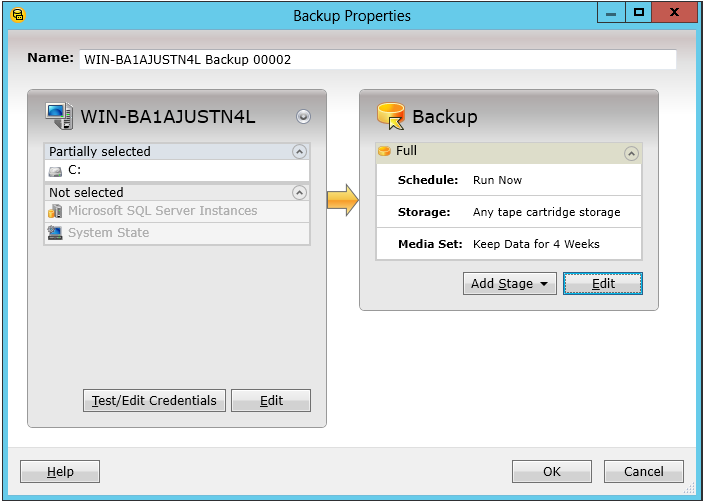
4. Click Test/Edit Credentials to check the credential status.
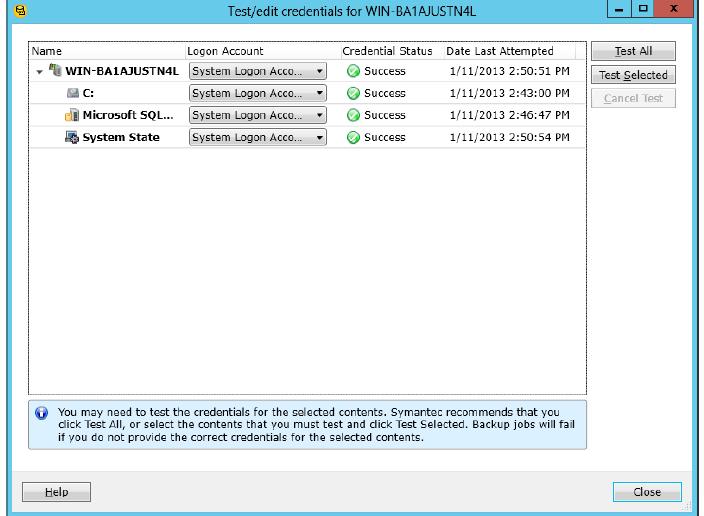
5. Click Close to continue.
Restoring Data
1. Go to the Backup and Restore tab.
2. Click Restore.

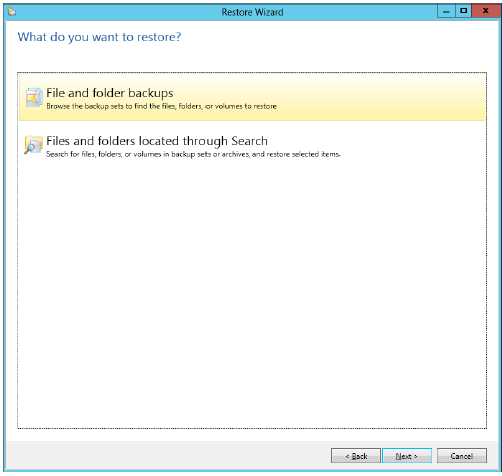
3. Select a type of data to be restored.
4. Click Next to continue.

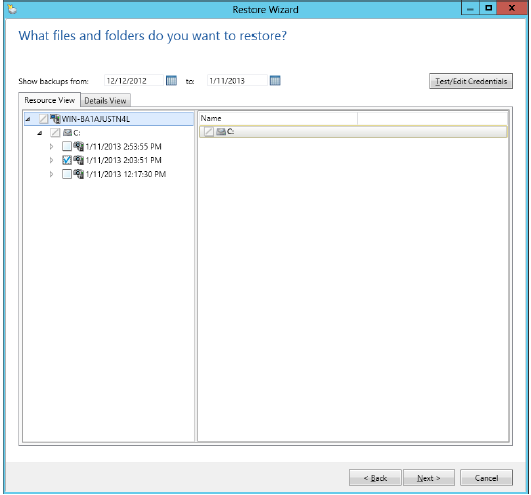
5. Select data to be restored.
6. Click Next to continue.
7. Select the resources to be restored.
8. Click Next to continue.
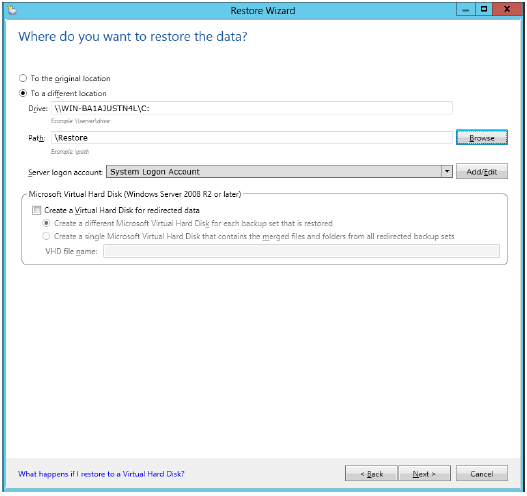
9. Specify the location of the restored data.
10. Click Next to continue.
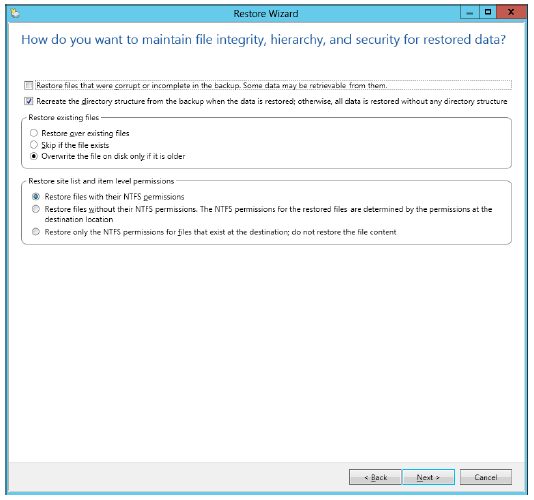
11. Specify other restore parameters.
12. Click Next to continue.
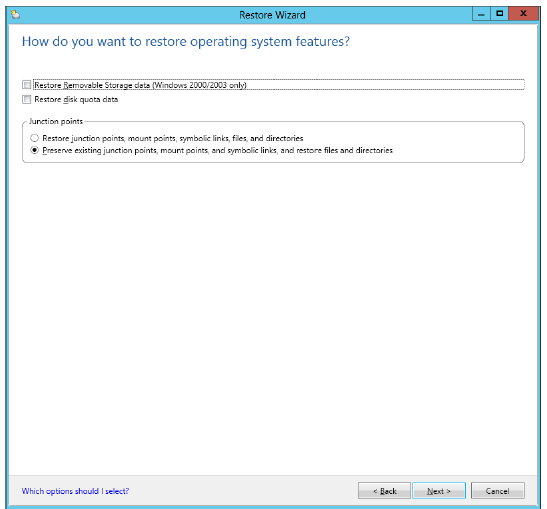
13. Specify the way operating system features have to be restored.
14. Click Next to continue.
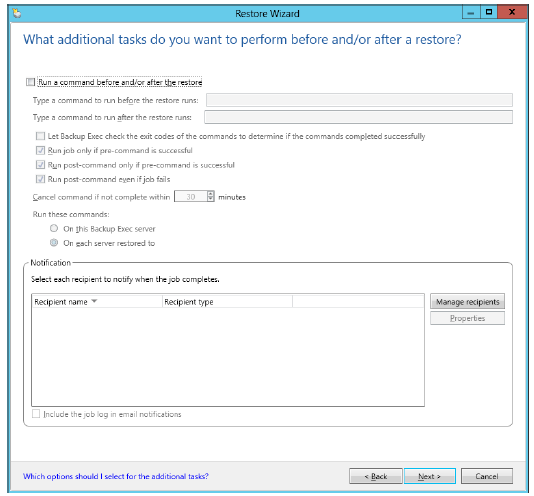
15. Specify additional tasks to be performed.
16. Click Next to continue.
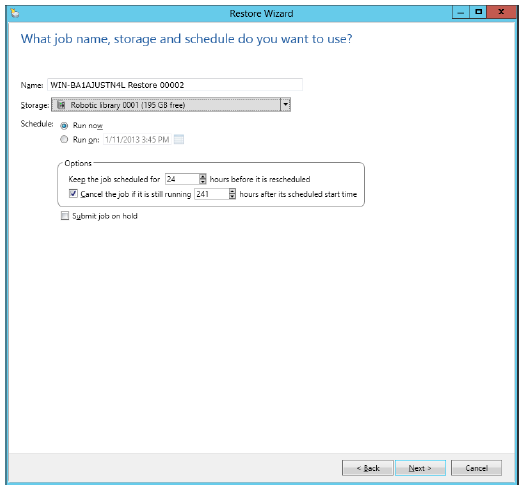
17. Specify job name, storage and backup schedule.
18. Click Next to continue.
19. Check the Restore Summary.
20. Click Finish.
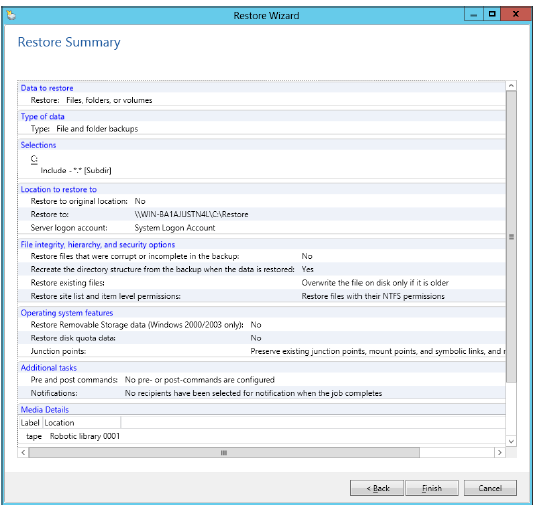
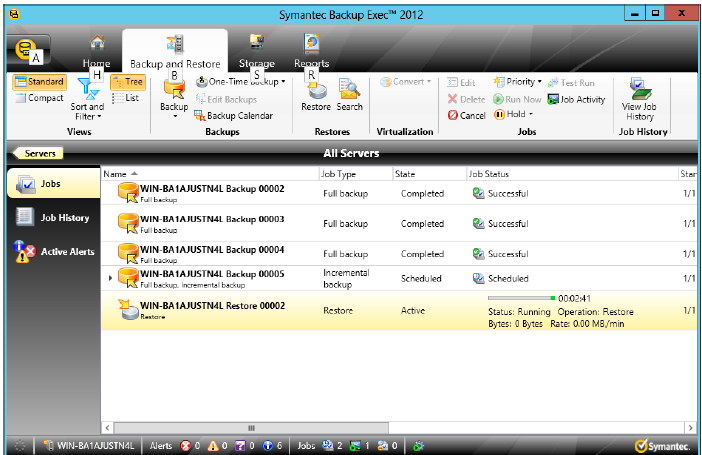
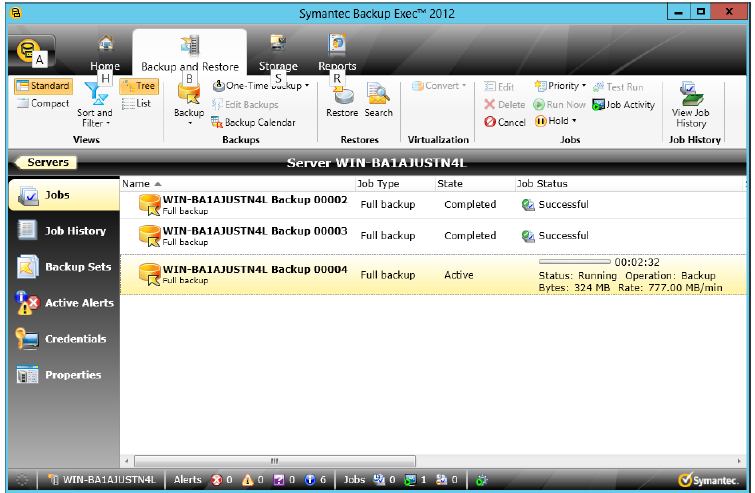
The window should look as follows.