


Microsoft Azure provides a way to deploy Azure VM from the Marketplace or from a generalized image. When you deploy the Azure VM from the Marketplace, no customization is deployed. You have to configure the operating system as your master. When you have several Azure VMs to deploy, the customization of each system can be time consuming. A lot of companies have a master or a baseline image in a VMDK for VMWare, in a VHD(X) for Hyper-V or in a WIM image. In this topic we will see how to create a generalized image from a single Azure VM and how to deploy Azure VM from this generalized image.
In the old portal (https://manage.windowsazure.com), all steps can be done from the GUI but also by using PowerShell. In the new portal (https://portal.azure.com), you have to use PowerShell because it is not yet integrated to the portal. In this topic, I will work from the new portal (AzureRM).
Requirements
To follow this topic, you need some requirements:
- I recommend you to install PowerShell v5 to import AzureRM PowerShell module
- The AzureRM PowerShell module deployed (see below to install the module)
- A deployed resource group
- A deployed storage account from VM
- A deployed virtual network with a subnet for VM
- A deployed virtual machine to be generalized
If you have installed PowerShell v5, just run the following command to install the AzureRM module (in RunAs Administrator):
Install-Module AzureRM
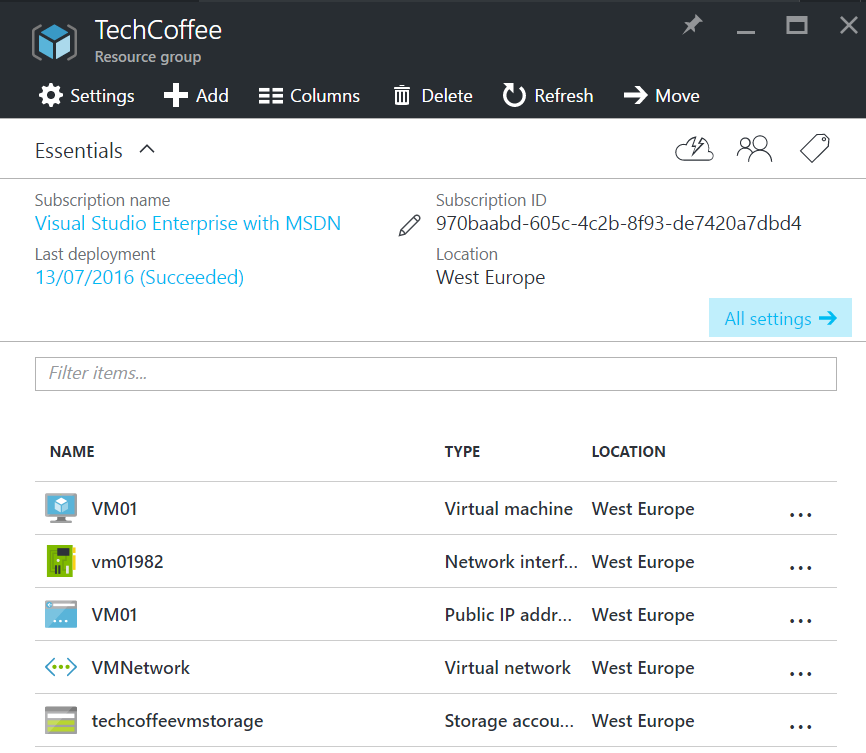
In the below screenshot, you can see the deployed prerequisites in the TechCoffee resource group. The VM that will be generalized is called VM01.
Make the customization and the sysprep
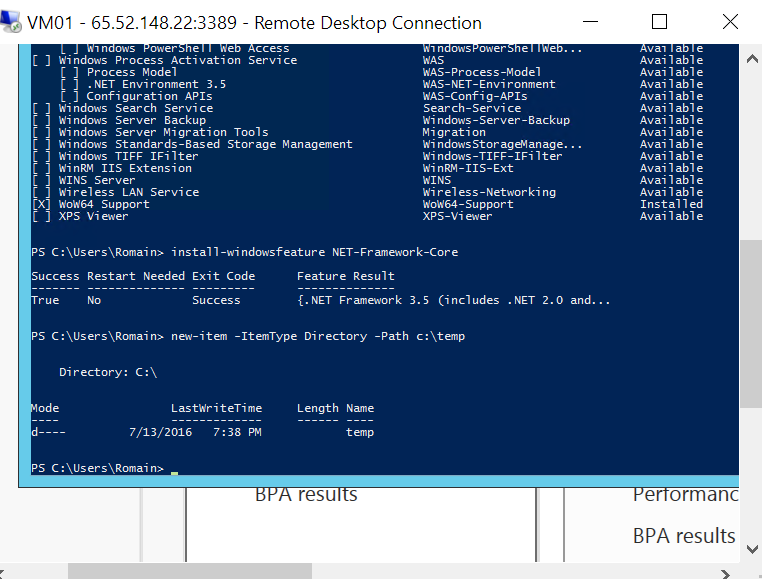
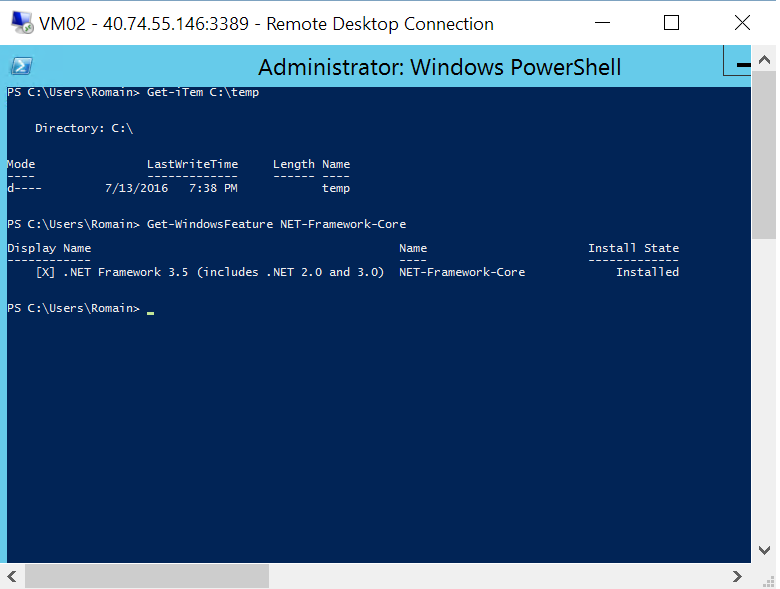
First of all, connect to the VM and make the customization. In my example, I create a folder c:\temp and I install .NET 3.5 feature:
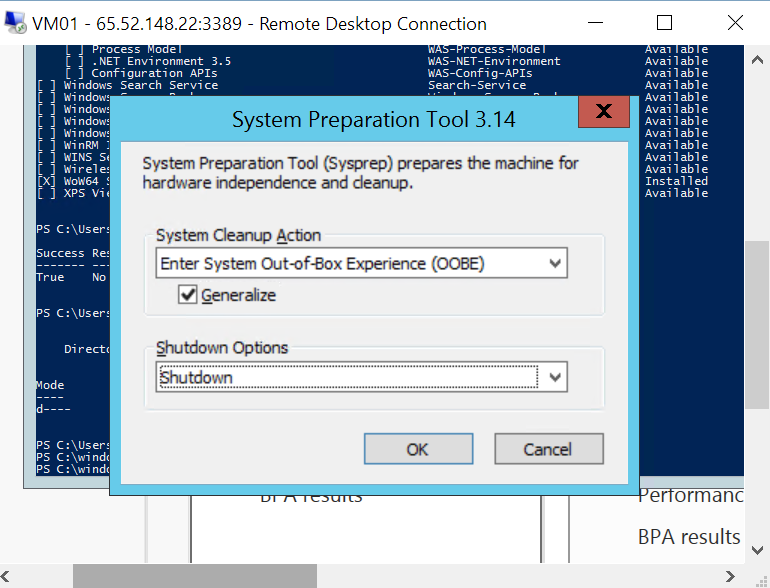
Once you have finished the customization, navigate to c:\windows\system32\sysprep and run sysprep.exe. Run the system preparation with the following settings:
Export the sysprep VHD as template
Before running any PowerShell cmdlet on your Azure Subscription, you have to login and select the right Azure Subscription by using the following cmdlet:
# Login to Azure

Login-AzureRMAccount

#Get Azure Subscription name and id

Get-AzureRMSubscription

# Select the right Azure Subscription

Select-AzureRMSubscription -SubscriptionName <SubscriptionName>
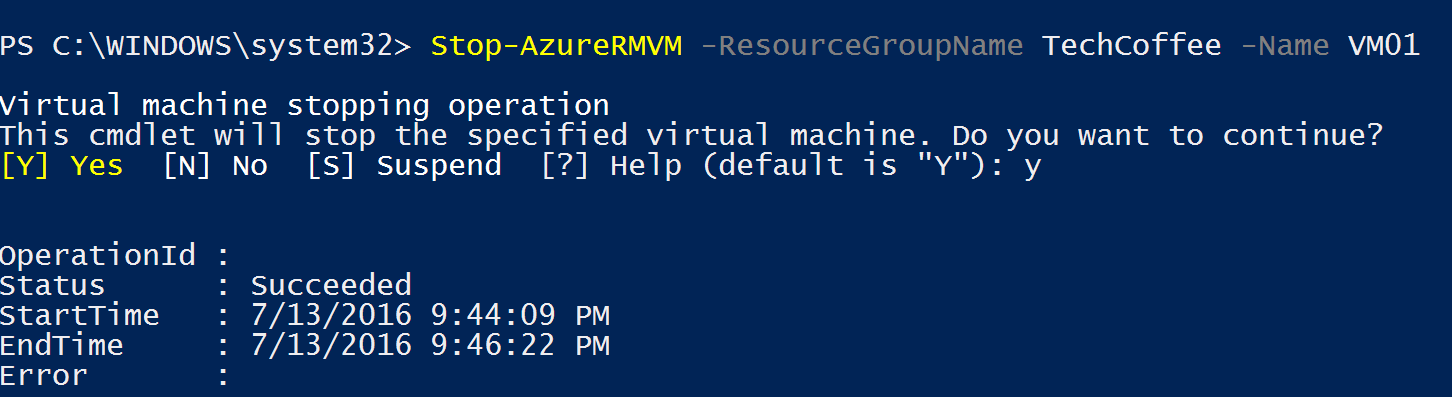
First the VM must be stopped from the Azure perspective to be deallocated. The VM can be marked as generalized only on an Azure VM with deallocated state. When the below command will be executed, the VM state will be changed from Stopped to Stopped (Deallocated).
Stop-AzureRMVM -ResourceGroupName <ResourceGroup> -Name <VMName>
Then you have to mark the VM as generalized. To make this operation, run the following command:
Set-AzureRMVM -ResourceGroupName <ResourceGroup> -Name <VMName> -Generalized

Then you can save the VM image in the Storage Account by running the following command:
Save-AzureRmVMImage -ResourceGroupName <ResourceGroup> -VMName <VMName> -DestinationContainerName <ContainerName> -VHDNamePrefix <PrefixForSysprepedVHD>
Regarding the parameters, the VM image will be stored in the following location:
https://.blob.core.windows.net/system/Microsoft.Compute/Images//-osDisk.xxxxxxxx-xxxx-xxxx-xxxx-xxxxxxxxxxxx.vhd

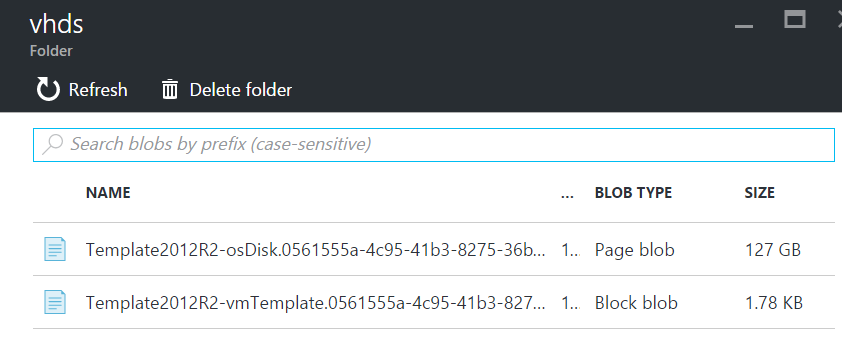
Once the above command is executed, you can see your VM Image in the storage account.
Deploy a VM from the image
To deploy the Azure VM from the image, you have also to use PowerShell:
$RGName                = "TechCoffee"

$storageAccName        = "techcoffeevmstorage"

$COmputerName          = "VM02"

$urlOfCapturedImageVhd = "https://techcoffeevmstorage.blob.core.windows.net/system/Microsoft.Compute/Images/vhds/Template2012R2-osDisk.0561555a-4c95-41b3-8275-36b2b6c39d75.vhd"

$location              = "West Europe"

$vmName                = "VM02"

$osDiskName            = "VM02-OperatingSystem"

#Enter a new user name and password in the pop-up for the following

$cred = Get-Credential

# Set the existing virtual network and subnet index

$vnetName="Internal"

$subnetIndex=0

$vnet=Get-AzureRMVirtualNetwork -Name VMNetwork -ResourceGroupName $rgName

# Create the NIC.

$nicName="VM02-NIC"

$pip=New-AzureRmPublicIpAddress -Name $nicName -ResourceGroupName $rgName -Location $location -AllocationMethod Dynamic

$nic=New-AzureRmNetworkInterface -Name $nicName -ResourceGroupName $rgName -Location $location -SubnetId $vnet.Subnets[$subnetIndex].Id -PublicIpAddressId $pip.Id

#Get the storage account where the captured image is stored

$storageAcc = Get-AzureRmStorageAccount -ResourceGroupName $rgName -AccountName $storageAccName

#Set the VM name and size

$vmConfig = New-AzureRmVMConfig -VMName $vmName -VMSize "Standard_D2_v2"

#Set the Windows operating system configuration and add the NIC

$vm = Set-AzureRmVMOperatingSystem -VM $vmConfig -Windows -ComputerName $computerName -Credential $cred -ProvisionVMAgent -EnableAutoUpdate

$vm = Add-AzureRmVMNetworkInterface -VM $vm -Id $nic.Id

#Create the OS disk URI

$osDiskUri = '{0}vhds/{1}{2}.vhd' -f $storageAcc.PrimaryEndpoints.Blob.ToString(), $vmName.ToLower(), $osDiskName

#Configure the OS disk to be created from image (-CreateOption fromImage) and give the URL of the captured image VHD for the -SourceImageUri parameter.

#We found this URL in the local JSON template in the previous sections.

$vm = Set-AzureRmVMOSDisk -VM $vm -Name $osDiskName -VhdUri $osDiskUri -CreateOption fromImage -SourceImageUri $urlOfCapturedImageVhd -Windows

#Create the new VM

New-AzureRmVM -ResourceGroupName $rgName -Location $location -VM $vm
Once the VM is deployed, I check again if the customization is set in the VM. As you can see in the below screenshot, the c:\temp folder is created and the .NET 3.5 feature is installed.
Conclusion
In Microsoft Azure, it is possible to create VMs from the same image to deploy several VMs with the same baseline. However, in the new portal, you have to use PowerShell and not the GUI to generate the VM Image and to deploy VM from the image. But it is great for automation: you can create with a block of PowerShell a lot of Azure VM. If you like also deploy resources with JSON, you can specify the VM Image URL to deploy the Azure VM.
