StarPort iSCSI and ATA-over-Ethernet Initiator: Using as RAM Disk Emulator
Adding new device
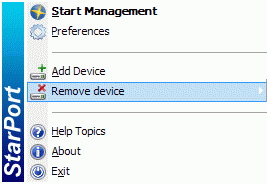
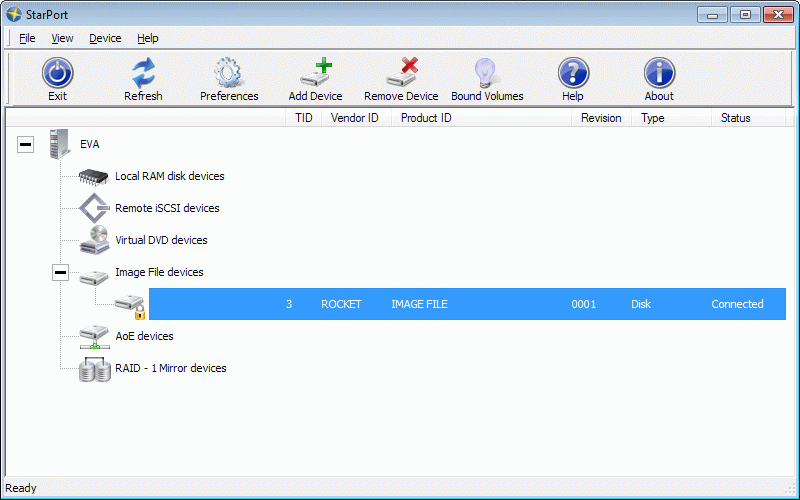
Launch the StarPort control application by selecting Start->All Programs->StarWind Software->StarPort->StarPort. After the program is started its icon appears in the system tray. Double click the icon with the left mouse button or single click it with the right mouse button and select Start Management item from the pop-up menu. You'll see a picture like the one below:
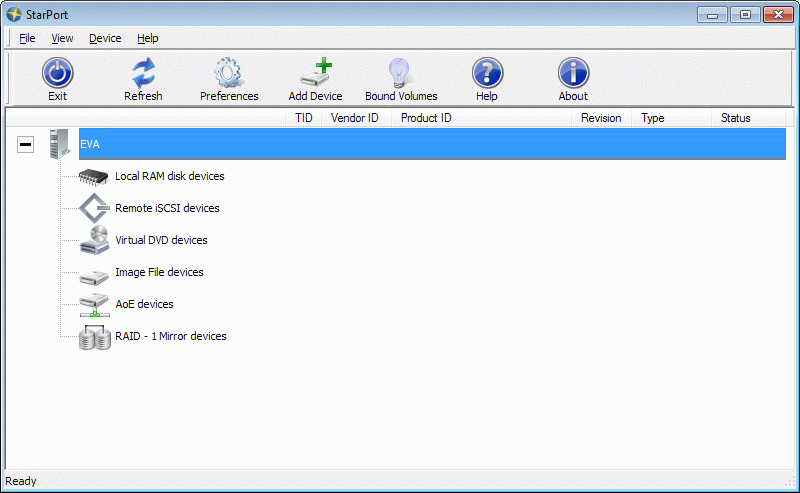
Select Add Device menu item from Device drop down menu or just press Add Device button on the application tray bar. New device installation wizard (see next page for the image) will appear.
On the first step of the New Device Installation Wizard please read the introduction instructions.
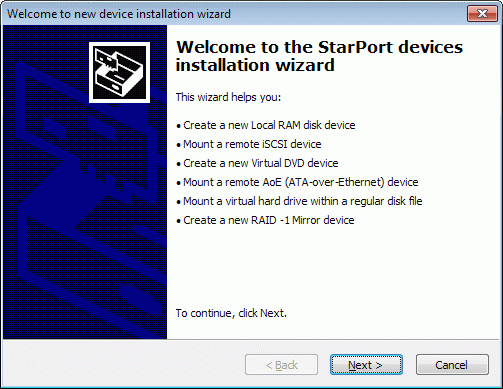
Press Next button to continue.
On the second step of the New Device Installation Wizard select device type you wish to install. To add a Image File device select Image File device.
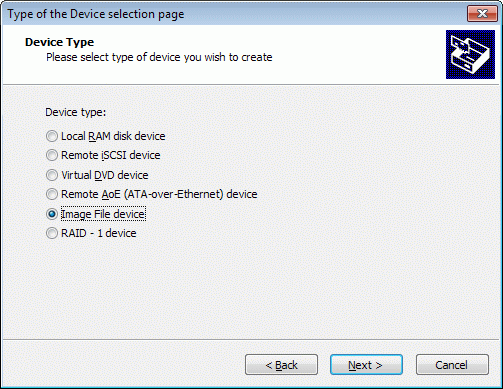
Press Next button to continue.
On the third step of the New Device Installation Wizard select either Create new image to create new image file or select Mount existing image to specify existing image file.
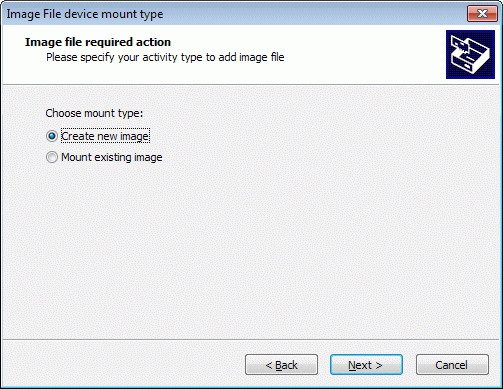
Press Next button to continue.
On the fourth step of the New Device Installation Wizard specify the parameters of the Image File device you wish to add:
Image file location - specify the path to the IMG image, which you wish to mount (create and then mount) as an Image File device.
Image size in MBs - the size of the disk (IMG file) you add.
Encrypted - select to create encrypted Image File device.
Encryption method - select algorithm to encrypt data.
Encryption key - type in encryption key. You may also generate key, load existing key from file and save the key. If you are mounting existing image, please specify the key it was encrypted with.
Note: Please always save your encryption keys because you'll not be able to recreate Image File device and access its data without it.
Automount disk - if selected, the Image File device is automatically re-created when you restart your PC. It means that an Image File device becomes available right after your PC boots and Windows starts. This option is available only for non-encrypted disks.
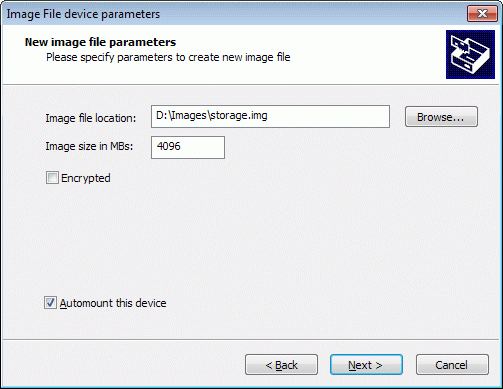
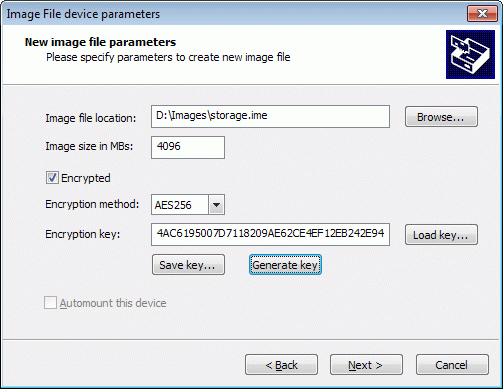
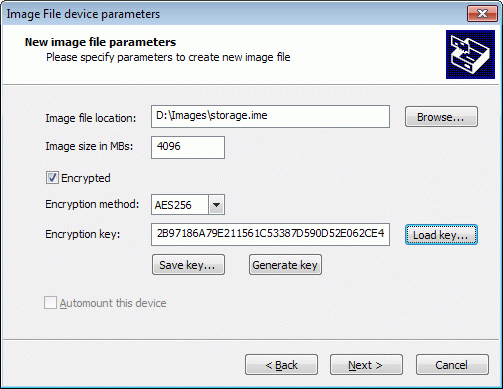
Press Next to continue.
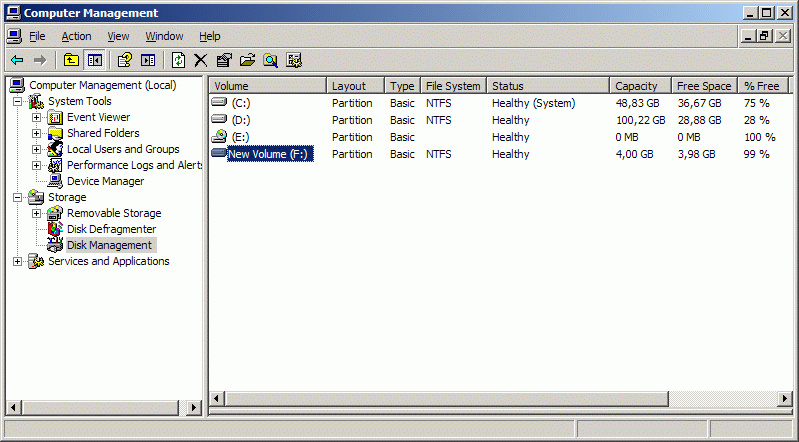
On the last step of the New Device Installation Wizard confirm the installation results. If the new Image File device was installed correctly, it should appear as a new disk volume in your system.
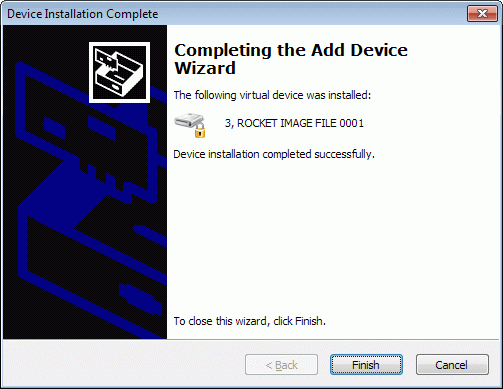
Press Finish button.
Removing existing device
In the StarPort control application please select the device you wish to remove and click it with the right mouse button.
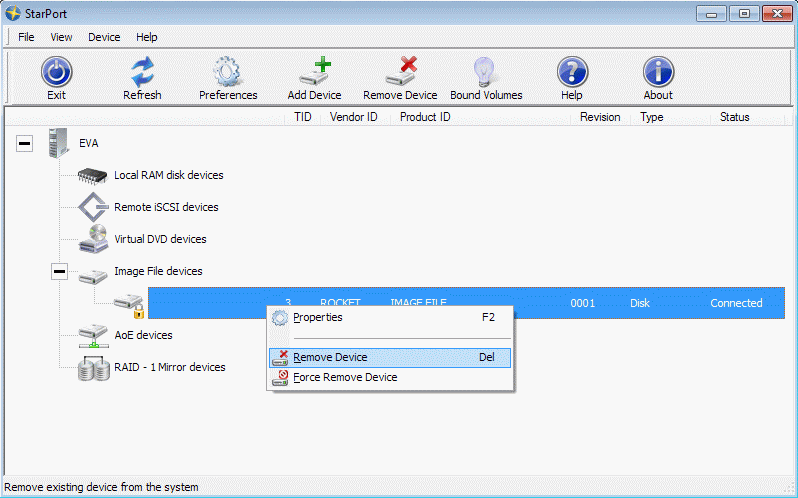
Select Remove Device menu item from the pop-up menu that appears.
Use the Force Remove Device if you cannot remove a device in a normal way (e.g. it is locked by some application or process). However it is not recommended to use the Force Remove Device feature as it may cause loss of the data and general system instability.
Alternatively you can remove a device in such a way: right click the StarPort icon in the system tray and find the device you wish to remove.
