

In the previous article, we have covered the basics of Microsoft Windows Server Core installation. After configuring the operating system and specifying the networks and storage for the future configuration, there are few more things left.
Our next step is to install and configure the Hyper-V role.
Installation of the Hyper-V role by itself is extremely simple. You need to open the PowerShell window by typing in “Powershell” command in the command prompt. In order to install the Hyper-V role through the PowerShell, enter the following:
|
1 |
Install-WindowsFeature Hyper-V |
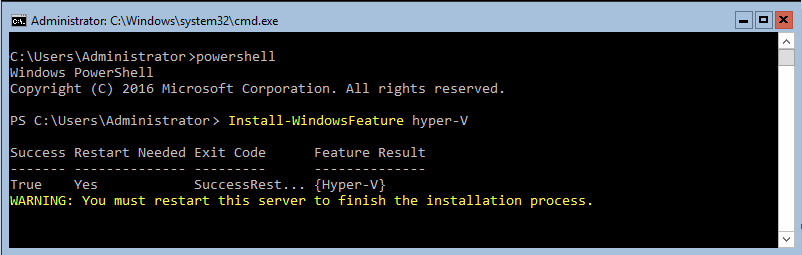
Installing the Hyper-V role
Obviously, the Core version of Windows Server has no graphical interface. In this case, you need to use the Hyper-V Manager from a remote computer to be able to manage Hyper-V and make the configuration and management a lot easier. This could be any other workstation or server.
In order to manage Hyper-V remotely, you need to configure the below firewall permissions:
|
1 |
Enable-NetFireWallRule -DisplayName “Windows Management Instrumentation (DCOM-In)” |
|
1 |
Enable-NetFireWallRule -DisplayGroup “Windows Firewall Remote Management” |
|
1 |
Enable-NetFireWallRule -DisplayGroup “Remote Scheduled Tasks Management” |
|
1 |
Enable-NetFireWallRule -DisplayGroup “Remote Event Log Management” |
|
1 |
Enable-NetFireWallRule -DisplayGroup “Remote Service Management” |
|
1 |
Enable-NetFireWallRule -DisplayGroup “Remote Volume Management” |
Or you can simply skip this part by disabling the firewall with the command listed below:
|
1 |
Get-NetFirewallProfile | Set-NetFirewallProfile -enabled false |
The last one needs to be run on the management server:
|
1 |
Enable-NetFirewallRule -DisplayGroup “Remote Volume Management.” |
Configuring Hyper-V
To be able to configure your Hyper-V environment, you need to add the server to the Hyper-V Manager by clicking on “Connect to Server” and specifying the hostname/IP of your Core server. After the successful connection, make sure that our iSCSI disk, which was connected to the Core server, is used as a default folder for Hyper-V.

Adding the server to Hyper-V Manager
In order to connect your virtual machines to the network, you need to create a Virtual Network by clicking on “Virtual Switch Manager” in the Actions menu of the Hyper-V server.
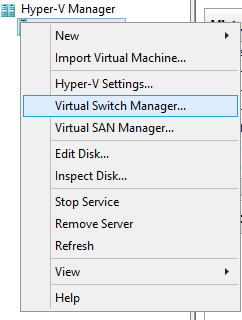
Virtual Switch Manager
After choosing the “Create virtual switch” option, the one we need is an External switch. Set the name and select the connection type of the virtual switch as an External Network and check the box “Allow management operating system to share this network adapter”.
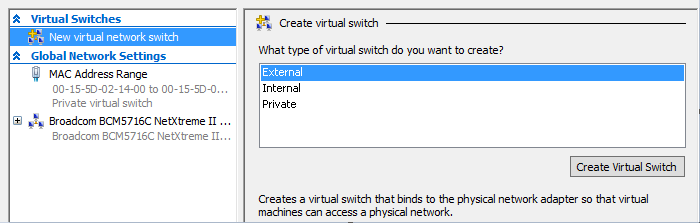
Creating the virtual switch
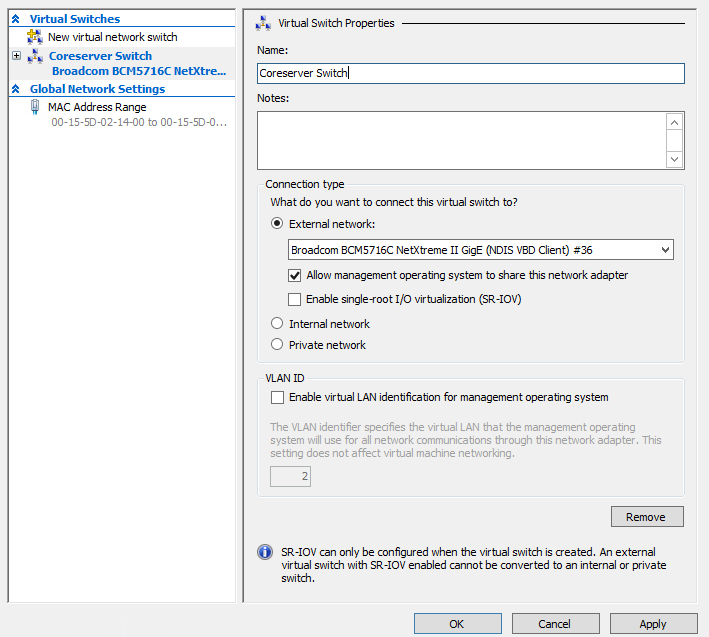
Finalizing the creation of virtual switch
After creating the virtual switch, you can deploy the virtual machines to your local server.
In the last part of our guide, we will finalize the Failover Cluster configuration to prepare it for the deployment of shared storage using StarWind as an HA storage provider.
