

![]()
Here is the second article of 2 for the Azure Site Recovery implementation with ARM:
- Preparation of the environment (Part 1)
- Start the replication and Failover/Failback
Replicate your first VMs
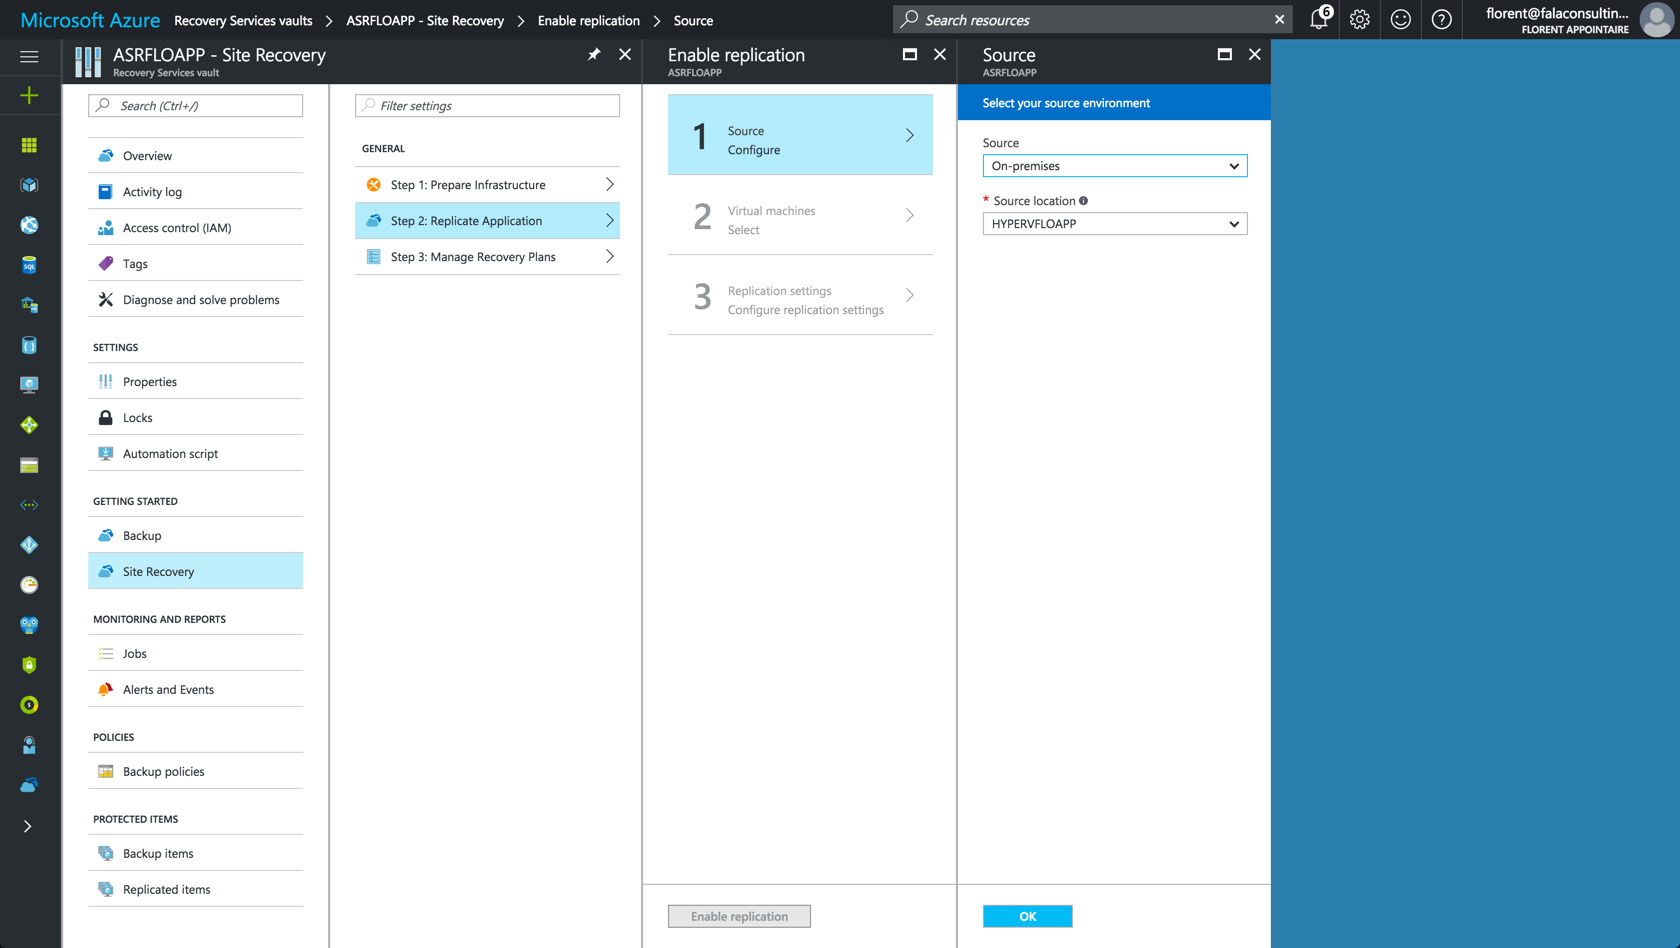
Now that the Azure infrastructure is ready, we will go to step 2 to replicate VMs/Applications. Choose from where you want to replicate VMs (On-Prem for me) and to which the Hyper-V site that you created in the first article:
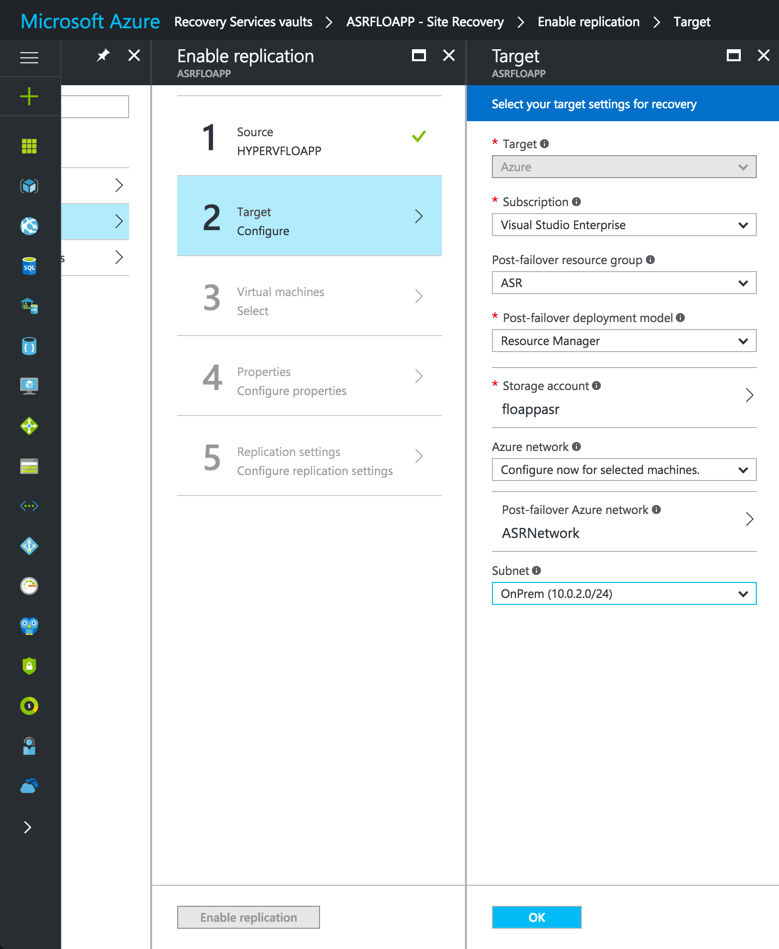
Select the storage account that you created previously to store replications and the network and subnet associated:
Select VMs where you want to activate the replication:

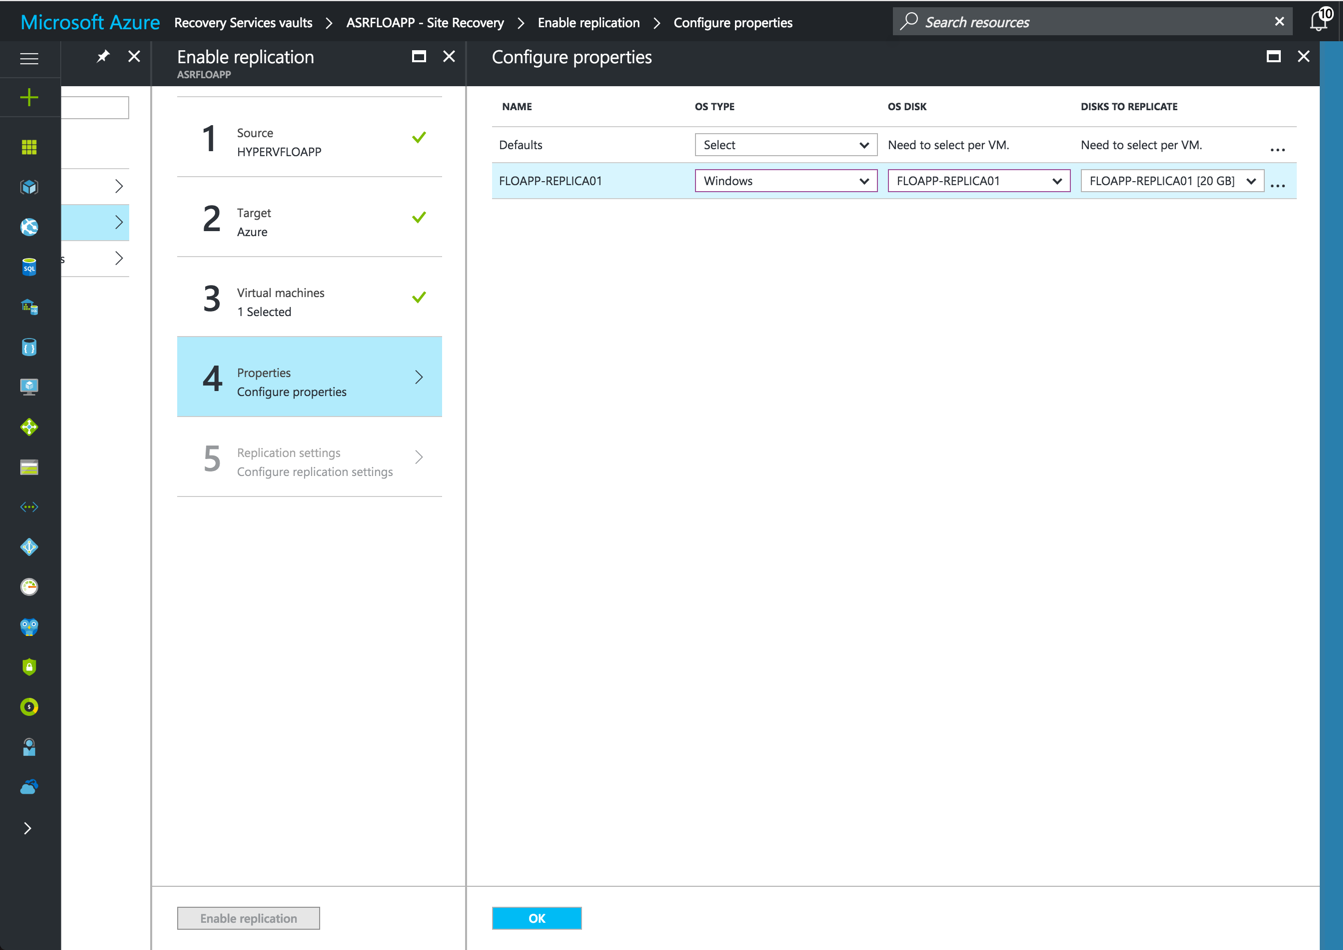
Choose the OS type and OS Disk. Choose data disks that you want to replicate to Azure:
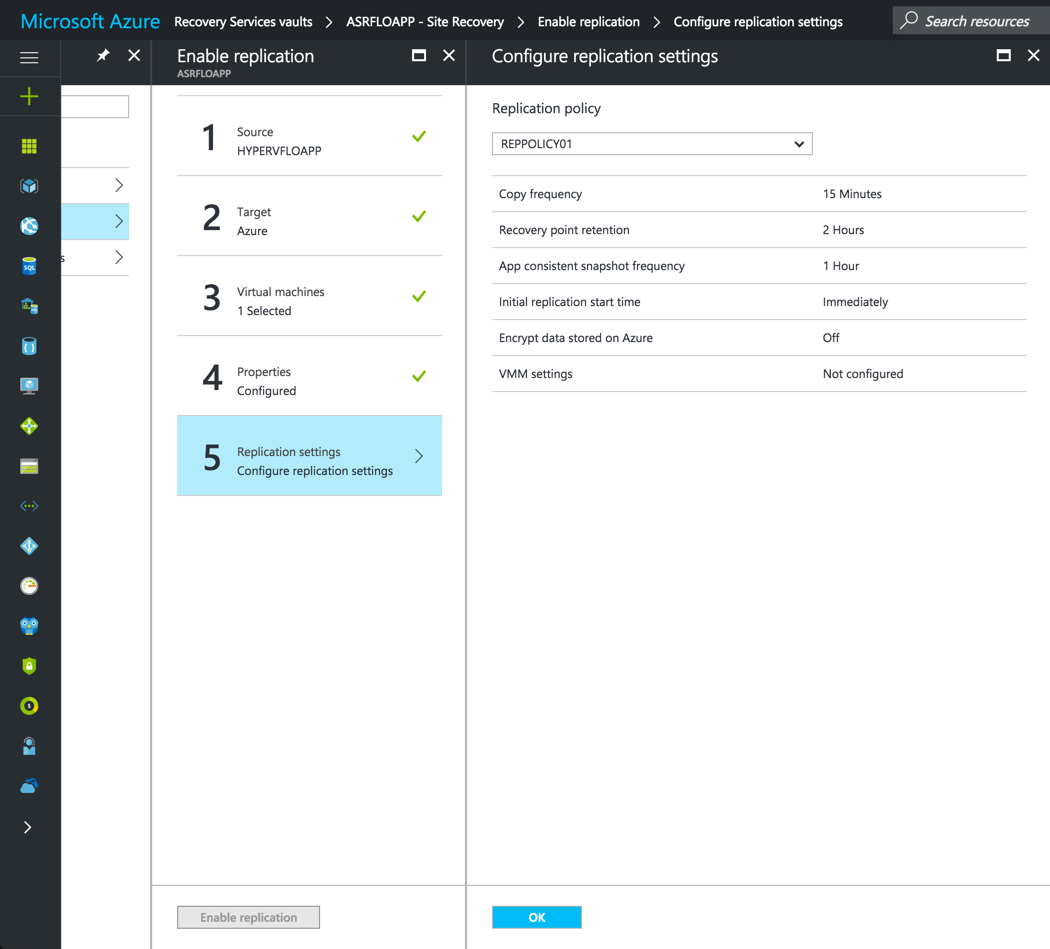
Apply the policy created previously:
Replication is starting:
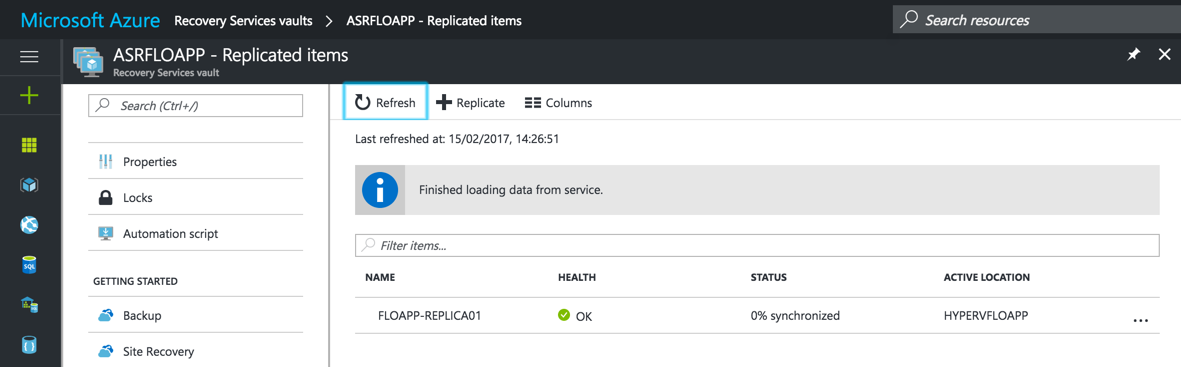
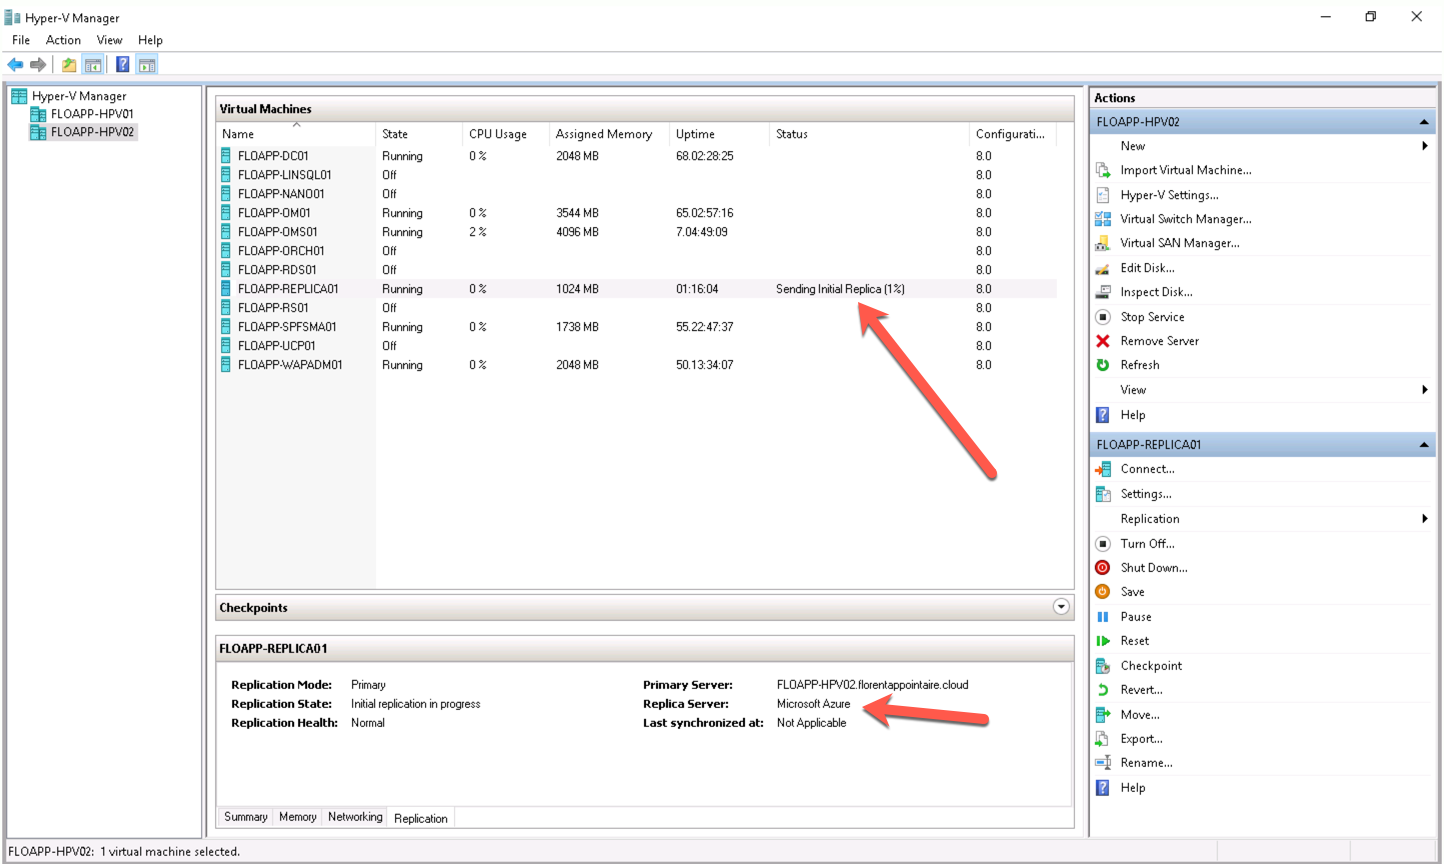
From the Hyper-V console, you can see that the replication started:
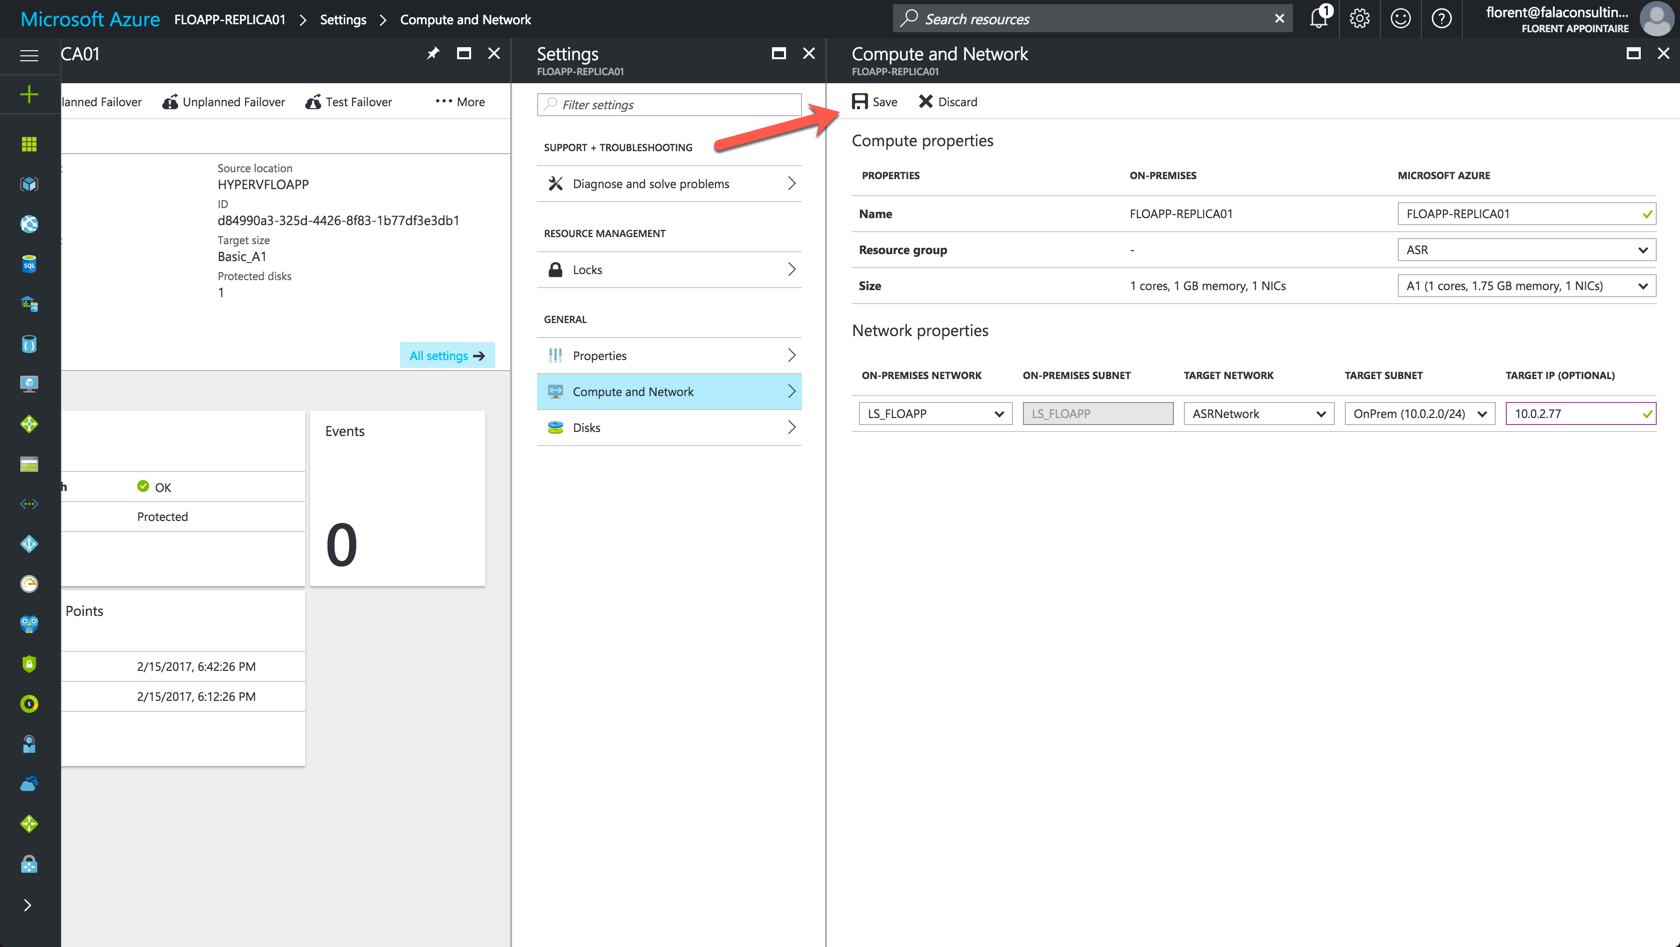
VM modification before the Failover
Before testing the failover, you need to choose the size of the VM that will be deployed and, choose the right network. In fact, you can choose to run the virtual machine in a smaller size, in degraded mode. Because my application was coded with static IP in the code, I’ll attribute the same IP address that on my local network. If you don’t provide anything, the DHCP will take the first available IP in the pool:
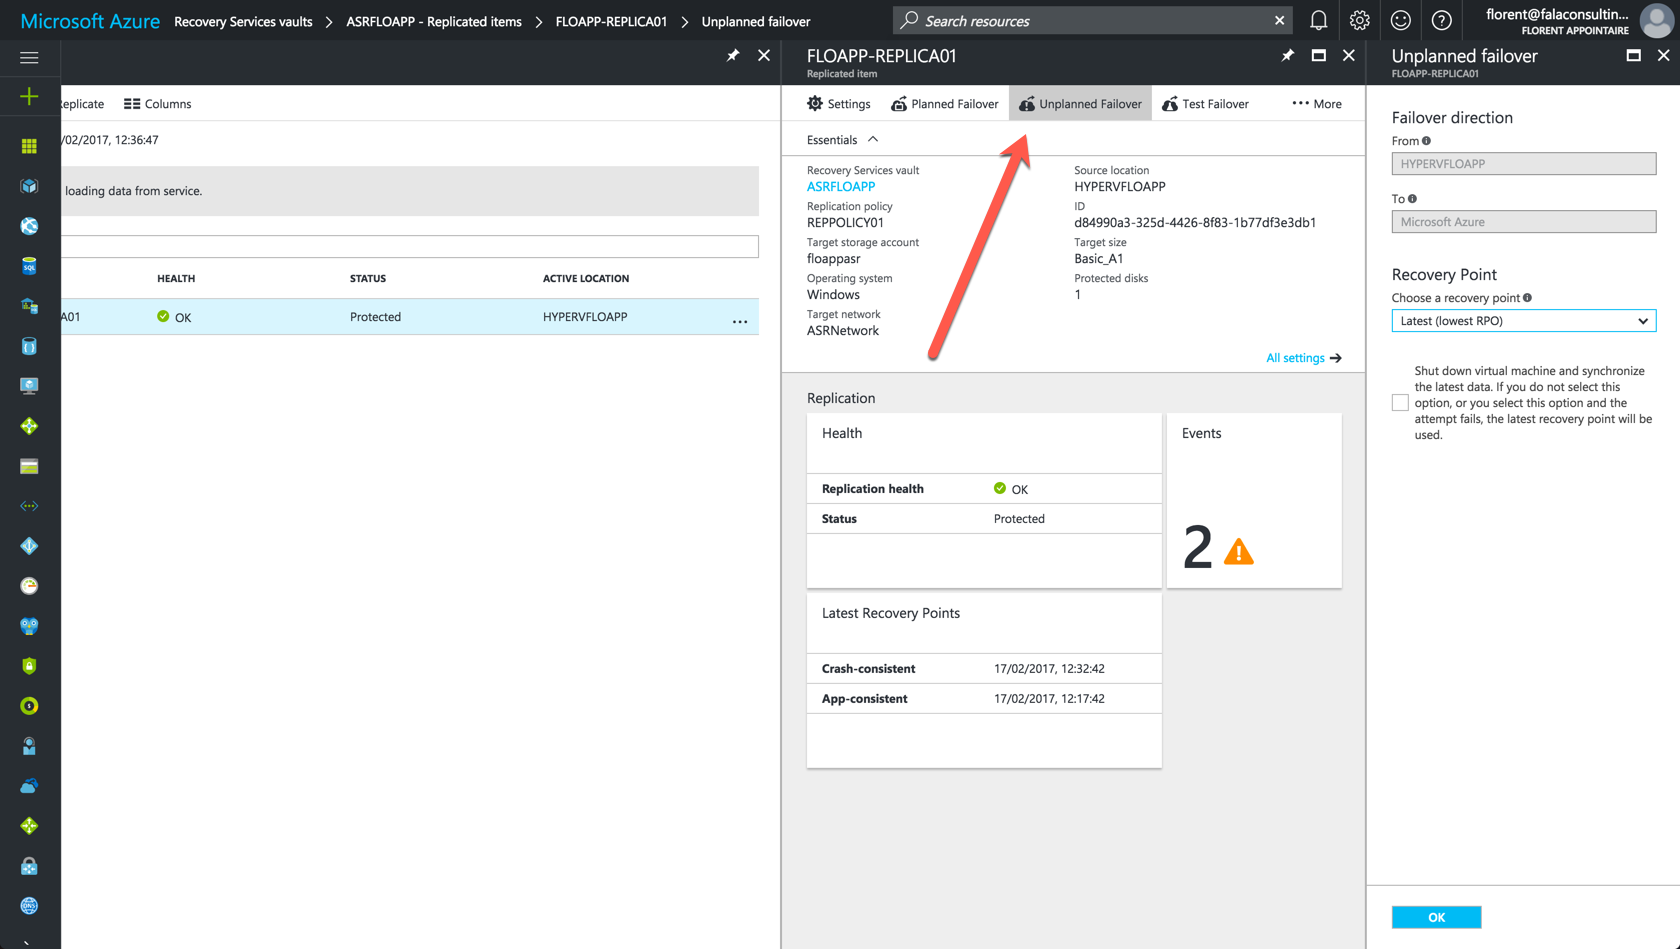
Failover test
We can now test the failover. I turned off my infrastructure, and so, nobody can work anymore. In the Azure console, on the replication of your server (application), click on Unplanned Failover to say that your application must be deployed on Azure.
Choose the recovery point that you want to restore. I don’t synchronize last changes because my infrastructure is not available anymore and so, I’ll lose 15 minutes maximum of data in my case:
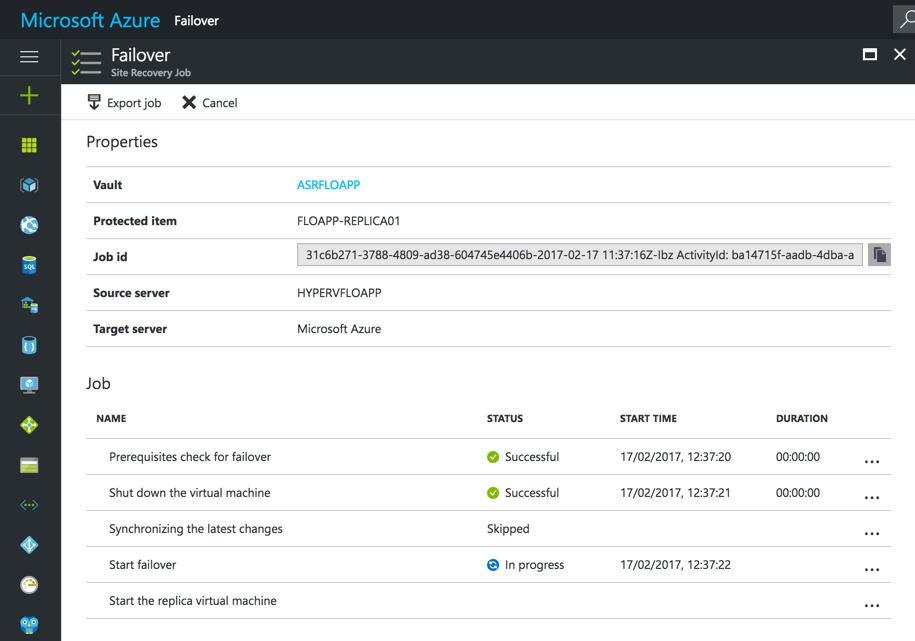
The deployment of my VM on Azure is in progress:
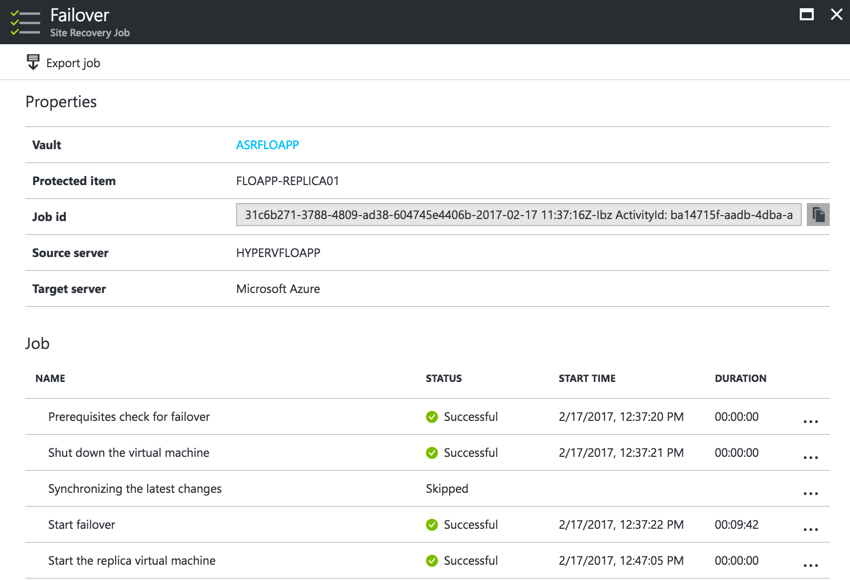
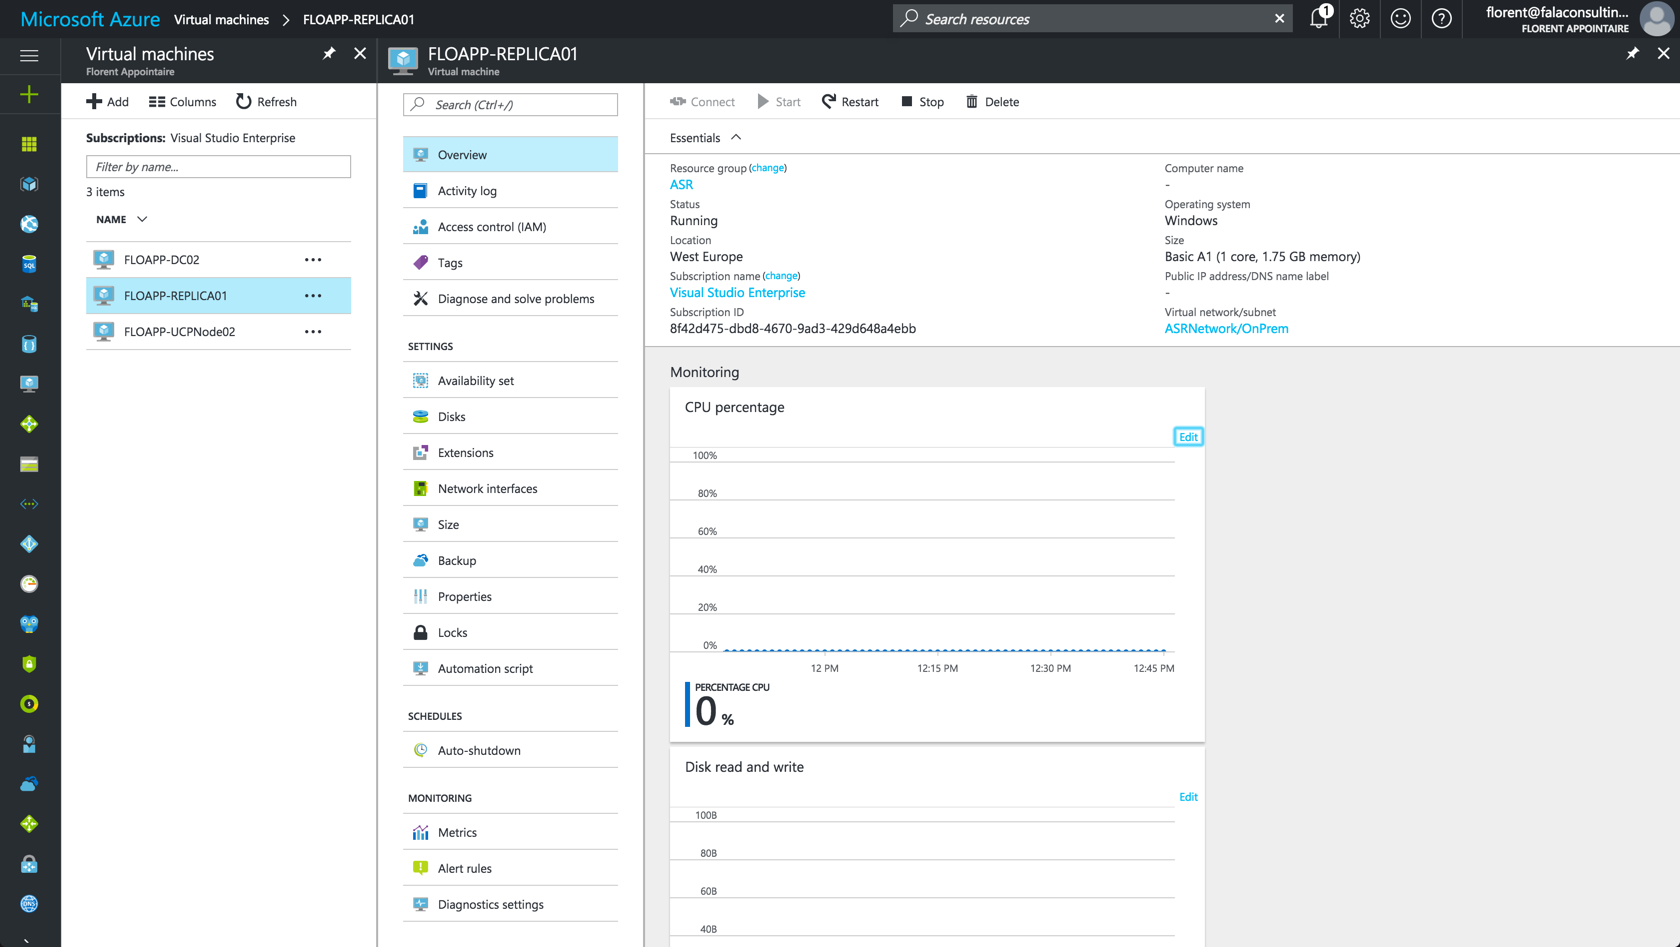
10 minutes later, my VM has been deployed on Azure:
VNet Peering
I created a VNet Peering between the network that contains my DC and my ASR network. You can find how to do it here: https://www.starwindsoftware.com/blog/azure-virtual-network-peering
You can automate this part:

Application testing
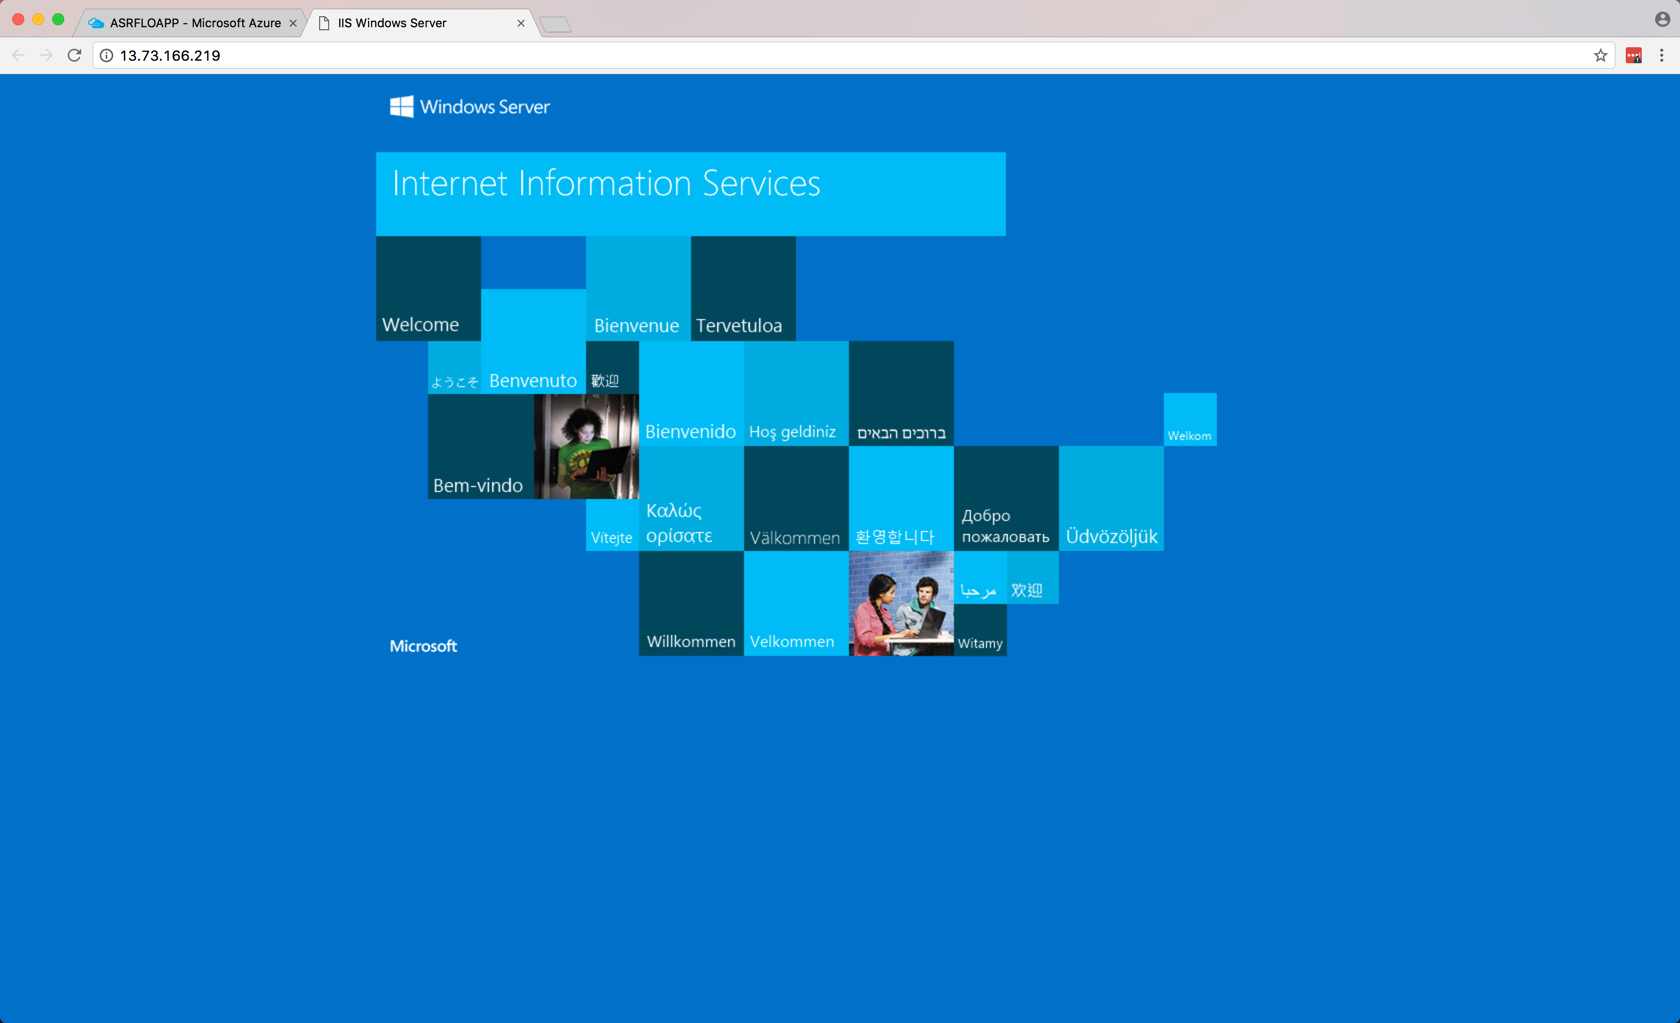
By connecting on my DC on Azure, I can see that I ping directly the new server (thanks to the VNet Peering) and that I can access the website:

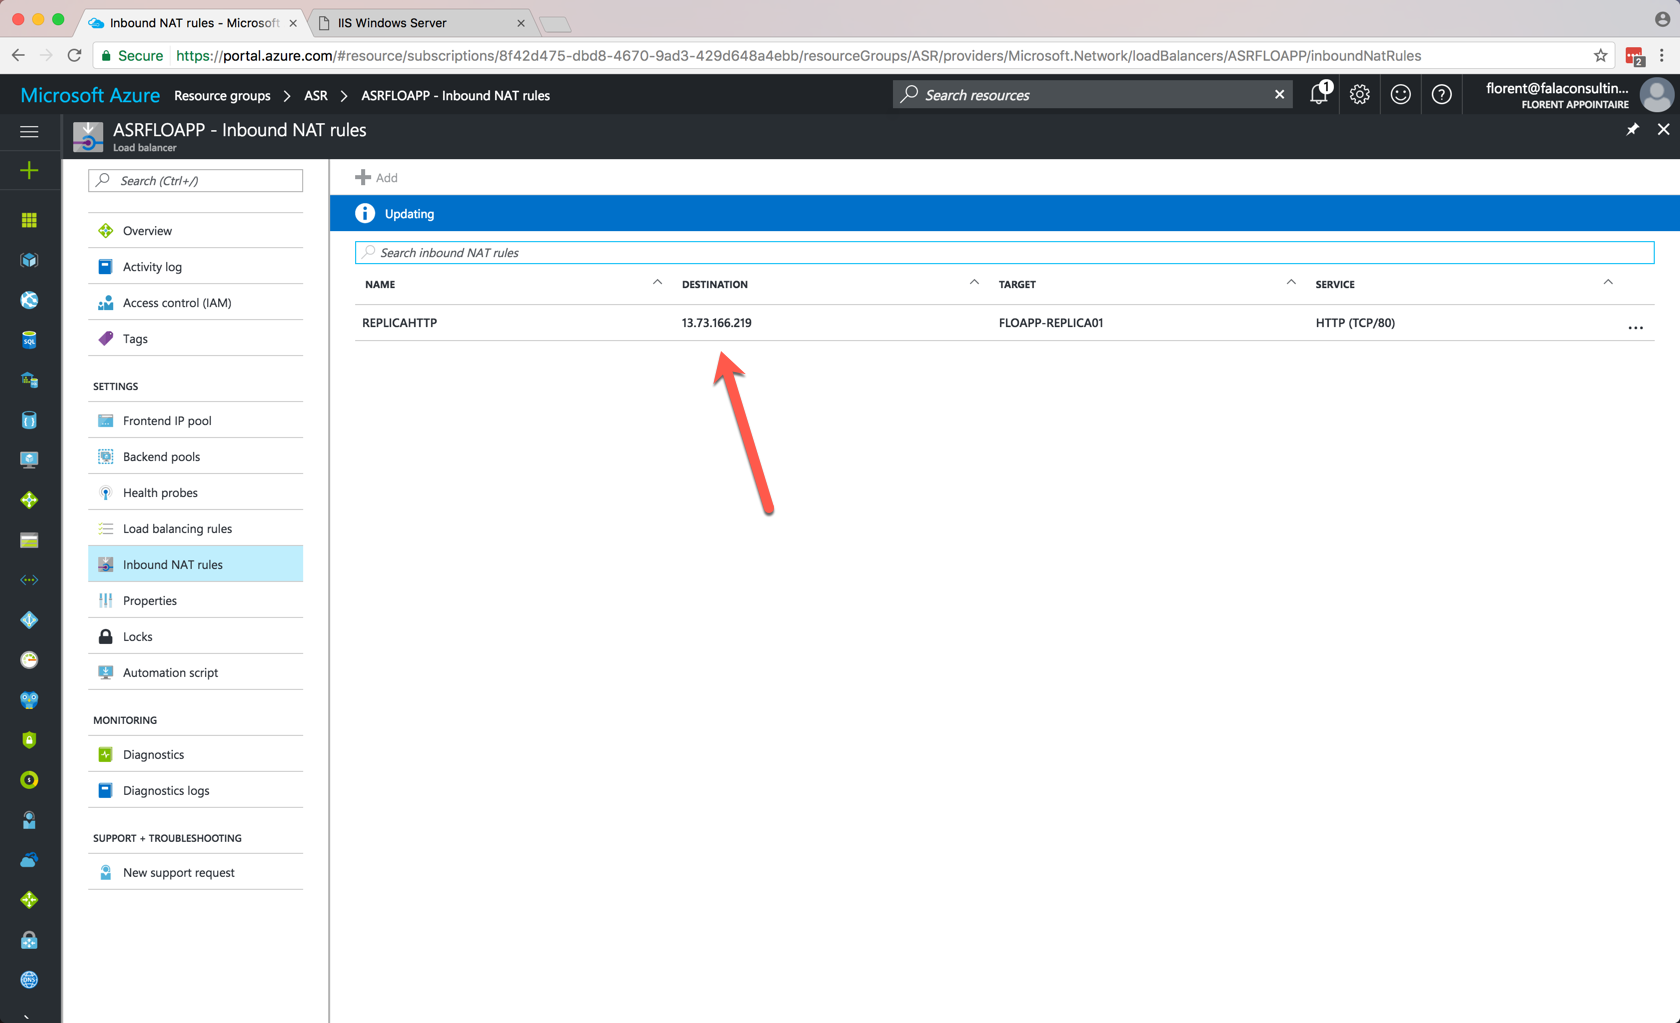
And by adding an NLB and creating a NAT rule, on the application port to the VM that just be deployed, my users can continue to work, just by modifying your DNS to the new public IP address:
Now that your application is working, you need to do a Commit of the failover:

Failback
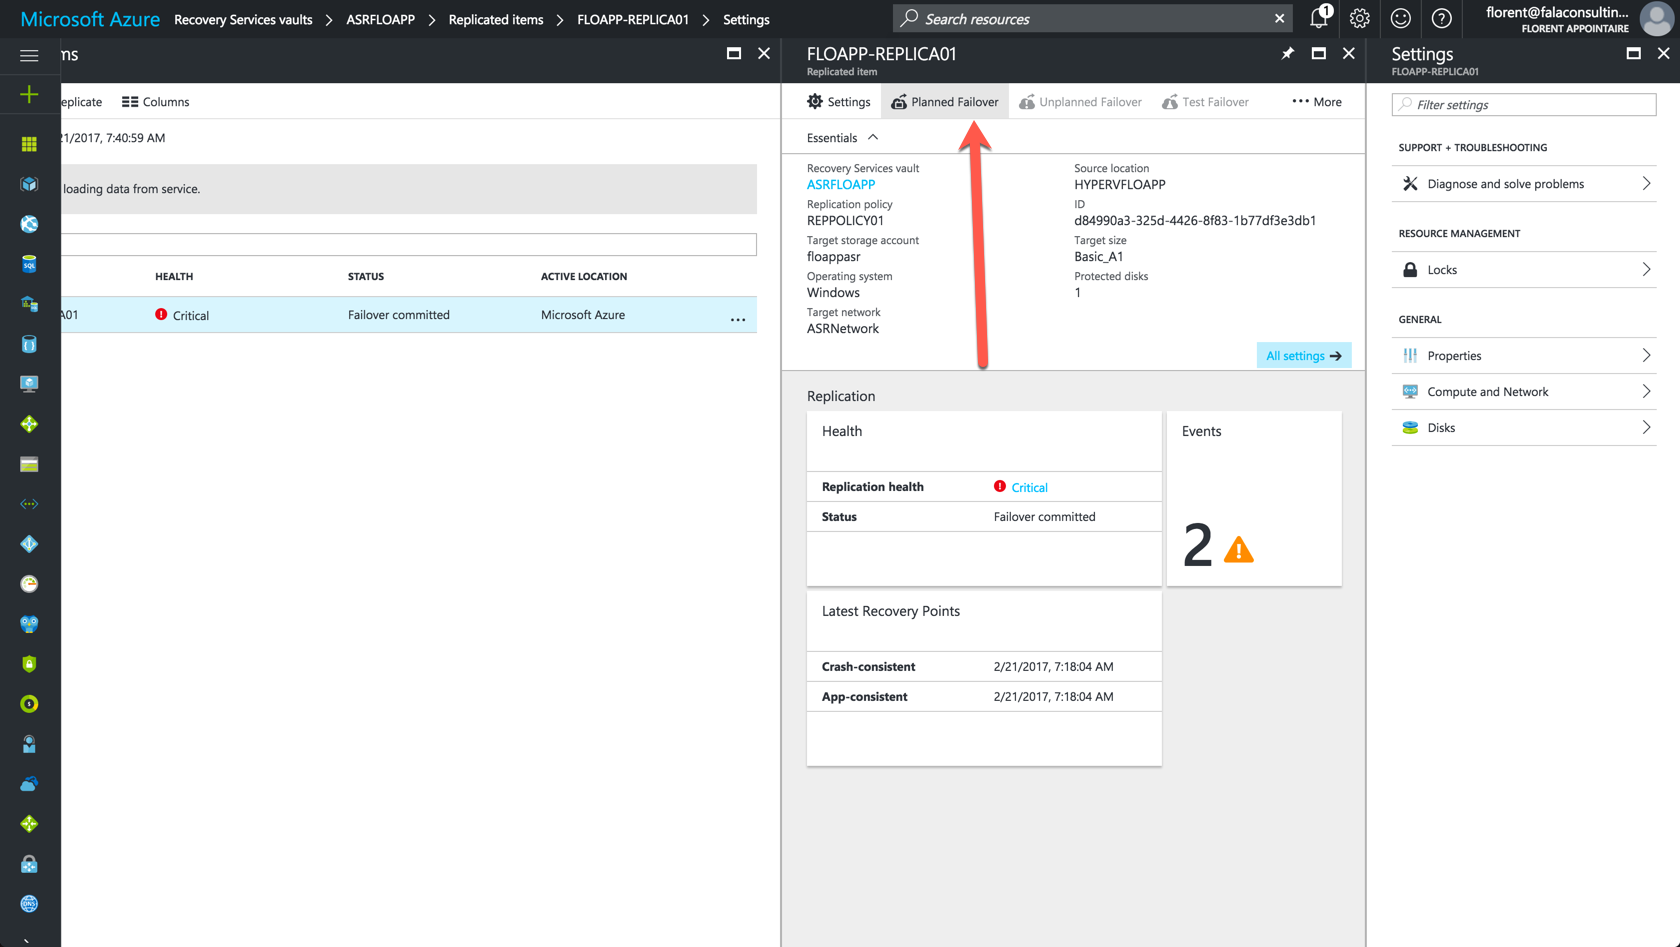
Your datacenter is back online, it is necessary to take back the data with the changes that have occurred. To do this, click Planned Failover:
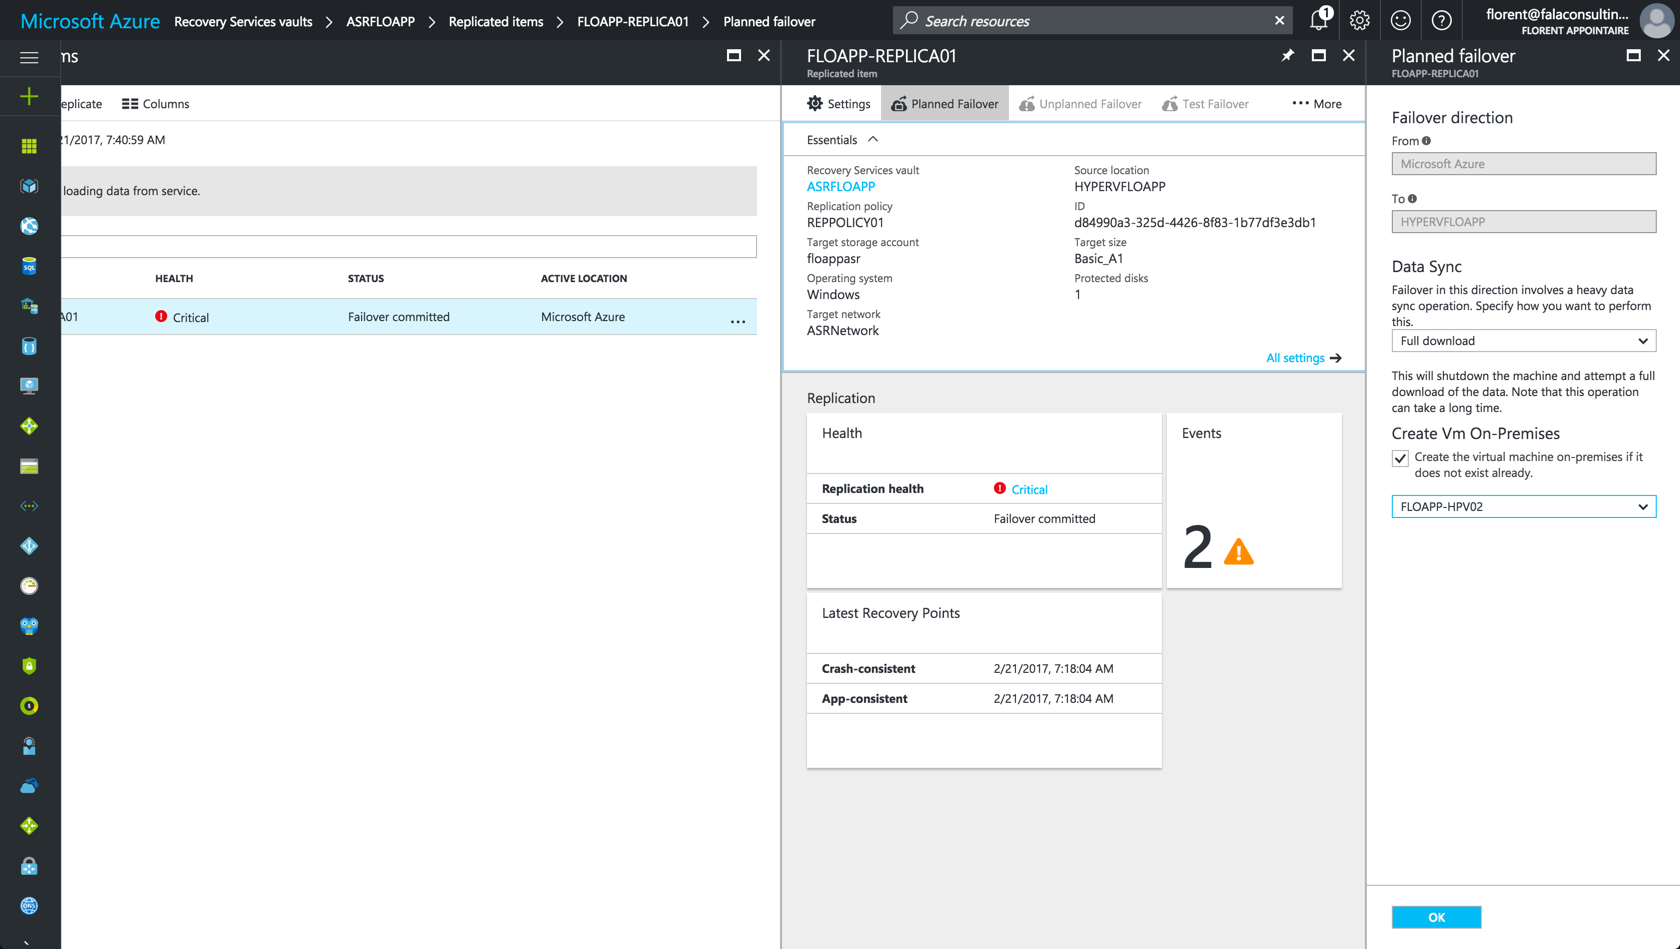
You want to do the failover from Azure to your Datacenter. If you lost your data, you can choose to create a new VM in your datacenter, on a specific host:
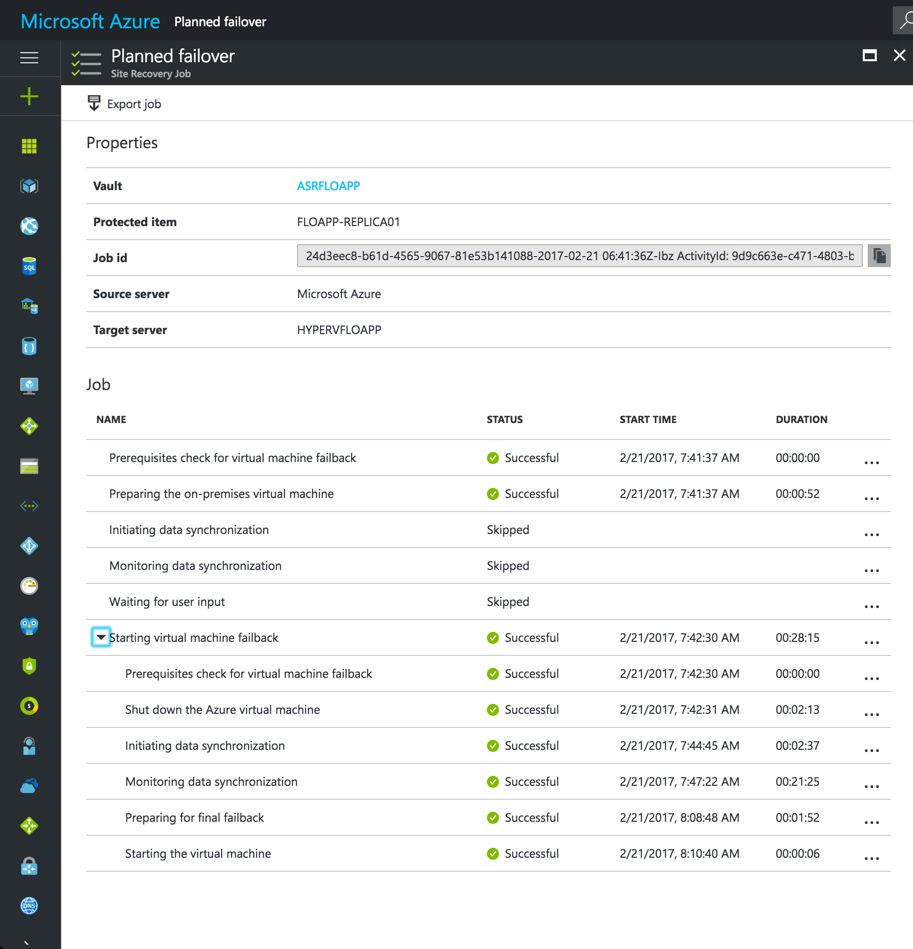
When the failback is over, you should see this:
Click on Commit to validate the change to your datacenter:

The last delta is sent:

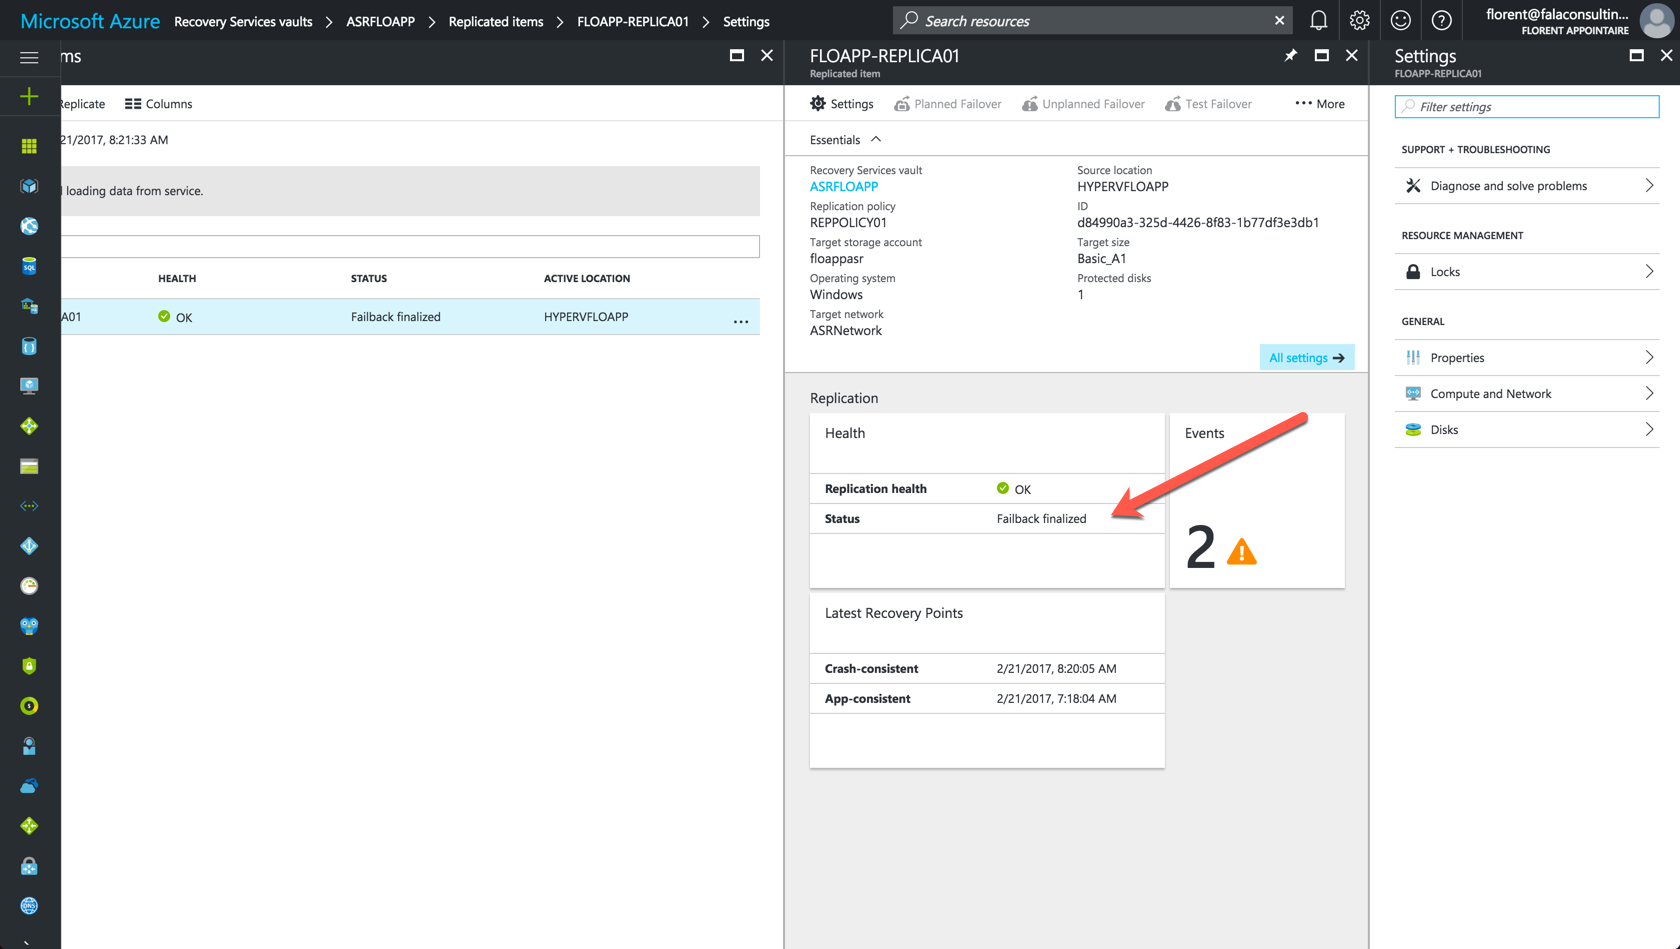
Finally, the failback is done:
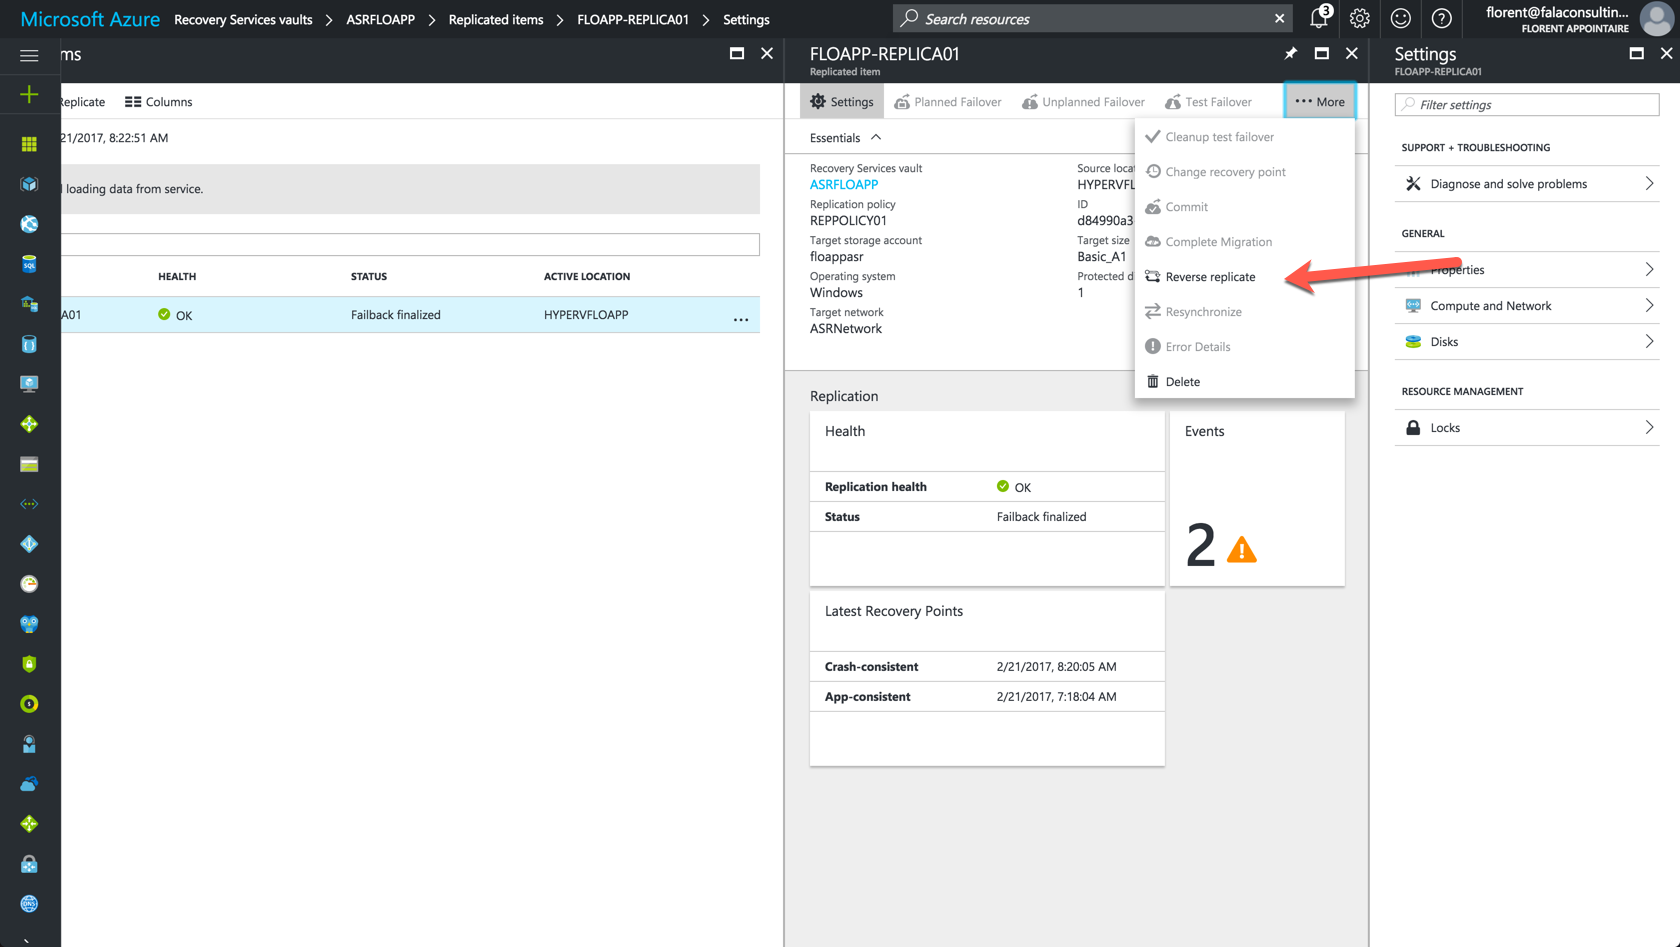
To finish, you need to activate again the replication of the VM to Azure. Click on Reverse replicate:
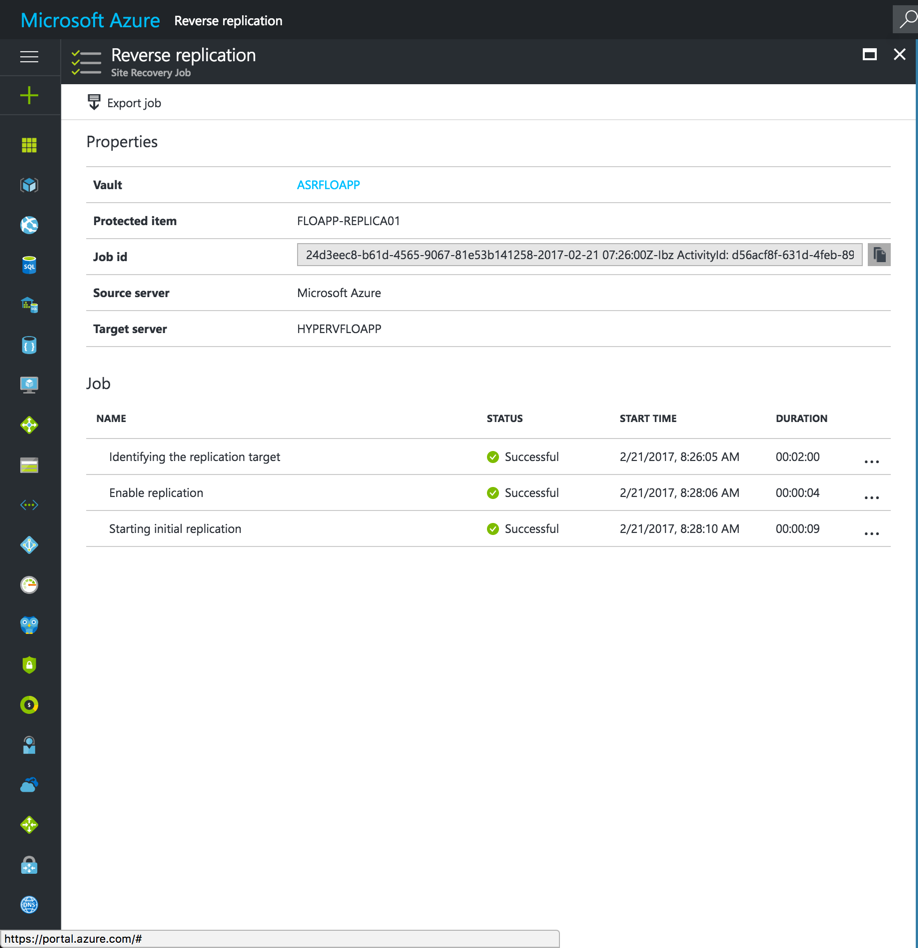
If I do the test again, from the VM who is on Azure, to the same IP who is on my datacenter, you can see that now, I’m going through my S2S VPN and that the website didn’t change anymore:

For further
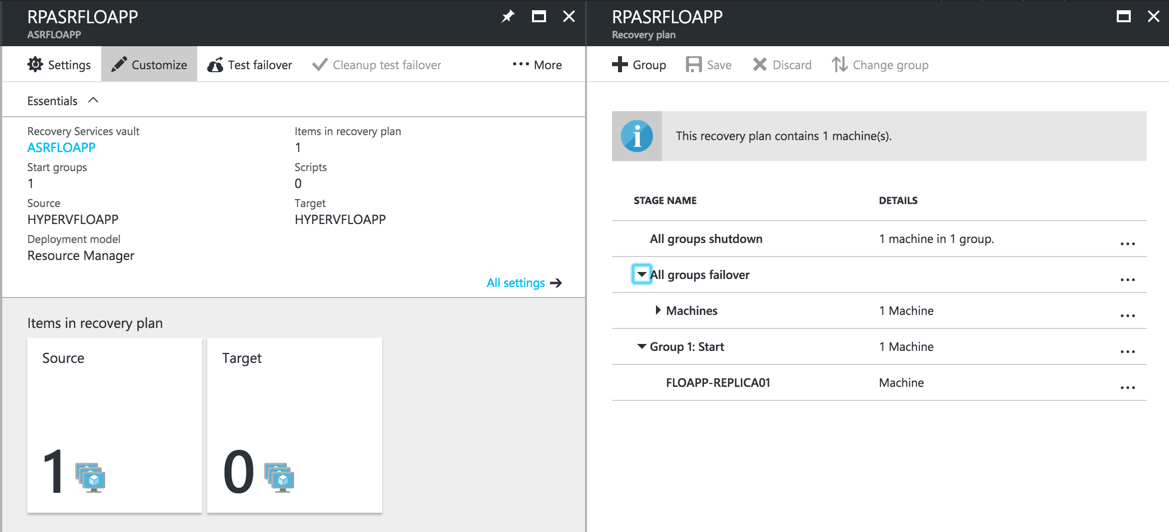
If you want to go further, here we have done the failover for only one VM. You can create a group of VM, in the Recovery Plan part to do the failover on multiple VM, at one time:
You can manage directly parameters of ASR infrastructure in the Azure console, without going through the Step-By-Step 🙂

Conclusion
This functionality is very interesting for the company who have business critical to run the business of the company. Even in degraded mode, employees can continue to work and so, lost a minimum of money to the company. So, go to ASR 🙂
