


Today we will see how to implement a DRP solution, with Azure Site Recovery. I’ll deploy this solution, based on the ARM. ASR can be used to migrate your VMs to Azure, from VMWare to Azure, etc.
In my DRP plan, the service that I defined as critical for my business is a website. I’ll replicate this VM on Azure, with ASR. You can do the same work with a multi-tier application.
In my architecture, I have a VPN S2S to Azure. Attached to this network who is connected to the VPN, I have a second domain controller, who is acting as DNS.
In the following 2 articles, we will see:
- Preparation of the environment
- Start the replication and Failover/Failback (Part 2)
Virtual Network and storage
Before starting, I’ll prepare my network where my DRP will be located. The network will have the same subnet as my on-premises network. Why? Because my web application that I want to protect has been coded with feet and some fix IP addresses are in the code 🙂
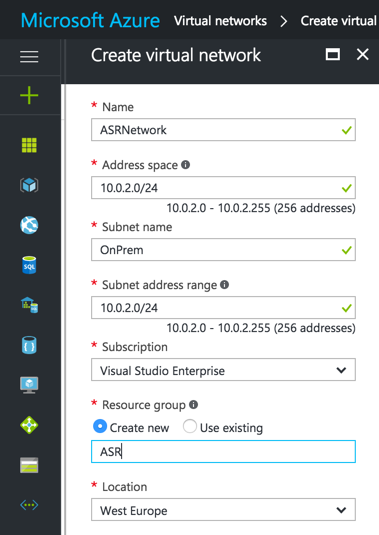
You can modify the DNS, etc. of this network.
Create a storage account where replications will be located.
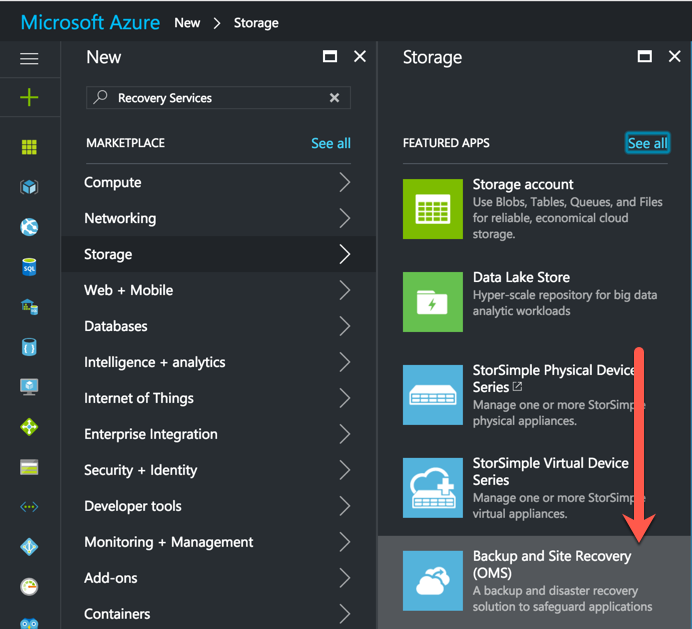
New Recovery Volt
Now that the network is ready, create a new Recovery Volt by going on + > Storage > Backup and Site Recovery (OMS):
Give a name to your vault and choose the destination and the associated resource group:
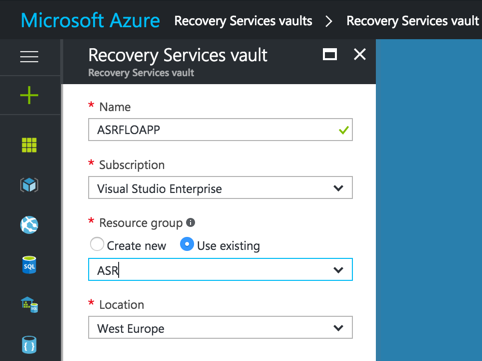
After few seconds, the vault is created:
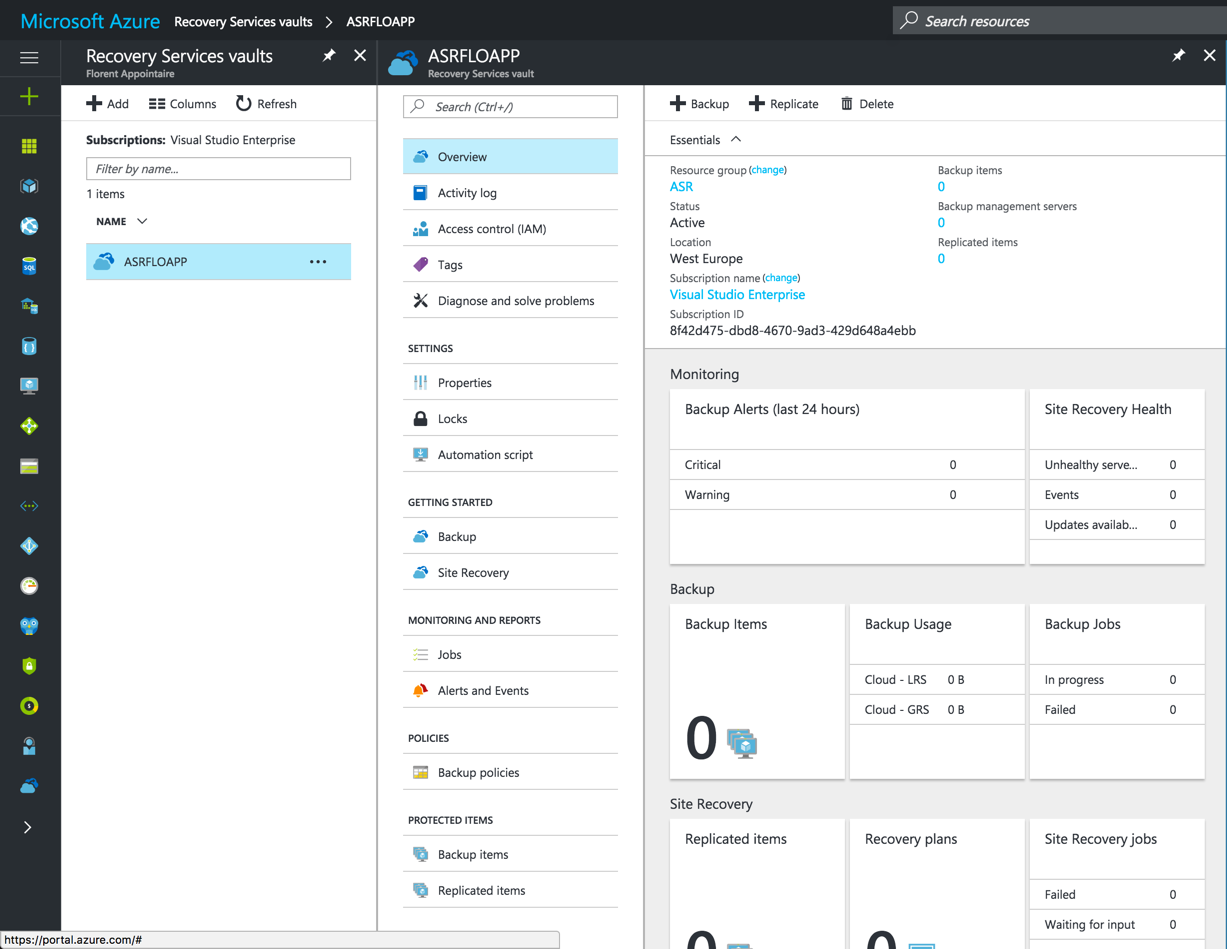
Configuration
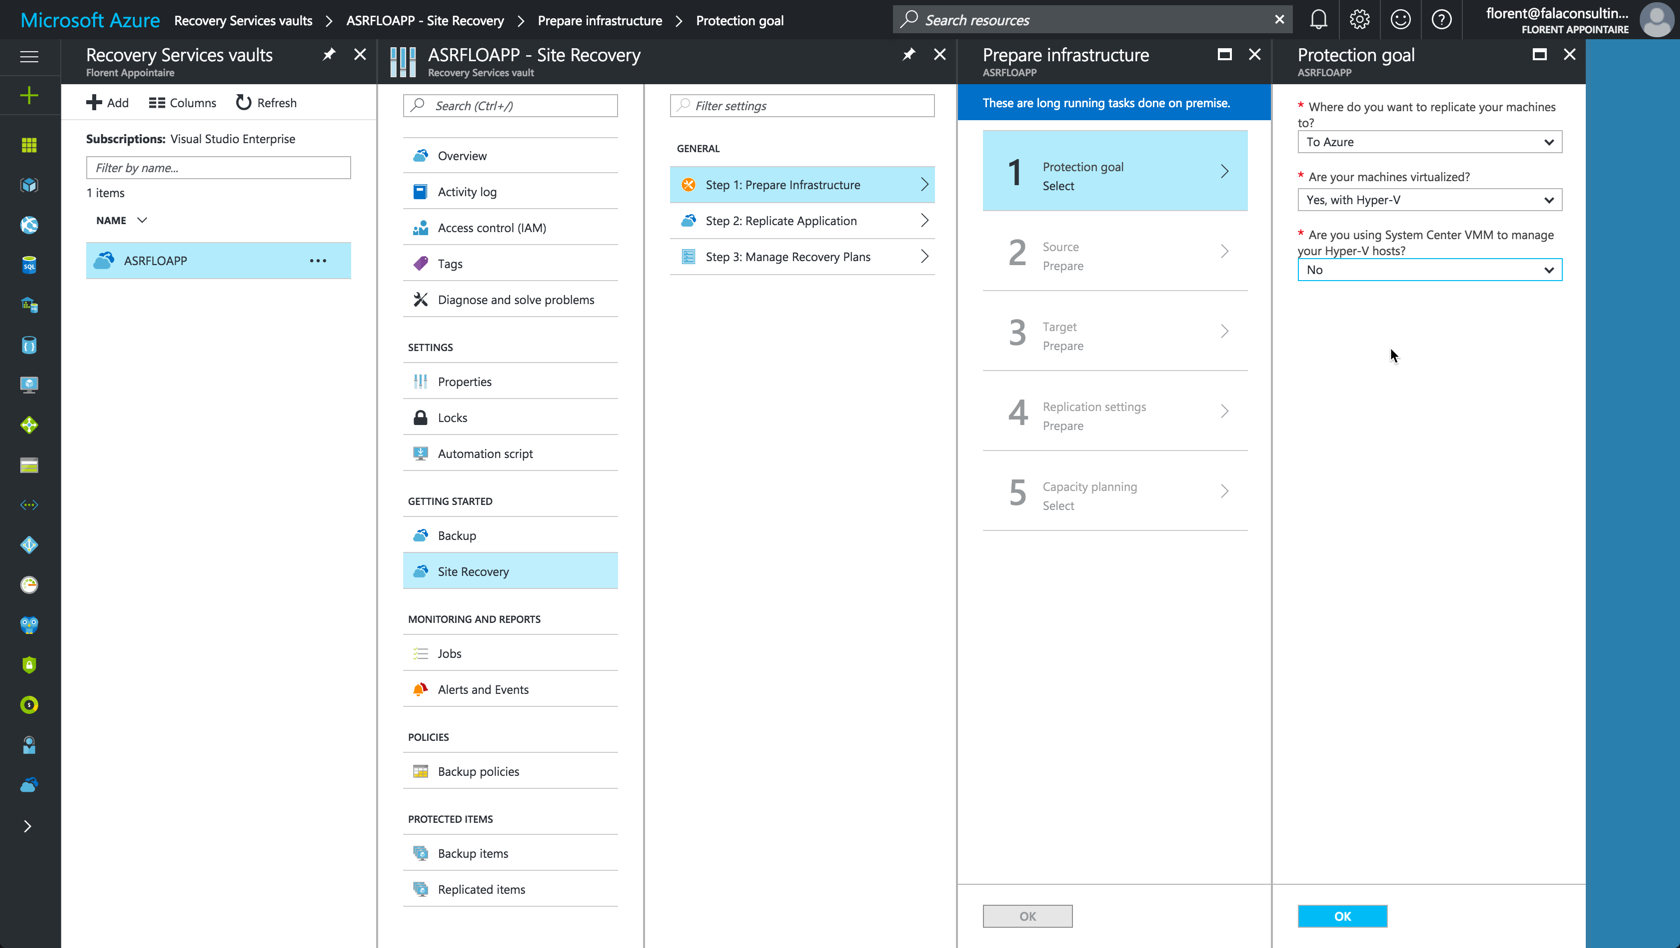
The first step is finished, we can now start the configuration. In your vault, click on Site Recovery > Step 1 : Prepare Infrastructure and choose where you want to replicate your servers (Azure in my case, but it could be on a secondary site), if virtual machines are virtual or not, on which hypervisor type (Hyper-V for me, but it could be on ESX) and finally, choose if you are using SCVMM to manage your hosts:
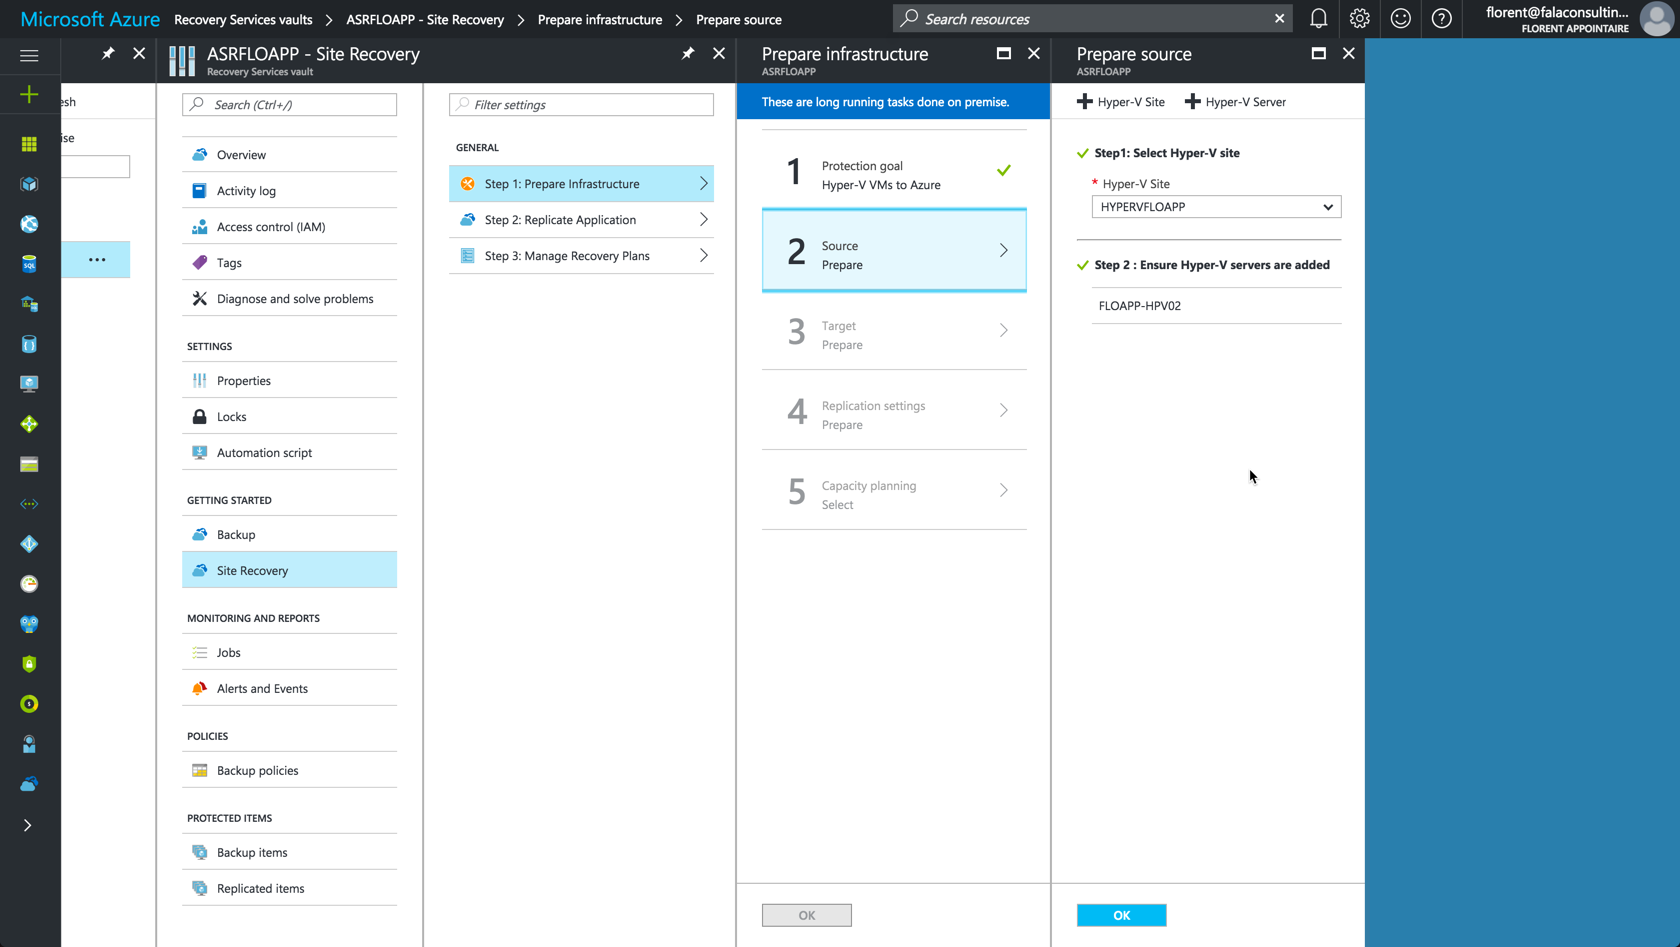
The next step is to create a Hyper-V site. This site will contain all Hyper-V of a physical site, for example, Brussels. You can add other sites thereafter. Click on + Hyper-V Site and give a name to this site:
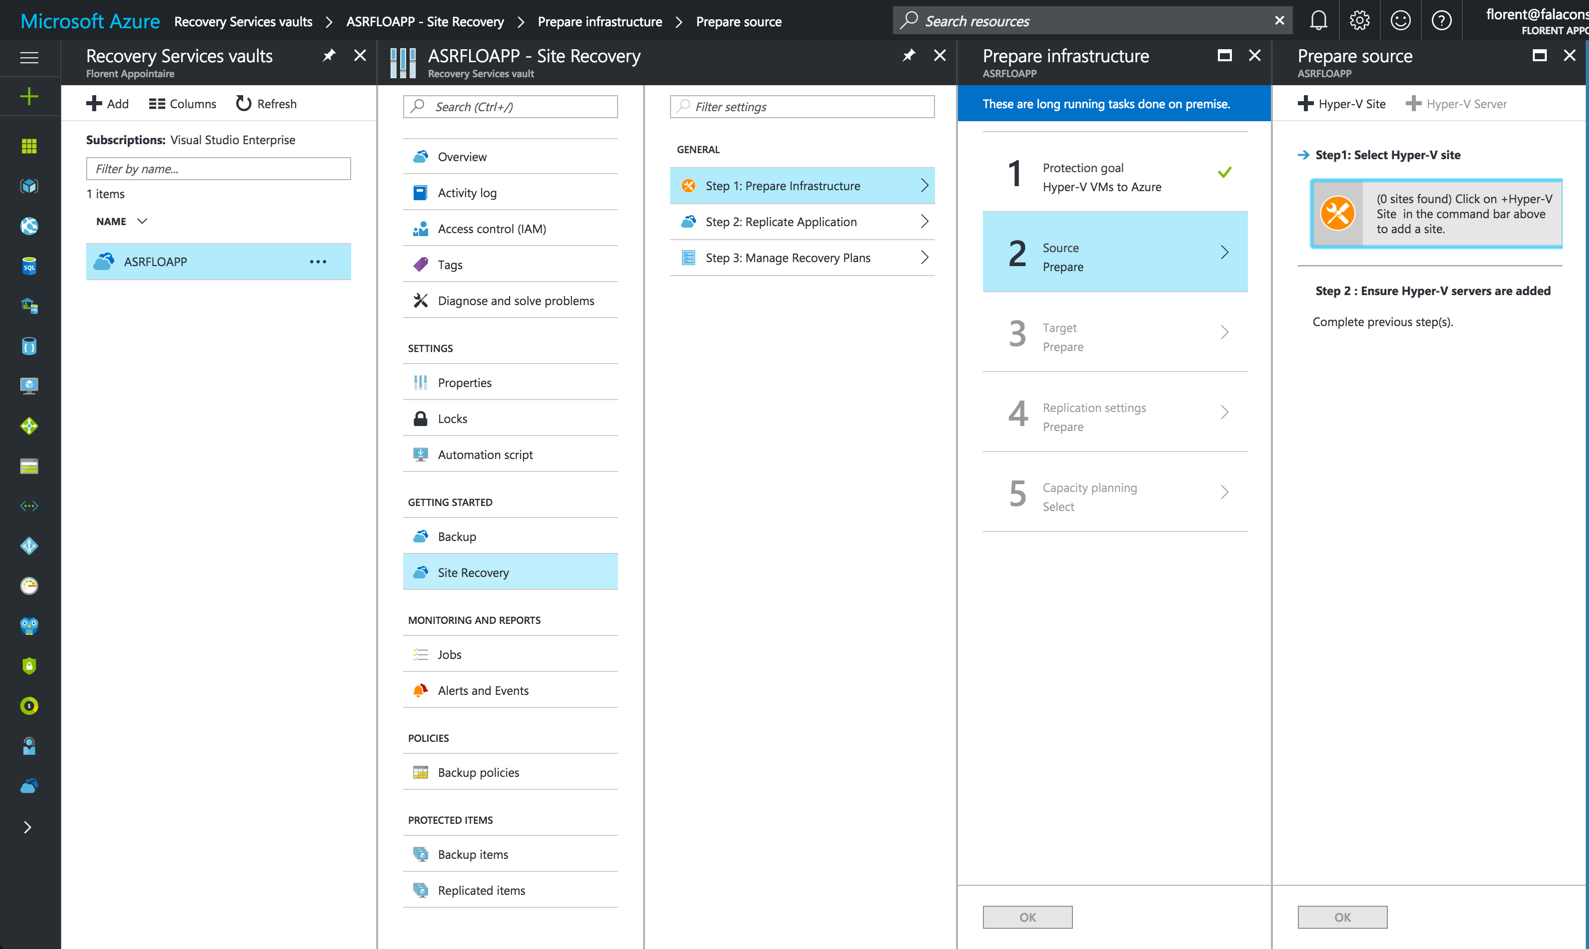
Select it and click on + Hyper-V Server to deploy the agent on the Hyper-V server that contains VM to replicate to Azure for the DRP:

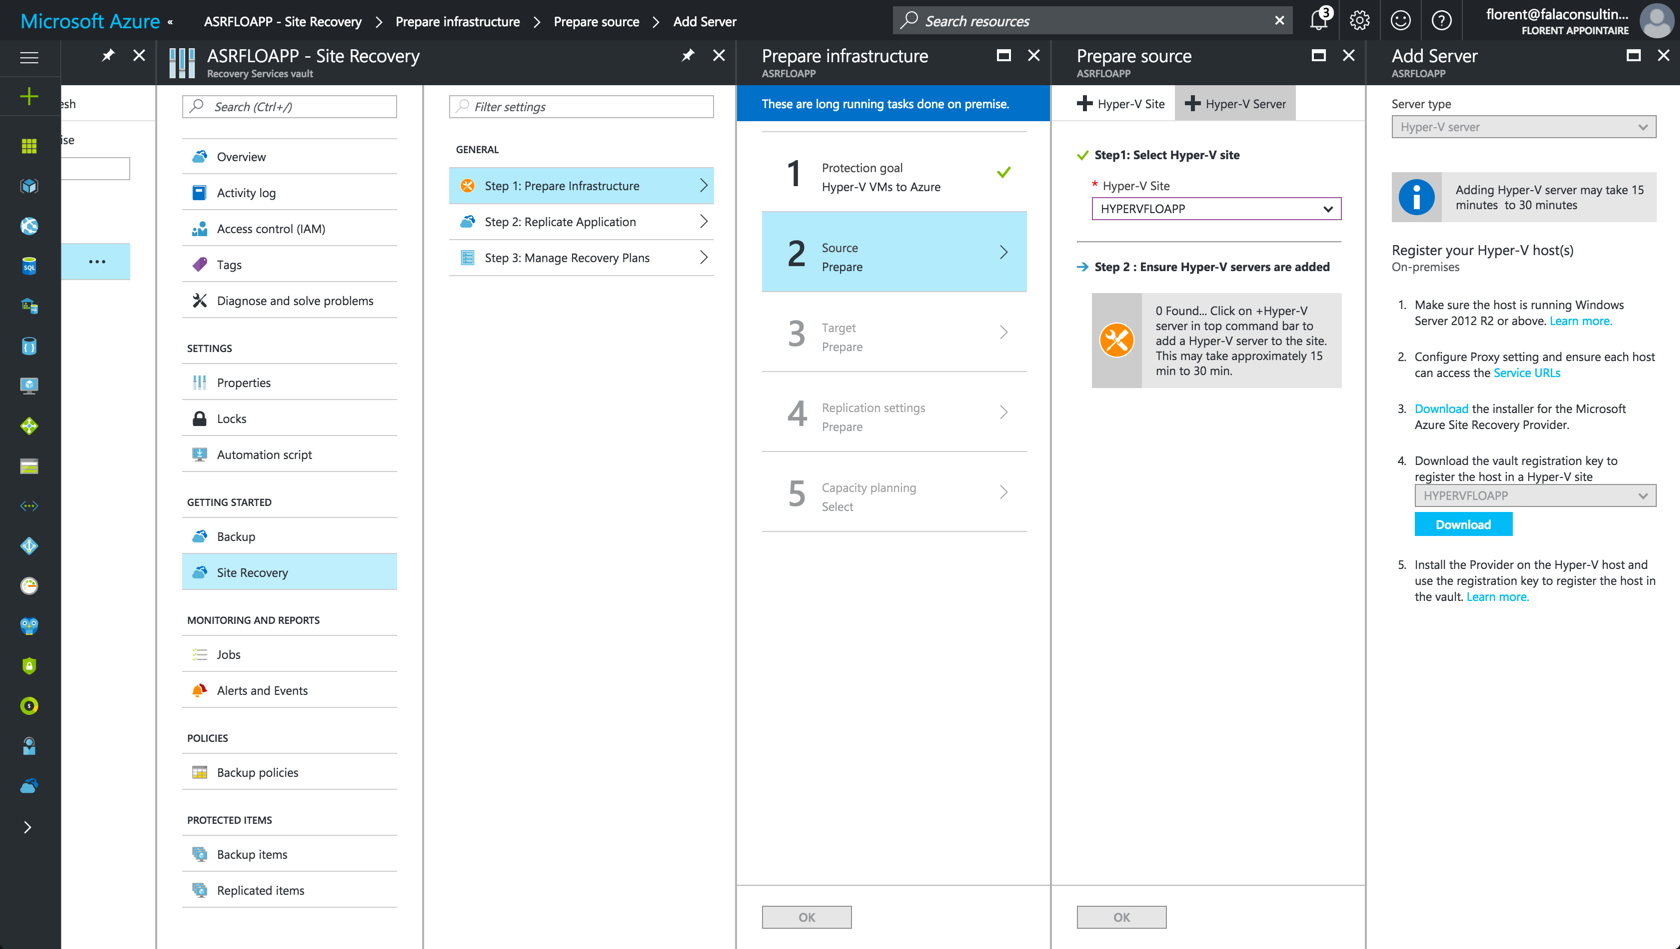
In the documentation part, it is said that the Hyper-V must be at least on Windows Server 2012 R2, that your proxy must allow the URLs of ASR and after that, you have the possibility to download the agent and the key of the vault for the site that you created previously:
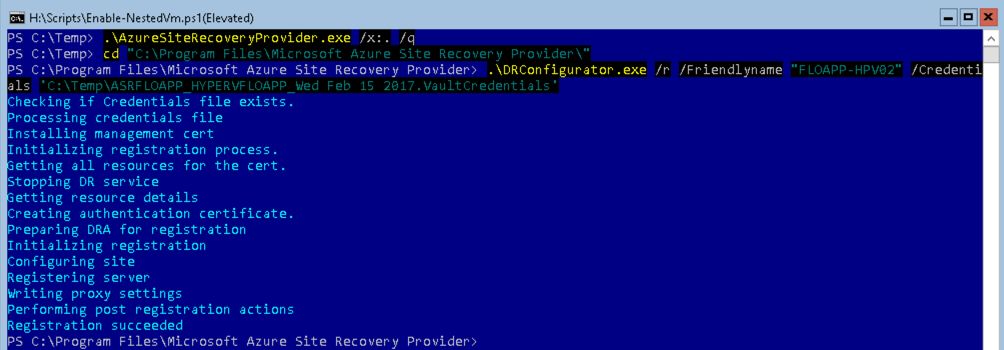
Copy the agent and the key on a Hyper-V host. To install it, because I’m using a Server Core installation, I used the following commands to install the agent and the key:
|
1 |
.\AzureSiteRecoveryProvider.exe /x:. /q |

|
1 2 3 |
Cd ‘C:\Program Files\Microsoft Azure Site Recovery Provider\’ .\DRConfigurator.exe /r /Friendlyname ‘FLOAPP-HPV02’ /Credentials ‘C:\Temp\ASRFLOAPP_HYPERVFLOAPP_Wed Feb 15 2017.VaultCredentials’ |
After few minutes, the Hyper-V appears in the Azure console:
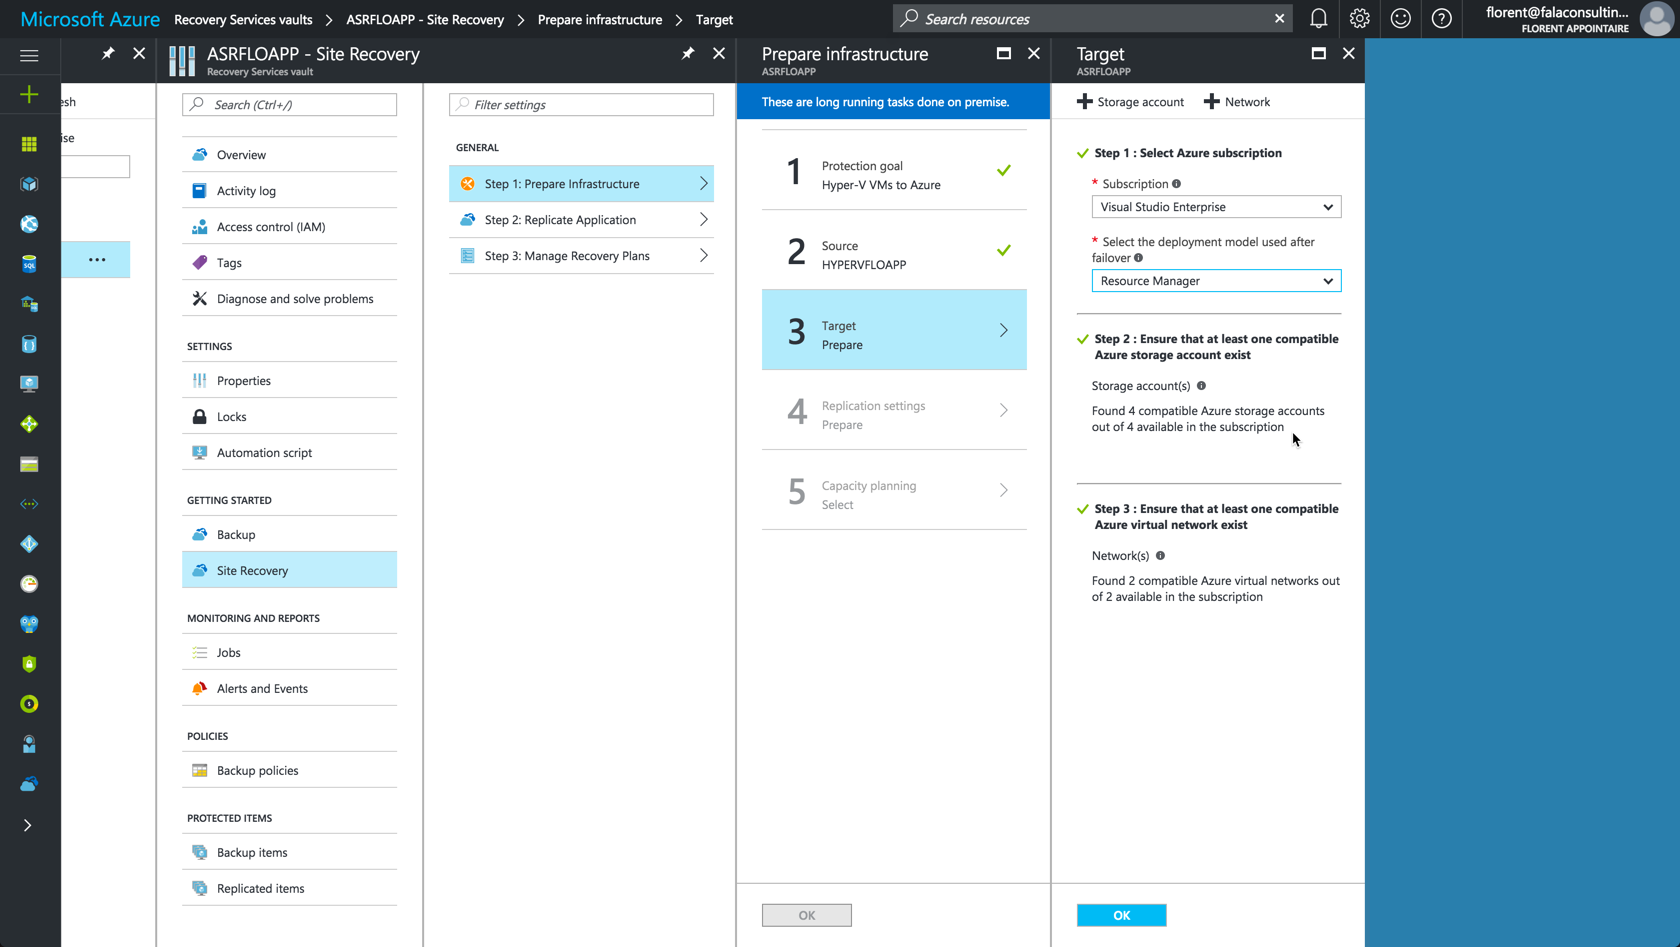
Choose now on which Azure subscription you want to replicate VM with ASR (the subscription where you created the network and the storage account) and the deployment type that you want to use, Classic or Resource Manager (ARM):
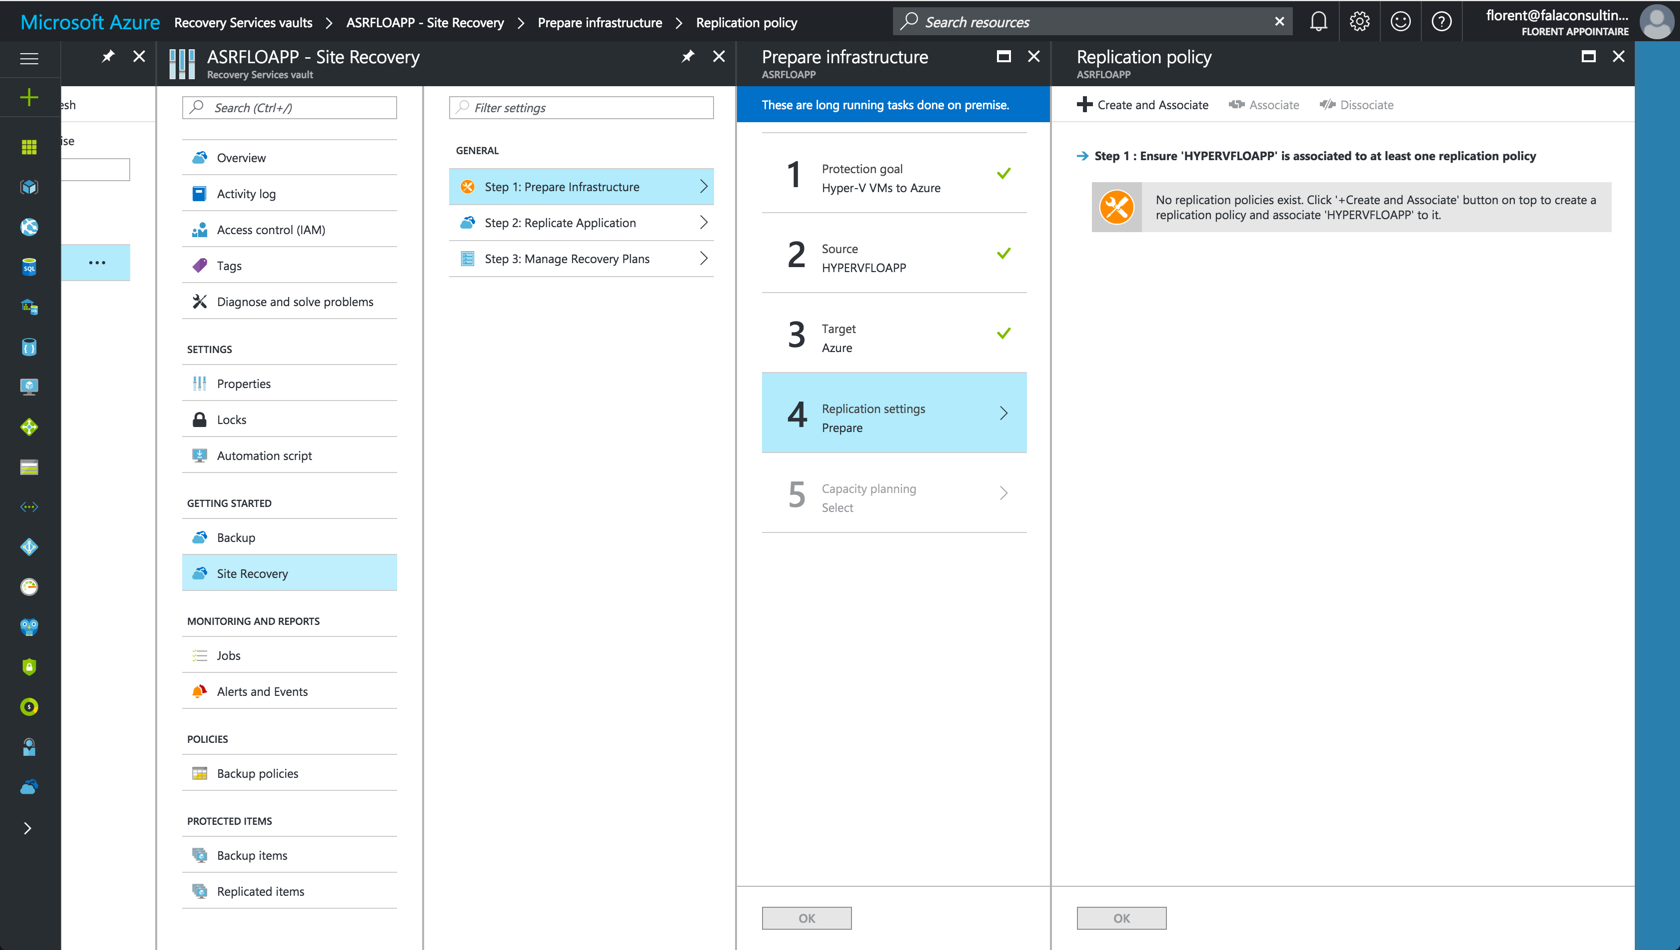
We will now create a rule for the replication, to define the time between each replication point, the number of replication point that you want to keep, etc. Click on Create and Associate:
And provide values, depending on what you want to implement:
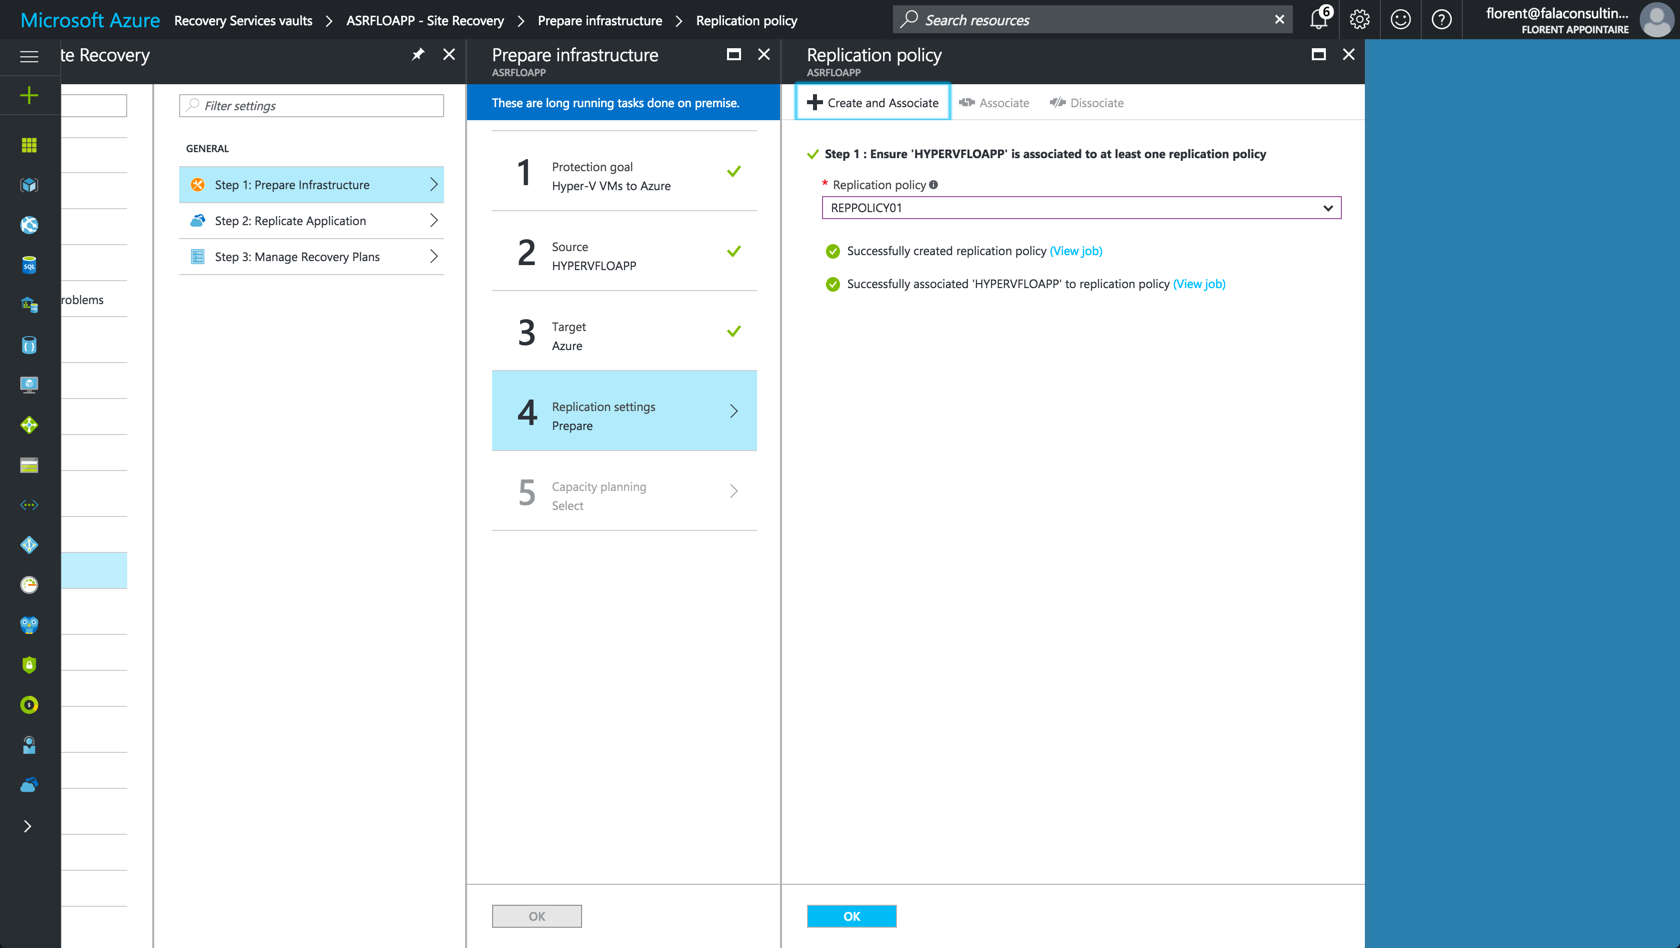
When the rule is created, select it and click on OK:

Execute the capacity planner and when this part is over, click on OK:
In the next article, we’ll see the replication of the first VM and the Failover/Failback 🙂
Related materials:
