


In this article, I’ll explain to you how to start with this new role, on Windows Server 2016 TP5.
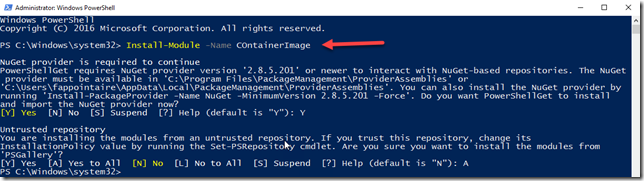
To start, you need to install the ContainerImage module on the server that will store containers:
|
1 |
Install-Module –Name ContainerImage |
Verify that your module is installed correctly:
|
1 |
Get-Module –ListAvailable |

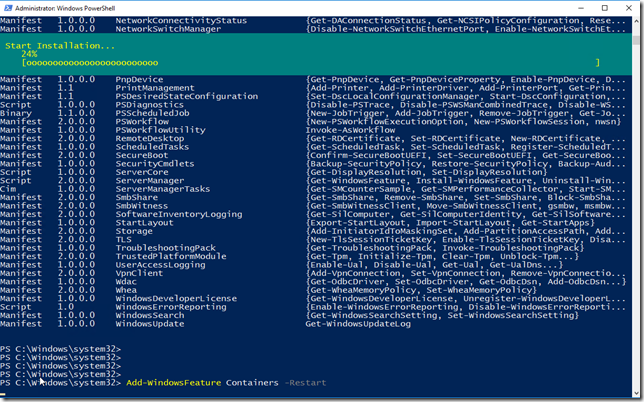
Now, we will install the role Containers:
|
1 |
Add-WindowsFeature Containers –Restart |
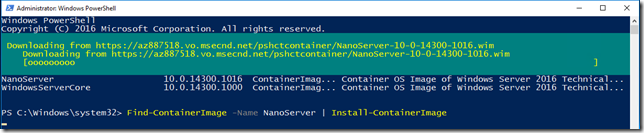
With the command Find-ContainerImage, you will have the list of all available images for container base:

To install an image, use the following command:
|
1 |
Find-ContainerImage –Name NanoServer | Install-ContainerImage |
![]()
|
1 |
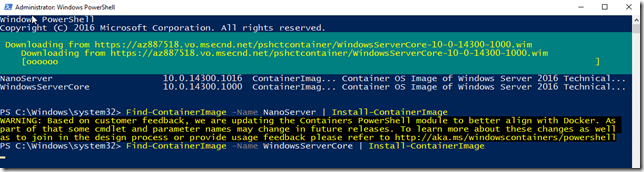
Find-ContainerImage –Name WindowsServerCore | Install-ContainerImage |
![]()
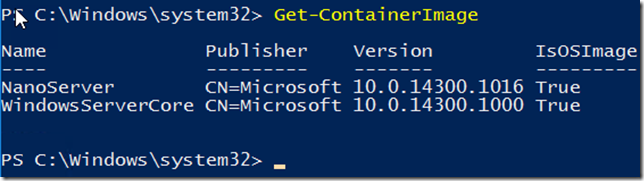
Verify that images are correctly installed:
|
1 |
Get-ContainerImage |
We will now create the network interface, in NAT mode, to give an internet access to containers:
|
1 |
New-ContainerNetwork –Name ‘ContainerNetwork’ –SubnetPrefix 192.168.0.0/24 –Mode NAT |

A NAT rule will be created automatically:
|
1 |
Get-NetNat |

We will now create our first container, that will store an IIS website. Use the following commands:
|
1 2 3 4 5 6 7 |
$containerNameIIS = "IISCore" New-Container -Name $containerNameIIS -ContainerImageName WindowsServerCore -NetworkName "ContainerNetwork" Set-ContainerNetworkAdapter -ContainerName $containerNameIIS -NewName "$containerNameIIS-NetAdapter" $iisCore = Get-Container -Name $containerNameIIS $iisCore Add-ContainerNetworkAdapterStaticMapping -Container $iisCore -AdapterName "$containerNameIIS-NetAdapter" -ExternalPort 82 -InternalPort 80 -Protocol TCP Start-Container -Name $containerNameIIS |
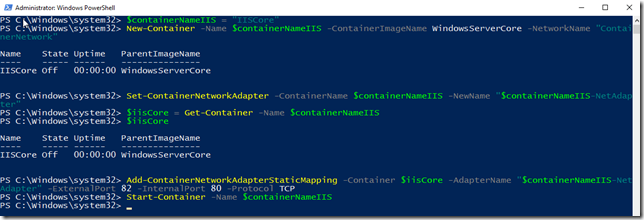
Here, we will create a new container, add a port mapping to access to our future IIS website and, finally, we start this container. We’ll now install the IIS role. Connect to your container and launch the installation of the IIS role:
|
1 2 3 |
Enter-PSSession -ContainerName $containerNameIIS -RunAsAdministrator Install-WindowsFeature Web-Server Get-WindowsFeature Web-Server |

You can now navigate to your new web server, on a container:

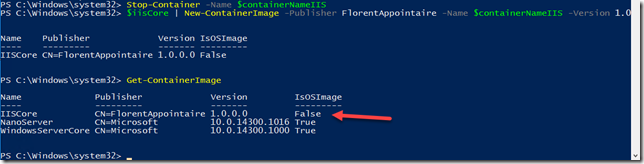
I will do an image of this container, to have an IIS base. To start, stop the container, with the command Stop-Container -Name $containerNameIIS. We will now convert this container to do an image. Use the following command:
|
1 2 |
$iisCore | New-ContainerImage -Publisher FlorentAppointaire -Name $containerNameIIS -Version 1.0 Get-ContainerImage |
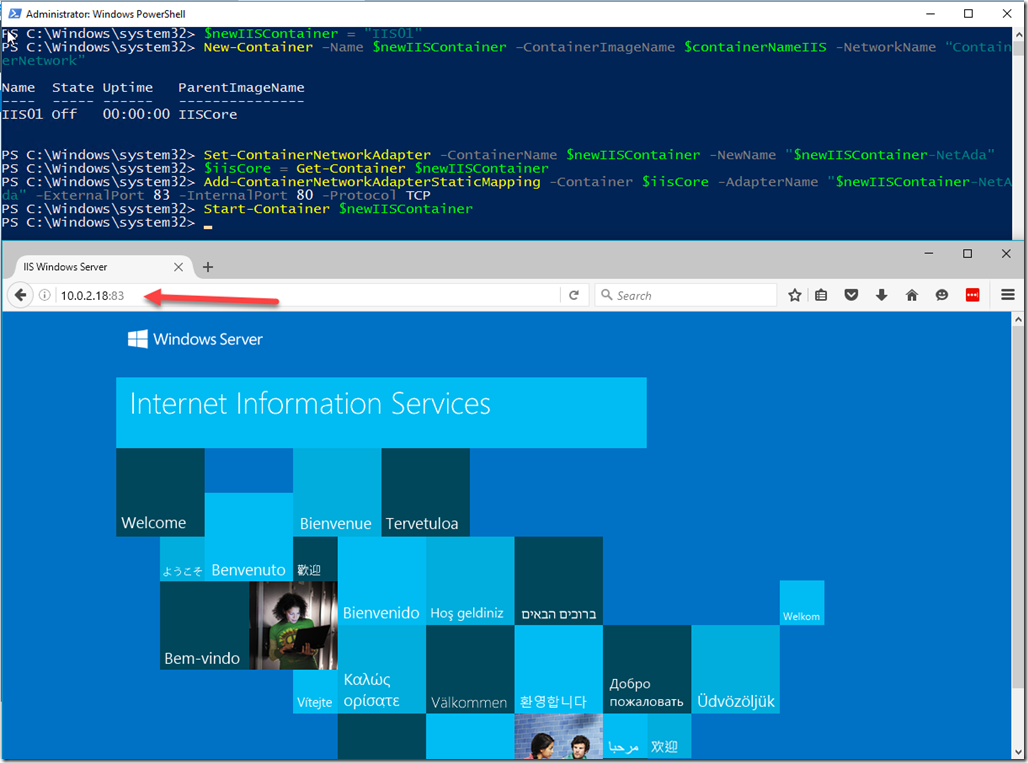
We will create a new container, based on this new image. Use the following command :
|
1 2 3 4 5 6 |
$newIISContainer = "IIS01" New-Container –Name $newIISContainer –ContainerImageName $containerNameIIS -NetworkName “ContainerNetwork” Set-ContainerNetworkAdapter -ContainerName $newIISContainer -NewName "$newIISContainer-NetAda" $iisCore = Get-Container $newIISContainer Add-ContainerNetworkAdapterStaticMapping -Container $iisCore -AdapterName "$newIISContainer-NetAda" -ExternalPort 83 -InternalPort 80 -Protocol TCP Start-Container $newIISContainer |
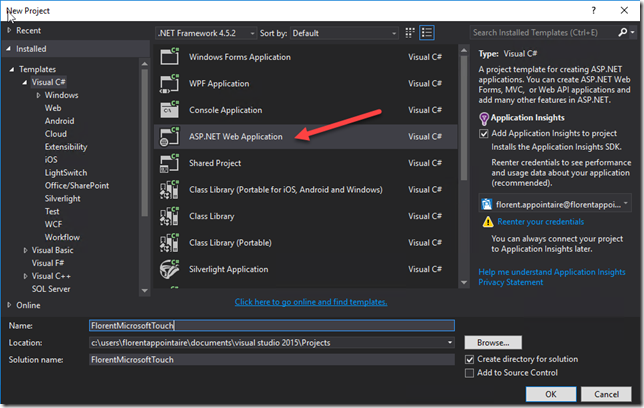
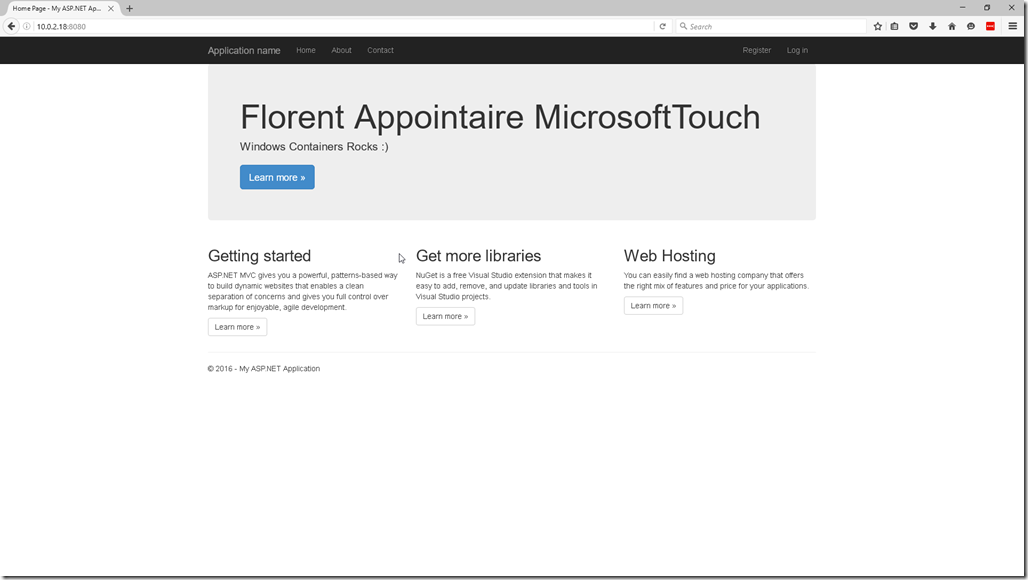
I’ll now deploy a custom ASP.NET MVC website. I created my site from visual studio 2015:
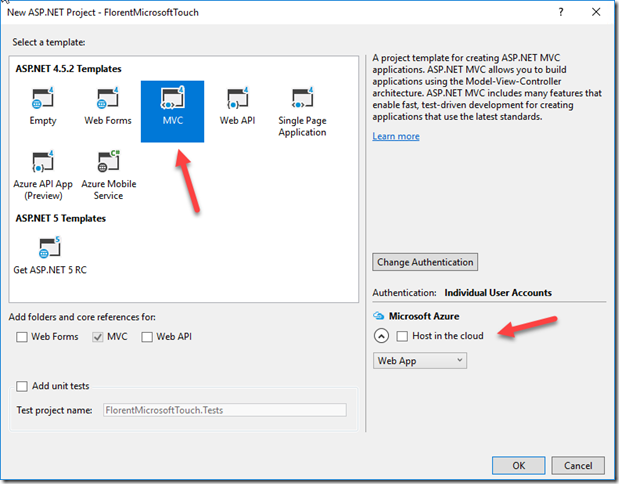
I customized it:
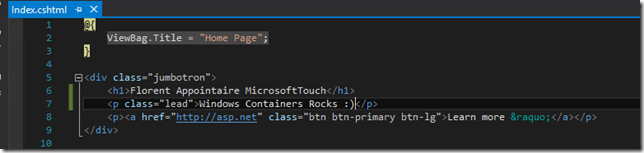
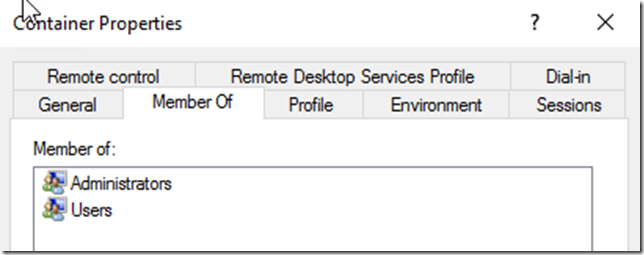
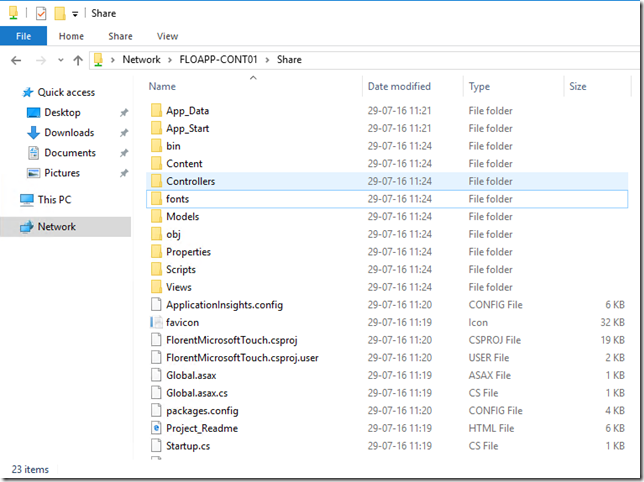
On the server who are stored containers, I created a shared folder, that I named Share and, where I copied resources of my custom website that I just created. I created a local user, that I added in the local administrator of the server. I shared this folder with this user:

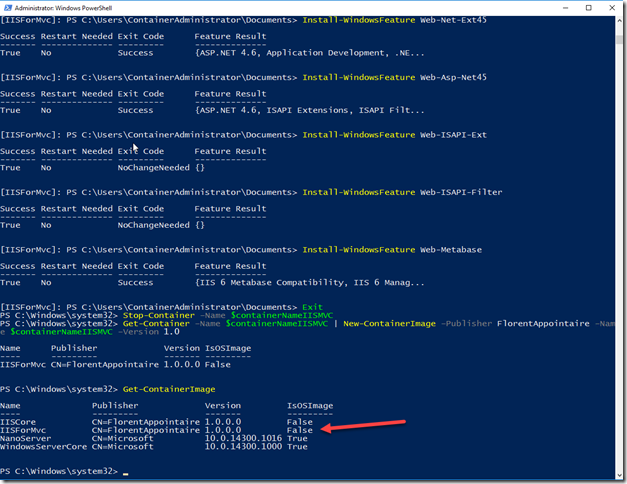
I’ll create a new container for this MVC website, because you need some specific features. Use the following commands to install all dependencies and to convert the container to an image:
|
1 2 3 4 5 6 7 8 9 10 11 12 13 14 15 16 17 18 19 20 21 22 |
$containerNameIISMVC = "IISForMvc" New-Container –Name $containerNameIISMVC –ContainerImageName $containerNameIIS –NetworkName "ContainerNetwork" Start-Container –Name $containerNameIISMVC Enter-PSSession -ContainerName $containerNameIISMVC -RunAsAdministrator Install-WindowsFeature Web-Default-Doc Install-WindowsFeature Web-Dir-Browsing Install-WindowsFeature Web-Http-Errors Install-WindowsFeature Web-Static-Content Install-WindowsFeature Web-Http-Logging Install-WindowsFeature Web-Request-Monitor Install-WindowsFeature Web-Stat-Compression Install-WindowsFeature Web-Filtering Install-WindowsFeature Web-Windows-Auth Install-WindowsFeature Web-Net-Ext45 Install-WindowsFeature Web-Asp-Net45 Install-WindowsFeature Web-ISAPI-Ext Install-WindowsFeature Web-ISAPI-Filter Install-WindowsFeature Web-Metabase Exit Stop-Container –Name $containerNameIISMVC Get-Container –Name $containerNameIISMVC | New-ContainerImage –Publisher FlorentAppointaire –Name $containerNameIISMVC –Version 1.0 Get-ContainterImage |
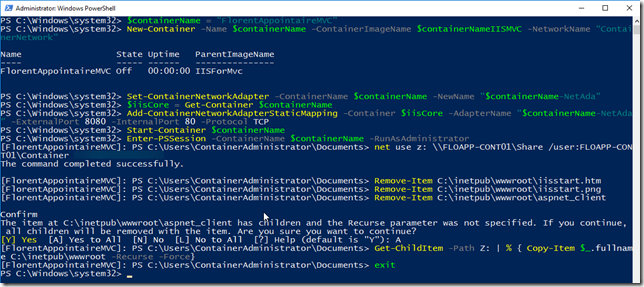
The last step is to create a new container, based on the last image that we created, and to copy sources of our custom website in this container:
|
1 2 3 4 5 6 7 8 9 10 11 12 13 |
$containerName = "FlorentAppointaireMVC" New-Container –Name $containerName –ContainerImageName $containerNameIISMVC -NetworkName “ContainerNetwork” Set-ContainerNetworkAdapter -ContainerName $containerName -NewName "$containerName-NetAda" $iisCore = Get-Container $containerName Add-ContainerNetworkAdapterStaticMapping -Container $iisCore -AdapterName "$containerName-NetAda" -ExternalPort 8080 -InternalPort 80 -Protocol TCP Start-Container $containerName Enter-PSSession -ContainerName $containerName -RunAsAdministrator net use z: \\FLOAPP-CONT01\Share /user:FLOAPP-CONT01\Container Password! Remove-Item C:\inetpub\wwwroot\iisstart.htm Remove-Item C:\inetpub\wwwroot\iisstart.png Remove-Item C:\inetpub\wwwroot\aspnet_client Get-ChildItem -Path Z: | % { Copy-Item $_.fullname C:\inetpub\wwwroot -Recurse -Force} Exit |
And, if I browse my website on port 8080, I have this result :
The movie version (in French) is available here: https://channel9.msdn.com/Blogs/MVP-Cloud-DataCenter/Windows-Container-avec-Windows-Server-2016-TP5
