


This is a research dedicated to practical implementation of Microsoft Storage Spaces Direct. It is a part of a series of posts about S2D and features a detailed comprehensive instruction on building a fault-tolerant 4-node setup. Storage Spaces Direct is the next step of Storage Spaces, meaning it is an extension of the current SDS for Windows Server. Storage Spaces Direct utilizes SMB3 for all intra-node interaction, including the latest SMB Direct and SMB Multichannel. The testing of S2D is hot right now, so StarWind is doing its part as well. This setup is meant to withstand node failures and the post reveals how exactly it performs in this respect.

This is a research dedicated to practical implementation of Microsoft Storage Spaces Direct. It is a part of a series of posts about S2D and features a detailed comprehensive instruction on building a fault-tolerant 4-node setup. Storage Spaces Direct is the next step of Storage Spaces, meaning it is an extension of the current SDS for Windows Server. Storage Spaces Direct utilizes SMB3 for all intra-node interaction, including the latest SMB Direct and SMB Multichannel. The testing of S2D is hot right now, so StarWind is doing its part as well. This setup is meant to withstand node failures and the post reveals how exactly it performs in this respect.
Enterprises expect the highest possible performance, complete fault-tolerance and high availability to ensure business continuity. They would spare no reasonable expense to achieve that, thus a 4-node setup is “the way to go”. It ensures exceptional uptime even in case of multiple node failure.
In Windows Server 2016, Microsoft has designed a technology called Storage Spaces Direct. It is a true SDS without, unchained in terms of hardware, which perfectly fits the abovementioned task.
Setup:

Storage Spaces Direct Deployment
Here is a systematic guide for a 4-node deployment of Storage Spaces Direct in Windows Server 2016 Technical Preview 4. Let’s go through the following steps: 0. Disclaimer
1. Install the Windows Server roles and features
2. Validate
3. Create a cluster
4. Enable Storage Spaces Direct
5. Create storage pools
6. Create virtual disks
7. Create a file server
8. Create file shares
9. Check failover
0. Disclaimer: Below we will use green color to highlight different variables: node names, cluster names, capacities, etc. These are our own examples, so every time you see green parts, it obviously means you are free to have your own variants for them.
1. Install the Windows Server roles and features
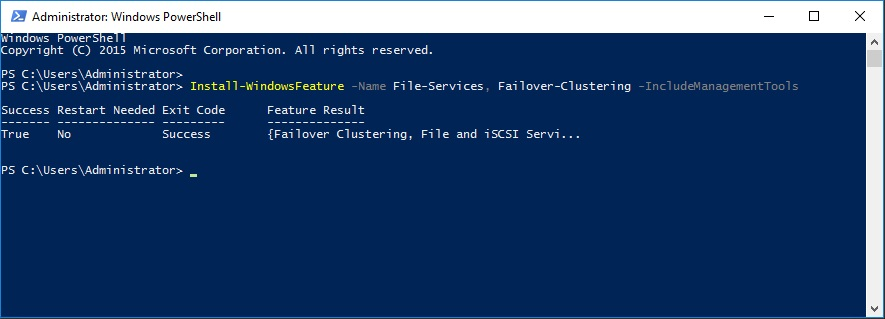
In order to install the “File Services” and “Failover Clustering” features, the following PowerShell command should be used on each node.
Install-WindowsFeature –Name File-Services, Failover-Clustering –IncludeManagementTools
2. Validate
Start cluster validation to avoid typical issues and verify server readiness.
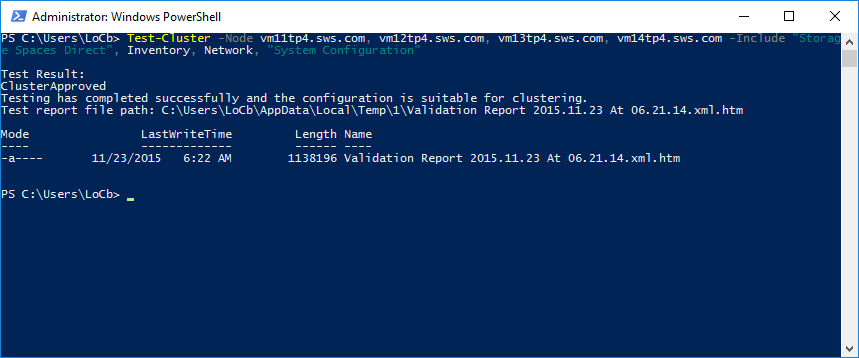
In order to validate a set of servers for use as a Storage Spaces Direct cluster, the following PowerShell command should be used.
#Let’s validate the cluster
Test-Cluster –Node vm11tp4.sws.com, vm12tp4.sws.com, vm13tp4sws.com, vm14tp4sws.com –Include “Storage Spaces Direct”, Inventory, Network, ”System Configuration”
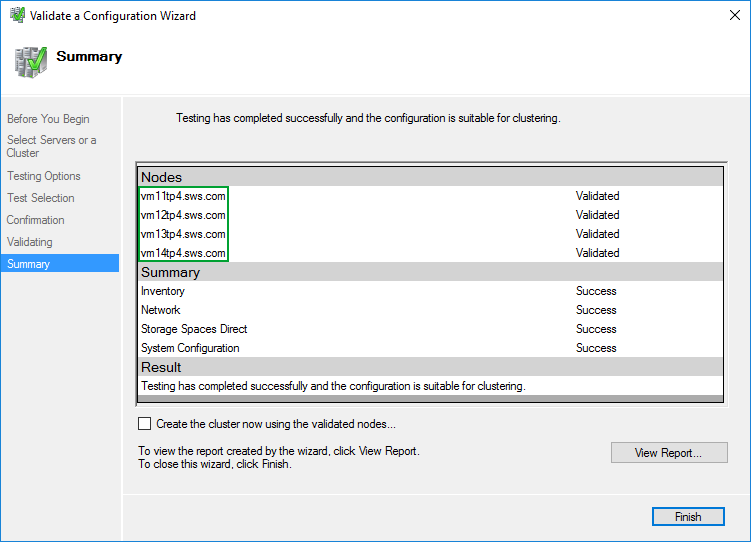
The same done from GUI.
3. Create a cluster
Create a cluster with the file servers.
In order to create a cluster with three nodes, the following PowerShell command should be used.
#This is how we create a cluster
New-Cluster –Name Cluster8 –Node vm11tp4.sws.com, vm12tp4.sws.com, vm13tp4.sws.com, vm14tp4.sws.com –NoStorage

In case with static IP addresses for the cluster nodes, the command will look like this.
#This is how we would create a cluster with static IP addresses
New-Cluster –Name Cluster8 –Node vm11tp4.sws.com, vm12tp4.sws.com, vm13tp4.sws.com, vm14tp4.sws.com –NoStorage –StaticAddress *.*.*.*
Note: *.*.*.* is the static IP address that you want set.
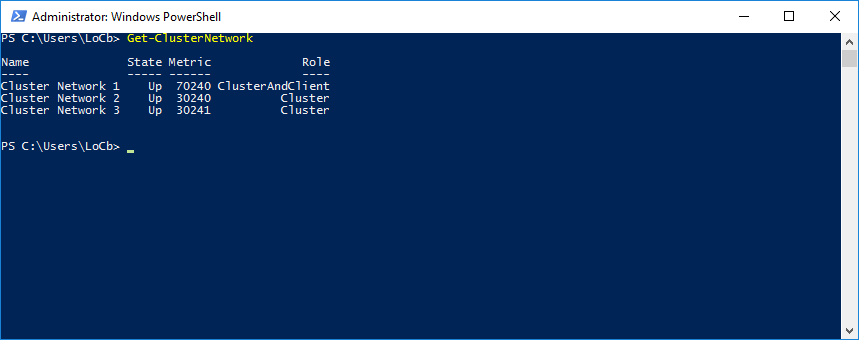
With the cluster ready, the proper cluster network interfaces should be enabled for client access and set to “ClusterAndClient”.
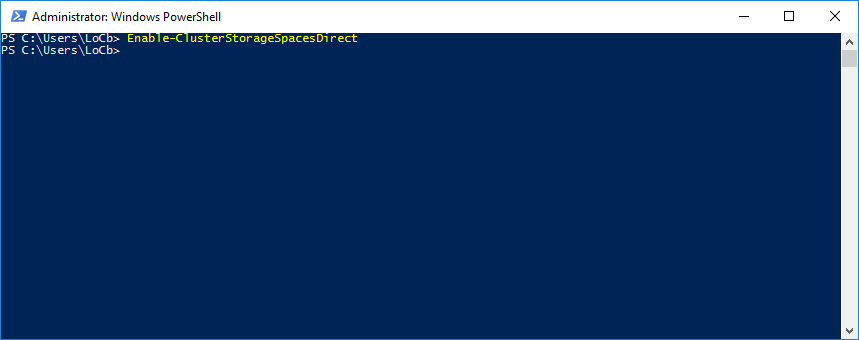
4. Enable Storage Spaces Direct
In order to set cluster properties to enable the software storage bus, the following PowerShell command should be used after the cluster has been created.
#Enabling S2D
Enable-ClusterStorageSpacesDirect
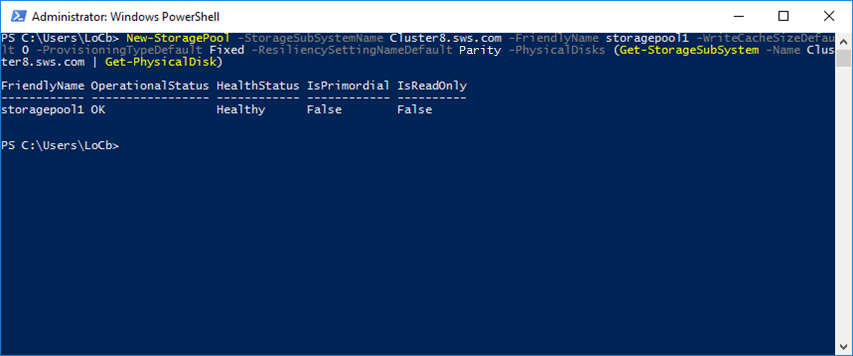
5. Create storage pools
In order to create a storage pool for each media type, use the following PowerShell command. #Creating storage pool
New-StoragePool -StorageSubSystemName Cluster8.sws.com -FriendlyName storagepool1 -WriteCacheSizeDefault 0 -ProvisioningTypeDefault Fixed -ResiliencySettingNameDefault Parity -PhysicalDisk (Get-StorageSubSystem -Name Cluster8.sws.com | Get-PhysicalDisk)

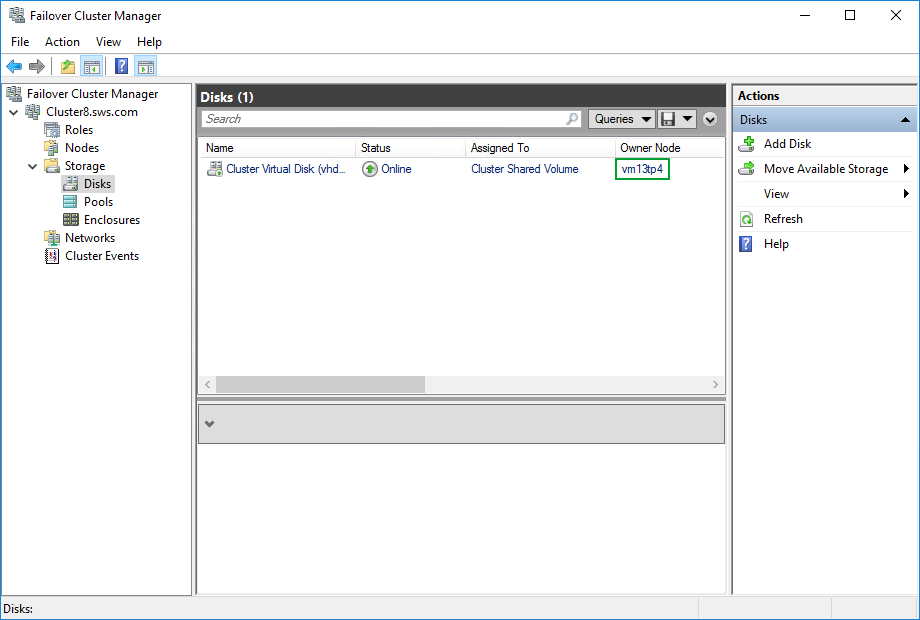
6. Create virtual disks
With the storage pool ready, the next step would be to create the virtual disks with the default (Mirrored) resiliency with the following PowerShell command.
#Here’s the creation of virtual disks
New-Volume -StoragePoolFriendlyName storagepool1 -FriendlyName vhdd1 -PhysicalDiskRedundancy 2 -FileSystem CSVFS_REFS –Size 30GB
#Disable ReFS Integrity Streams by Default on Volume
#Can be Re-enabled on Individual Files or Folders as Desired
Set-FileIntegrity C:\ClusterStorage\Volume1 –Enable $false
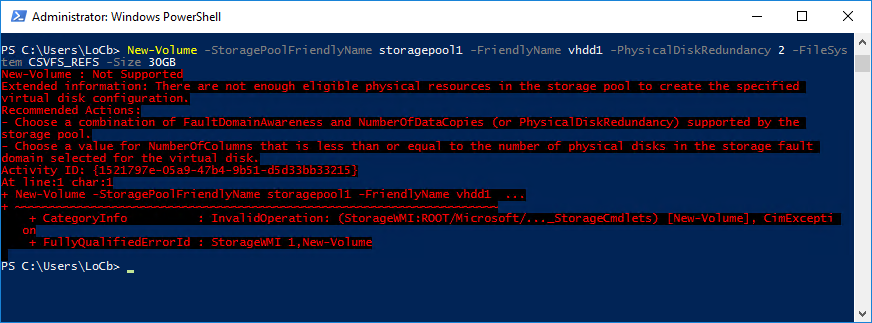
OK, let’s try to set the PhysicalDiskRedundancy to 1
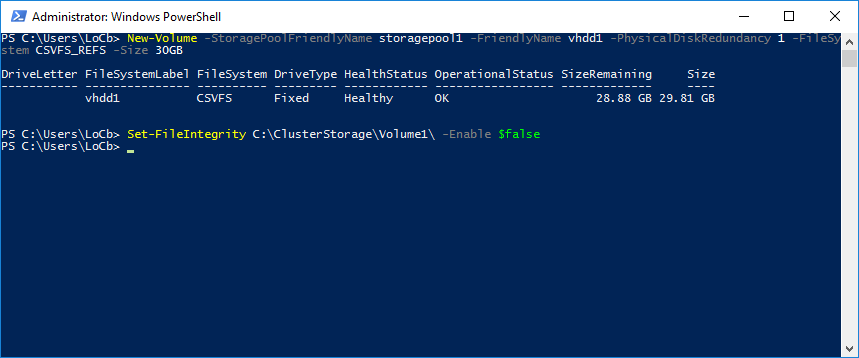
First introduced in Windows Server 2012 R2, the New-Volume command simplifies deployments, unifying a number of operations, typically done with their own commands. They include: creating the virtual disk, partitioning and formatting the virtual disk, adding the virtual disk to the cluster, and converting it into CSVFS.
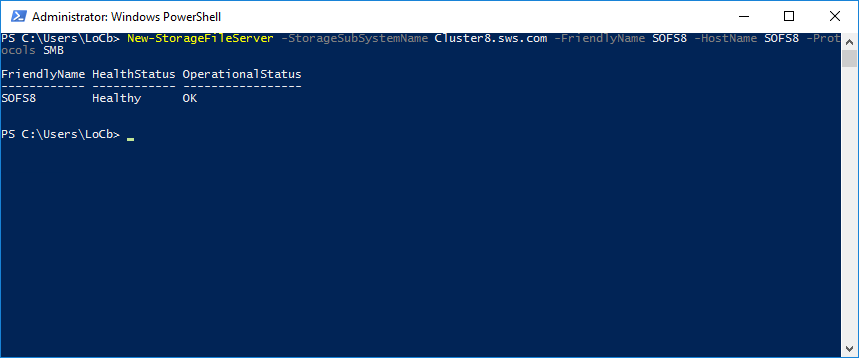
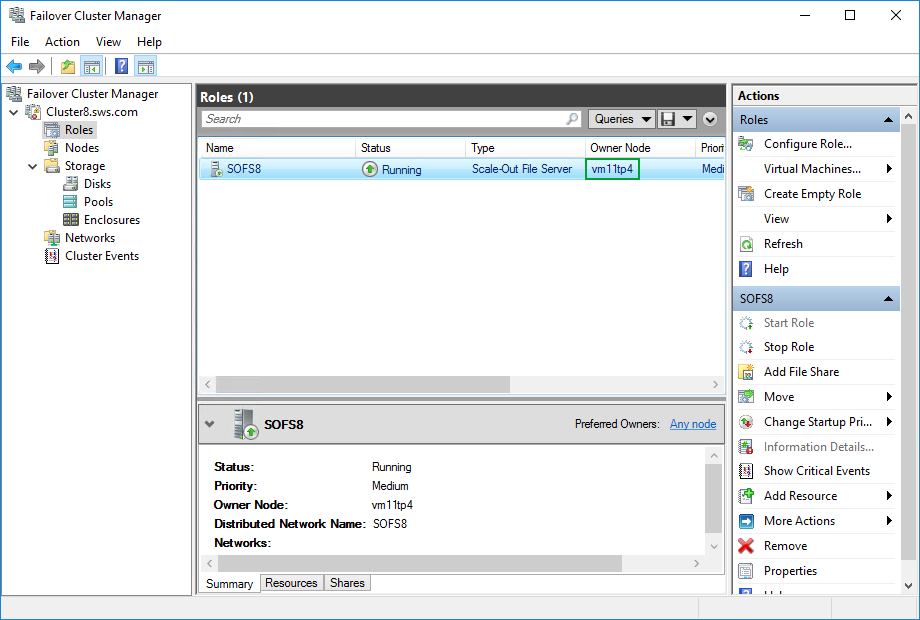
7. Create a file server
Having created the virtual disks, the following PowerShell command should be used to add the Scale-Out File Server role to the cluster.
New-StorageFileServer -StorageSubSystemName Cluster8.sws.com -FriendlyName SOFS8 -HostName SOFS8 -Protocols SMB
Our current use case for Windows Server 2016 Technical Preview is a Scale-Out File Server for storing Hyper-V virtual machines. This includes primary virtual machines, replica virtual machines, or Data Protection Manager virtual machines for backup.
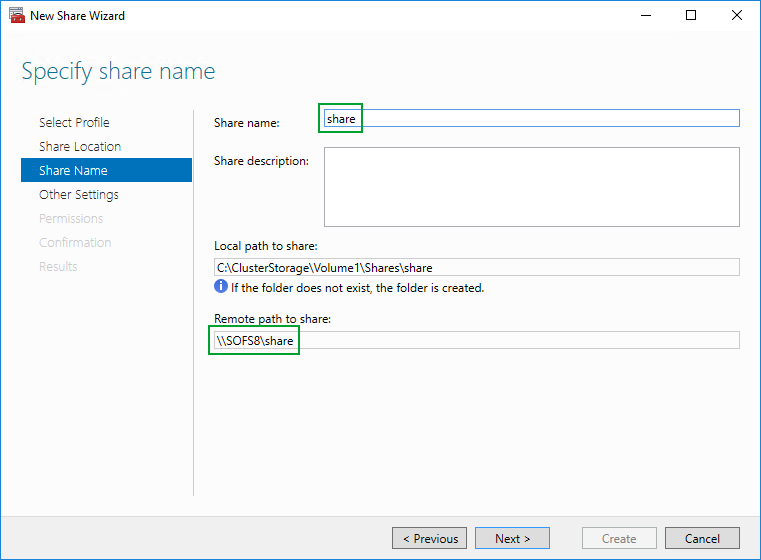
8. Create file shares
When Scale-Out File Server role is added to the cluster, the following PowerShell commands should be used to create files shares on the virtual disks.
#Creating file shares
md C:\ClusterStorage\Volume1\Shares\
New-SmbShare -Name tp4share -Path C:\ClusterStorage\Volume1\Shares\share -FullAccess sws\locb, sws\s3n6$
Set-SmbPathAcl -ShareName share
You can also do that via GUI, as we decided to do. Deploying VM files to the file shares.
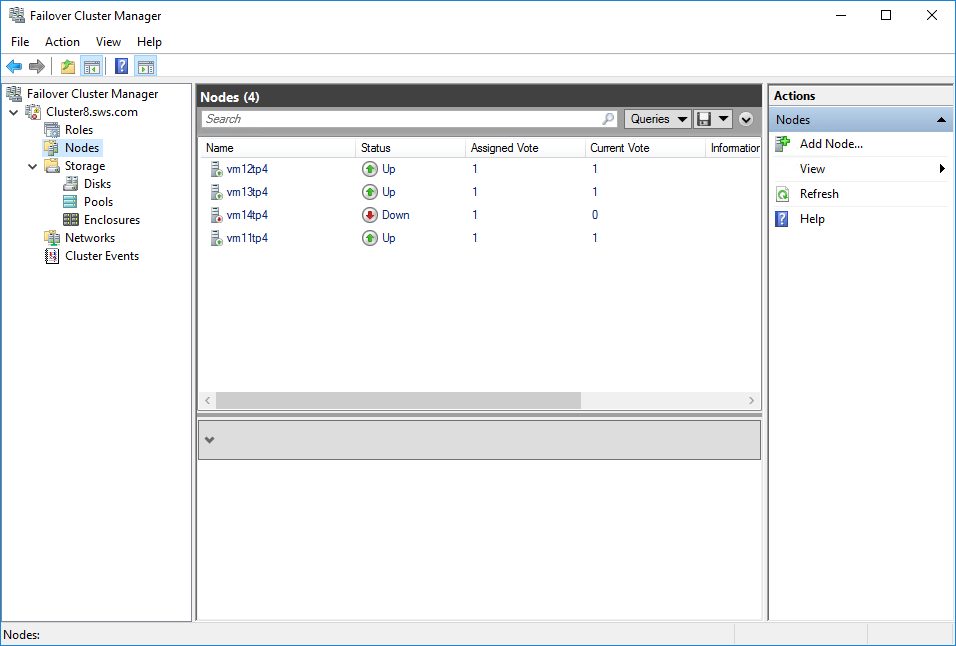
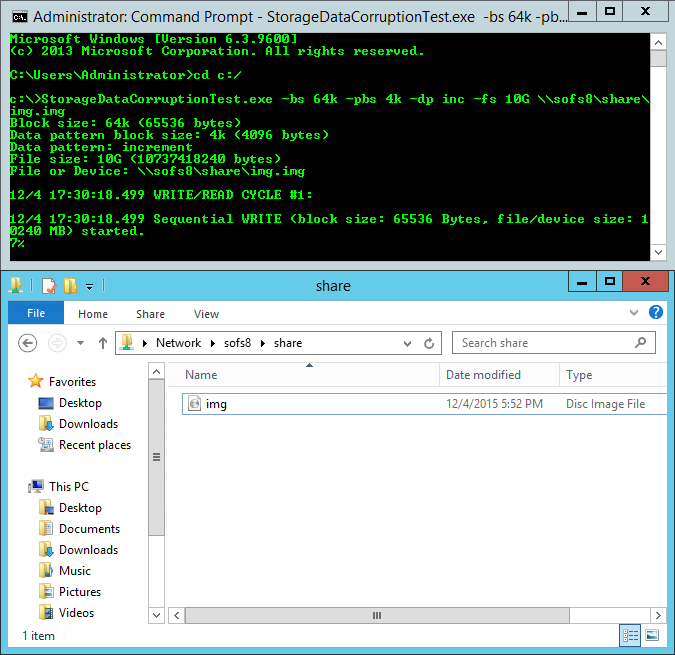
9. Check failover
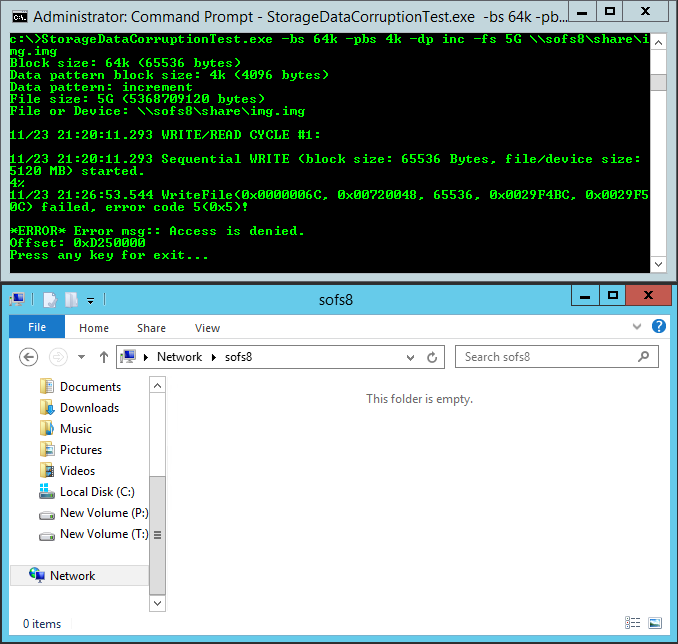
Now we need to perform a write/read test on configured share. We will use our own specialized tool called Storage Data Corruption Test. StorageDataCorruptionTest performs cyclical writing of data into file or unformatted disk with subsequent reading and checking. In case the read data does not match the written data, StorageDataCorruptionTest stops and saves the original version and the latest version of data blocks into a file for analysis. It is free and available for download here: https://www.starwindsoftware.com/tmplink/StorageDataCorruptionTest.exe. You can also utilize what you have at your disposal, for example DiskSpd (https://gallery.technet.microsoft.com/DiskSpd-a-robust-storage-6cd2f223) or iometer, or just copy files to the share with explorer.

Now let’s crash the node, which is the owner of storage pool.
vm12tp4 node becomes a pool owner and the write process continues.

Killing a node, which is not the cluster owner.
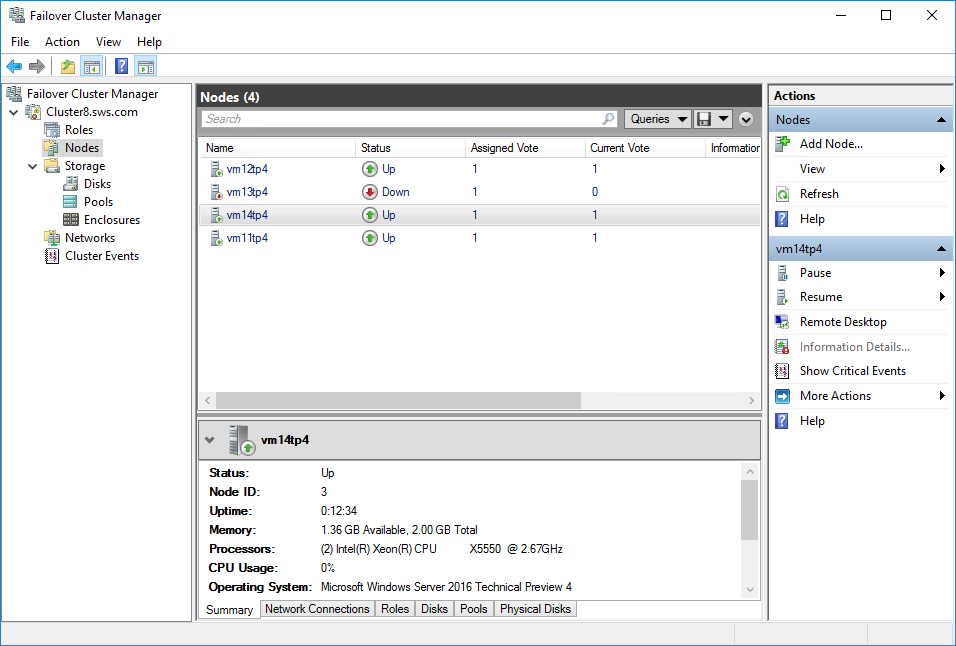
It works! Write process continues.
Most likely, it happened due to PhysicalDiskRedundancy = 1, which is quite logical and means that everything works as planned. Setting it back to 2 may help the setup withstand a double failure, but the system doesn’t let us do that.
Result
We successfully created a 4-node setup with Storage Spaces Direct. It is a good example of Enterprise-class infrastructure, where uptime and performance are kept high due to overprovisioning in hardware resources. Typically, such a setup should provide 99.9999% uptime and withstand multiple node failure.
The setup withstood a single node crash, as specified by the PhysicalDiskRedundancy parameter. Crashing two cluster nodes brings down the whole cluster, and for some reason, the system won’t let us set it to withstand more. Being in contact with Microsoft, we are currently trying to see what exactly went wrong. Hopefully, they will help us and fix the problem soon.
