


App Volumes comes with a default disk size of 10 GB for writable templates but in case of need you can create a new writable template with a different size.
To avoid service disruption for your infrastructure, make sure you have enough storage space to store the new size disks (single disk x number of VDI).
The default size of 10 GB may not be sufficient if higher space consumption is required in the configuration of the virtual desktop.
For example, if you have a requirement to maintain a longer Outlook cache over time (which is written in the .vmdk file provided by App Volumes), this cache will consume more space in the attached Writable Volume with the risk of compromising the functionality of the machine. In this case, having a larger sizing of the Writable Volume template can avoid space problems on the VDIs and allow you to save the desired cache.
Create and size a new writable template
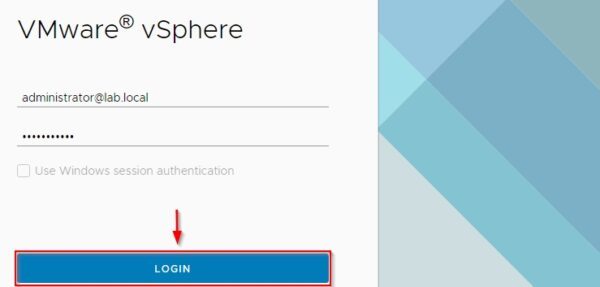
Enter the correct credentials to access the vCenter and click Login.
Copy the writable template
From the vCenter Server go to Datastore view.

Select the datastore where the App Volumes templates are stored and go to appvolumes > writable_templates.

Select the reference template type you need to use (template_uia_plus_profile.vmdk in the example) and click on the Copy To link.
 and click on the Copy To link - img")
Select the datastore and VM (Windows 10 or 11) with no App Volumes Agent installed and click OK.
 with no App Volumes Agent installed and click OK - img")
The .vmdk file has been copied to the target virtual machine.

Add new hard disks to the VM
Make sure the VM to process is powered off, right click the VM and select Edit Settings.

Click Add New Device and select Hard Disk.

In the New Hard disk set the desired disk size (20 GB in the example).
 - img")
Make sure the VM storage policy is set to Thin.

Now select Add New Device > Existing Hard Disk.

Navigate the VM folder in the datastore and select the previously copied .vmdk virtual disk. Click OK.

The new added virtual disks. Click OK to save the VM configuration.

Configure the new disks in Windows
Right click the VM and select Power > Power On.

When the boot has been completed, select the Disk Management console.

Right click the new 20 GB disk and select Initialize Disk.

Select MBR (Master Boot Record) as partition style and click OK.
 as partition style and click OK - img")
Right click the new disk and select New Simple Volume option.

Click Next.

Leave default size (20 GB) and click Next.
 and click Next - img")
Assign a letter to the new drive (letter E in the example) and click Next.
 and click Next - img")
In the Partition Format window, make sure the File system is NTFS and enter CVWritable as Volume label (same label as the template disk). Click Next.

Click Finish.

Now right click the template disk and select Change Drive Letter and Paths option.
![]()
Click Add and assign the desired letter to the disk (letter M in the example). Click OK.
. Click OK - img")
The new configured disks:
E: new 20 GB disk
M: writable template

Now open the File Explorer and enable Hidden items option from the View menu.

Access the template disk ( M: ) and select all files and folders and copy them to the new 20 GB disk ( E: ).

The just copied files and folders on drive E:.

Shut down the Windows machine.

From the vSphere Client right click the VM and select Edit Settings (VM must be powered off).
 - img")
Remove both hard disks (click the X icon) but do not flag Delete files from datastore checkbox. Click OK to save the VM configuration.
 but do not flag Delete files from datastore checkbox - img")
Copy the new template to appvolumes folder
Now go to the datastore where the VM is stored and select the new 20 GB disk. Click Copy To.

Go to the datastore where App Volumes templates are stored and select appvolumes > writable_templates folder. Click OK.

Select the just copied new template (virtual disk) and select … > Rename to.
 and select ... > Rename to - img")
Specify the New name (template_uia_plus_profile_20gb.vmdk in the example) and click OK.
 and click OK - img")
The new writable template.

Check App Volumes Manager
Open the App Volumes Manager login page, enter the credentials and click Login.

Go to Writable tab and click Create.

Selected the desired user account or AD group then from the drop-down menu Source Template select the new 20 GB template. Click Create.

If you check the VDI where the user with the new template is logged, the size of the attached writable disk is now 20 GB. The writable template works as expected.

By creating different Writable templates depending on the required sizing, it is possible to provide the VDIs with the correct persistence area to avoid the service disruption due to lack of space.
- VMware App Volumes On-Demand Applications: How Does It Work?
- Configuration Profiles in VMware vSphere 8 Update 1: Why Do We Need It and How Does it Work?
