

StarWind Virtual SAN®
Configuring Log-structured Write Back-Cache (LSWBC) HA device
- March 07, 2021
- 7 min read
- Download as PDF
Introduction to Log-structured Write-Back Cache (LSWBC)
Log-structured Write-Back Cache (LSWBC) is a disk storage feature developed for optimizing I/O performance. Data is first written to the RAM cache. Once the cache gets full or some deadline comes, an application finishes the log page that contains both metadata and the written data itself. Log segment flush starts from simply issuing an asynchronous write request to the cache-disk. Once it is finally written to a persistent cache device, no data will be lost in the event of server failure. Then, the log segment finally migrates to the underline storage.
In case of both StarWind servers malfunction, the full synchronization process will be initialized on all devices without LSWBC (follow the link to get more information). But, if the devices are configured with the Write Log feature, all the recent write operations will be identified. In this way, the feature enables to avoid the full synchronization process during data integrity restoration after node or cluster failures.
Log-structured Write-Back Cache requirements:
- The standard scenario implies using HDD drives as the underlying storage and SSD drives as the storage for a cache-disk.
- To collect RAM cache files and their metadata, StarWind requires at least 3GB of RAM per 1TB of storage. In case of the long-term peak loads, required RAM can be over-provisioned.
- For cache-disk, StarWind service needs at least 16 GB of storage, but it can grow up to 20% of the overall HA device size. In case of the long-term peak loads, cache-disk size can be over-provisioned. Size of the storage available for Write log parameter files varies from 10% to 20% of the overall underlying storage capacity.
This guide is intended for StarWind users who would like to configure the StarWind Virtual SAN solution. It provides the detailed instructions on how to set up the Log-structured Write-Back Cache feature in StarWind Virtual SAN running on top of Windows Server 2012 R2 or Windows Server 2016.
A full set of up-to-date technical documentation can always be found here, or by pressing the Help button in StarWind Management Console.
For any technical inquiries, please, visit our online community, Frequently Asked Questions page, or use the support form to contact our technical support department.
Configuring StarWind HA device with the LSWBC feature
This guide assumes that StarWind Virtual SAN is already installed. Its installation guidelines can be found at the following link:
https://www.starwindsoftware.com/help/InstallngStarWindVSAN.htm
1. Double-click the StarWind tray icon to launch StarWind Management Console. Then click the Add Server button to connect to a StarWind server.
2. Select the StarWind server where the device needs to be created.
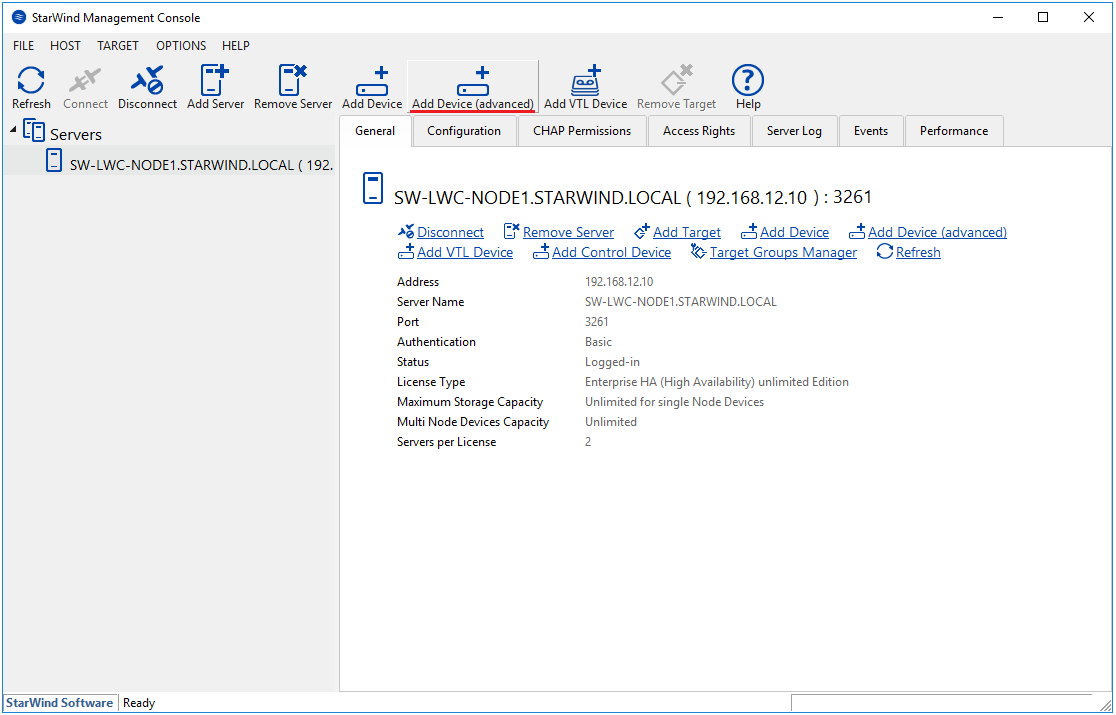
3. Press the Add Device (advanced) button on the toolbar.
4. Add Device Wizard will appear. Select Hard Disk Device and click Next.

5. Choose Virtual Disk and click Next.

6. Specify Name, Location, and Size of the virtual disk. Then, click Next to continue.

7. Select the Thick-provisioned with Write Log (experimental) option and click Next.

NOTE: 4096-byte block size is recommended for Windows-based hypervisors, while 512-byte block size is recommended for Linux-based ones (ESXi/Xen/KVM).
8. Specify the Write Log Parameters location. Click Next to continue.

9. Define the caching policy and specify the cache size. Click Next.
NOTE: It is recommended to assign 1 GB of L1 cache in the Write-Through mode per 1 TB of the underlying storage capacity. The cache size should correspond to the storage working set of the servers. The information on L1 cache implementation can be found at the following link:

10. Specify Target Parameters. Select the Target Name checkbox to enter a custom target name. Otherwise, the name will be generated automatically based on the target alias. Click Next to continue.

11. Click Create to add a new device and connect it to the target. Then click Close to complete the Wizard.

NOTE: Write log configured on a stand-alone device works as L2 cache in the write-back mode. Such design improves both reading and writing performance.
12. Right-click the Servers field and select Add Server. Add a new StarWind server which will be used as the second HA node. Then, click OK.

13. Right-click the created device and select Replication manager.

14. The Replication Manager for lwc1 window will appear. Press the Add Replica button.

15. Select Synchronous “Two-Way” Replication. Click Next to proceed.

16. Specify the partner Host Name or IP address and Port Number. The default StarWind management port is 3261. If a different port is configured, please, type it into the appropriate field. Click Next.

17. Select Heartbeat as the failover strategy. Click Next.

18. Select Create new Partner Device and click Next.

19. Specify the partner device Location and modify the device target name if necessary.

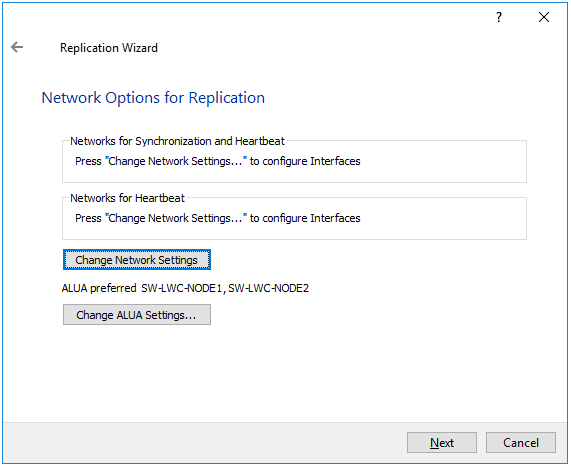
20. Select the Synchronization and Heartbeat networks for the HA device. Click Change Network Settings.
21. Specify the interfaces for the Synchronization and Heartbeat channel. Click OK. Then click Next.
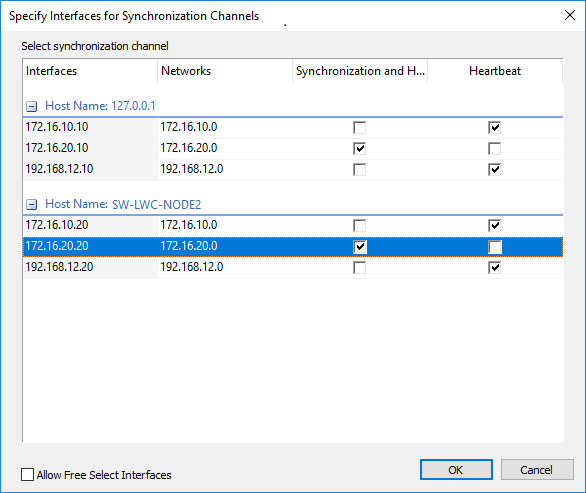
NOTE: Use separate network adapters for Heartbeat and Synchronization channels. It is recommended to configure Heartbeat and iSCSI channels on the same interfaces to avoid the split-brain issue.
22. Select Synchronize from existing Device as a partner device initialization mode and click Next.

23. In Write Log Parameters, specify the partner Location. Click Next to continue.

24. Click the Create Replica button.

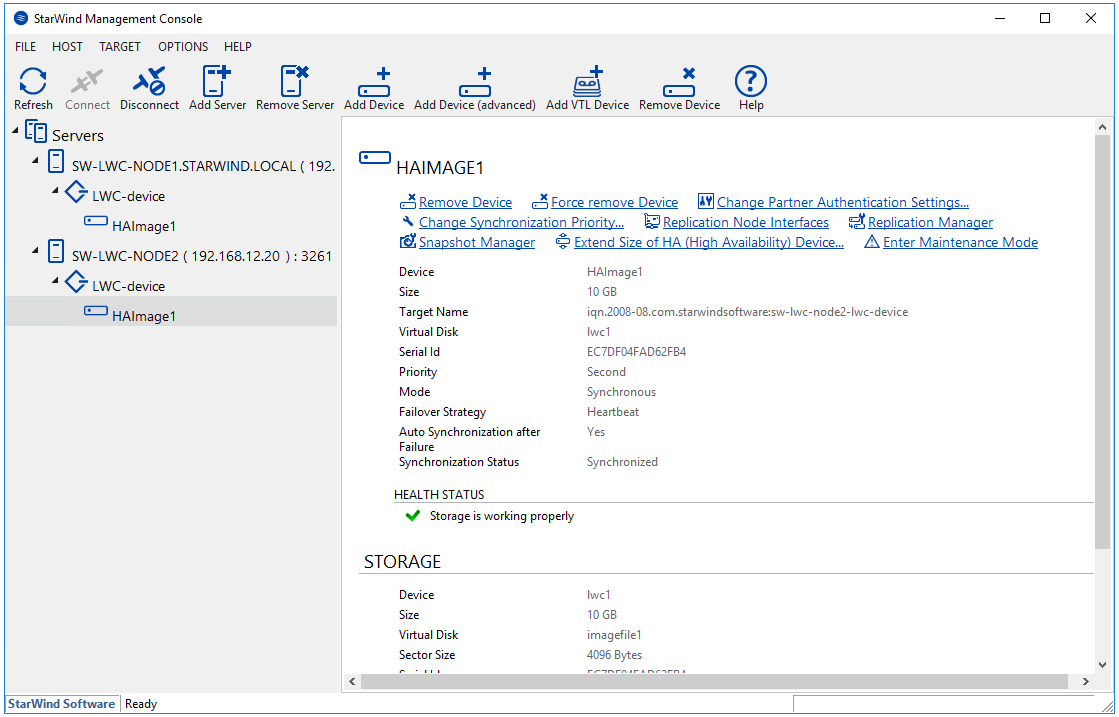
25. The added device will appear in StarWind Management Console.
26. Discover and connect the created targets in the iSCSI initiator that is used in this environment.
