To install StarWind Virtual SAN:
1. Download the StarWind setup executable file from the StarWind website: https://www.starwindsoftware.com/starwind-virtual-san
2. Launch the downloaded executable setup file on the server that will be used as a SAN storage. Setup Wizard appears.
3. Read and accept the License Agreement.
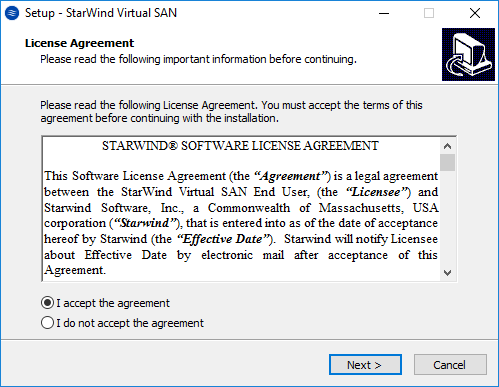
4. Click Next to continue.
5. Read the information about new features and improvements.
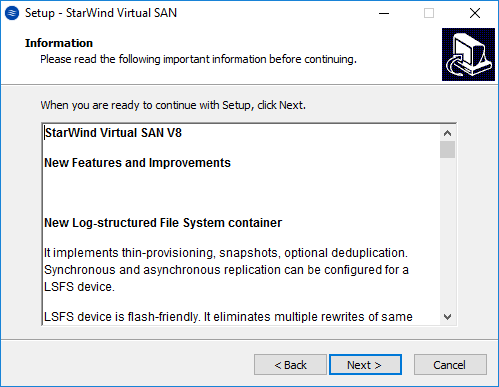
6. Click Next to continue.
7. Click Browse to select the installation path.
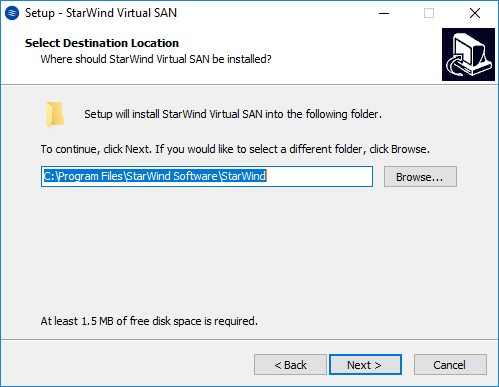
8. Click Next to continue.
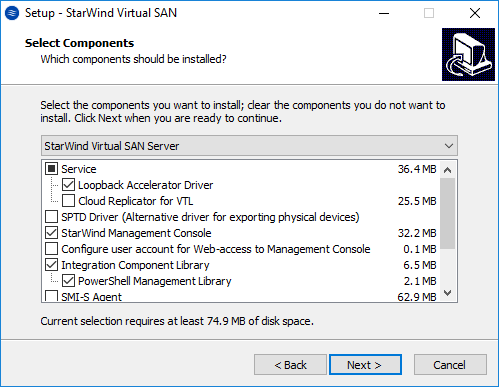
9. Specify the installation type:
StarWind Virtual SAN Server
This installation type is applied to remote access servers. StarWind Service enables synchronous replication, snapshot, flat storage device functionality, etc. It can be managed with StarWind Management Console from another computer.
StarWind Management Console
Management Console is the Graphical User Interface (GUI) part of the program that monitors and controls storage-related operations. After its installation, Management Console connects to StarWind Service remotely.
Full installation
Full installation includes both StarWind Service and Management Console elements. It allows for the resources management from the machine with StarWind Service installed.
Read about StarWind Virtual SAN Installer Components on the link below:
10. Click Next to continue.
11. Specify the Start Menu folder.
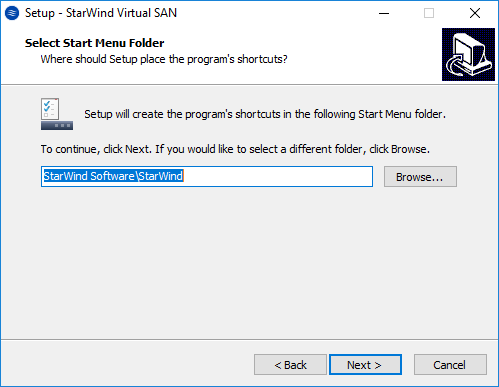
12. Click Next to continue.
13. Select the appropriate checkbox to create a desktop icon.
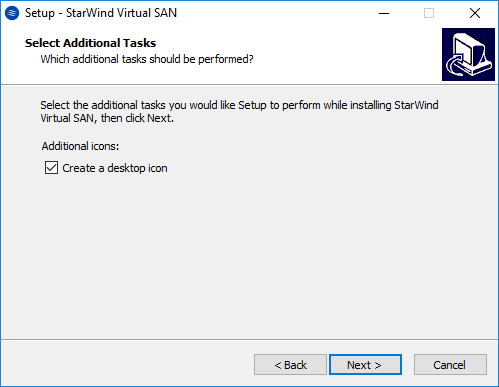
14. Click Next to continue.
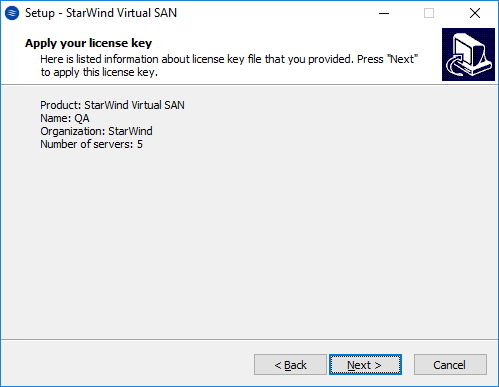
15. You will be prompted to apply either a time-limited fully functional evaluation key, or a FREE version key, or a fully unlocked commercial license key that is supplied with an acquired StarWind product. Select the appropriate option.
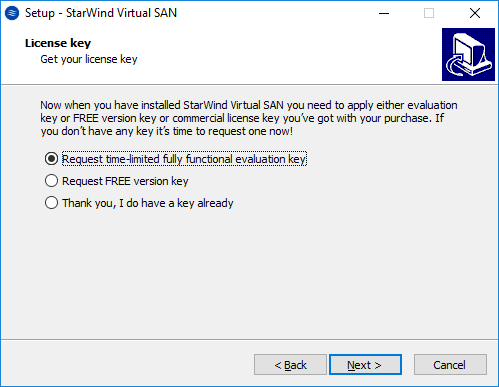
16. Click Next to continue.
17. Download the StarWind license key.
18. Click Browse to select the license file.

10. Click Next to apply this license key.
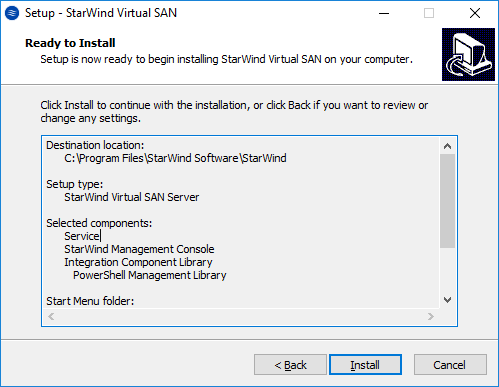
20. Check the settings you have specified and click Back to make any changes. Click Install to continue.
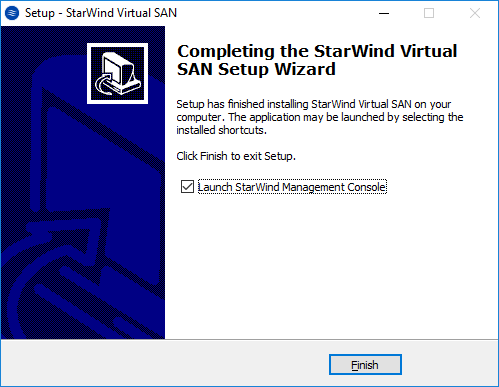
21. Click Finish to close the wizard.
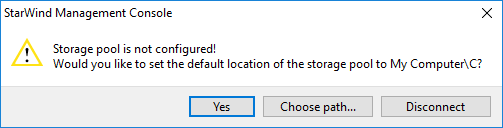
22. Select a path for a storage pool and click Yes.