

StarWind SAN & NAS: Bare-metal deployment
- September 02, 2022
- 4 min read
- Download as PDF
Introduction
StarWind SAN & NAS is designed to allow you to repurpose your existing hardware running industry-standard hypervisor into high-performing storage. The solution is a fully certified shared storage for VMware vSphere Hypervisor ESXi and Microsoft Hyper-V Server.
StarWind SAN & NAS supports hardware and software-based storage redundancy configurations. The solution allows turning your server with internal storage into a redundant storage array presented as NAS or SAN, exposing standard protocols such as iSCSI, SMB, and NFS. It comes with Web-based UI, Text-based UI, vCenter Plugin, and Command-line interface for your cluster-wide operations.
The ISO comes with the latest StarWind SAN & NAS build which can be used for the bare-metal deployment on a server to build Compute and Storage Separated environment.
This option implies that StarWind SAN &NAS is installed on a physical bare-metal server directly without any hypervisor or additional virtualization abstraction layer. Such dedicated infrastructure provides sensitive control over hardware utilization. The server acts as a storage provider for the compute (hypervisor) nodes.
StarWind SAN & NAS requirements
Prior to installing StarWind SAN & NAS storage appliance, please make sure that the system meets the requirements, which are available at the following link: https://www.starwindsoftware.com/system-requirements
Installing StarWind SAN & NAS
This part describes how to install StarWind SAN & NAS on a physical server.
1. Download the StarWind SAN & NAS ISO https://www.starwindsoftware.com/san-and-nas#download
2. Prepare installation media using Etcher, Rufus on Windows workstation, or dd command-line tool on Linux and macOS. For Network boot, mount the ISO to your server using iDRAC, iLo, or IPMI user interfaces.
3. Connect the installation media to your server and start the host.
4. Boot into BIOS and enable the Legacy boot mode. Save changes and reboot the host.
5. On server boot, press F12 or F2 to start the one-time boot menu. Select CD\DVD-ROM as a boot device.
NOTE: see the server documentation to learn the boot menu key.
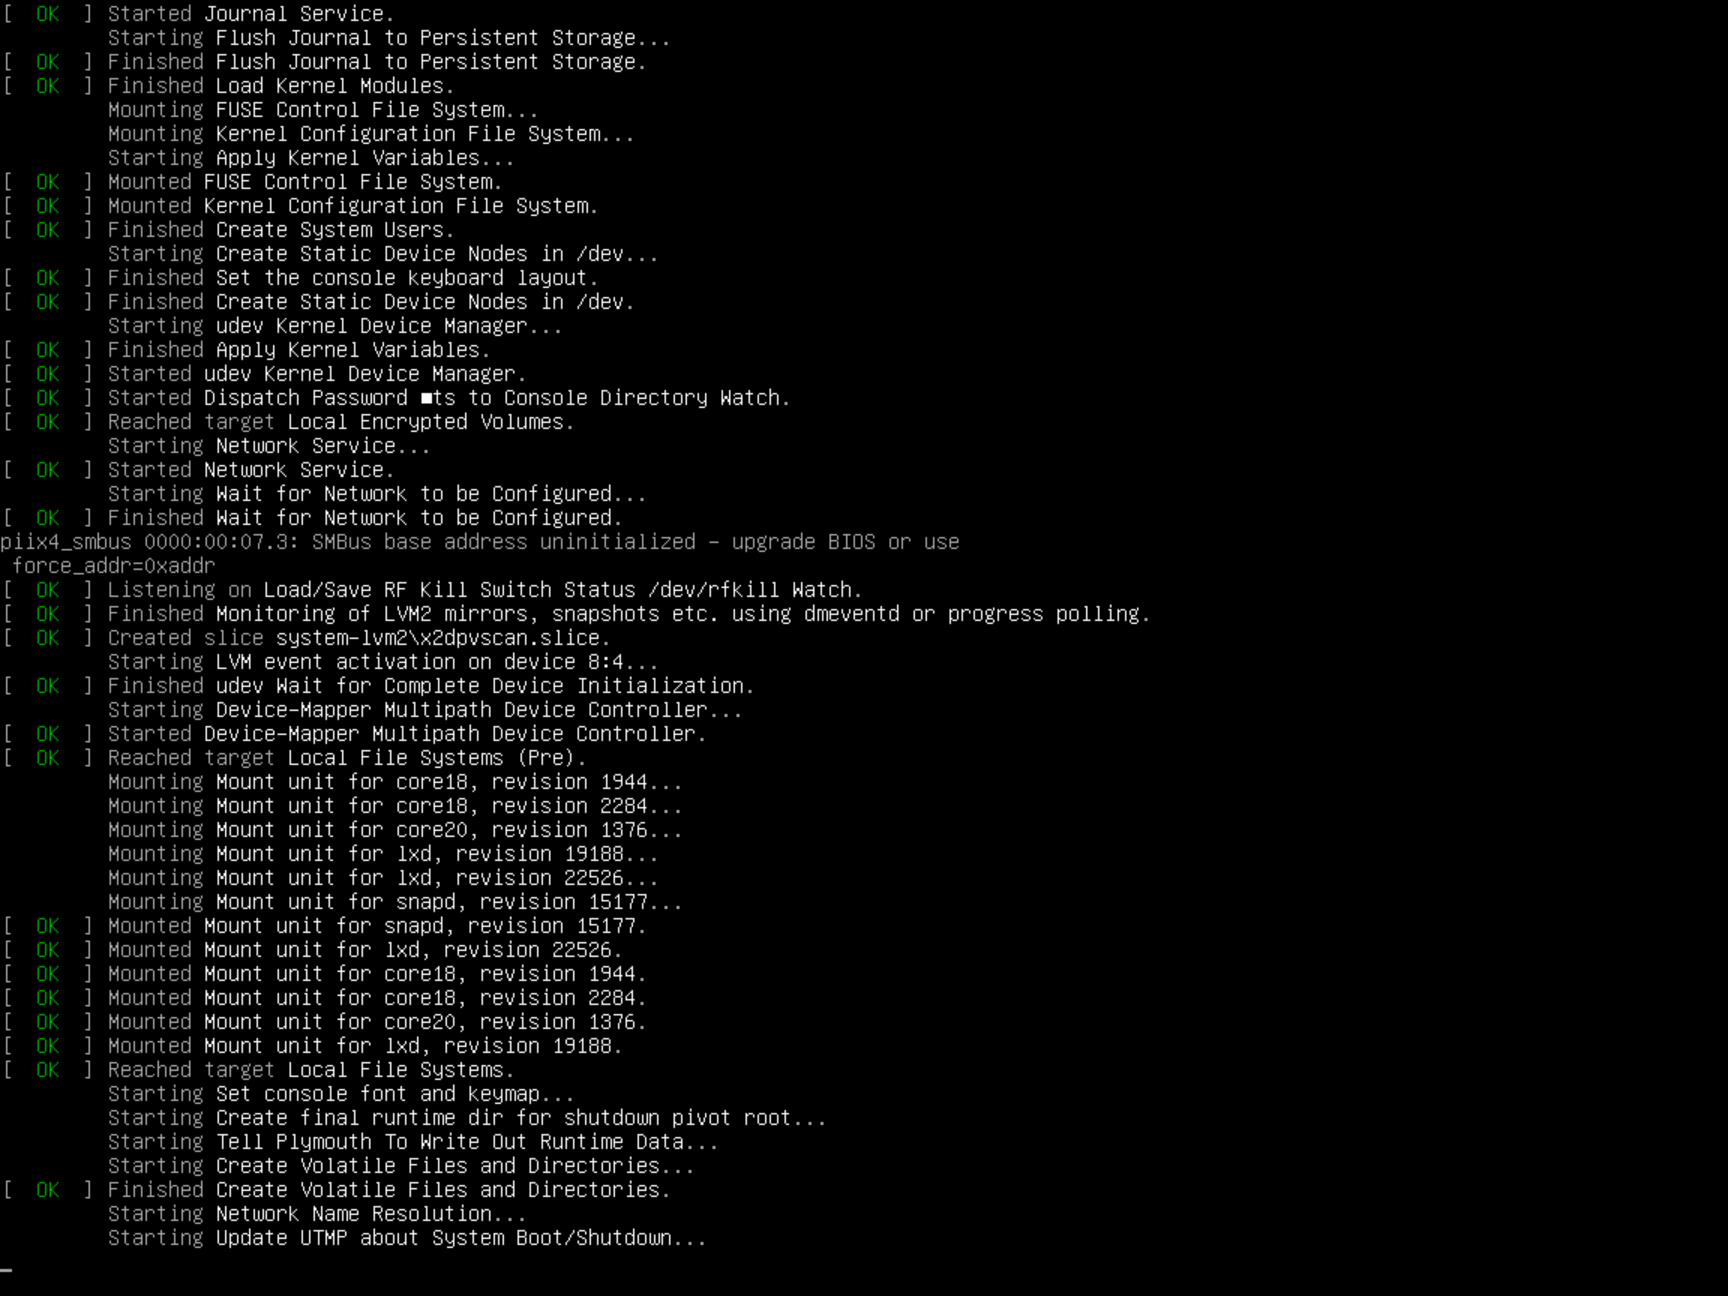
6. At this stage, the server should start booting from StarWind SAN & NAS ISO. Once the system boots, the StarWind SAN & NAS Installer launches.
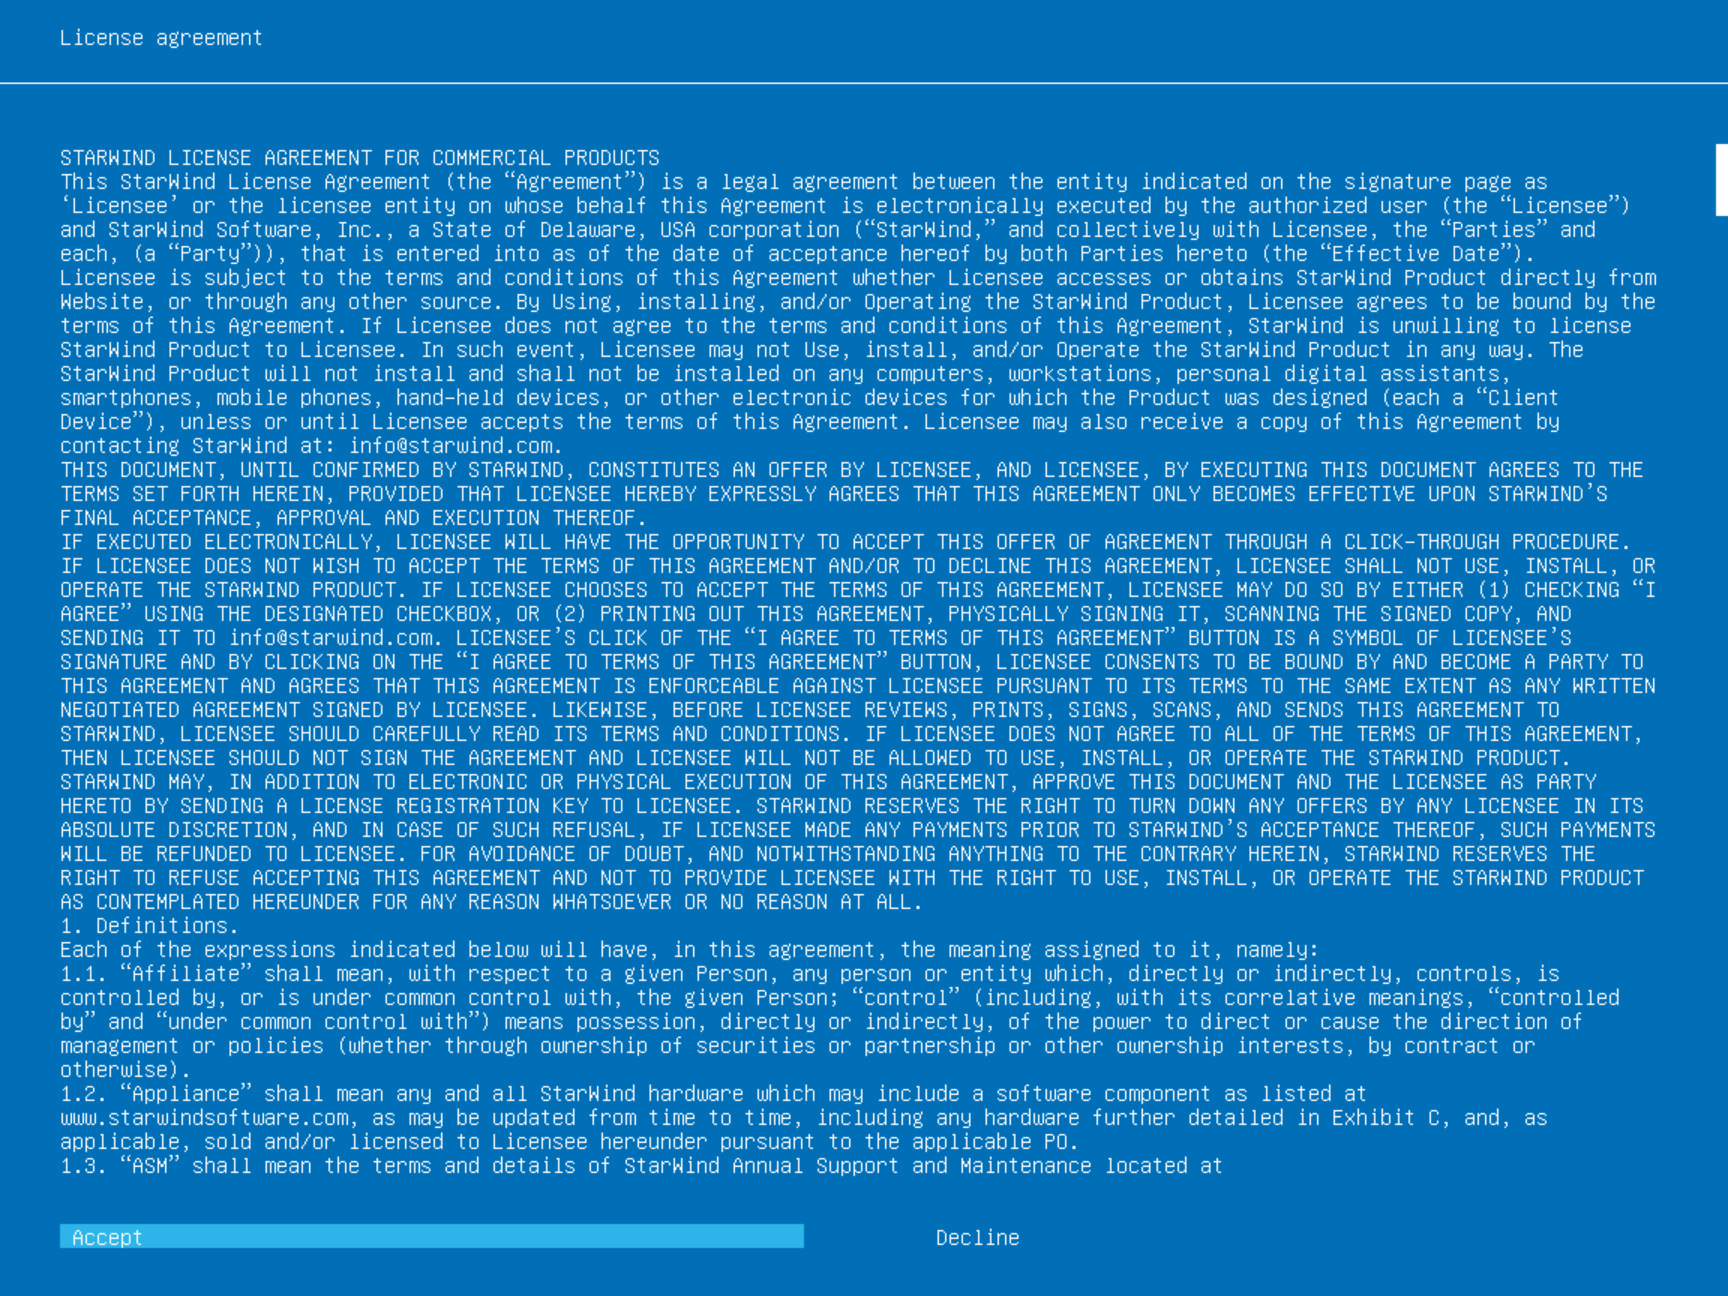
7. Read the End-user License Agreement. Use the Tab button and arrow keys to select Accept option by pressing Enter.
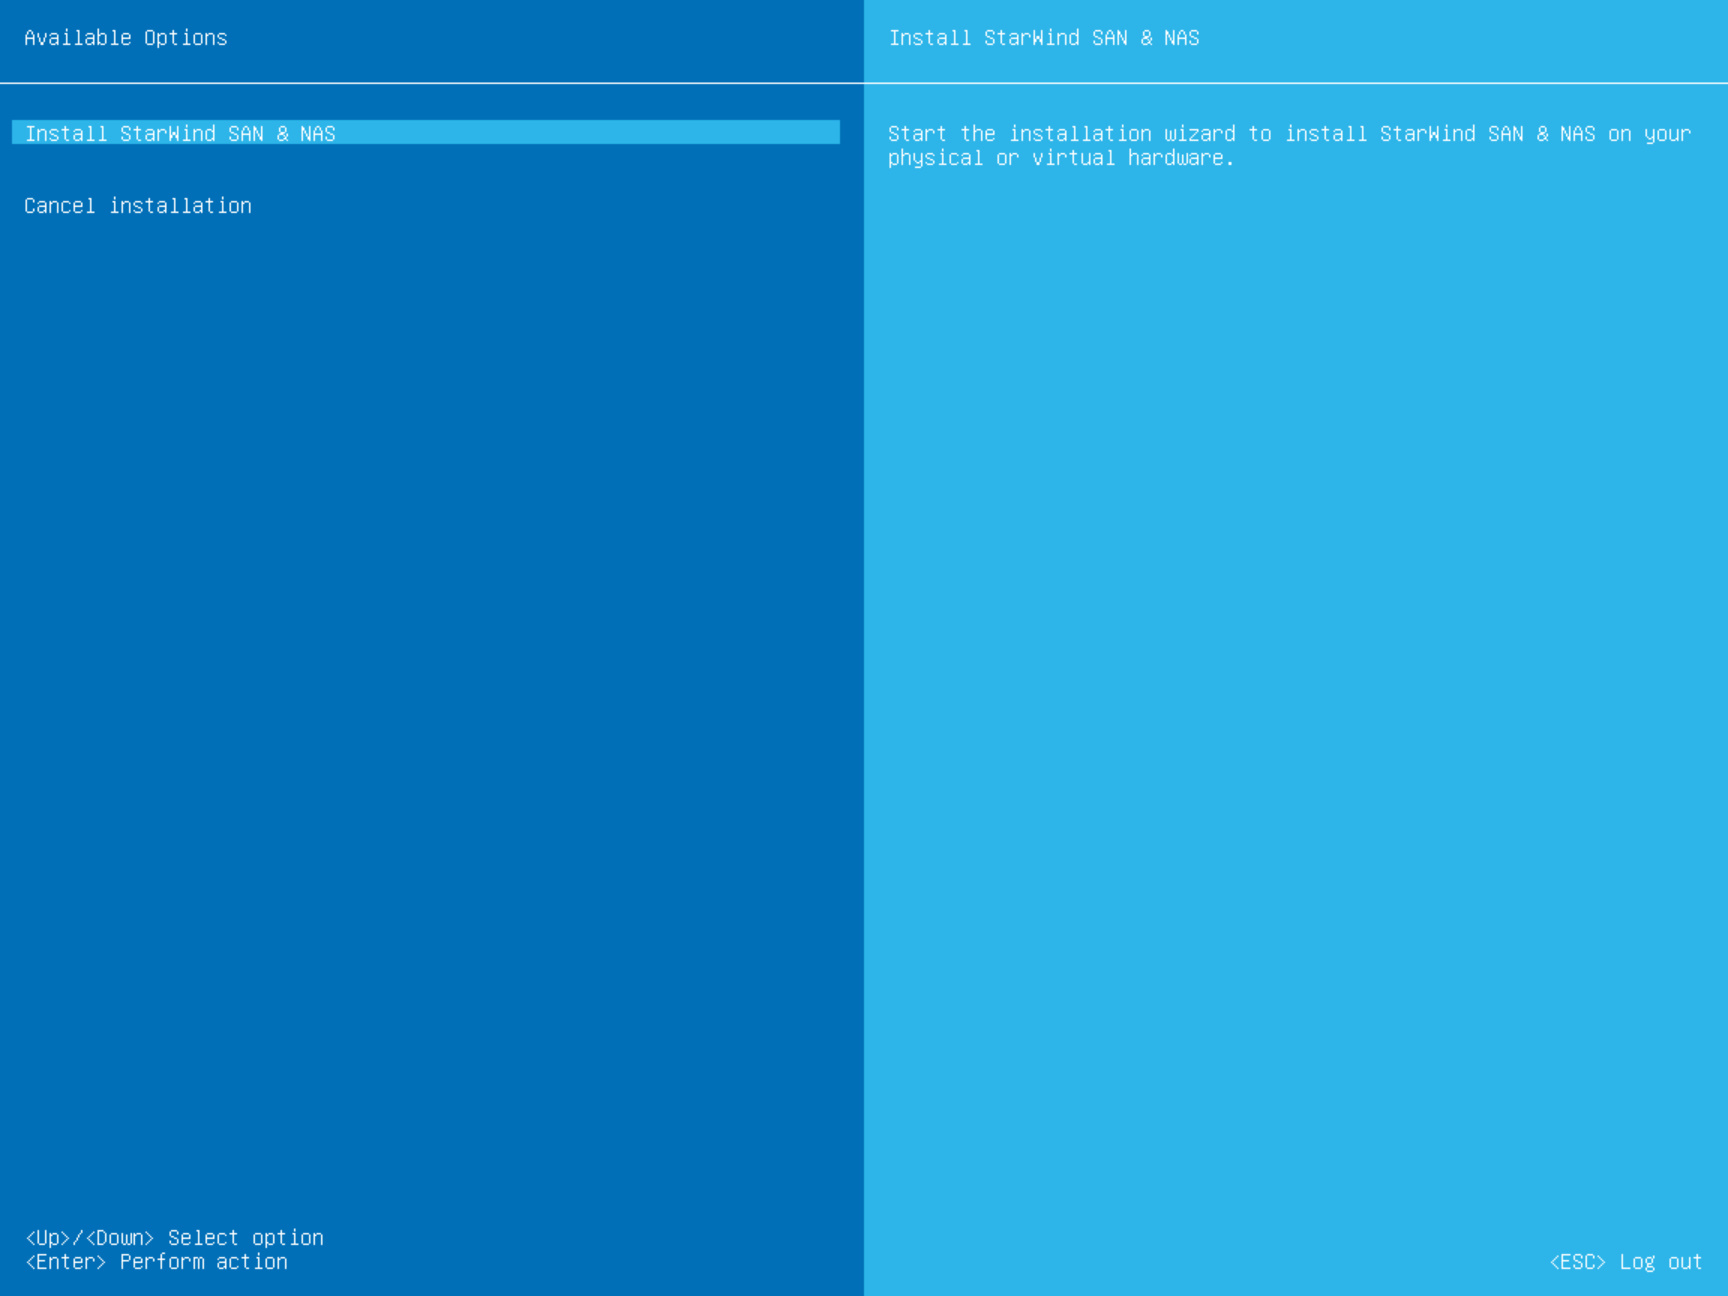
8. In the menu, select the “Install Start SAN & NAS” option and press Enter.
9. Select one of the available disks on which to install SAN & NAS. Press Enter
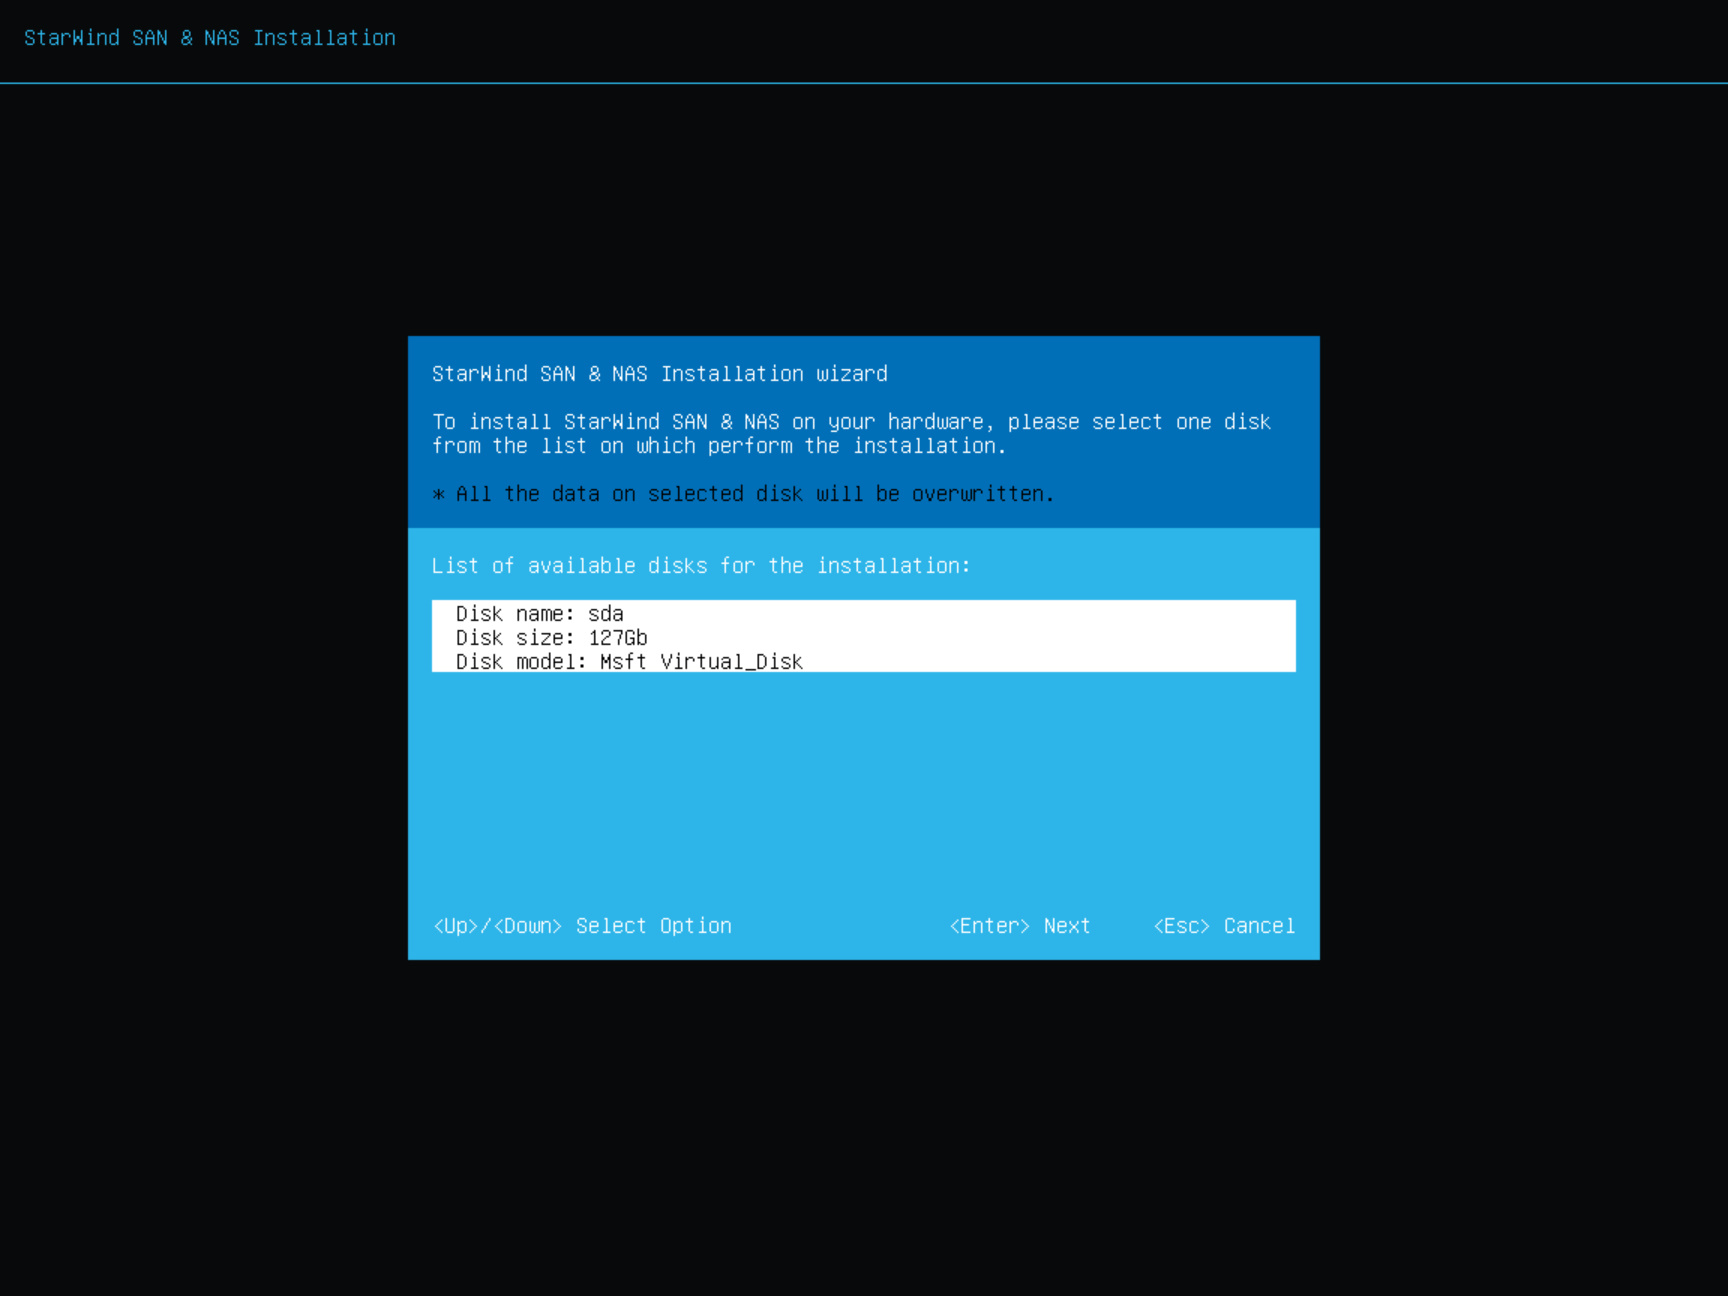
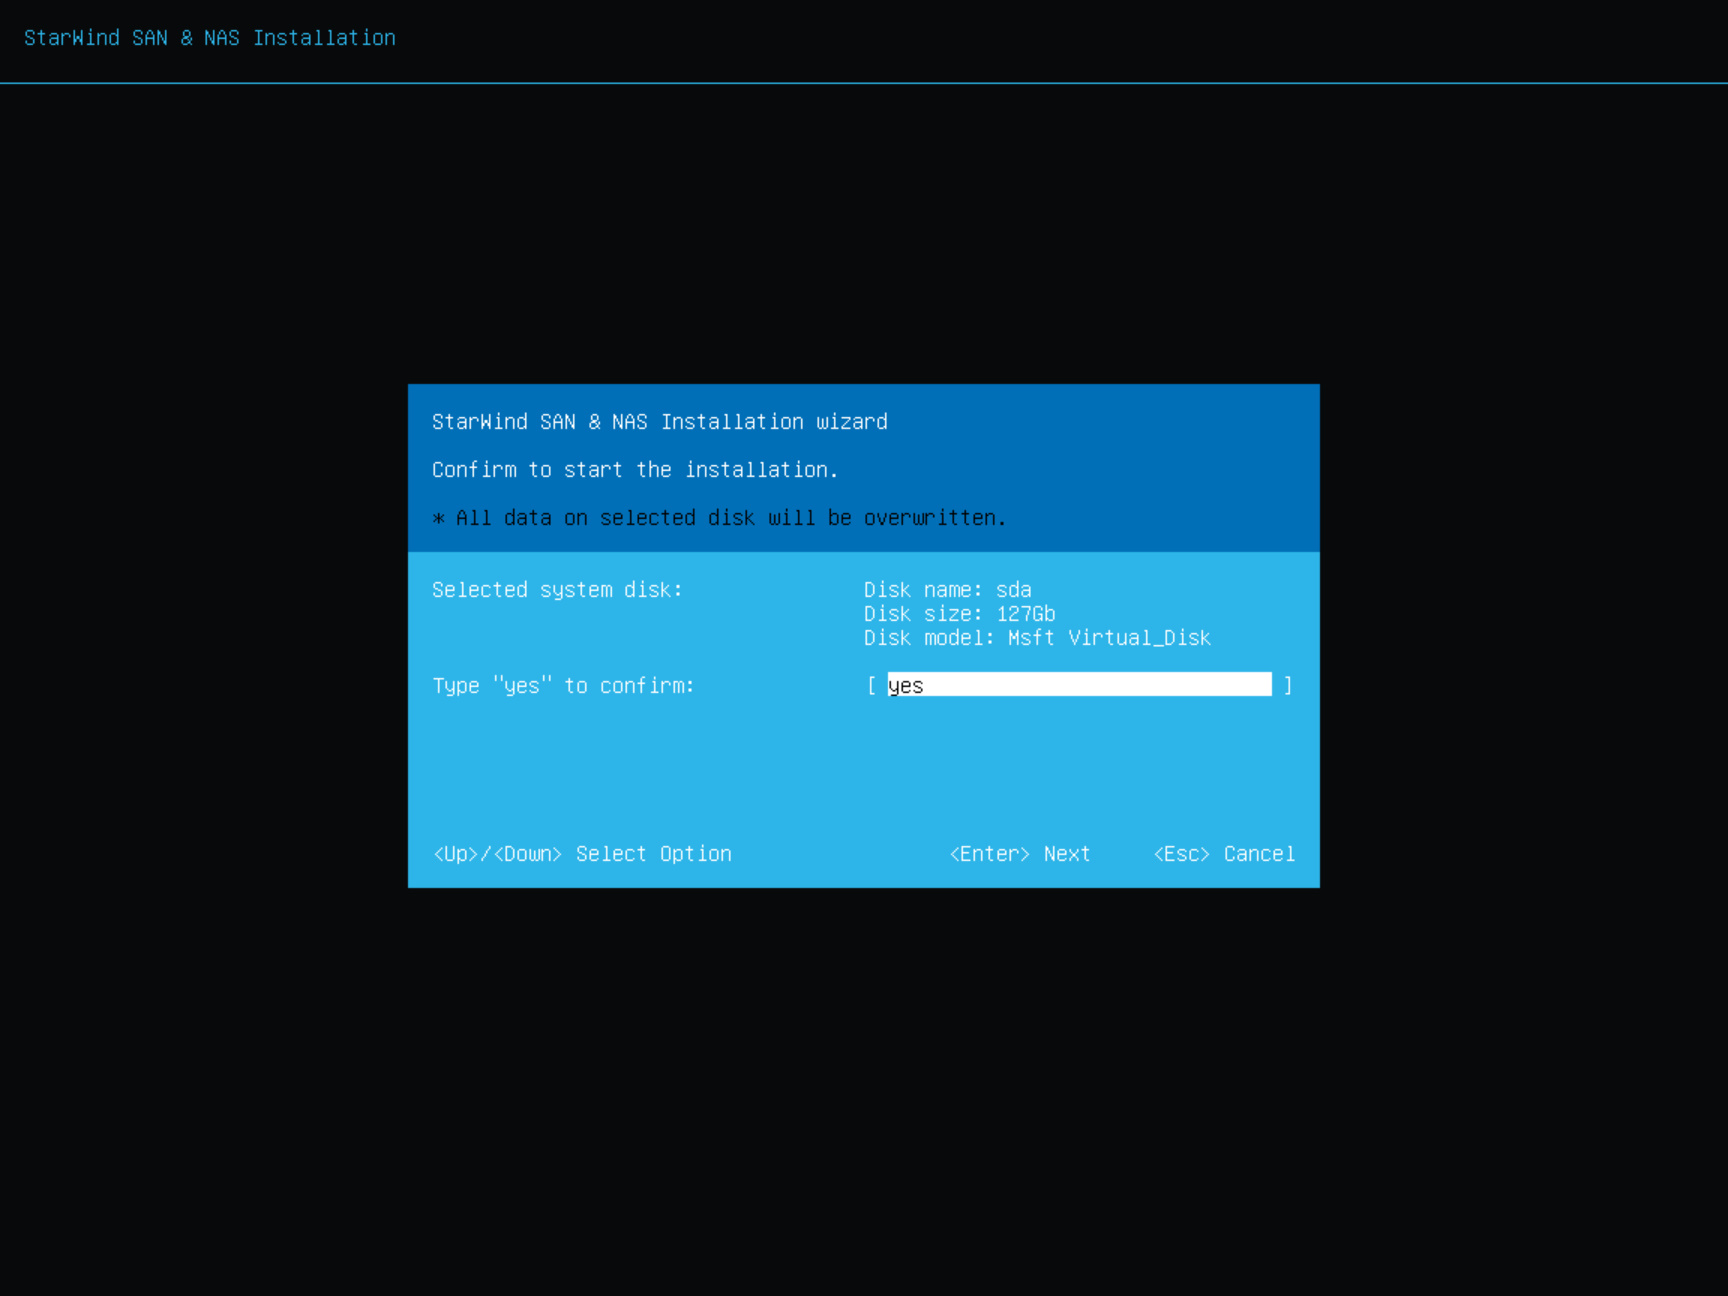
10. All the data on the selected disk will be overwritten. Confirm the installation by typing “yes” and pressing Enter.
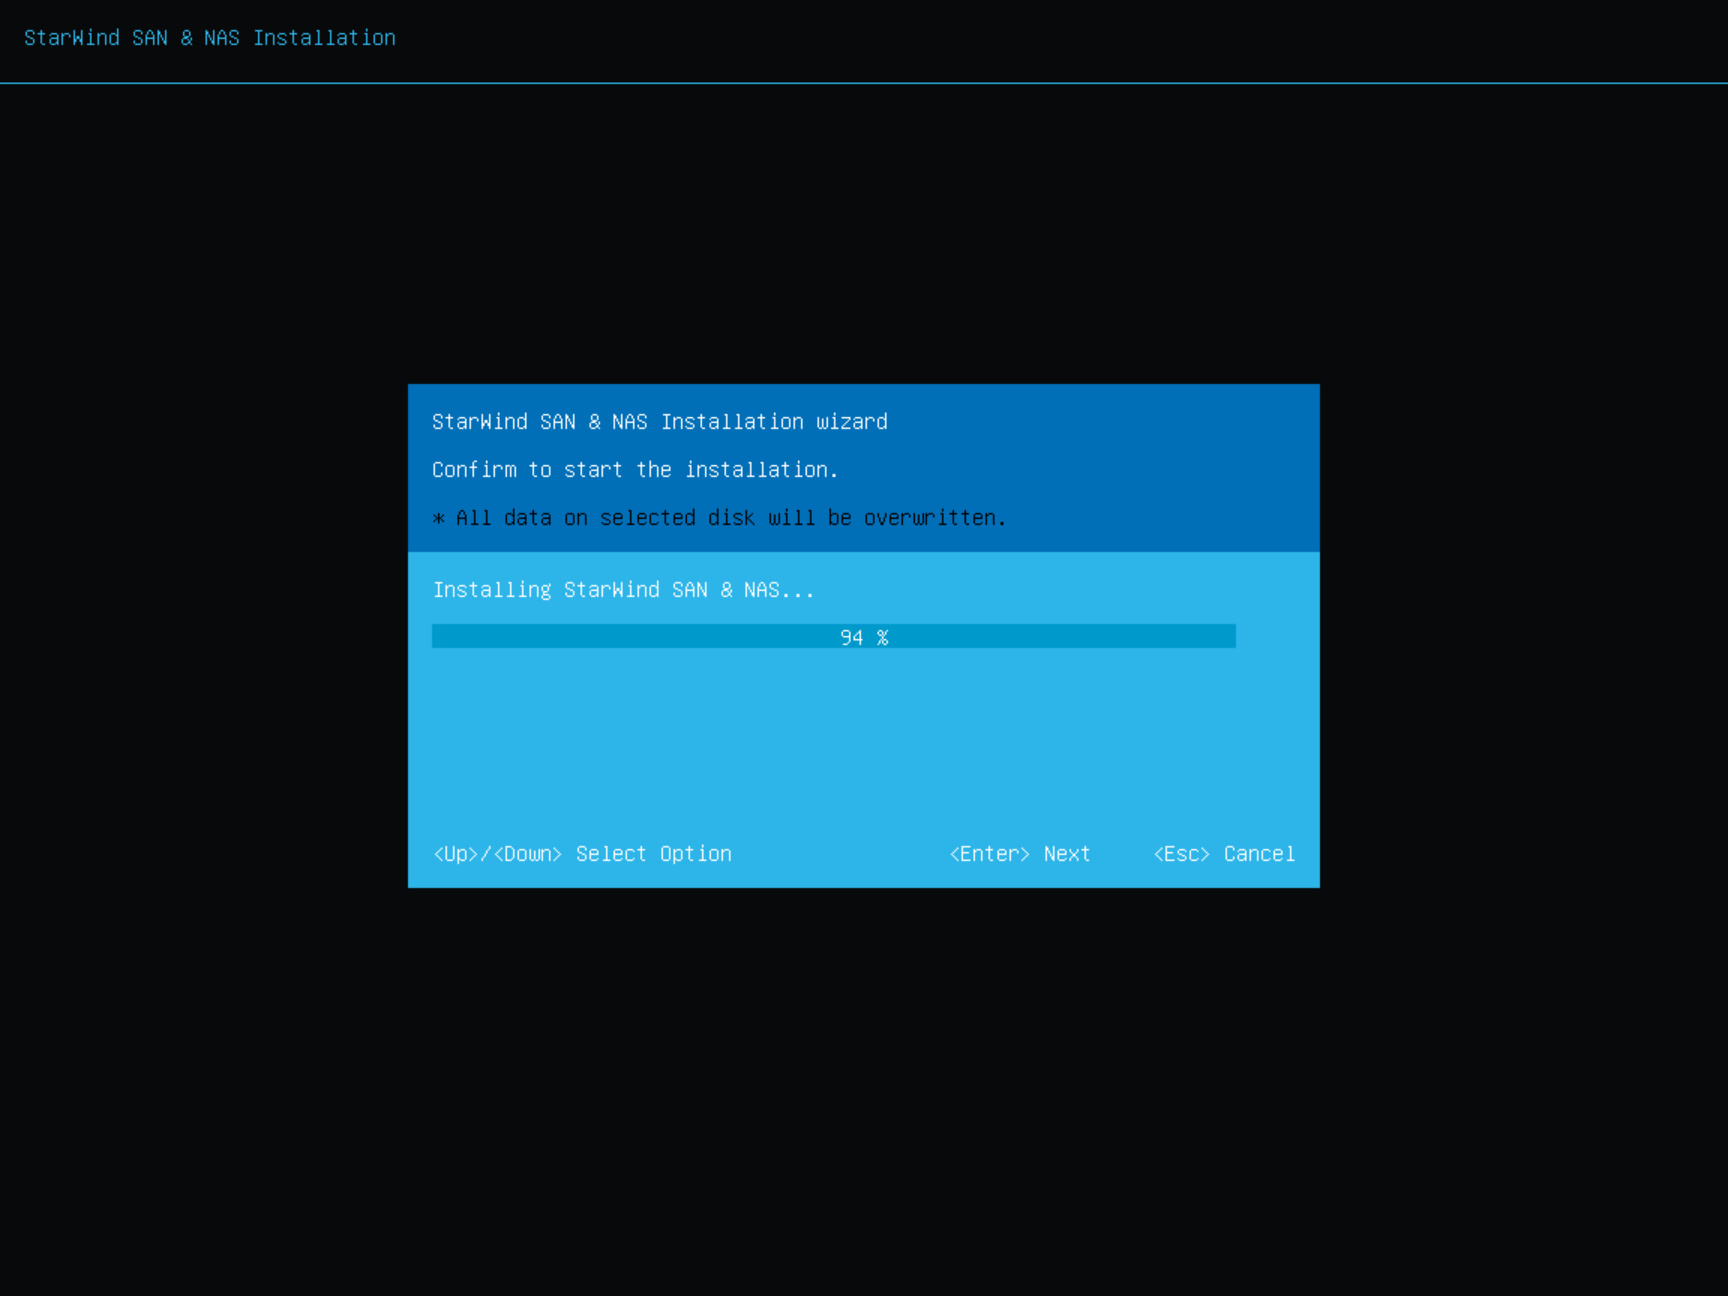
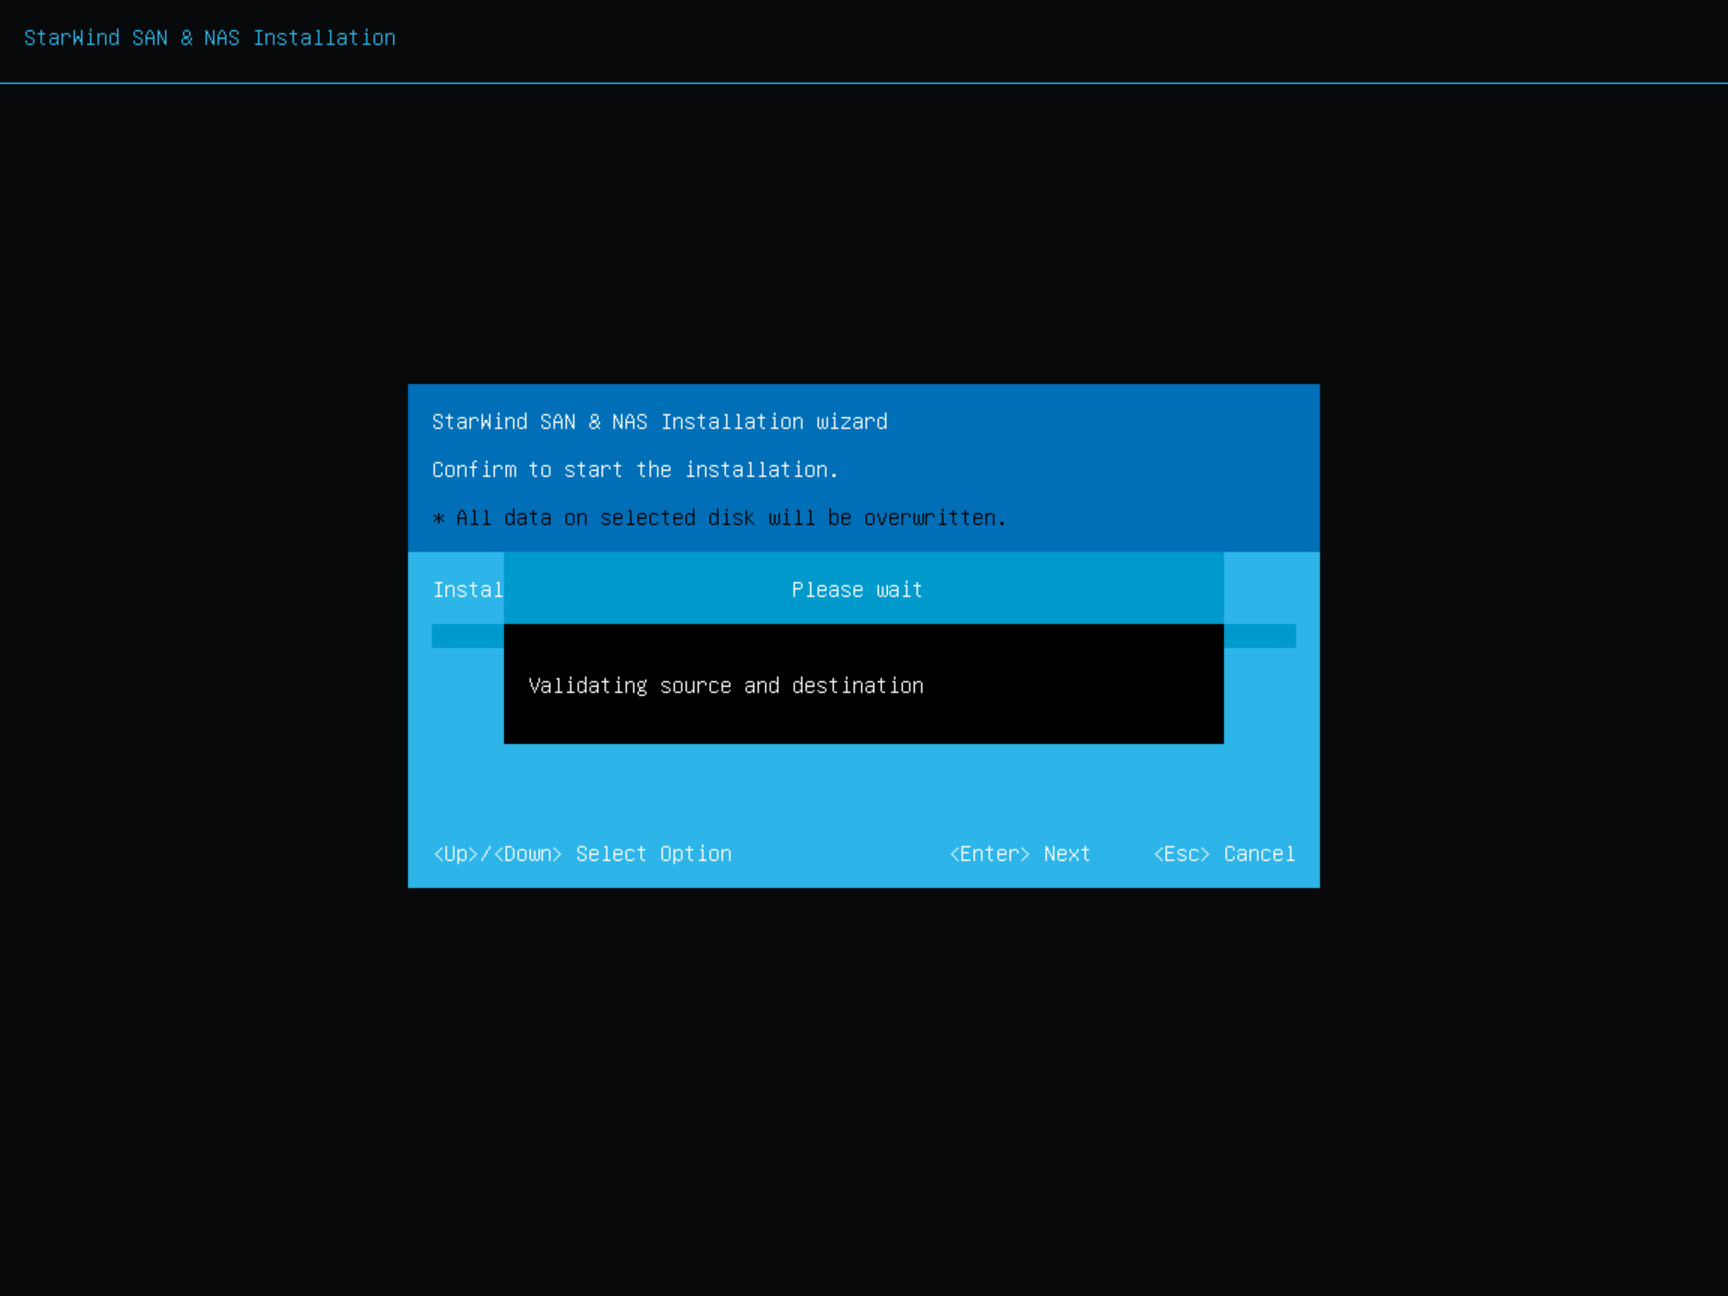
11. Wait until the installation finish.
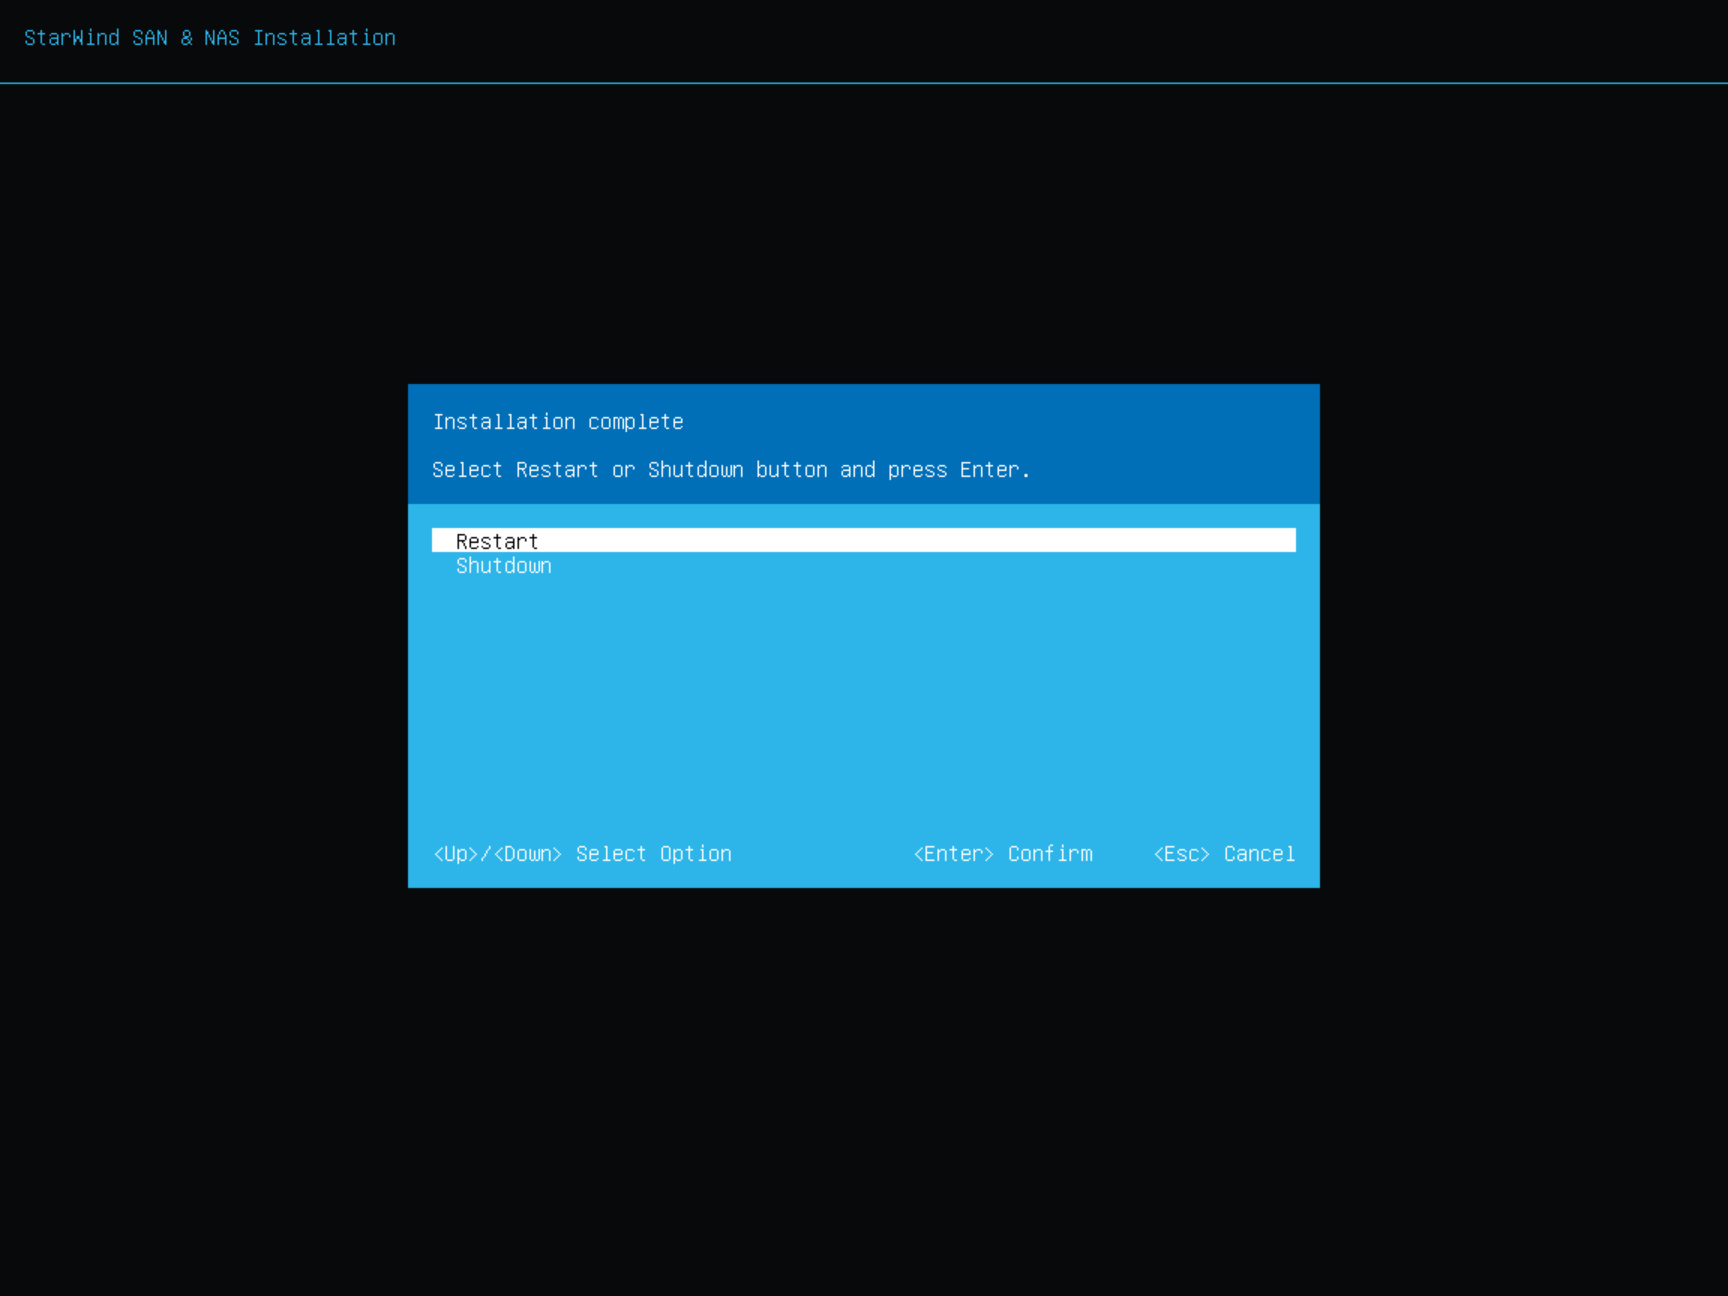
12. The installation is finished. Now you can select “Reboot” to reboot the server.
13. Eject the installation media.
14. The server now boots StarWind SAN & NAS.
15. Continue the SAN & NAS configuration using the Web-based user interface and Text-based user interface.
The full set of up-to-date technical documentation can always be found here.
For any technical inquiries, please visit our online community, Frequently Asked Questions page, or use the support form to contact our technical support department.
