

StarWind NVMe-oF Initiator: Configuration Guide for Microsoft Windows Server [Hyper-V]
- January 13, 2026
- 12 min read
- Download as PDF
Annotation
Relevant Products
StarWind NVMe over Fabrics (NVMe-oF) Initiator
StarWind rPerf Utility
Purpose
This guide provides a step-by-step process for creating a Microsoft Failover Cluster on Windows Server, using the StarWind NVMe-oF Initiator to connect to your preferred NVMe-oF storage. It demonstrates the setup of a high-availability (HA) cluster with two Windows Server 2022 nodes and StarWind VSAN storage nodes running the NVMe-oF HA target. The guide includes instructions for preparing the compute (cluster) nodes, installing the StarWind NVMe-oF Initiator, and configuring the failover cluster, including network settings to ensure seamless operation.
Audience
This guide is designed for IT professionals, system administrators, and network engineers who are responsible for deploying and managing failover clusters in Windows Server environments, particularly those utilizing shared NVMe storage over NVMe-oF for high-performance data management.
Expected Result
By following this guide, users will be able to successfully create a Microsoft Failover Cluster incorporating the StarWind NVMe-oF Initiator. The cluster will consist of Windows Server nodes configured for high availability, connected to StarWind VSAN storage running as an NVMe-oF high-availability (HA) target. This setup provides fast, reliable, and scalable shared storage over NVMe over Fabrics.
Solution Diagram
The figure below illustrates the network diagram of the environment used in this technical paper.
NOTE: This technical paper explains how to configure the StarWind NVMe-oF Initiator and NVMe-oF targets. The StarWind VSAN HA NVMe-oF target setup shown is intended exclusively for proof-of-concept and testing purposes.

Preconfiguring the Servers
Cluster Node 1 and Cluster Node 2 are running Windows Server 2022 with the Hyper-V role installed and the Failover Clustering feature enabled. The storage nodes host an NVMe over Fabrics (NVMe-oF) target. In this guide, StarWind Virtual SAN is used as the HA NVMe-oF target.
The StarWind NVMe-oF Initiator is installed on both Cluster Nodes 1 and 2, while StarWind VSAN is installed on the Storage Nodes.
Cluster Nodes 1 and 2 are equipped with Mellanox ConnectX-5 adapters. The Storage Node also has a Mellanox ConnectX-5 network adapter and an NVMe disks installed. This disk is presented as an NVMe-oF target over the storage network, which uses the subnet 172.16.10.x.
Windows Server 2022 should have the latest Mellanox drivers installed, which are available here: https://www.mellanox.com/products/adapter-software/ethernet/windows/winof-2
To verify RDMA connectivity and bandwidth between the Cluster Nodes and Storage Node, use the StarWind rPerf utility, downloadable at: https://www.starwindsoftware.com/starwind-rperf
Preparing the Cluster nodes
In this document, Windows Server 2019 is used as an operating system of the Cluster Nodes where StarWind NVMe over Fabrics initiator is configured.
Installing StarWind NVMe over Fabrics Initiator
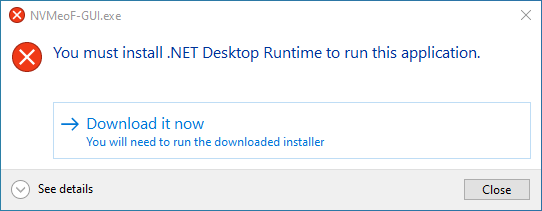
NOTE: StarWind NVMe-oF Initiator GUI requires .NET Desktop Runtime to operate. For using StarWind NVMe-oF Initiator cmdlet and PowerShell no additional components are required.
1. Download StarWind NVMe-oF from the following link: https://www.starwindsoftware.com/starwind-nvme-of-initiator#download
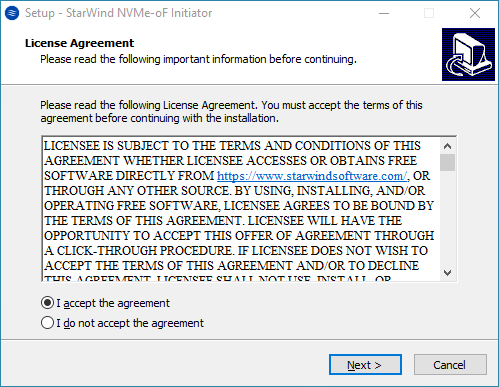
2. Execute the .exe to install StarWind NVMe-oF Initiator and follow the steps in the wizard.
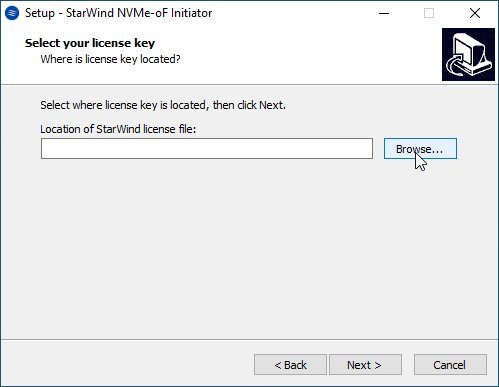
3. Apply the license key to activate the product
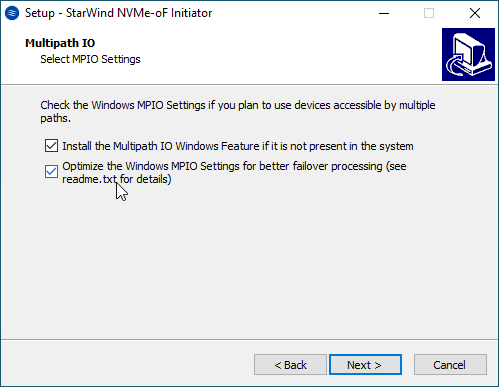
4. Optionally, check the Installing Multipath IO Windows feature and optimize its settings.
NOTE: For desktop OS, MPIO is not available, so to proceed with the installation, just press Next.
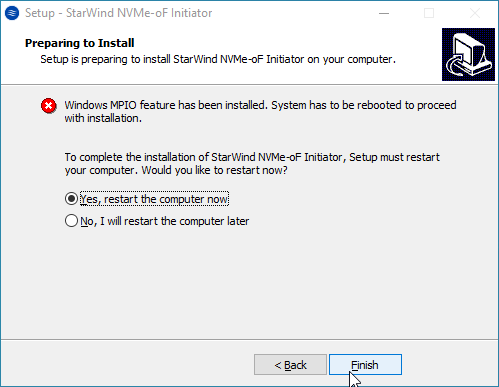
5. Once installed, restart the server.
6. Install .NET Desktop Runtime to run StarWind NVMe-oF Initiator GUI. Click Download it now to get and install the software.
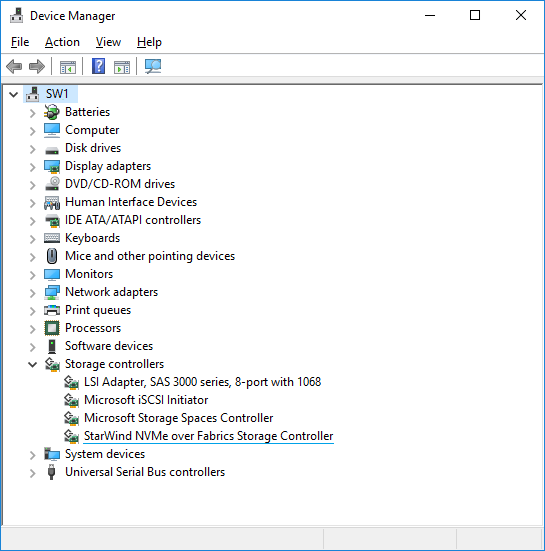
7. Open Device Manager to check that StarWind NVMe-oF Initiator is installed on the system.
Working with StarWind NVMe over Fabrics Initiator
The StarWind NVMe-oF Initiator offers three methods for establishing and managing connections between the target and initiator hosts:
- StarWind NVMe-oF Initiator GUI (Preferred)
A user-friendly graphical interface for discovering, connecting, and managing NVMe-oF targets with minimal configuration effort.
- StarNVMeoF_Ctrl Command-Line Utility
A powerful command-line tool offering full control over connection setup, ideal for advanced users and script-based automation.
- PowerShell Cmdlets
Enables seamless integration with Windows PowerShell, allowing for automated workflows and complex configuration scenarios.
Choose any of these methods to establish an NVMe-oF connection between the target and the initiator hosts.
Using StarWind NVMe-oF Initiator GUI
Discovering targets
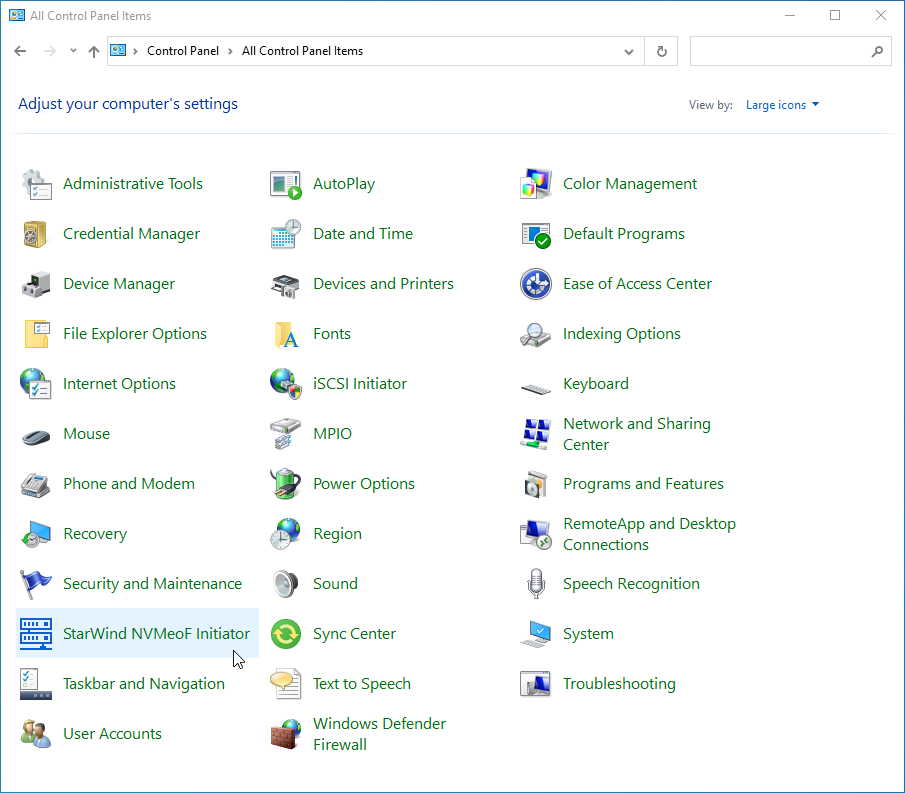
1. Launch StarWind NVMe-oF Initiator: Start -> Control Panel -> StarWind NVMe-oF Initiator.
2. Navigate to the Configuration tab.
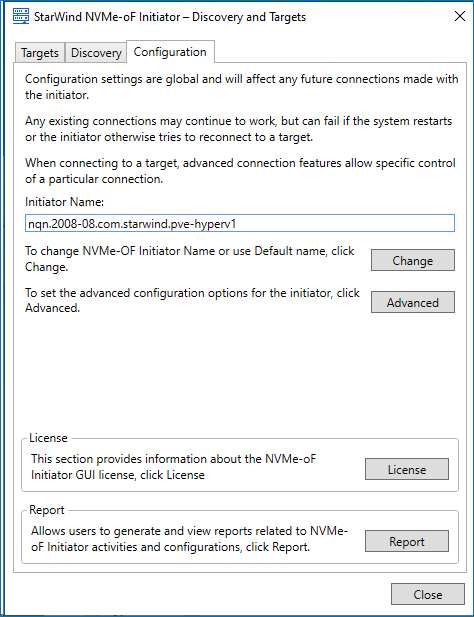
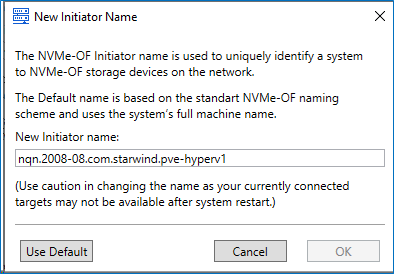
3. Press Change to modify the Initiator name if needed.
NOTE: Some targets have access control lists that allow only certain NQNs. Make sure the host NQN aligns with the one in the target settings. Also, make sure that the target allows for connectivity over NVMe-oF.
4. Press Advanced to modify StarWind NVMe over Fabrics Storage Controller settings. Parameters can be left default.
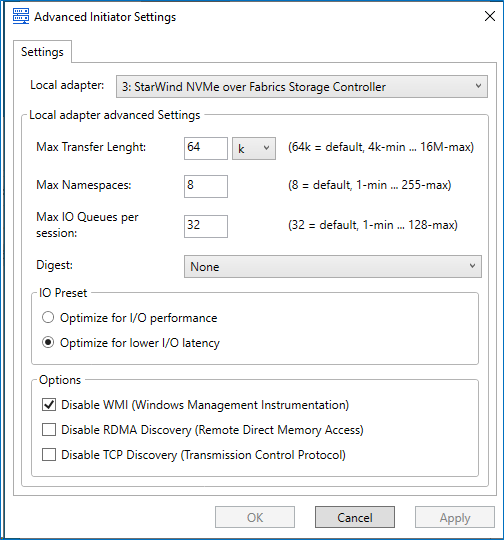 NOTE: Certain use cases might require adjusting Max Transfer Length. Max Transfer Length is to be aligned with the target. 64K works with most of the known targets. This value can be left as is.
Max Namespaces allows for adding multiple LUNs per target. Can be adjusted for multi-LUN setups.
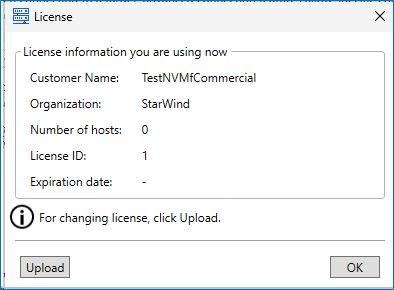
5. It is possible to review the License details or apply the license via GUI. Press Upload to navigate to the license key.
6. Press Report to generate the support bundle.
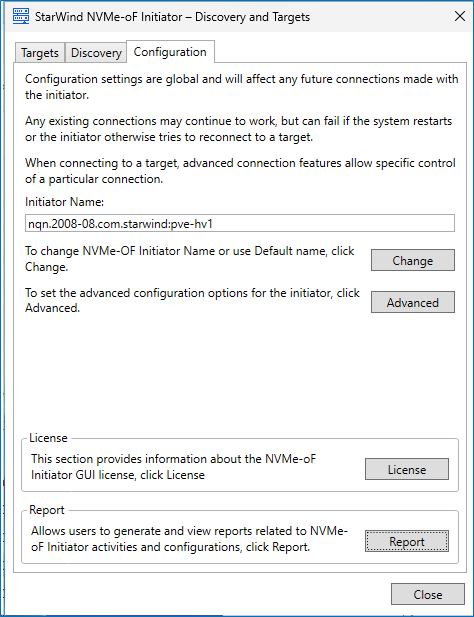
7. Navigate to the Discovery tab and press Discover Portal.
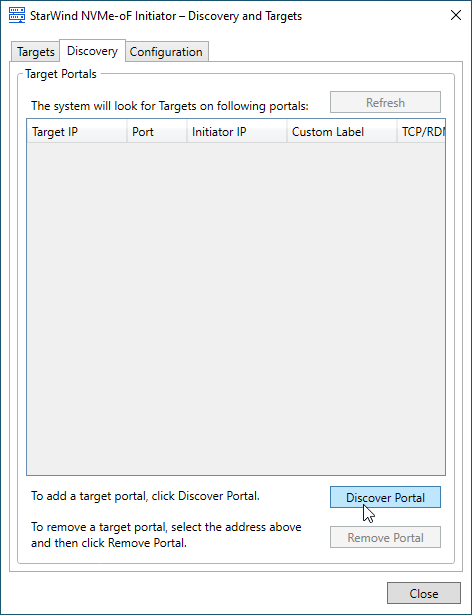
8. In the Discover Target Portal dialog enter the IP address of the NVMe-oF target server to connect to the provisioned targets, along with the appropriate port number.
NOTE: Default values: for NVMe-oF/TCP, use port 8009; for NVMe-oF/RDMA, use port 4420. Make sure that the corresponding port is opened.
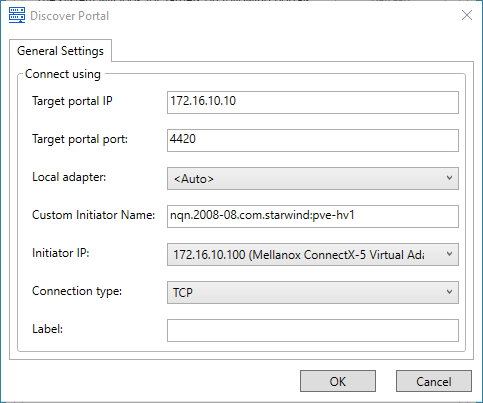
9. Specify a Custom Initiator Name. Use this option if you need the client connection to use a name other than the default hostname. This allows for more flexible identification of the initiator in the target server configuration.
10. Select Initiator IP.
11. Specify Connection Type (RDMA or TCP).
12. Add a Label for the Target Connection (Optional).
13. Press OK to Start Discovery.
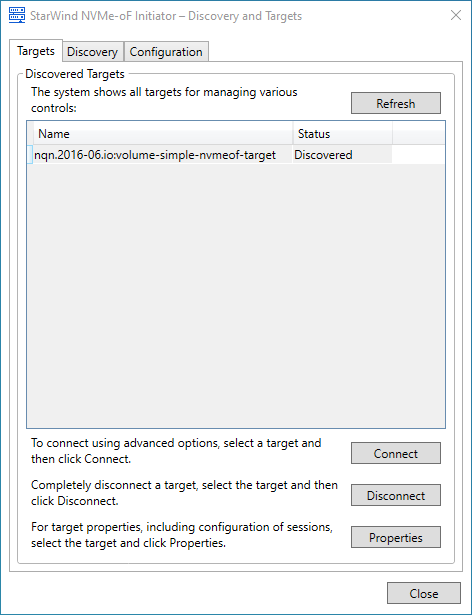
14. Once the Target Portal is Discovered navigate to the Targets tab.

15. The target(s) should be visible under Targets. Select the Target Name and Press Connect.
16. Specify the Target Portal IP address to establish the connection.
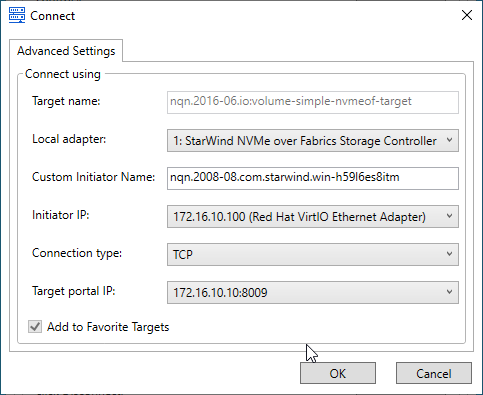
17. Verify Connection. Once the target shows the status “has sessions,” it is connected.
Establish additional connections to other NVMe-oF targets using different Target Portal IP addresses (Network adapter ports) as needed.
18. Open the Disk Management snap-in. The connected disk(s) will appear as unallocated and offline.
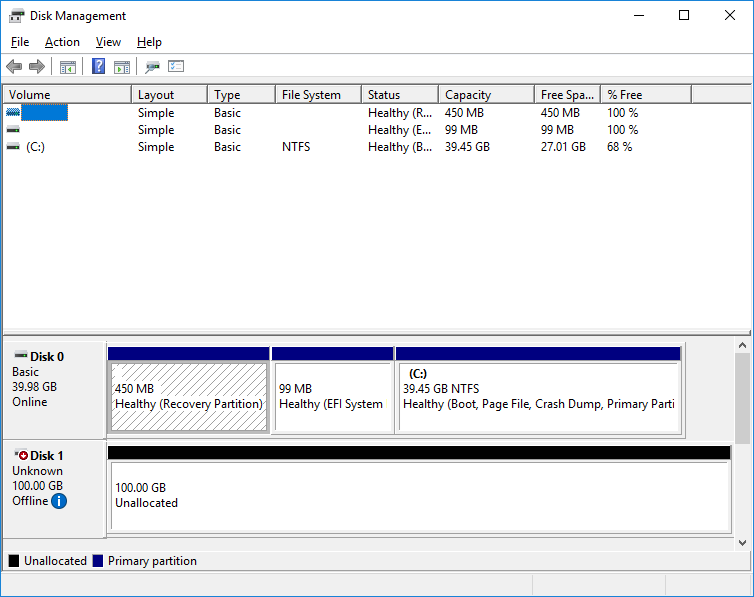
19. Bring the disks online by right-clicking on them and selecting the Online menu option.
Disconnecting targets
1. To disconnect the NVMe-oF target choose the specified target from the Discovered Targets list and press the Disconnect button.
NOTE: Make sure that LUNs are not used by other applications at the moment of disconnection, as removing LUNs with active file operations may lead to data corruption.
Configuring a Failover Cluster
NOTE: To avoid issues during the cluster validation configuration, it is recommended to install the latest Microsoft updates on each node before proceeding.
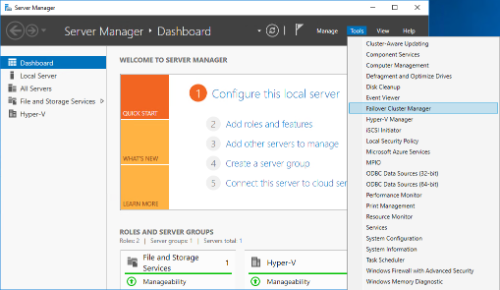
1. Open Server Manager. Select the Failover Cluster Manager item from the Tools menu.
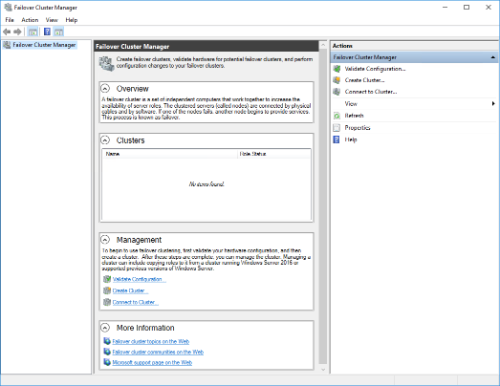
2. Click the Create Cluster link in the Actions section of Failover Cluster Manager.
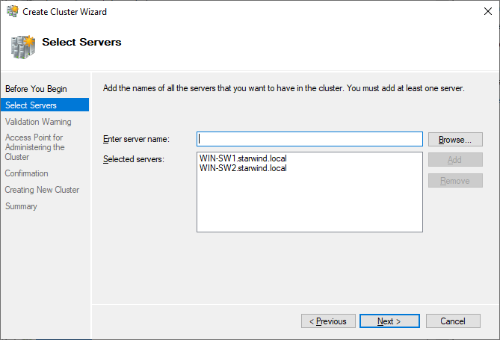
3. Specify the servers to be added to the cluster. Click Next to continue.
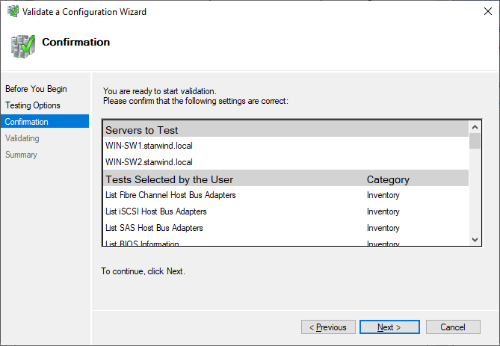
4. Validate the configuration by running the cluster validation tests: select Yes… and click Next to continue.
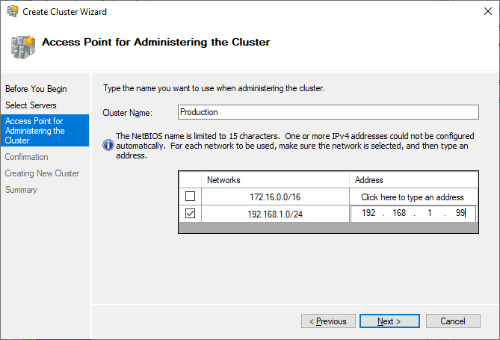
5. Specify Cluster Name.
NOTE: If the cluster servers get IP addresses over DHCP, the cluster also gets its IP address over DHCP. If the IP addresses are set statically, set the cluster’s IP address manually.
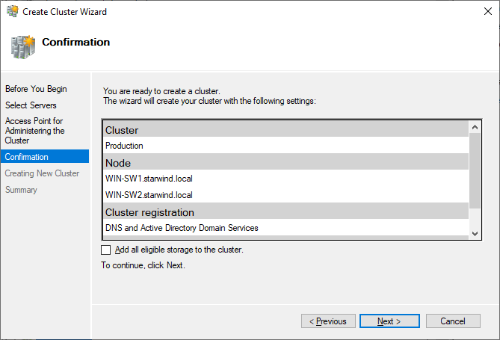
6. In Confirmation, make sure that all settings are correct. Click Previous to make any changes or Next to proceed.
NOTE: If the checkbox Add all eligible storage to the cluster is selected, the wizard will add all disks to the cluster automatically. The device with the smallest storage volume will be assigned as a Witness. It is recommended to uncheck this option before clicking Next and add cluster disks and the Witness drive manually.
7. The process of cluster creation starts. Upon completion, the system displays the summary with detailed information. Click Finish to close the wizard.
Adding Storage to the Cluster
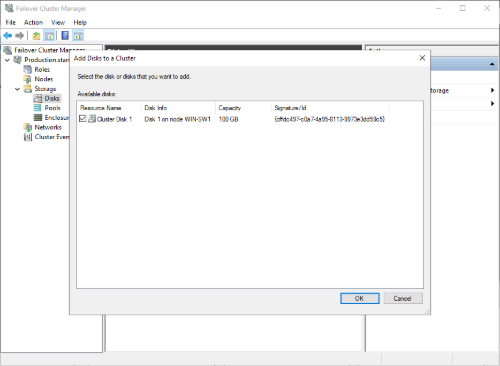
1. In Failover Cluster Manager, navigate to Cluster -> Storage -> Disks. Click Add Disk in the Actions panel, choose StarWind disk from the list and confirm the selection.
2. To configure the cluster witness disk, right-click on Cluster and proceed to More Actions -> Configure
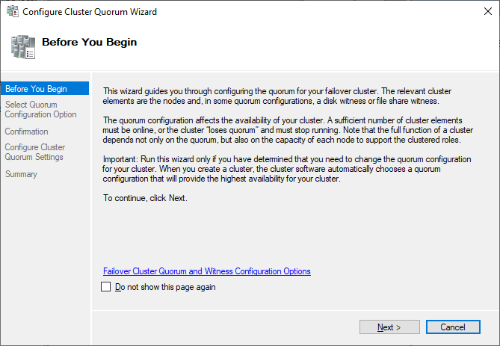
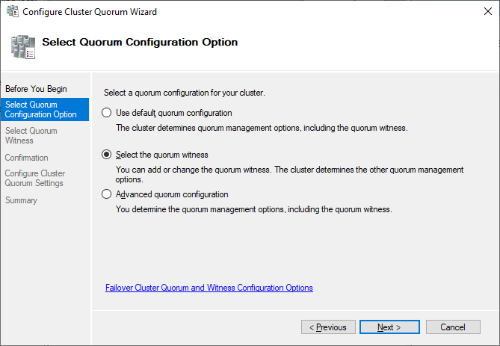
3. Follow the wizard and choose the Select the quorum witness option. Click Next.
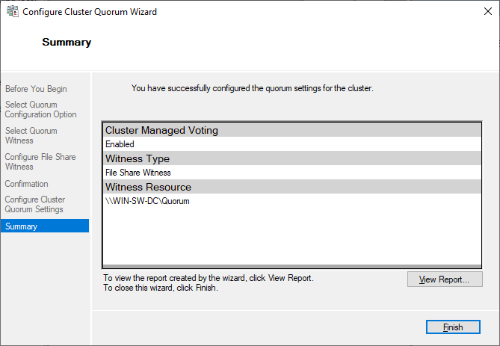
4. Select Configure a File Share Witness. Click Next.

5. Select the file share to be assigned as the cluster witness. Click Next and press Finish to complete the operation.
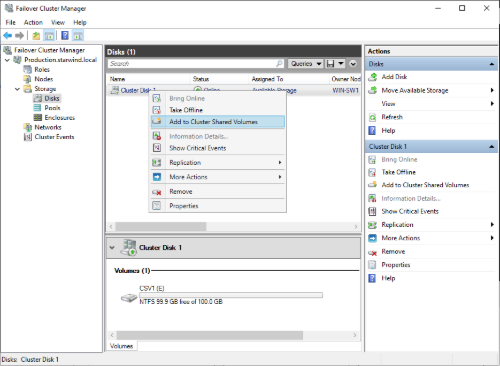
6. In Failover Cluster Manager, right-click the disk and select Add to Cluster Shared Volumes.
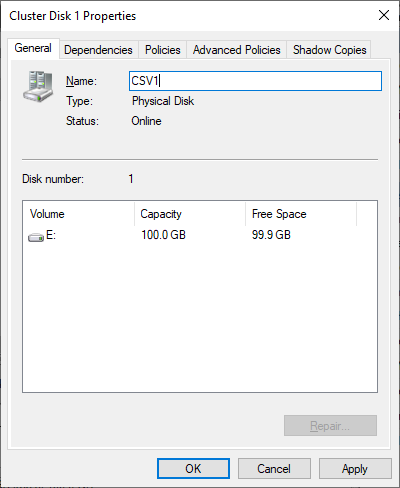
7. If renaming a Cluster Shared Volume is required, right-click on the disk and select Properties. Type the new name for the disk and click Apply followed by OK
Configuring Cluster Network Preferences
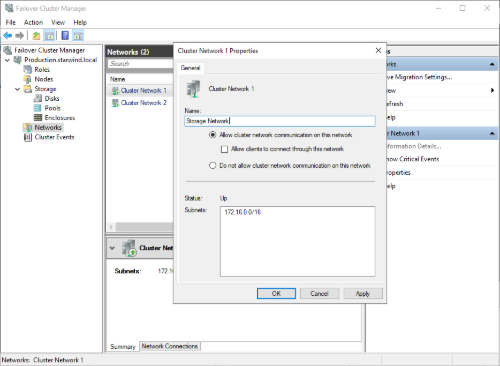
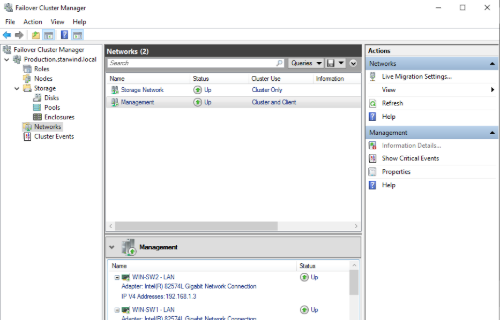
1. In the Networks section of the Failover Cluster Manager, right-click on the network from the list. If required, set its new name to identify the network by its subnet. Apply the change and press OK.
NOTE: Please double-check that cluster communication is configured with redundant networks: https://docs.microsoft.com/en-us/windows-server/failover-clustering/smb-multichannel
2. Rename other networks as described above, if required.
The cluster configuration is completed and it is ready for virtual machines deployment. Select Roles and in the Action tab, click Virtual Machines -> New Virtual Machine. Complete the wizard.
Conclusion
The StarWind NVMe-oF Initiator configuration guide offers IT professionals a comprehensive approach to setting up a Microsoft Failover Cluster with enhanced performance and reliability using NVMe over Fabrics technology. This setup is essential for environments demanding high-speed shared storage and failover capabilities, greatly improving the efficiency of server infrastructures.
