To take benefit of new features provided by AD FS 2016/2019, an AD FS 3.0 deployment must be upgraded following specific steps to avoid service disruption.
The upgrade procedure is pretty straightforward and it doesn’t require any service downtime.
The steps involved in the upgrade procedure are the following:
- Add a new Windows Server 2016 and install the AD FS role
- Configure AD FS service in the new Server
- Move the FBL to the new Server
- Remove old Server from the AD FS farm
- Upgrade to FBL Server 2016
Although the upgrade procedure uses Windows Server 2016 as a reference, steps are similar also for the upgrade to Windows Server 2019.
Install the AD FS role to the new server
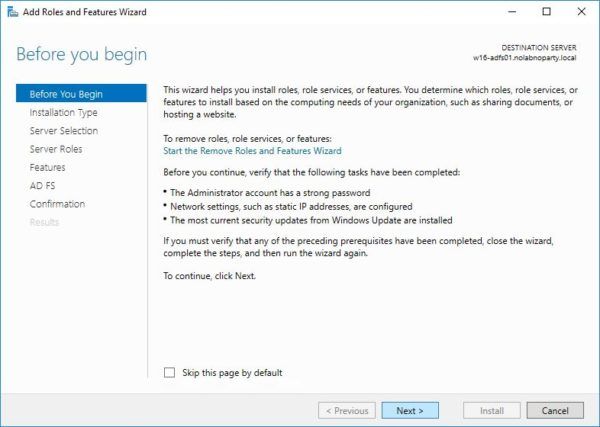
From Server Manager click Manage > Add Roles and Features. Click Next to begin with the role installation.
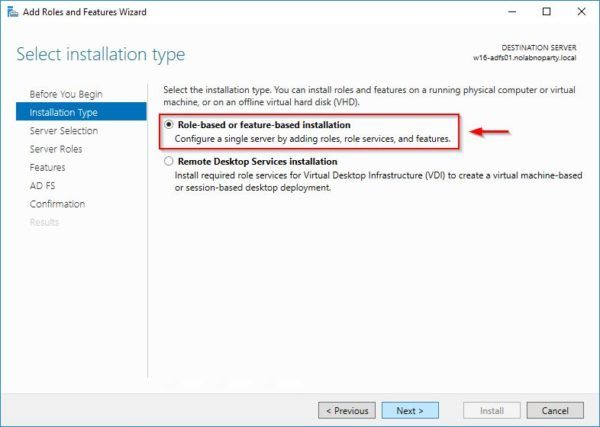
Select Role-based or feature-based installation then click Next.
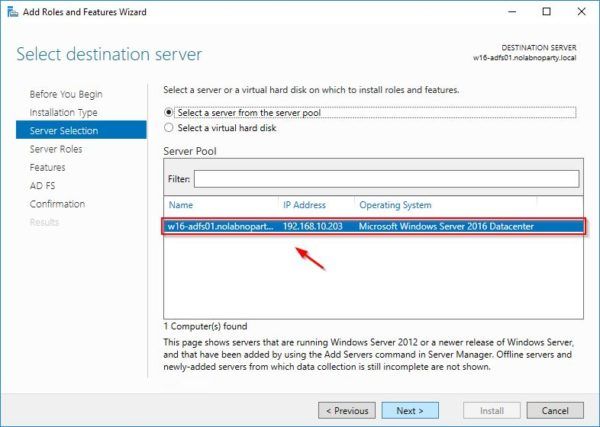
Select the server to install and click Next.
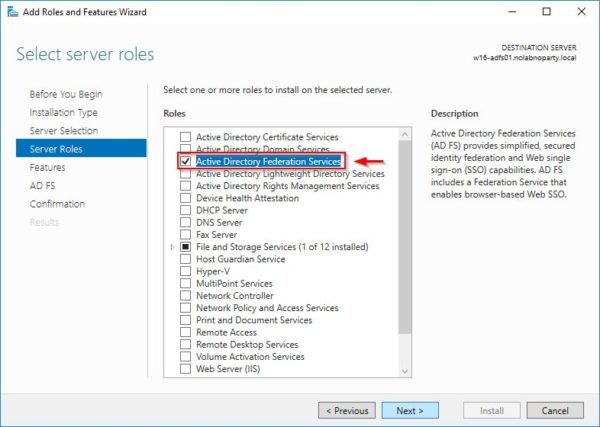
Select Active Directory Federation Services role and click Next.
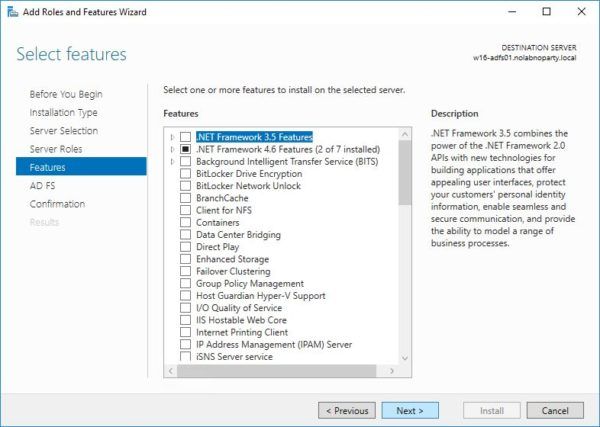
Nothing to select here, click Next to continue.
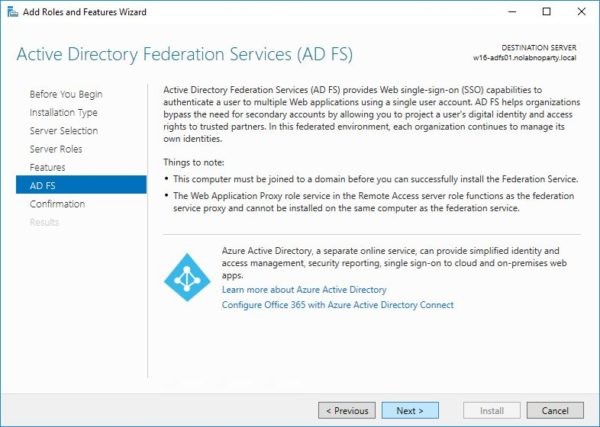
Click Next.
Select Restart the destination server automatically if required option and click Yes to confirm.
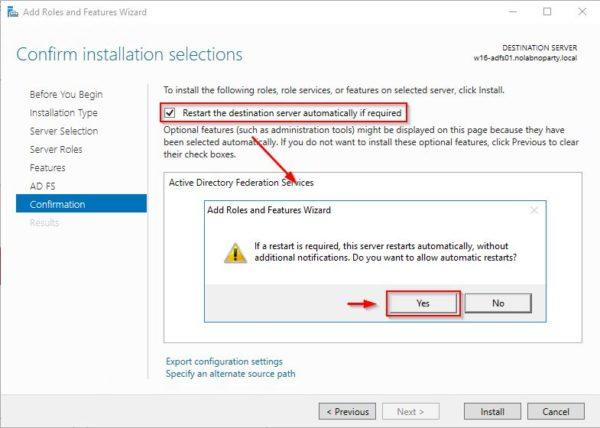
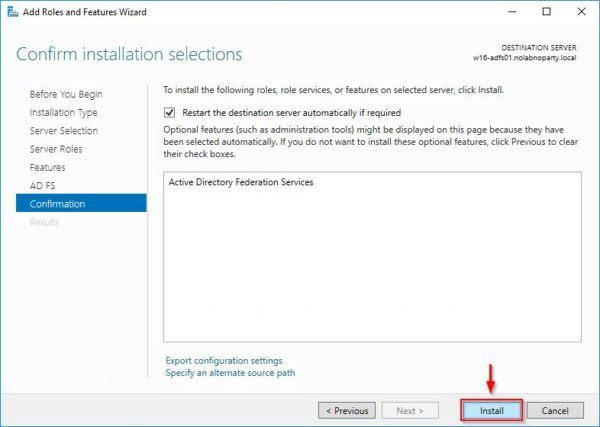
Click Install to proceed wth role installation.
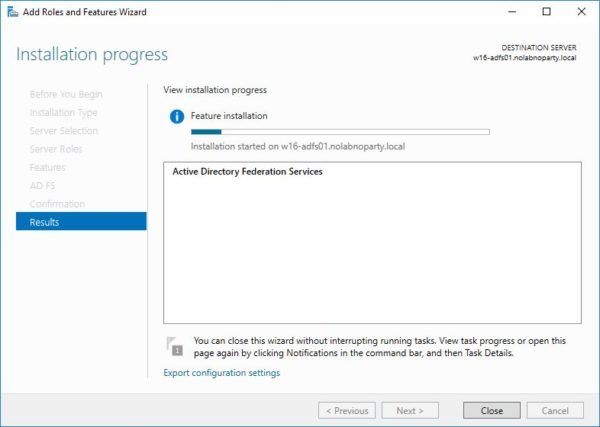
The selected role is being installed in the new server.
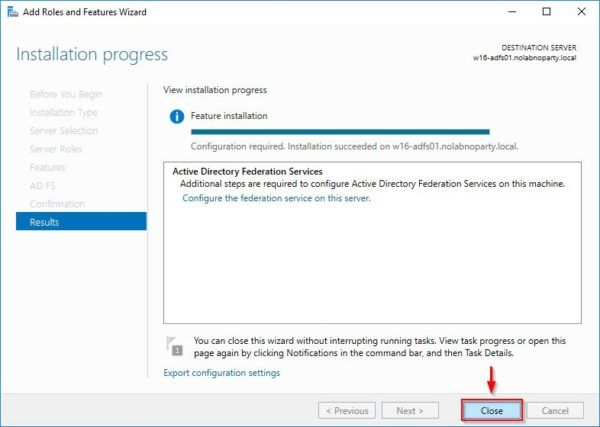
When the installation completes, click Close to exit the wizard.
Configure AD FS in the new server
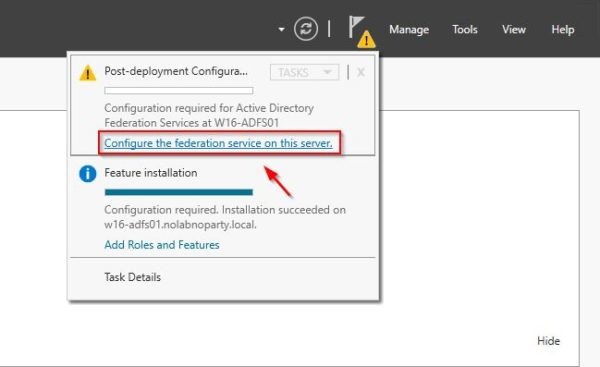
In the top-right of the screen click on the Exclamation mark and select the link Configure the federation service on this server.
Since we are going to upgrade the AD FS version, an existing federation farm is already available in the network. Select Add a federation server to a federation server farm option and click Next.
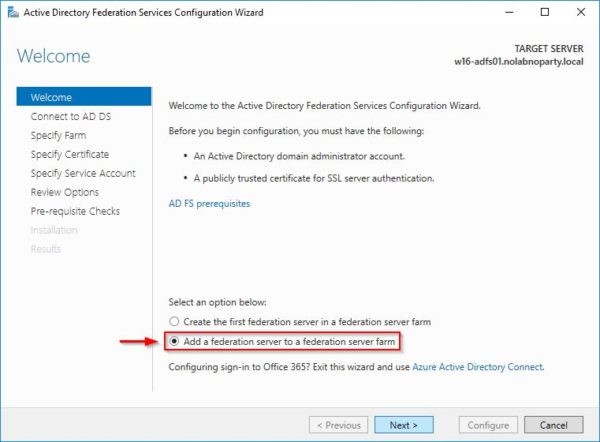
Make sure a Domain Administrator account is selected to perform the service configuration. Click Next.
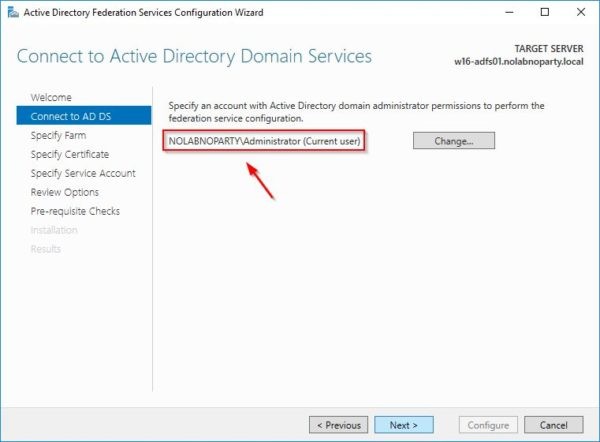
Choose Specify the primary federation server in an existing farm using Windows Internal Database (if WID is used) and enter the FQDN of any AD FS Server 2012 R2 in the Primary Federation Server field. Click Next.
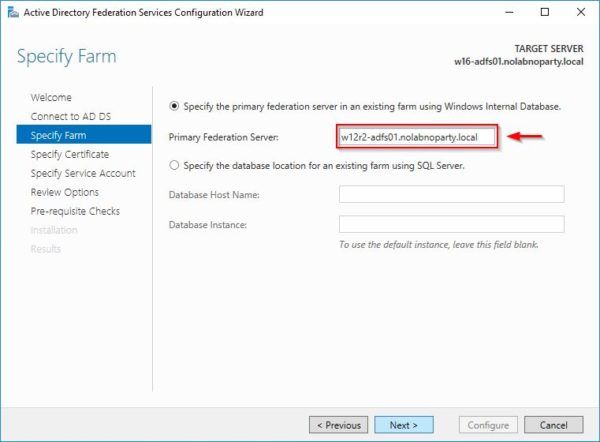
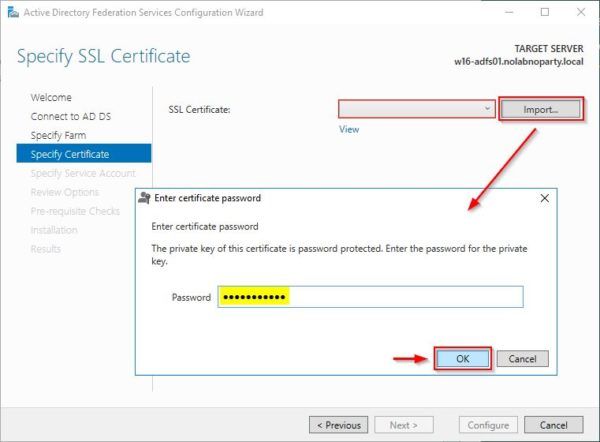
Click Import to import the SSL certificate used in the farm.
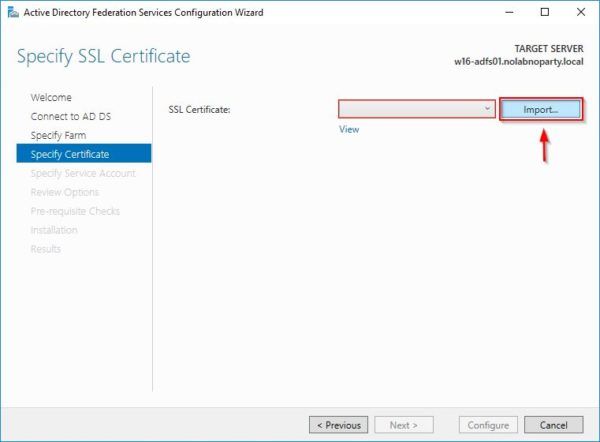
Enter the certificate password and click OK.
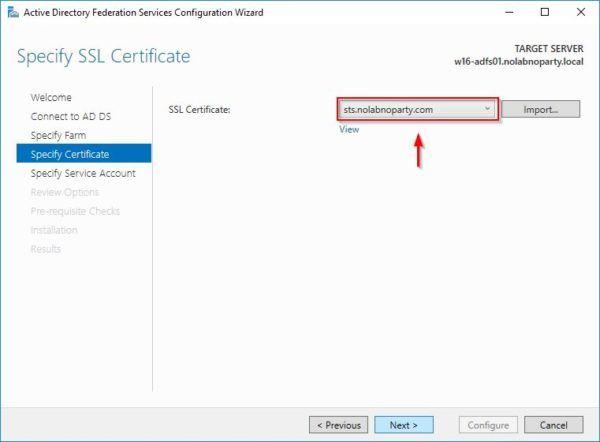
When the correct certificate has been selected, click Next.
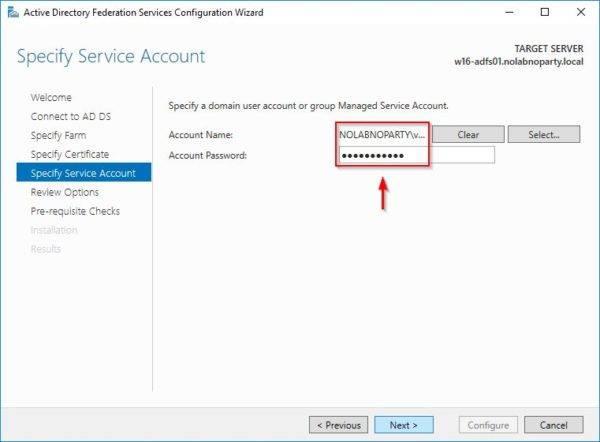
Enter the credentials of the service domain account and click Next.
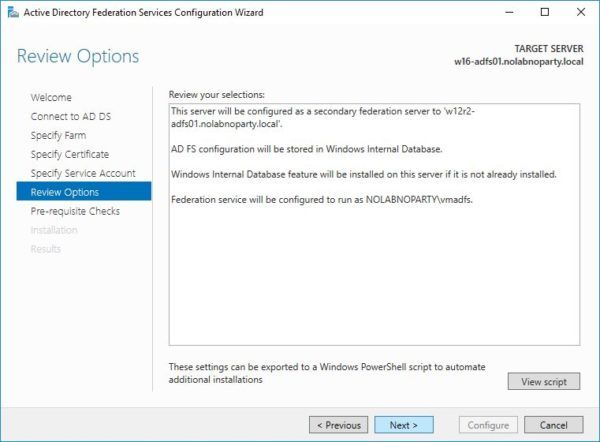
Click Next.
When the Pre-requisite checks passed successfully, click Configure to proceed with the configuration.
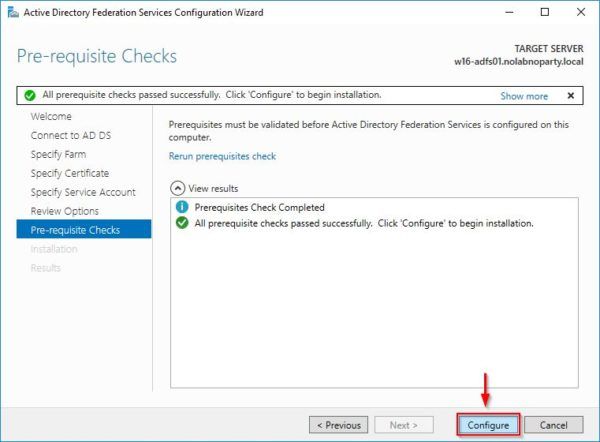
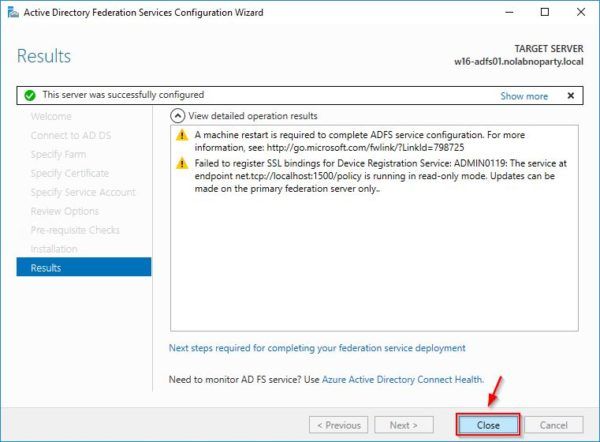
When the configuration process has been configured, click Close to exit the wizard. The Server reboots.
Open PowerShell and run the following command in the Server 2016 to identify the Primary Computer Name:
|
1 |
PS C:\> Get-AdfsSyncProperties |

From the old Server 2012 R2, run the same command to identify the current role, that is Primary Computer.
|
1 |
PS C:\> Get-AdfsSyncProperties |

Move the Farm Behavior Levels (FBL) to the new Server 2016
Introduced in AD FS for Windows Server 2016, the farm behavior level (FBL) is a farm-wide setting that determines the features the AD FS farm can use.
Run the following command to make the Server 2016 as PrimaryComputer.
|
1 |
PS C:\> Set-AdfsSyncProperties -Role PrimaryComputer |

Now verify the Server 2016 role has been assigned successfully.
|
1 |
PS C:\> Get-AdfsSyncProperties |

In the Windows Server 2012 R2 run the command:
|
1 |
PS C:\> Set-AdfsSyncProperties -Role SecondaryComputer -PrimaryComputerName <adfs_server_name> |

Now verify the Windows Server 2012 R2 Role has been changed to SecondaryComputer.
|
1 |
PS C:\> Get-AdfsSyncProperties |

The following command in the Server 2016 will show the current AD FS farm information with the exception of old versions.:
|
1 |
PS C:\> Get-AdfsFarmInformation |

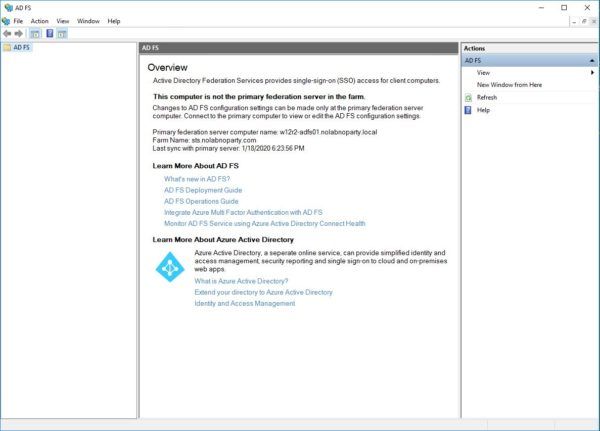
From the Windows Server 2012 R2 open the AD FS Management console. Since the current server doesn’t hold the primary federation server role, no configuration changes are allowed.
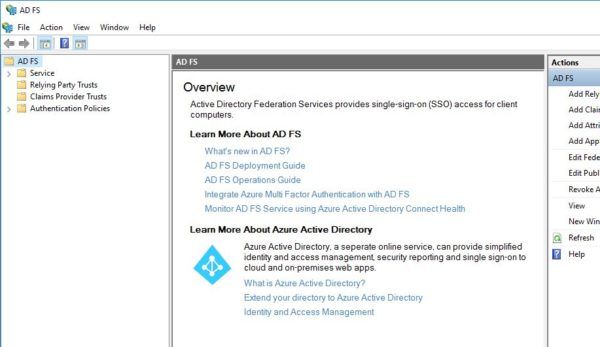
The AD FS Management console from Windows Server 2016 is fully working instead.
Web Application Proxy upgrade
If AD FS Web Application Proxy Servers 2012 are configured in your infrastructure, migrate all the nodes to version 2016 then remove the old AD FS Proxy Servers.
Remove Windows Server 2012 R2 from the AD FS farm
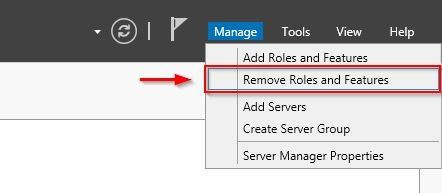
Access the Server 2012 R2 and open Server Manager. Select Manage > Remove Roles and Features.
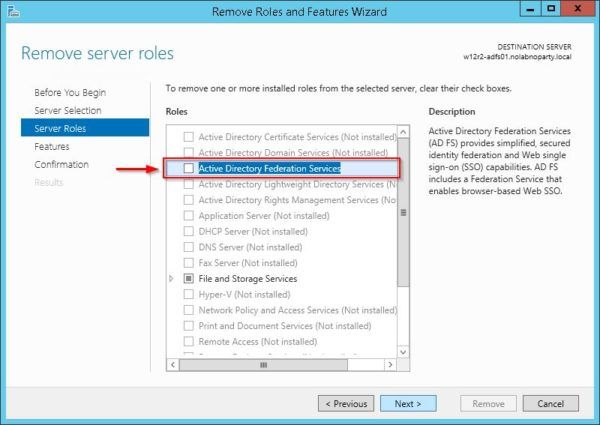
Go through the wizard and uncheck the Active Directory Federation Services role then click Next.
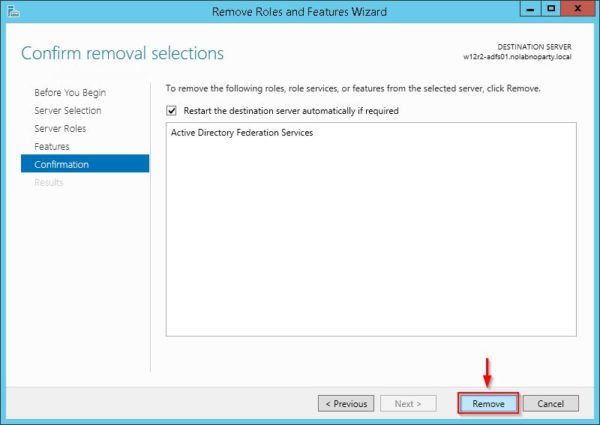
At the end of the wizard click Remove to remove the selected role from the server.
Upgrade to FBL Server 2016
From the Windows Server 2016 run the following command to check current FBL level.
|
1 |
PS C:\> Get-AdfsProperties | Select CurrentFarmBehavior |

Depending on the version used, these are the FBL values by Windows Server version.

To upgrade current FBL level to Windows Server 2016, run the following command:
|
1 |
PS C:\> Invoke-AdfsFarmBehaviorLevelRaise |

Click Yes to proceed with the upgrade. Upgrading the FBL creates a new AD FS configuration database.

After a few seconds the upgrade completed successfully.

Check the current FBL level. Now the reported value is 3.
|
1 |
PS C:\> Get-AdfsProperties | Select CurrentFarmBehavior |

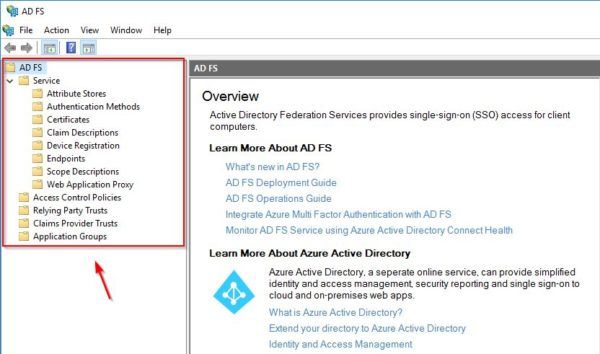
The AD FS Manager in the Windows Server 2016 shows now all the available features.
Test AD FS authentication
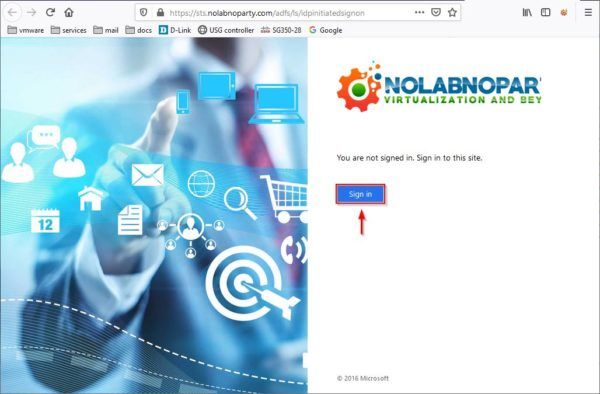
Using your preferred browser, enter the address https://<adfs>/adfs/ls/IdpInitiatedSignon.aspx and click Sign in to test the authentication process.
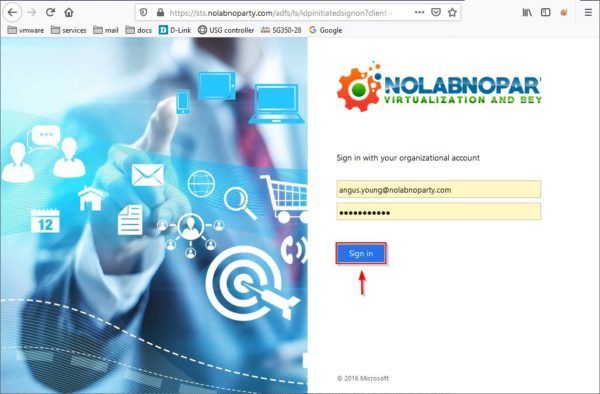
Enter the account credentials to test and click Sign in.
The sign-in was successful.
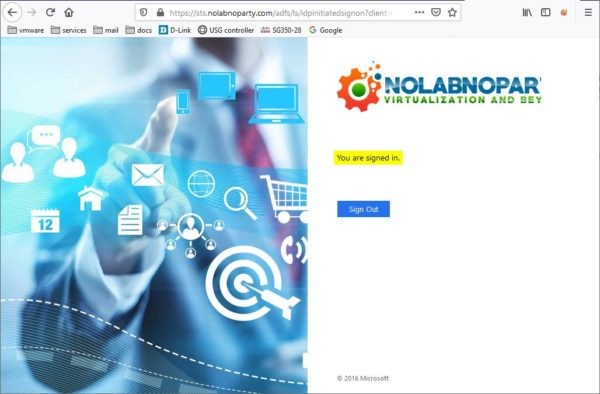
The AD FS infrastructure is now running the new version.


