

Introduction
This article series addresses VSAN from StarWind edition for vSphere.
In this article, I discuss what VSAN from StarWind for vSphere is and how to set it up on the hardware RAID. StarWind VSAN for vSphere is a Software-Defined Storage solution that is designed specifically for vSphere environments. It comes as a preconfigured VM template, so just a couple of quick steps are needed to start running your vSphere environment on StarWind VSAN: download the solution, deploy it, and “play”. Here, I want to share some tips and tricks on working with VSAN for vSphere.
What is StarWind VSAN for vSphere?
As I have already mentioned, VSAN from StarWind for vSphere is a preconfigured VM which can be deployed on your vSphere environment. Worth mentioning that it is not just a simple Windows VM, as we had it previously. Now, it is a ready-to-go Linux-based VM. So, obviously, there’s no need for additional Windows Server licenses for the StarWind VM. Everything is simple: deploy VMs, provision the storage, connect the storage, and create highly available VMs.
Download VSAN from StarWind for vSphere here
System requirements can be found here: https://www.starwindsoftware.com/system-requirements
What’s new?
- Virtual Machine management can be done from the Web interface. Connect the VM from your browser on the port 9090 and configure everything you need.
- Linux Software RAID. StarWind can utilize local storage added to the MDADM array. (Coming soon)
- ZFS and StarWind combination. ZFS pools can be built on the StarWind VM. (Coming soon)
- Storage deduplication. StarWind VM utilizes new deduplication technologies to provide the most efficient data deduplication rate. (Coming soon)
- New caching technologies can be utilized combined with StarWind VSAN.
Tips and Tricks
Do not forget that for HA storage at least 2 StarWind VMs are needed. Each should reside on a separate host. Deploy one VM and clone it to another host within your environment or just deploy one more OVF.
Networking
After you have deployed the StarWind VSAN for vSphere OVF template, it is time to configure the VM.
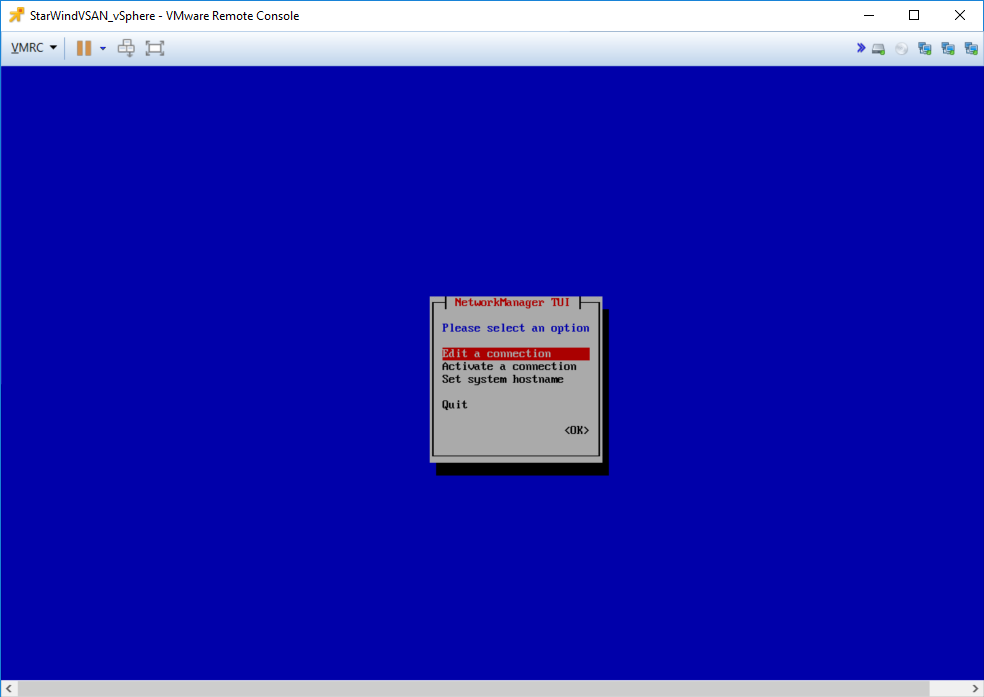
If you do not have a DHCP server, connect to VMware Remote Console and assign the static IP address manually. You can use the nmtui utility to configure it. Log in to the VM through the VMware remote console.
The default credentials are:
Login: root
Password: root
Type nmtui in the shell. Select Edit a connection.
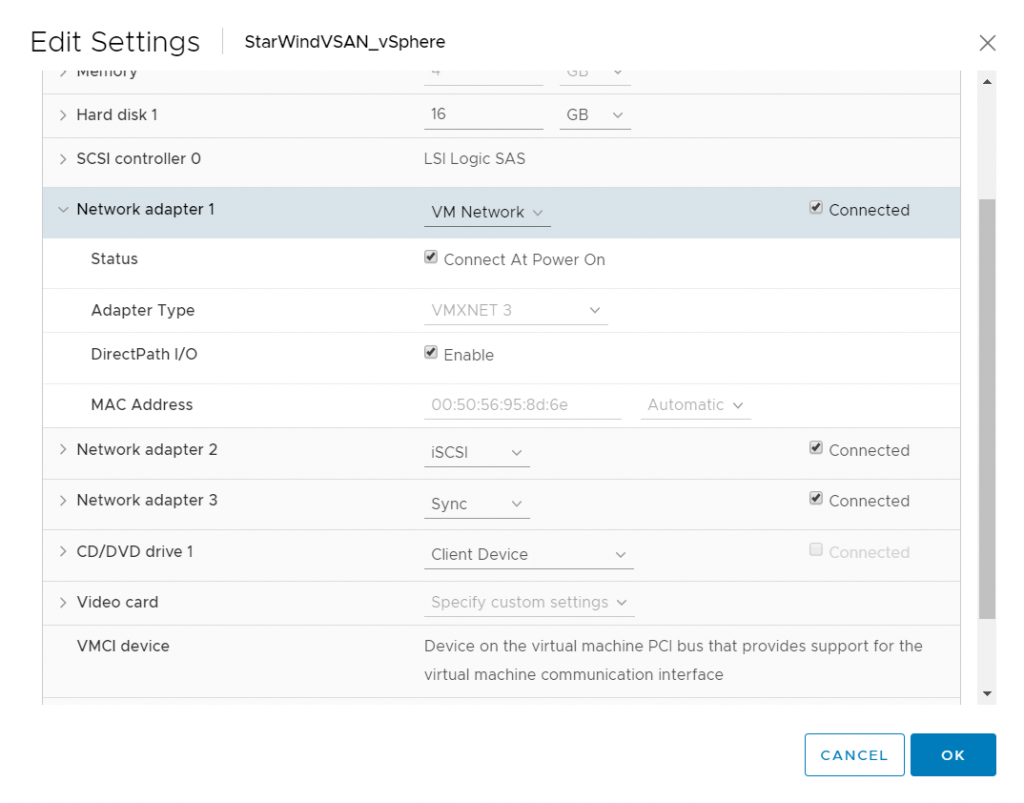
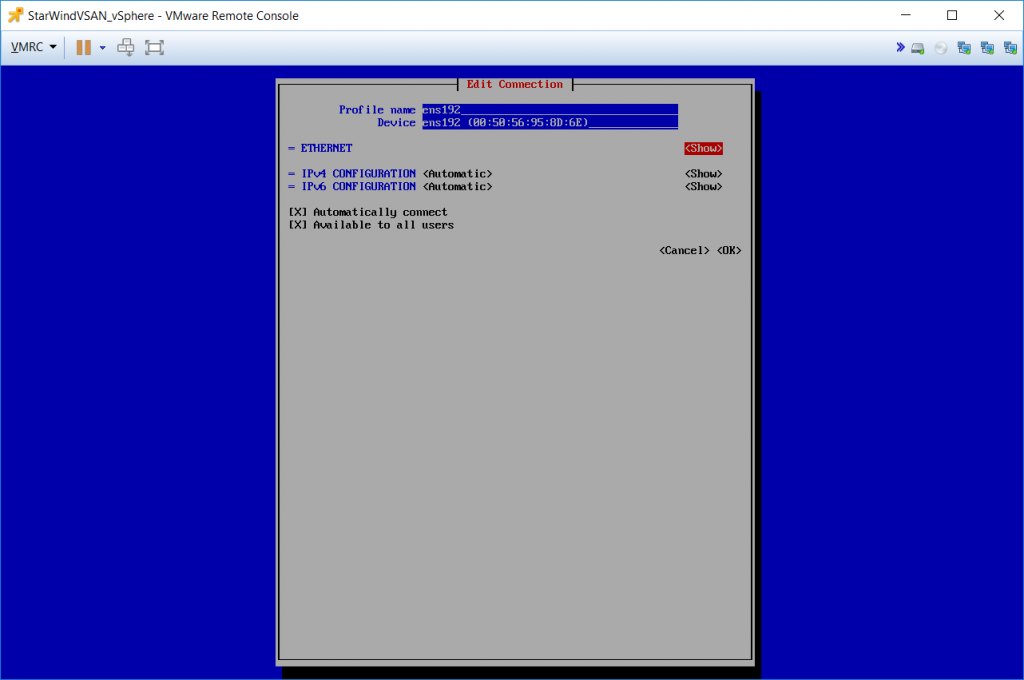
Find the Management interface. By default, it should be the “ens192” interface. In order to check it, you can compare MAC address of the NIC in the VM settings and in nmtui menu. Assign the IP address as well as configure Gateway and DNS servers.
Log in to the VM: https://IP-address:9090
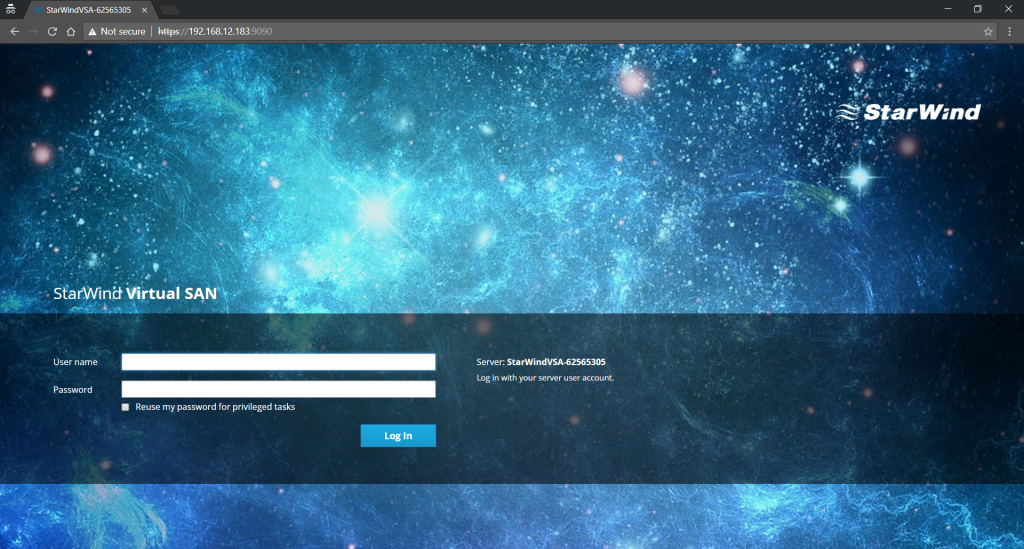
Once you log in, you will see the System page with the general VM information and important metrics. The name of the VM should be changed. To do that, click on the hostname.
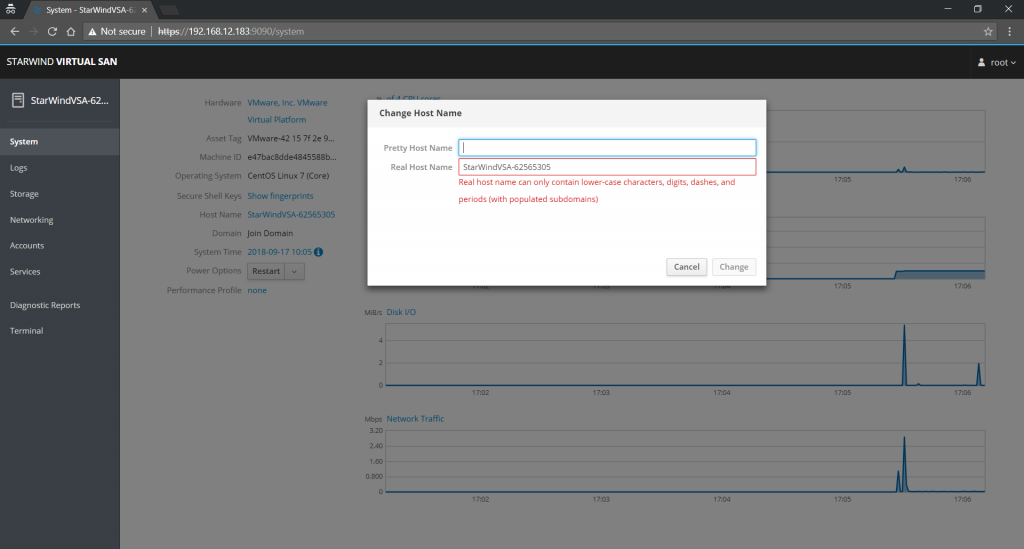
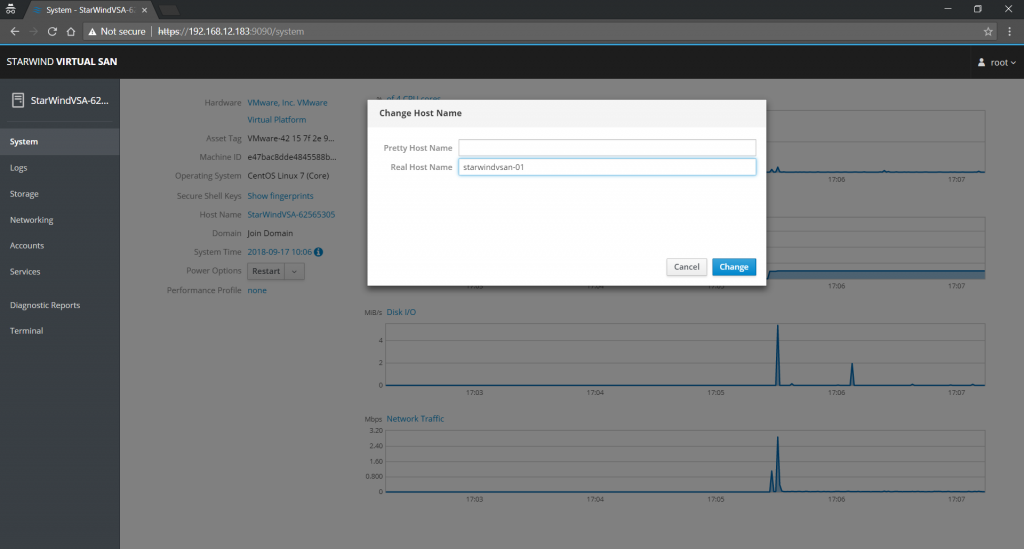
Type the hostname.
Now, it is time to configure Networks. Go to the Networking page. Here, NICs configuration can be changed.
TIP. If the DHCP server is available and the VM has received the IP address, static IP address can be assigned from the Web interface. First, add the static IP address and DNS servers. Click Apply.
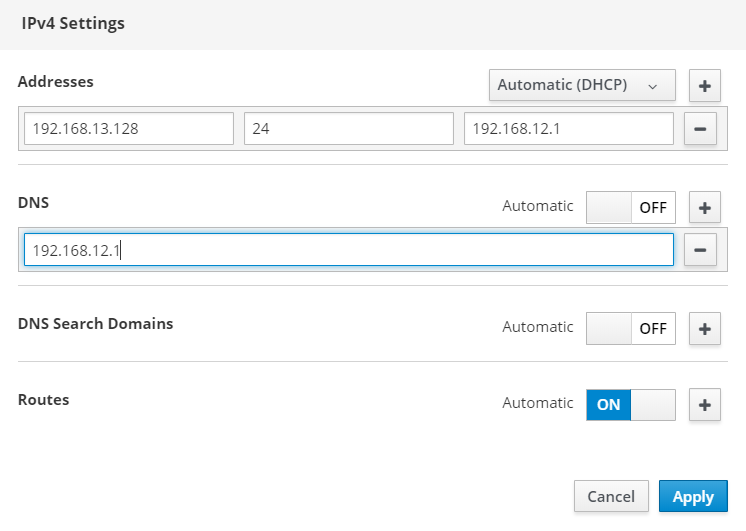
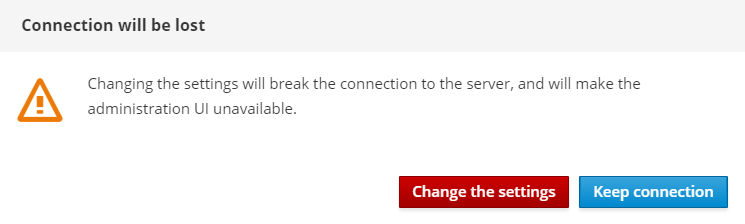
Change the connection type on the interface to manual. Confirm the change.
Assign the IP addresses to iSCSI and Sync NICs. Storage can be configured afterward.
Storage
StarWind VSAN for vSphere can utilize both Hardware and Software RAID. In this post, I show how to work with the hardware RAID. Software RAID configuration will be covered in the following posts.
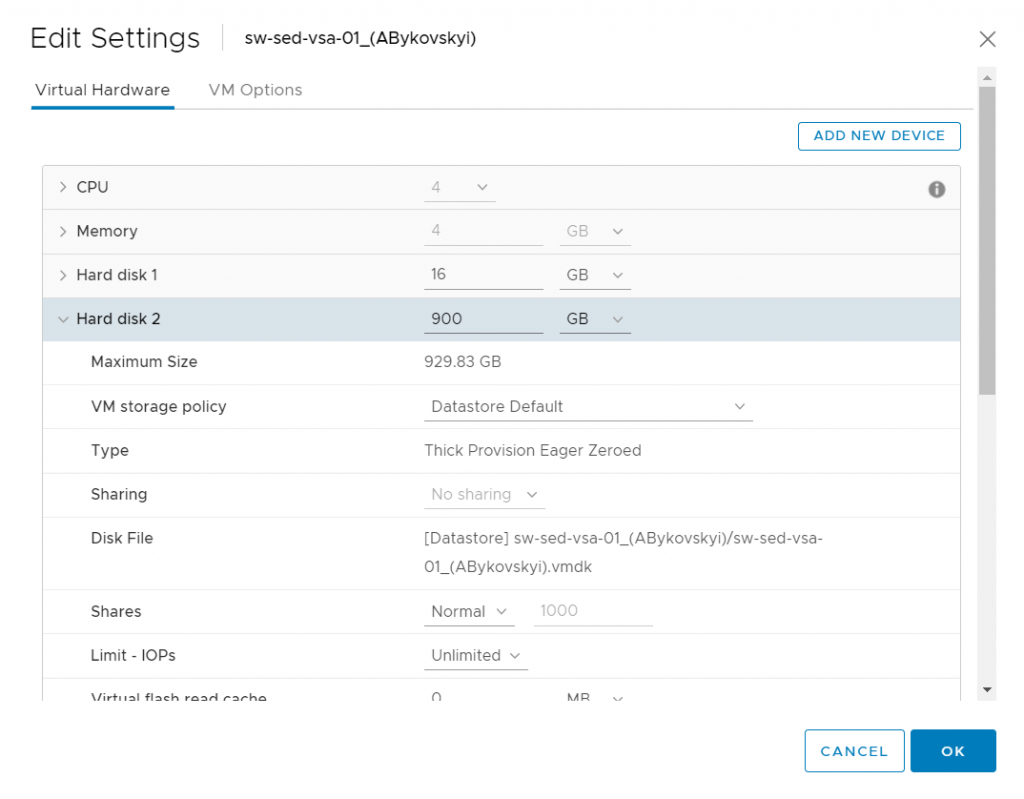
Ok, let’s say, you have a hardware RAID and there’s VMFS datastore on top of it. Next step is adding VMDK of the desired capacity to the VM (Eager Zeroed, of course).
Find StarWind Recommended hardware RAID settings here:
https://knowledgebase.starwindsoftware.com/guidance/recommended-raid-settings-for-hdd-and-ssd-disks/
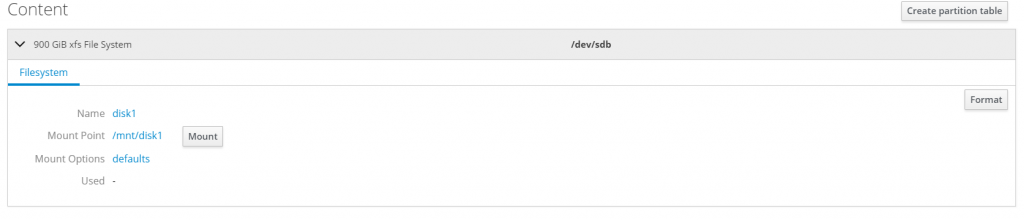
Go to Storage page of the Web interface. In the Drives section recently added disk can be found.
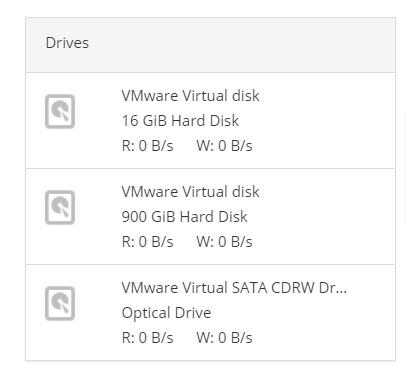
Click on the drive.
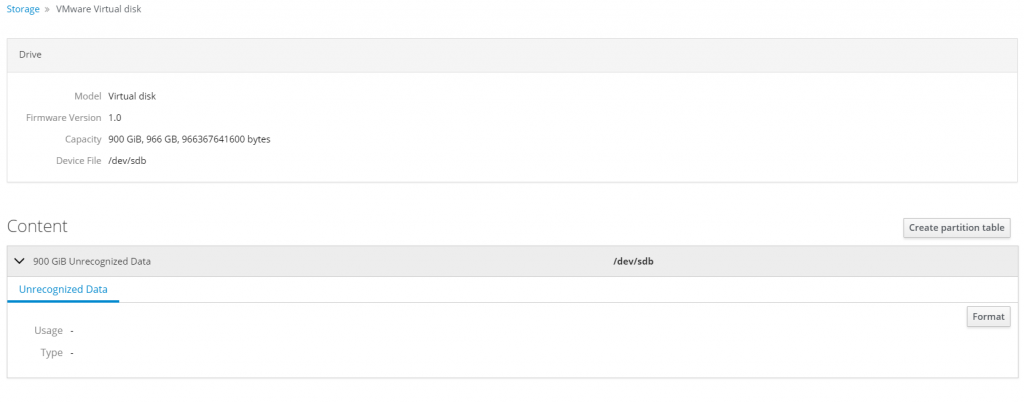
Format the drive. You can avoid the Overwrite existing data with zeros part and do a quick format. Don’t forget about Mount Point, it should be as following: /mnt/%yourdiskname%
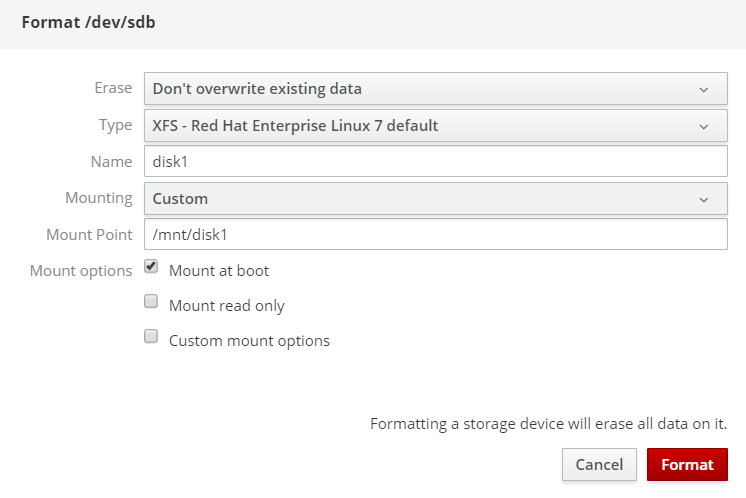
Press Mount.
VSAN from StarWind for vSphere is ready to go. The same thing should be done on the other host.
Let’s create a StarWind HA device. This part is covered in the following guide starting from step 17:
https://www.starwindsoftware.com/help/ConfiguringSynchronousReplication.html
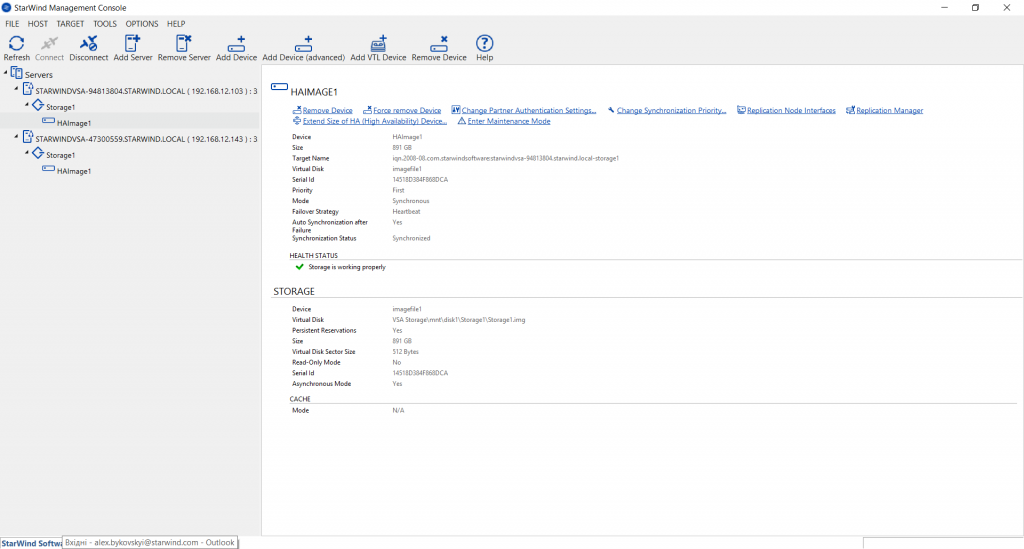
To make the long story short, here’s how the HA device is displayed in StarWind Management Console.
The detailed 2-node VMware vSphere 6.5 cluster configuration guide can be found here:
https://www.starwindsoftware.com/resource-library/starwind-virtual-san-for-vsphere/
Connect the HA device in the VMware iSCSI Software Adapter on both hosts. Add iSCSI IP addresses of StarWind VMs to the Dynamic Discovery tab.
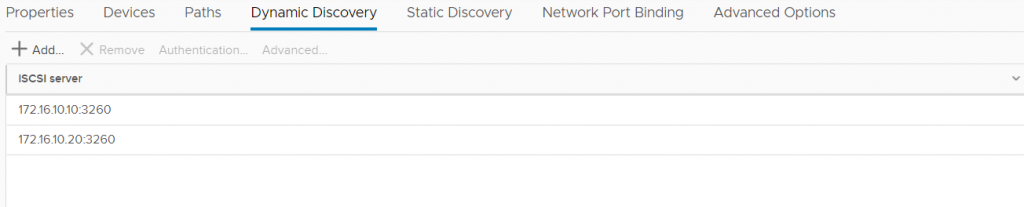
Rescan the storage and the StarWind Device appears.


Eventually, create the datastore and make your VMs highly available 😊
Conclusion
Well, I guess that’s pretty much it for deploying VSAN from StarWind for vSphere on the hardware RAID. In the next article, I will cover configuring the solution with Linux Software RAID.