

The Content Library in vSphere 6.5 is a container object used to store VM templates, vApp templates, ISO files, and other files you can share within your network.
With the capability of sharing these files across multiple vCenter Server instances in the same or different locations, administrators are able to ensure compliance and consistency within the infrastructure when deploying workloads.
VM templates, vApp templates, and other types of files in a Content Library are defined as library items that can contain single or multiple files, such as OVF, ISO, and so on. If the HTTP or HTTPS traffic is allowed between vCenter Server instances installed in your network, library items can be shared with multiple vCenter Servers.
Two types of Content Library objects can be created in vSphere:
- Local: items are stored on a single vCenter Server instance and can be published to allow users from different vCenter Servers to subscribe.
- Subscribed: subscribing to a published library creates a subscribed library. A subscribed library can be created in the same vCenter of the published library or in a different vCenter Server instance. The content of a subscribed library is kept up to date through an automated or manual synchronization to the source published library. Apart from the administrator that can manage templates and files, subscribers can only utilize the content.
Creating a Content Library
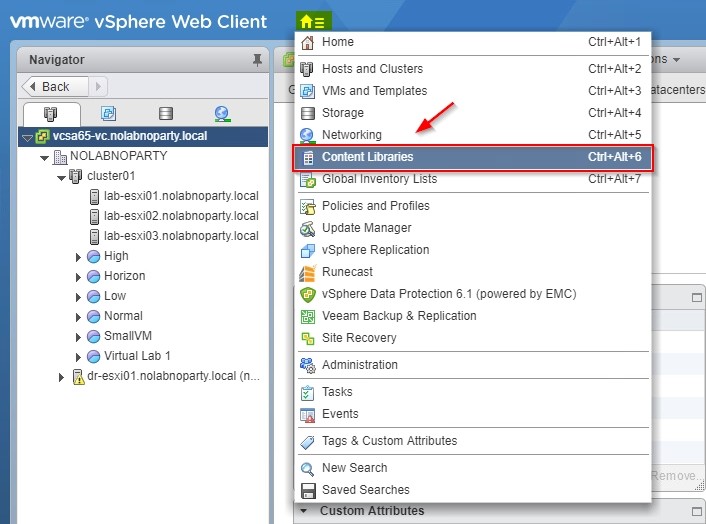
The creation of a Content Library is straightforward. In vSphere Web Client, select Home > Content Libraries from the main menu.
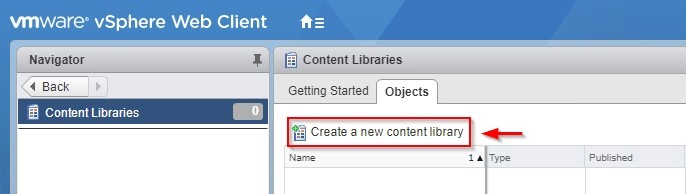
Click on the Create a new content library link to create a new library.
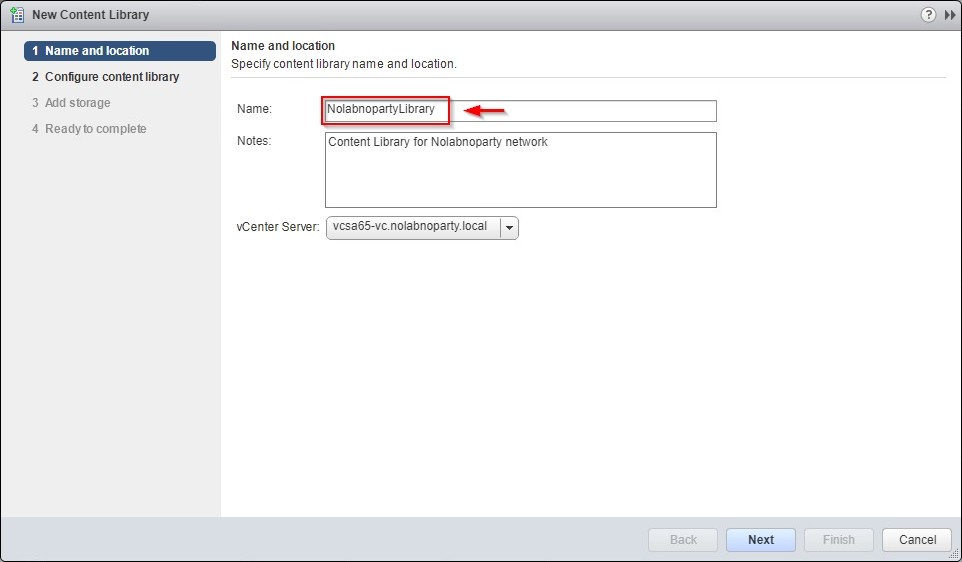
In the New Content Library wizard, enter a Name, optionally some Notes to better explain the scope of the library, then click Next.
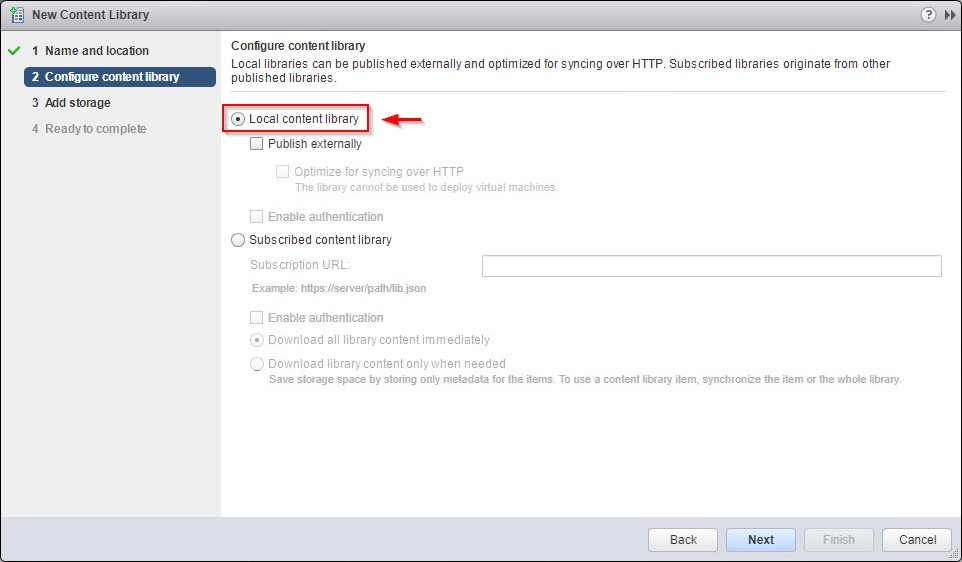
Specify the type of Content Library to create by choosing between Local or Subscribed options. Select the Publish externally option to allow other vCenter Server instances to access the Library’s content. Click Next to continue.
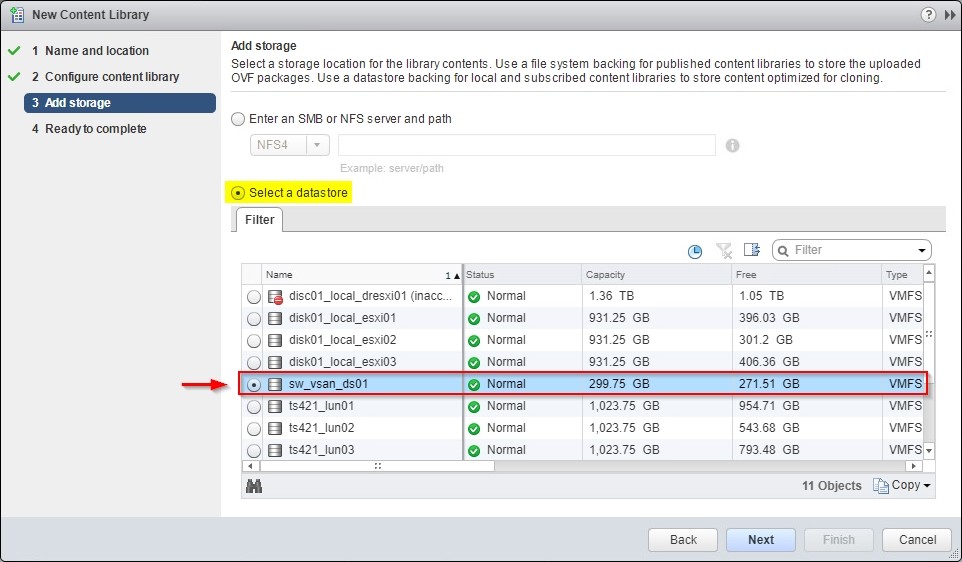
Specify the datastore used to store the library’s content. Then click Next.
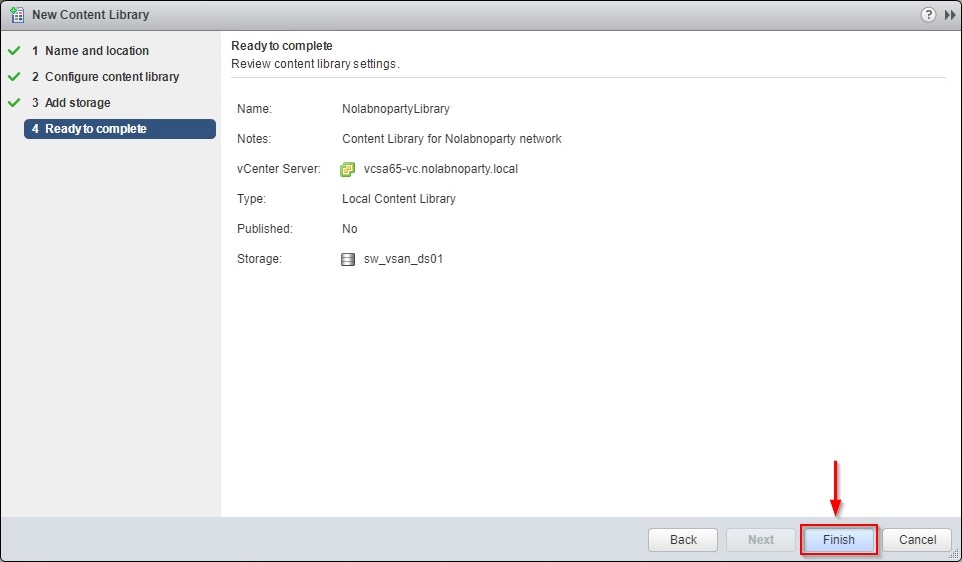
Click Finish to create the Content Library.
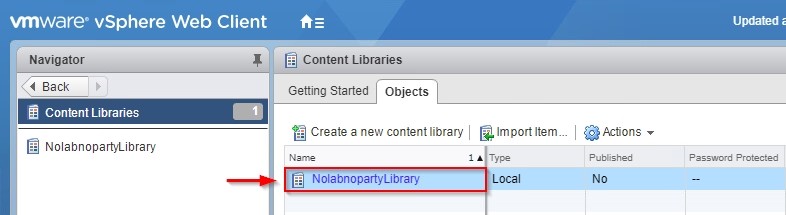
The created library is displayed on the page.
Import contents into the library
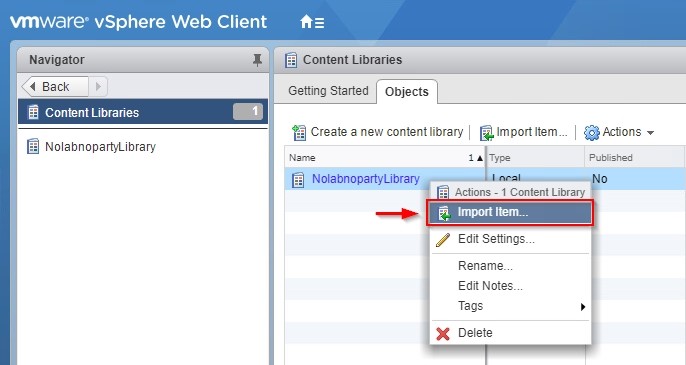
To import content into the library OVF, ISO, and other types of files right-click the created Content Library and select Import item.
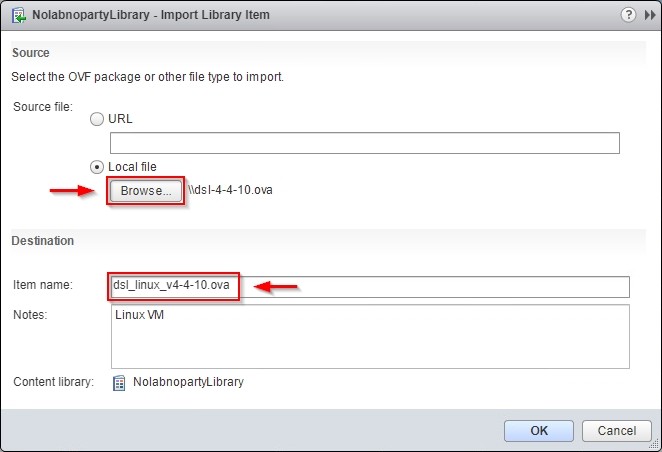
Files can be imported by specifying a URL or a file stored on the local computer. Use the Browse button to select a local file to import and specify the Item name. Click OK to confirm the file import.
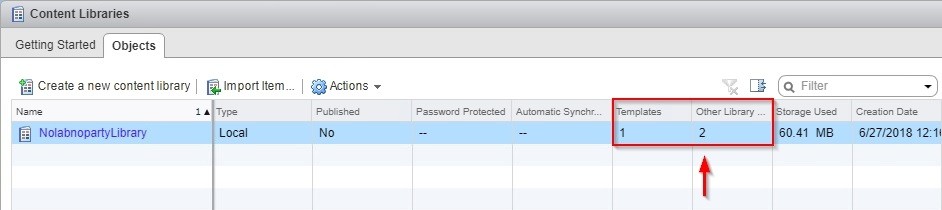
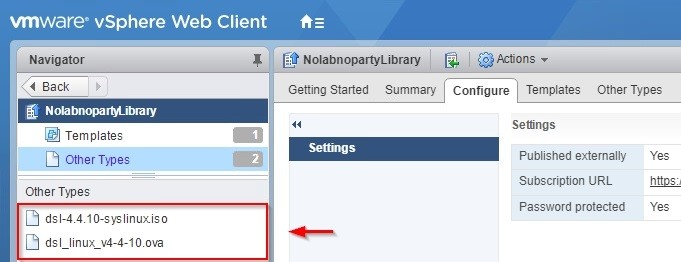
If more items are imported into the library, Templates or Other Library Items columns display the number of available items stored in the library.
Select the created library for an overview of available files. Inside the library, files are grouped as Templates and Other Types.
Change Library Content settings
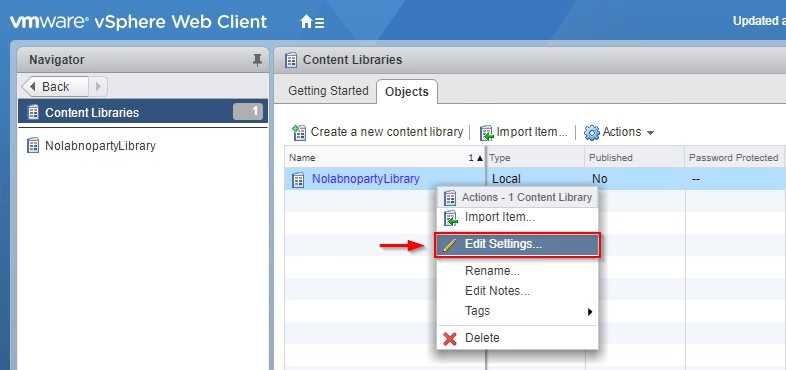
You can Edit, Rename or Delete a Content Library at any time. To modify the configuration settings, right click the library to process and select Edit Settings.
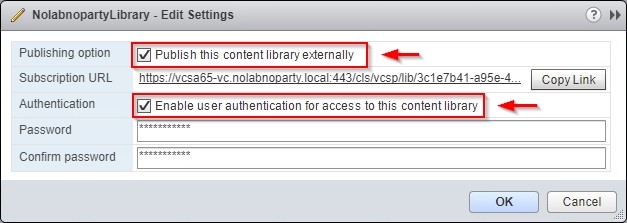
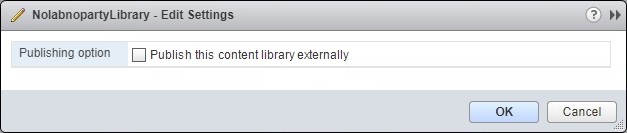
If the library to edit is Local, you can enable the content sharing by enabling the Publish this library externally option with the possibility to protect the access with a password through the Authentication checkbox. URL and password should be provided to users to subscribe to the library. Click OK to enable the new configuration.
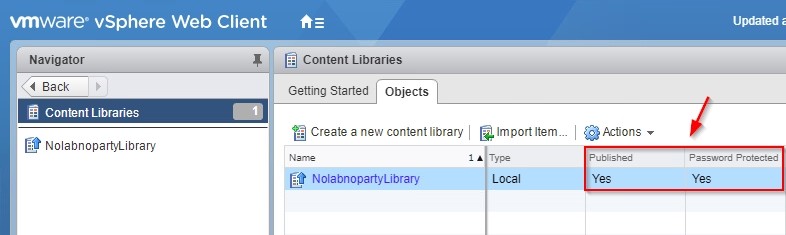
Configured settings are shown in the appropriate columns.
If the library to edit is already Published, you can stop sharing the content with other users by unchecking the Publish this library externally option. Once unpublished, subscribers can no longer use the library content.
Subscribing a Content Library
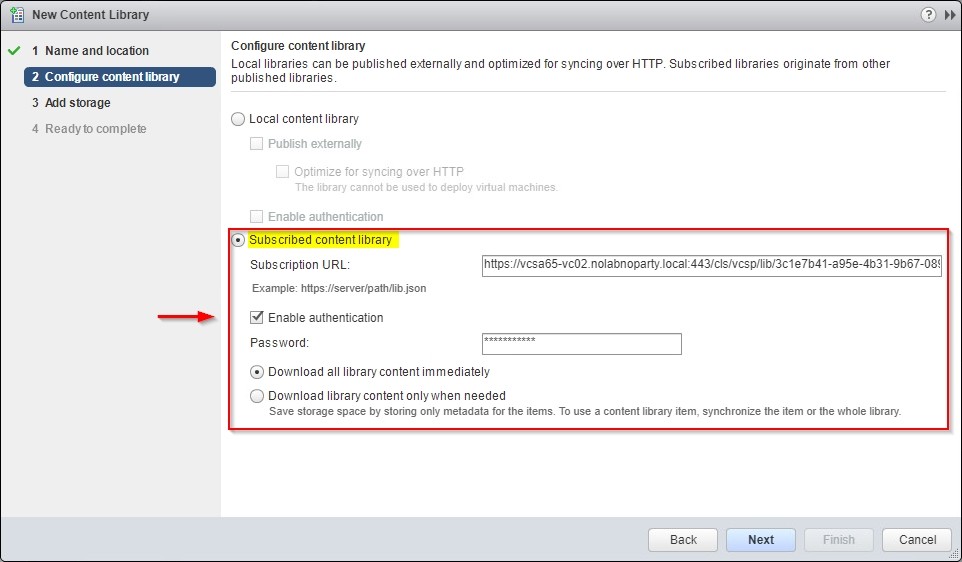
To subscribe to a published library, click the Create a new content library option from the main page to create a new library and select the Subscribed content library option. Specify the Subscription URL and Enable authentication if the library requires it. Specify also the download type to use.
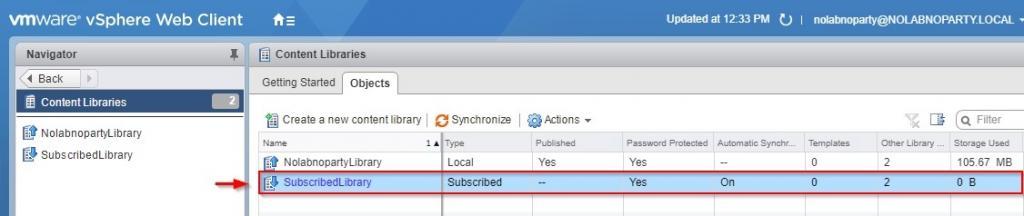
When the creation of the new library has completed, the subscribed library is displayed on the page.
Library Synchronization
If a published library has to share its content between multiple vCenter Servers, the content needs to be synchronized from the published to subscribed library through a synchronization operation. The content stored in the published library is downloaded to the subscribed library.
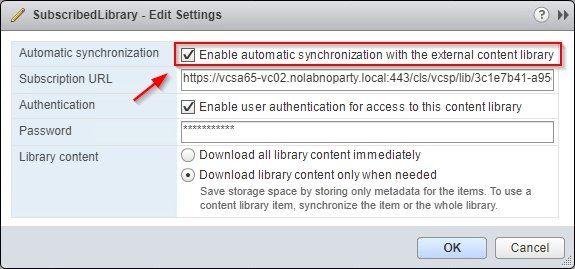
The synchronization can be performed manually or automated. To execute an automated synchronization, you need to enable the Enable automatic synchronization with the external content library option in the library settings.
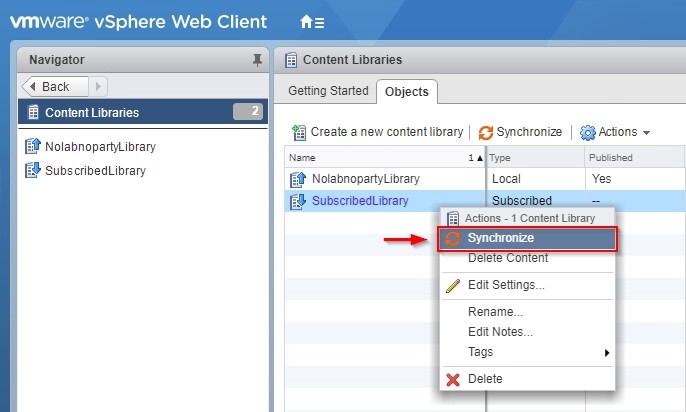
To perform a manual synchronization, right-click the library to synchronize and select Synchronize.
Library synchronization may have different scenarios depending on the vCenter Server connectivity and storage configuration. Check out this VMware post for additional details.
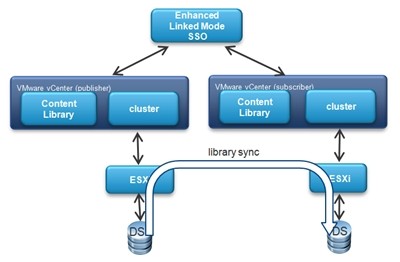
In an Enhanced Linked Mode environment, the synchronization between a published library stored on one vCenter and a subscribed library that resides on another vCenter occurs by directly copying files from source to target datastore (image from VMware website).
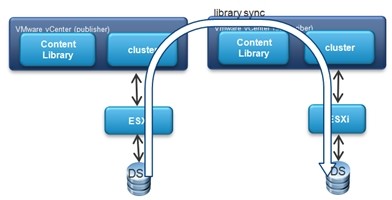
If Enhanced Linked Mode is not in place, the content synchronization between published and subscribed libraries occurs by streaming the content through the Content Library Transfer Service (image from VMware website).
Deploy a VM from a template file in the Content Library
Once VM templates have been stored in the Content Library, you have the option to deploy a virtual machine directly from the library.
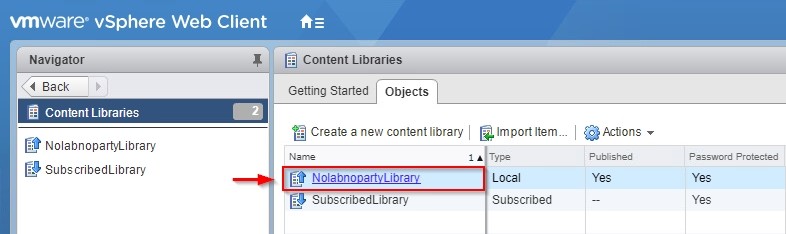
From Home > Content Libraries, click on the library containing the template of the virtual machine to deploy.
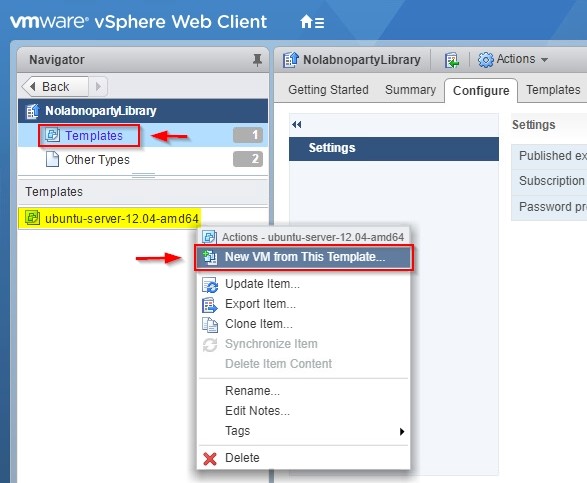
Click Templates tab, right-click the template to use and select New VM from This Template option.
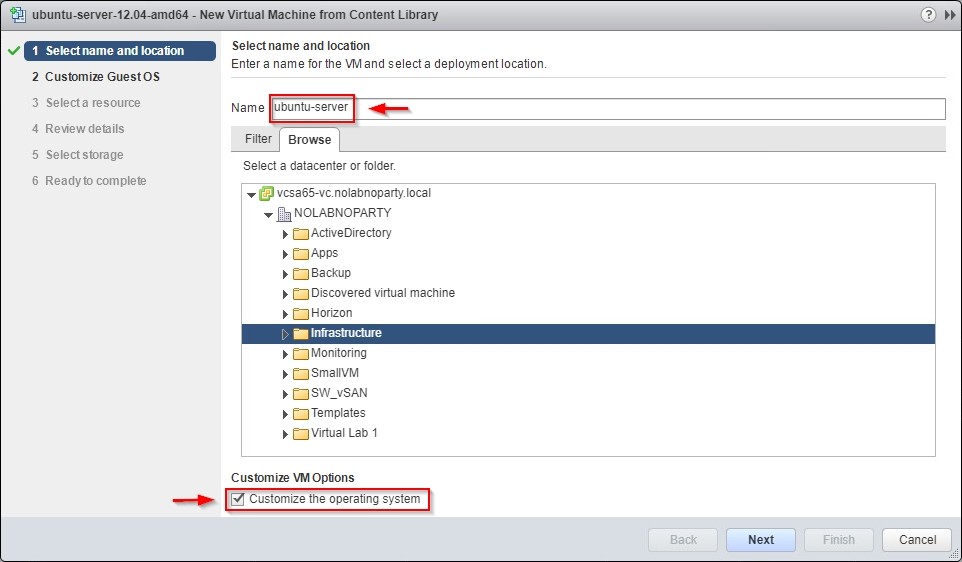
Specify the virtual machine Name and enable Customize the operating system if you want to use a guest OS customization file (a new feature introduced in vSphere 6.5). Click Next.
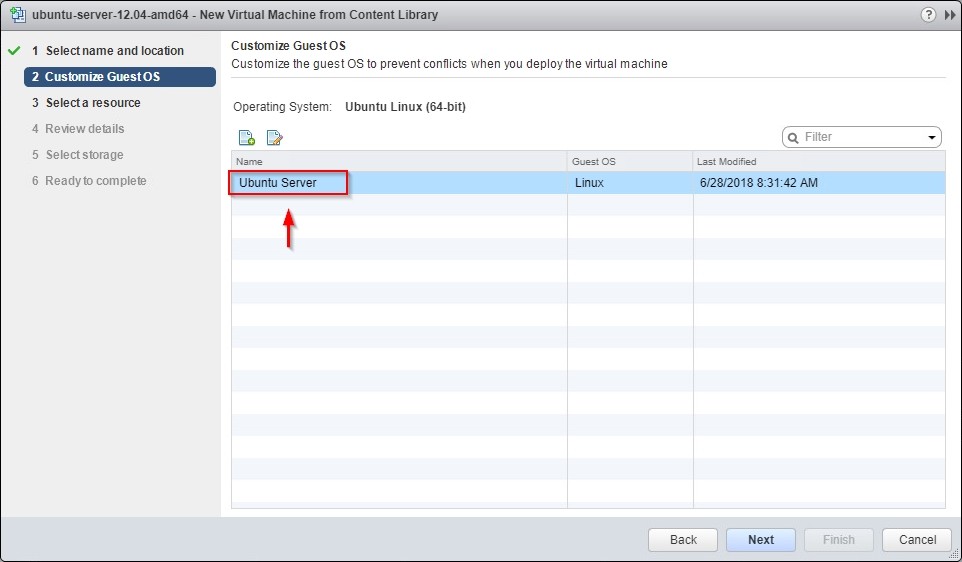
If you previously enabled the option, select the customization specification to use and click Next.
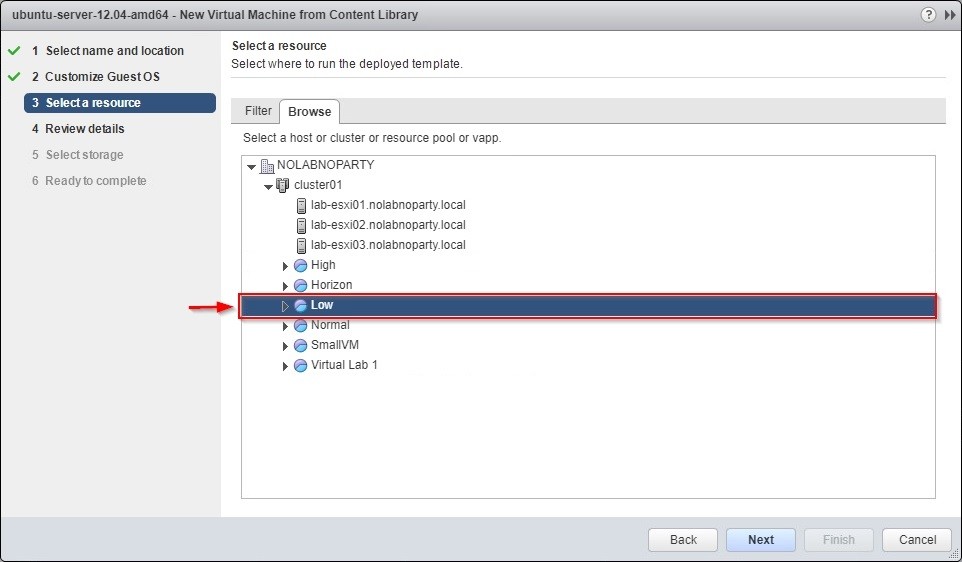
Specify where to run the new virtual machine and click Next.
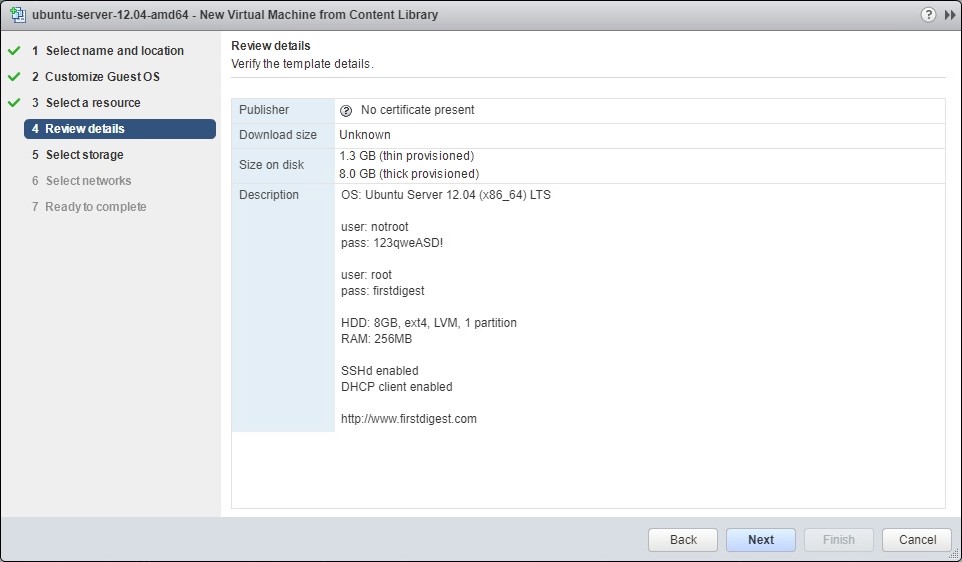
Review details and click Next to continue.
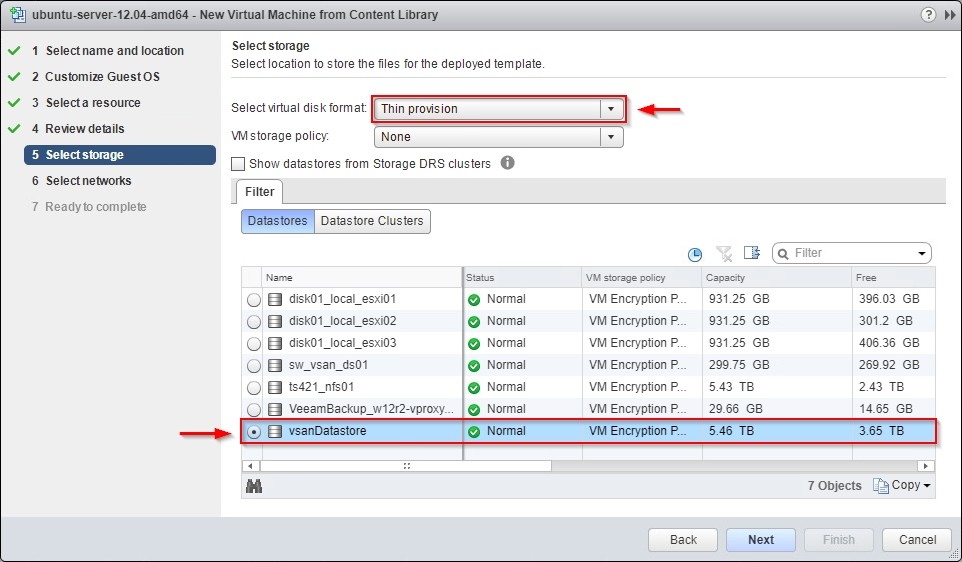
Select a disk format and datastore to use, then click Next. Please keep in mind, Thin provision is not recommended in production and must be used carefully to avoid overbooking.
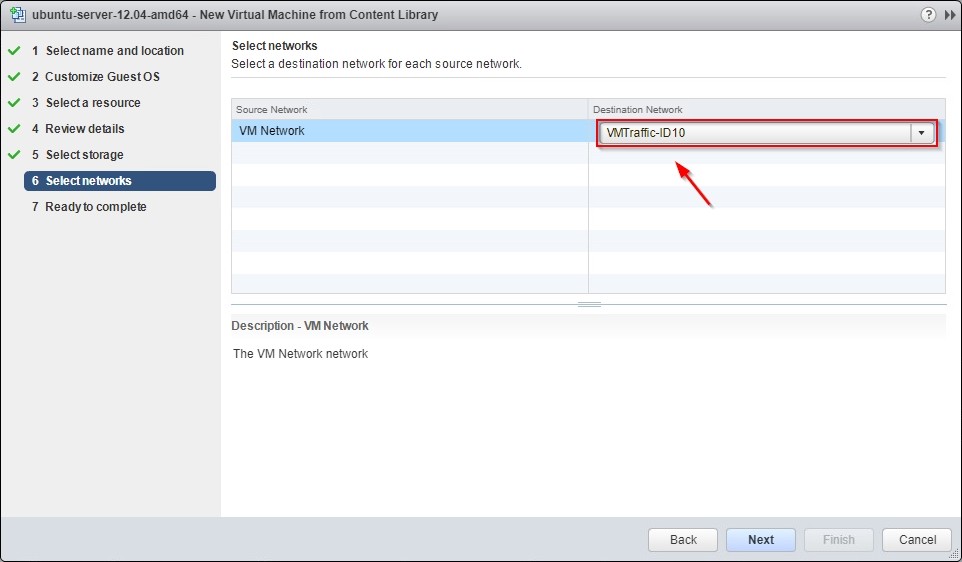
Specify the network to use and click Next.
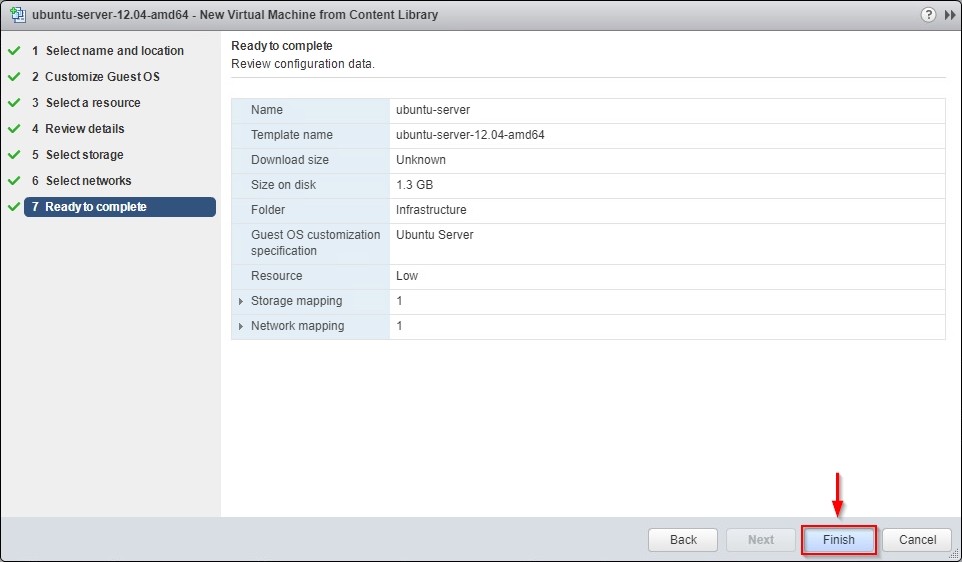
Click Finish to deploy the virtual machine.
When the deployment has been completed, the new virtual machine is up and running in your environment.
In vSphere 6.5, the Content Library feature has been improved introducing new interesting capabilities, such as mounting an ISO file directly from the library, update existing templates, and apply guest OS customization. The use of Content Libraries is a good option to manage VM templates, ISO images, and so on from a single repository without distributing files across network data stores.
