In a previous topic, I explained how to deploy a Windows Virtual Desktop solution. Now I’d like to show you how to deploy the session hosts by using an image. For that, I use a tool written by Marcel Meurer that eases the management and deployment of Windows Virtual Desktop. You can find this tool here.
To follow this topic, I assume you have deployed the WVD Admin tool and it’s working
Prepare the template VM
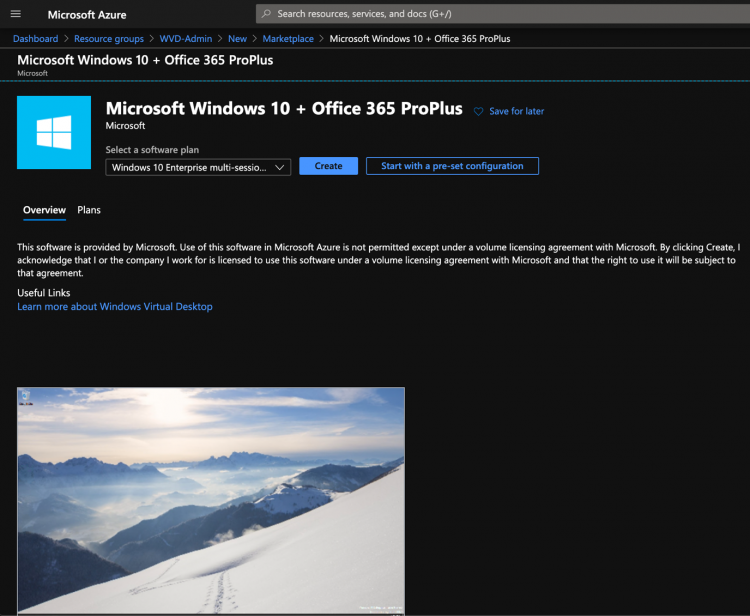
The recommended operating system for Windows Virtual Desktop is Windows 10 Enterprise multi-session. So, the template VM must be deployed with this operating system. Open the Microsoft Azure marketplace and look for Windows 10 + Office 365 ProPlus as below. Then choose Windows 10 Enterprise multi-session
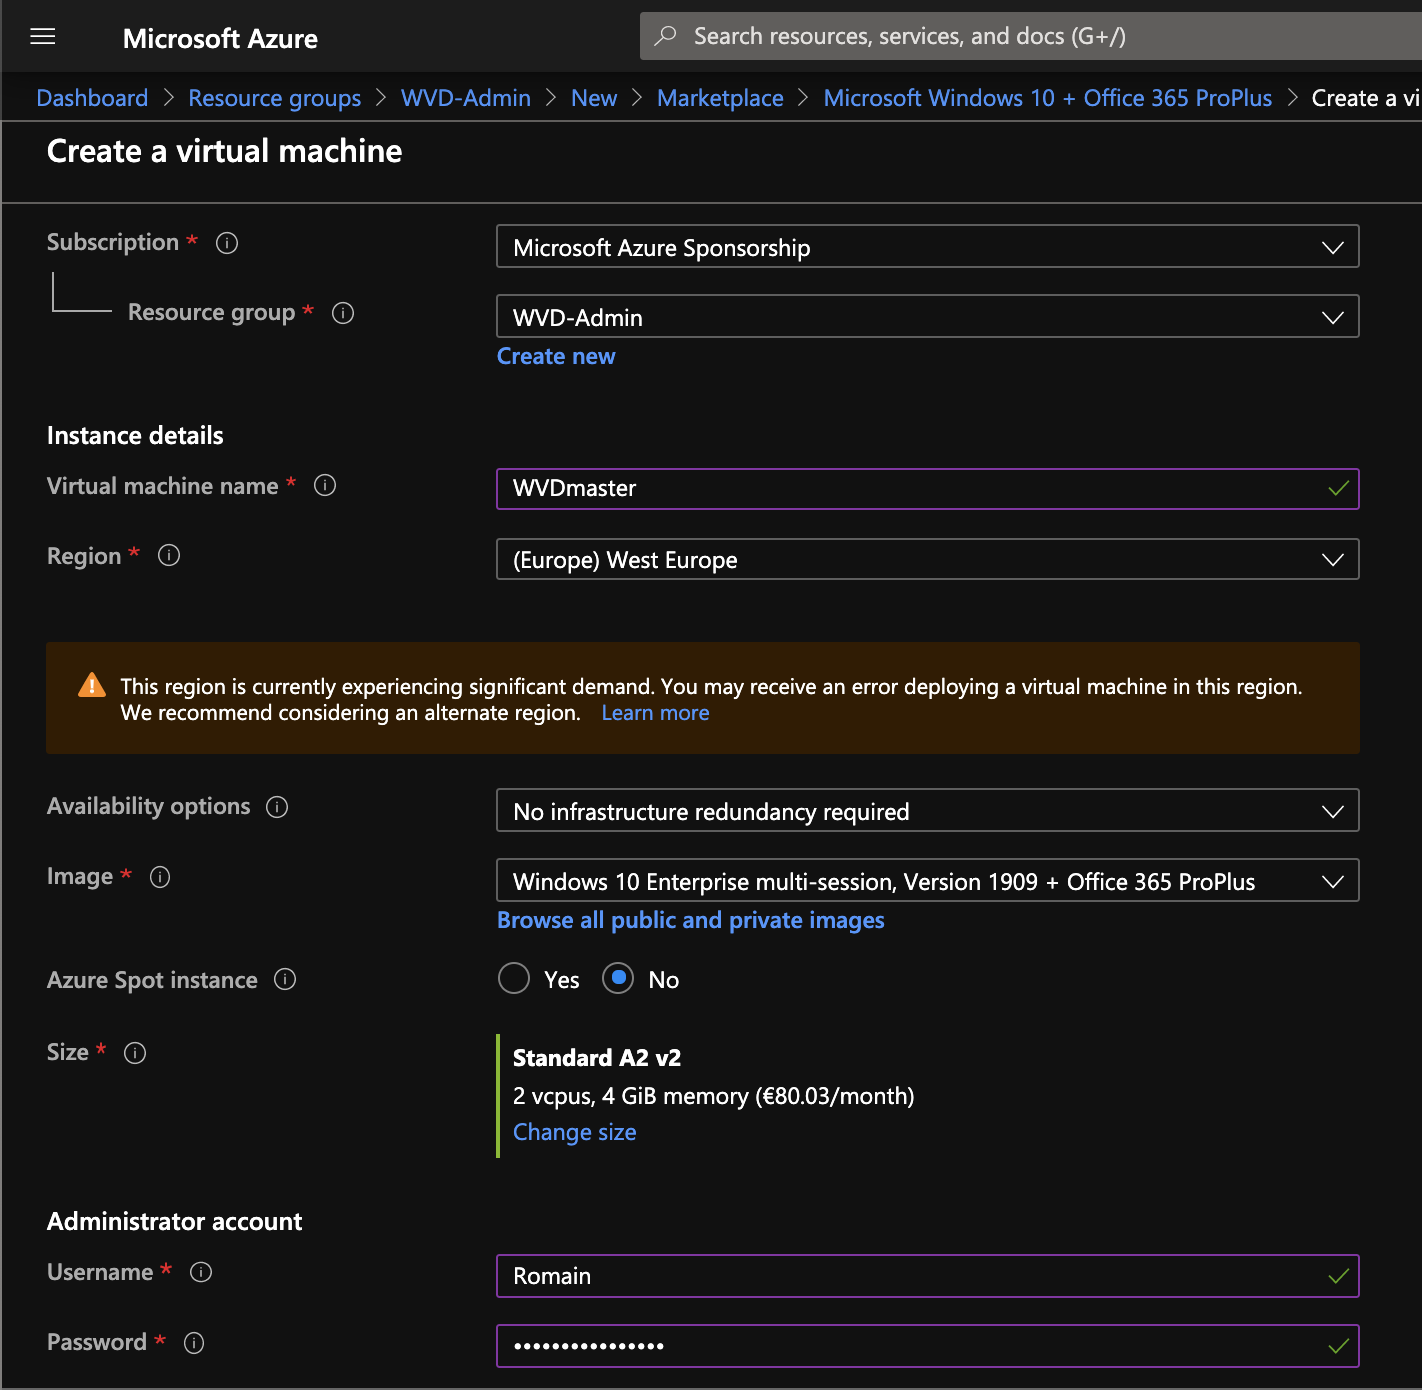
I recommend you create a resource group dedicated to Windows Virtual Desktop administration and add the template VM inside. Give a name to the VM, choose a region and a VM size and specify the administrator credentials.
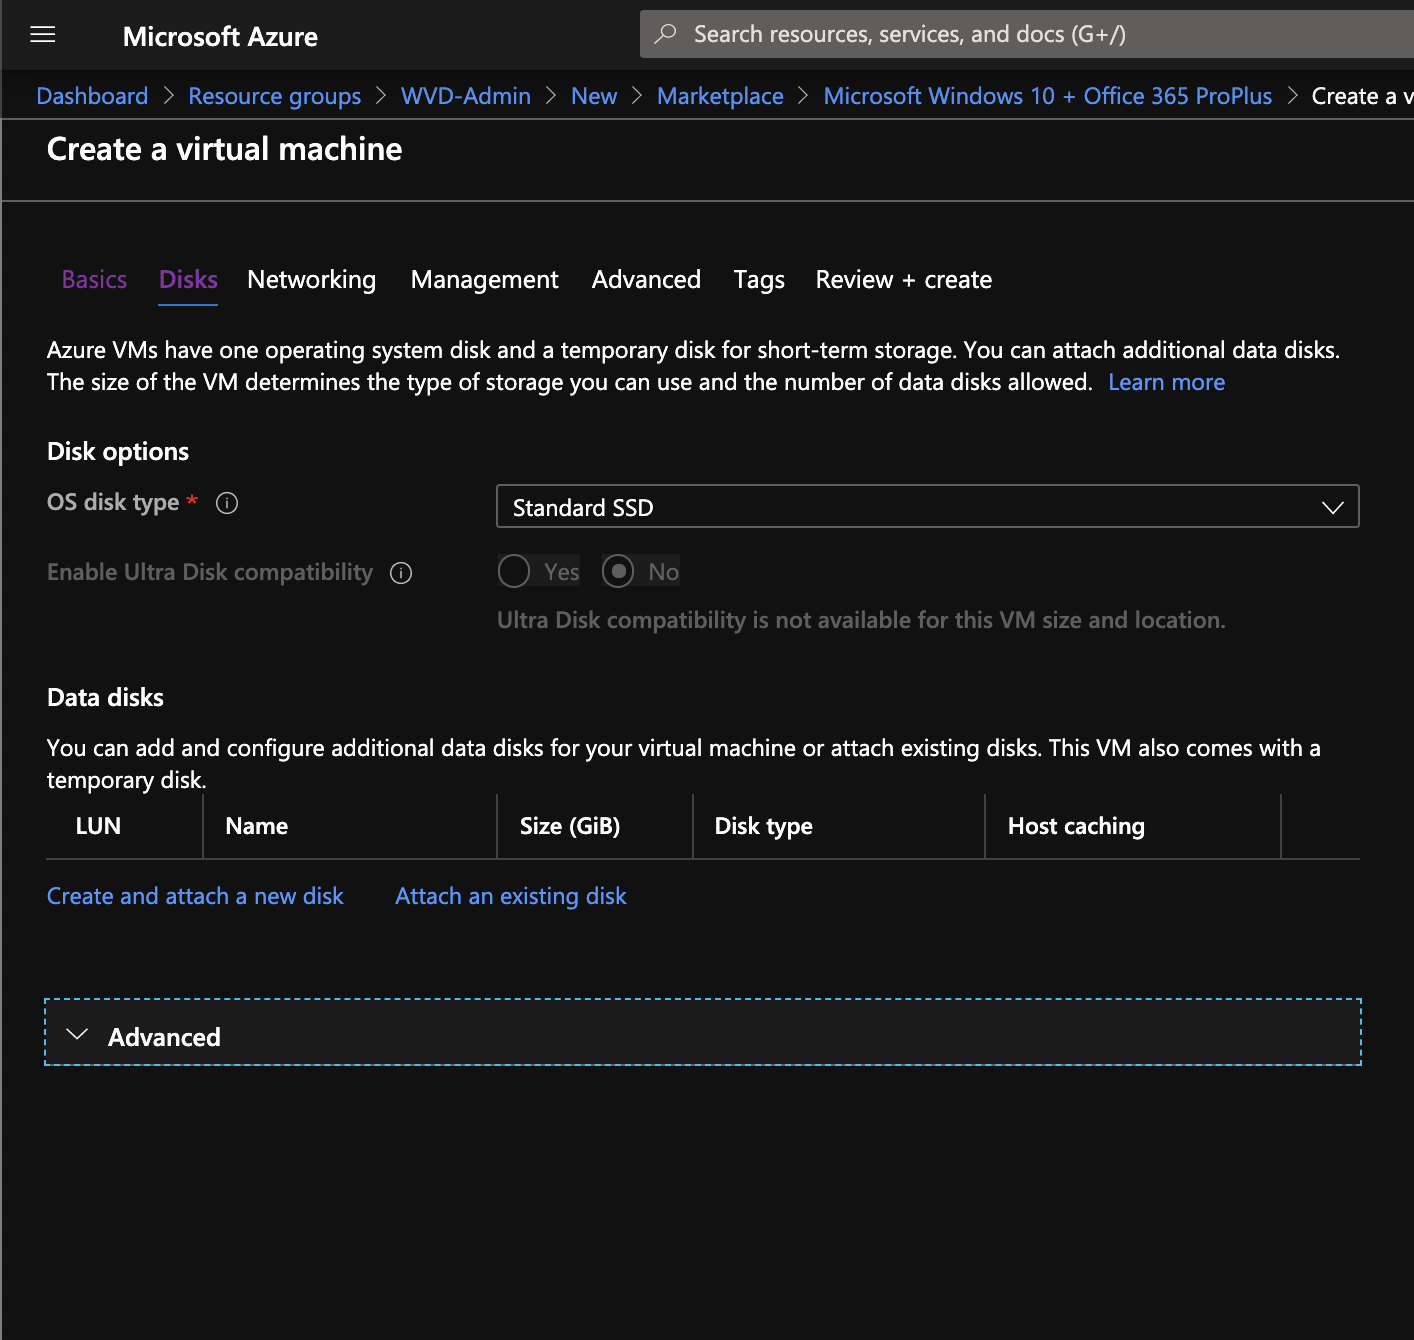
Next, choose the disk type.
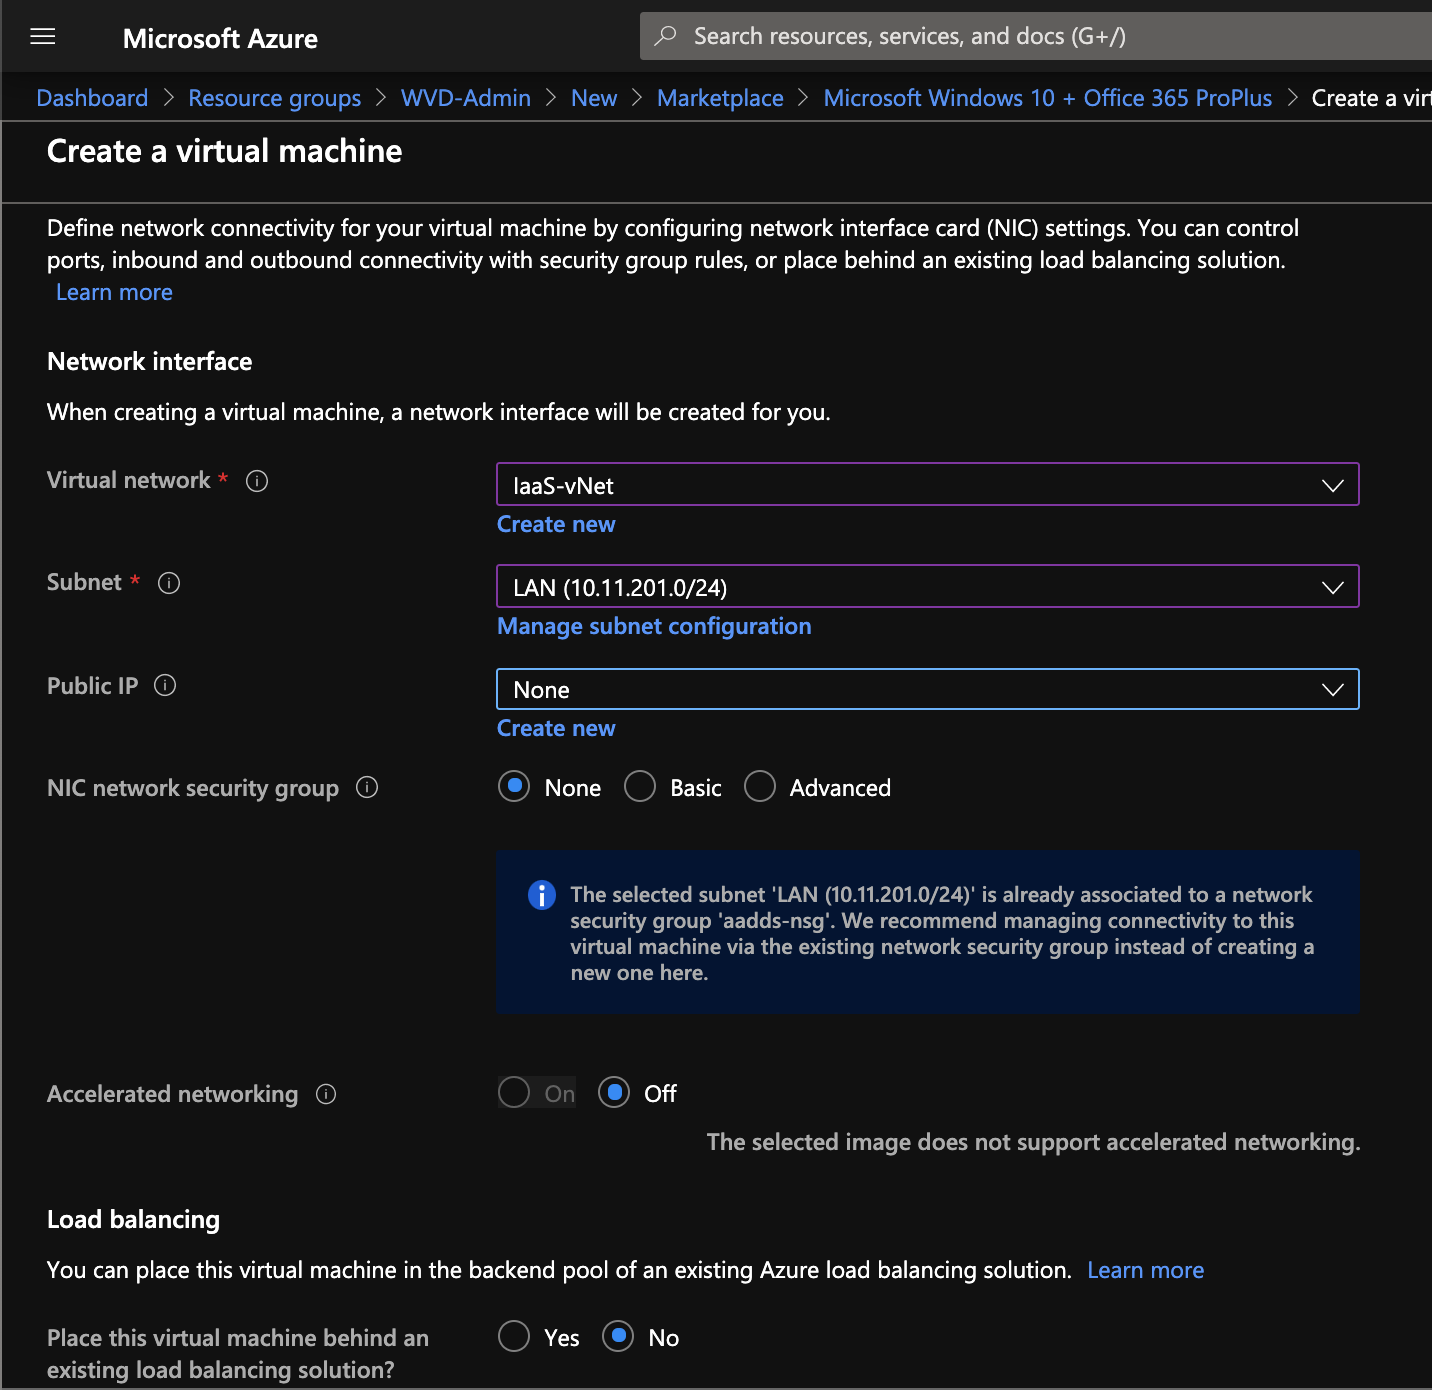
Then select a virtual network that can communicate with a domain controller. The VM must be added to the domain later.
Once the VM is deployed, open a session through RDP or Bastion.
Customize your Template VM
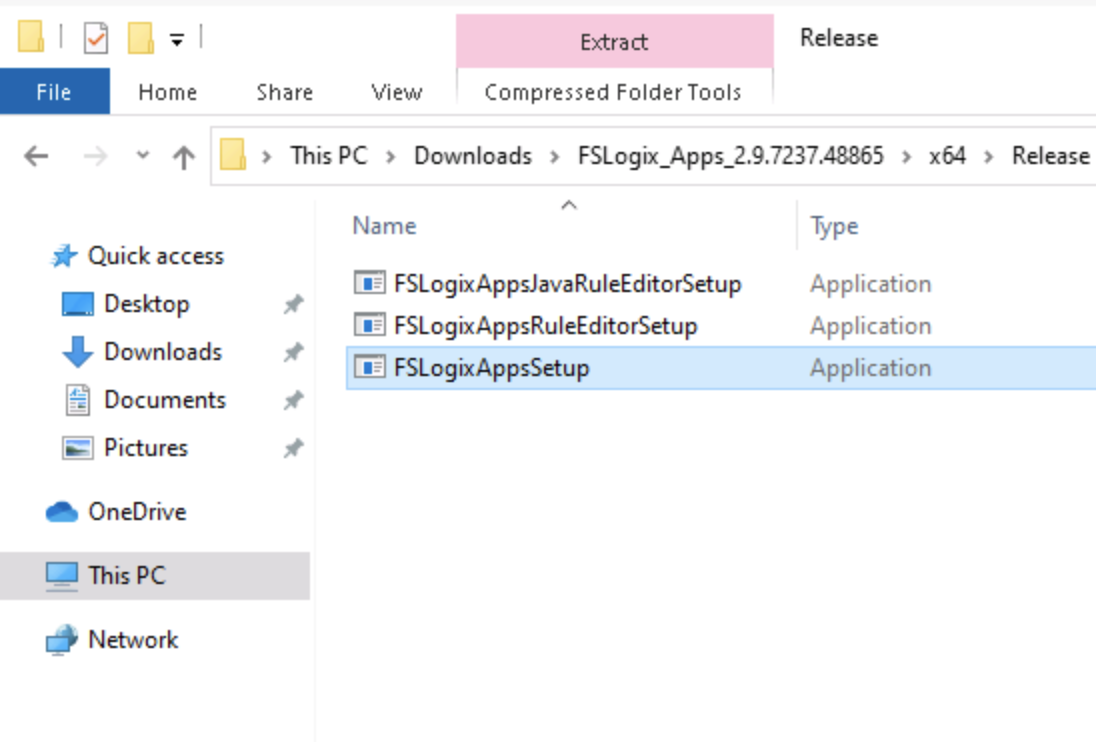
First, I install FSLogix. This tool enables to store user profile in a VHDX on Azure Files or a file server.
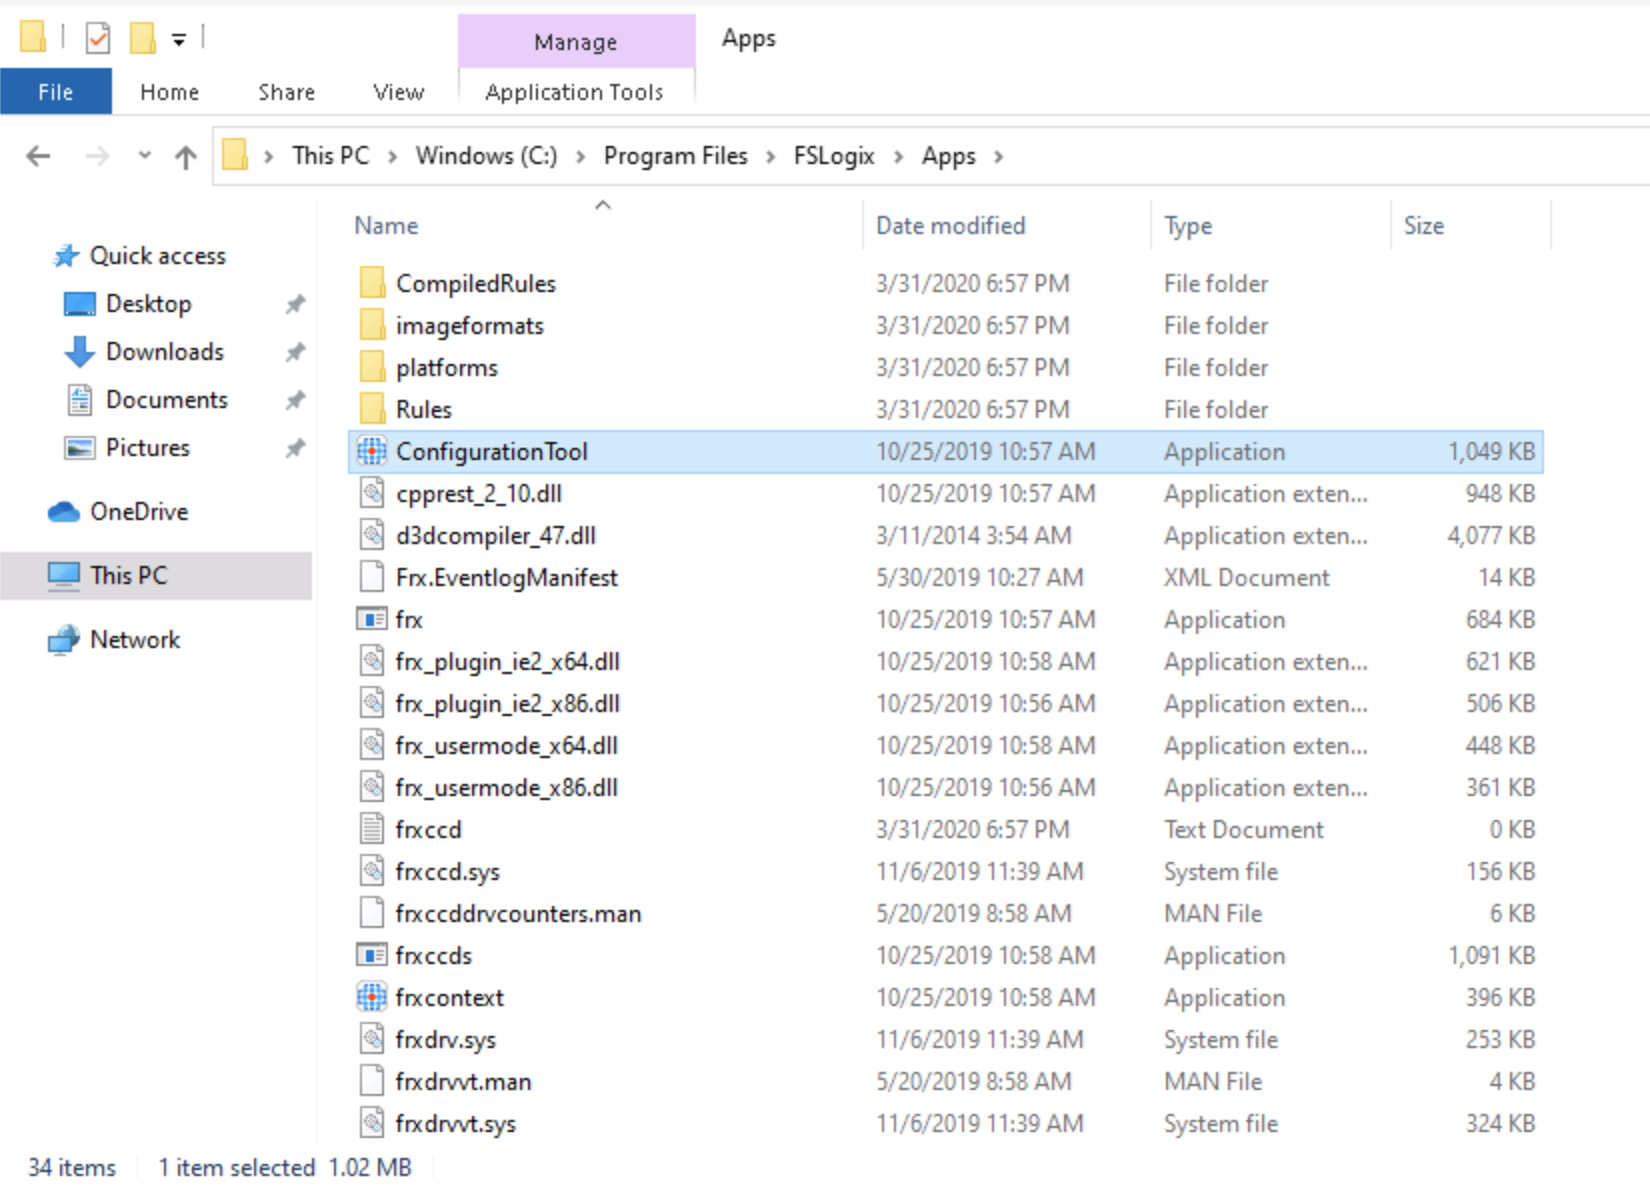
Once FSLogix is installed, open the ConfigurationTool located in c:\program files\FSLogix\Apps.
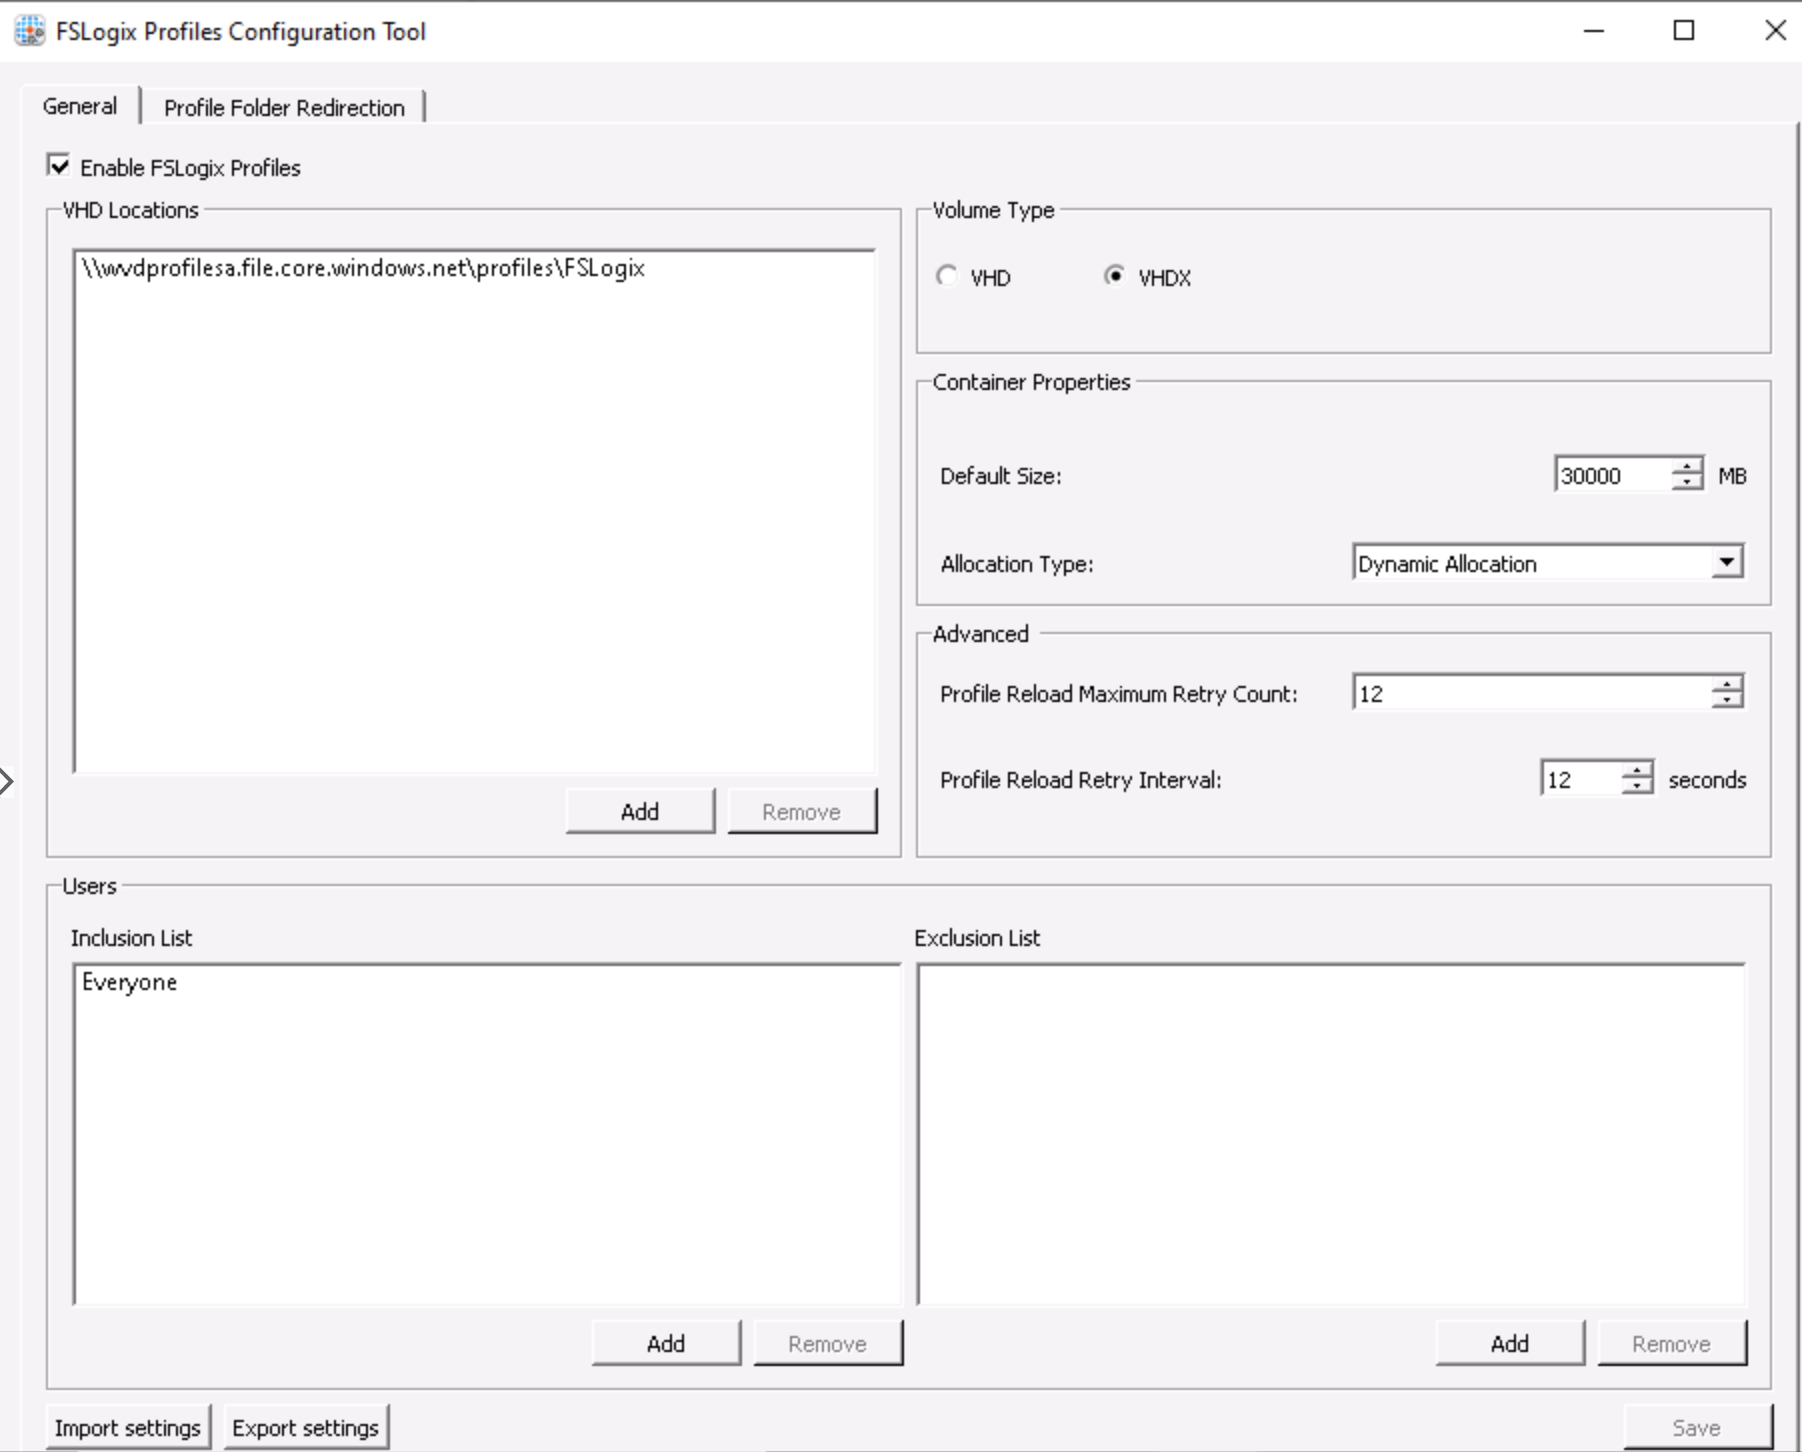
Click on Enable FSLogix Profiles and specify the container location. Mine is an Azure storage account.
Next I followed this topic to add these registry key:
- Disable automatic updates:
reg add “HKLM\SOFTWARE\Policies\Microsoft\Windows\WindowsUpdate\AU” /v NoAutoUpdate /t REG_DWORD /d 1 /f
- Disable storage sense:
reg add “HKCU\Software\Microsoft\Windows\CurrentVersion\StorageSense\Parameters\StoragePolicy” /v 01 /t REG_DWORD /d 0 /f
- Fix Watson crashes:
remove CorporateWerServer* from Computer\HKEY_LOCAL_MACHINE\SOFTWARE\Microsoft\Windows\Windows Error Reporting
- 5K resolution support:
reg add “HKLM\SYSTEM\CurrentControlSet\Control\Terminal Server\WinStations\RDP-Tcp” /v MaxMonitors /t REG_DWORD /d 4 /f
reg add “HKLM\SYSTEM\CurrentControlSet\Control\Terminal Server\WinStations\RDP-Tcp” /v MaxXResolution /t REG_DWORD /d 5120 /f
reg add “HKLM\SYSTEM\CurrentControlSet\Control\Terminal Server\WinStations\RDP-Tcp” /v MaxYResolution /t REG_DWORD /d 2880 /f
reg add “HKLM\SYSTEM\CurrentControlSet\Control\Terminal Server\WinStations\rdp-sxs” /v MaxMonitors /t REG_DWORD /d 4 /f
reg add “HKLM\SYSTEM\CurrentControlSet\Control\Terminal Server\WinStations\rdp-sxs” /v MaxXResolution /t REG_DWORD /d 5120 /f
reg add “HKLM\SYSTEM\CurrentControlSet\Control\Terminal Server\WinStations\rdp-sxs” /v MaxYResolution /t REG_DWORD /d 2880 /f
- Prepare image for Teams
Reg add ‘HKLM\SOFTWARE\Microsoft\Teams\’ /v IsWVDEnvironment /t REG_DWORD /d 1 /f
Then I installed Microsoft Edge (chromium) and Teams. To install Teams, I used the following command:
msiexec /i <msi_name> /l*v < install_logfile_name> ALLUSERS=1Once you have finished to install applications, you have to join the domain. Once the domain is joined, remove local user profiles (in control panel / System / Advanced System Settings / User Profile). Now you can shut down the VM.
Create the image
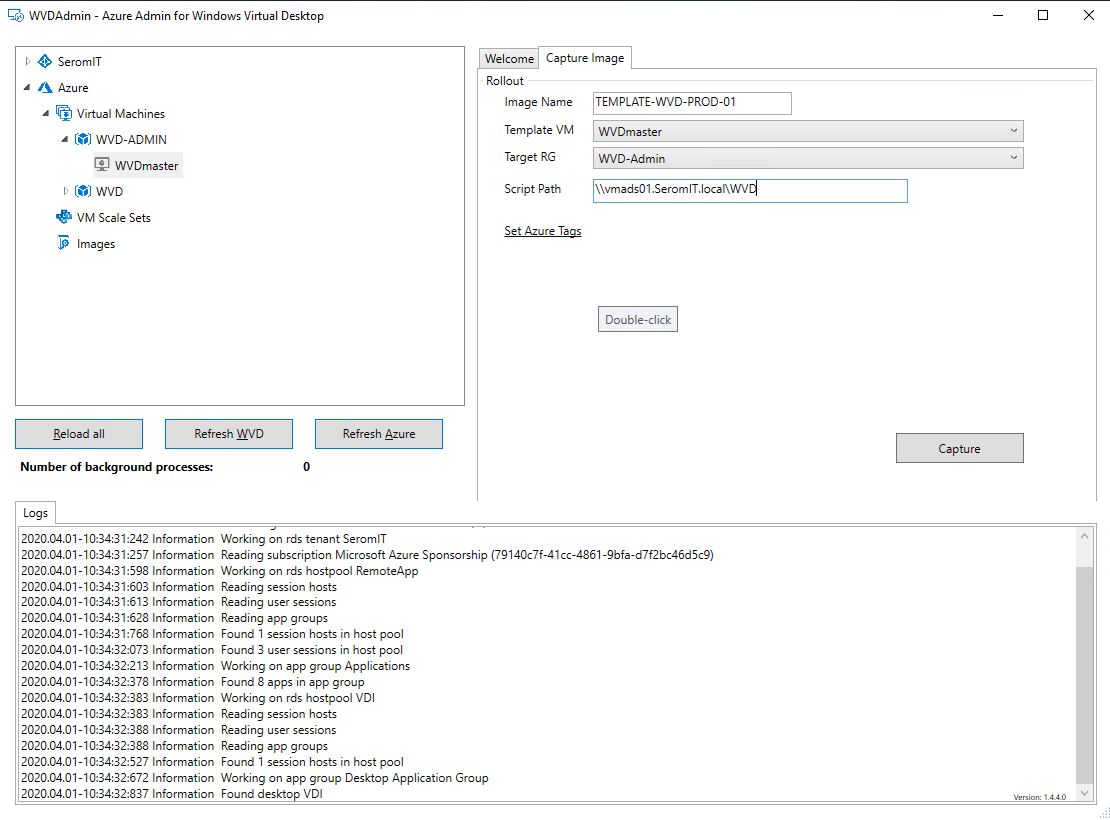
Open WVDAdmin and refresh Azure resources. Then parse the trees and right-click on the Template VM. Select the capture image. Provide an image name, select the template VM, and the target resource group. Then click on Capture.
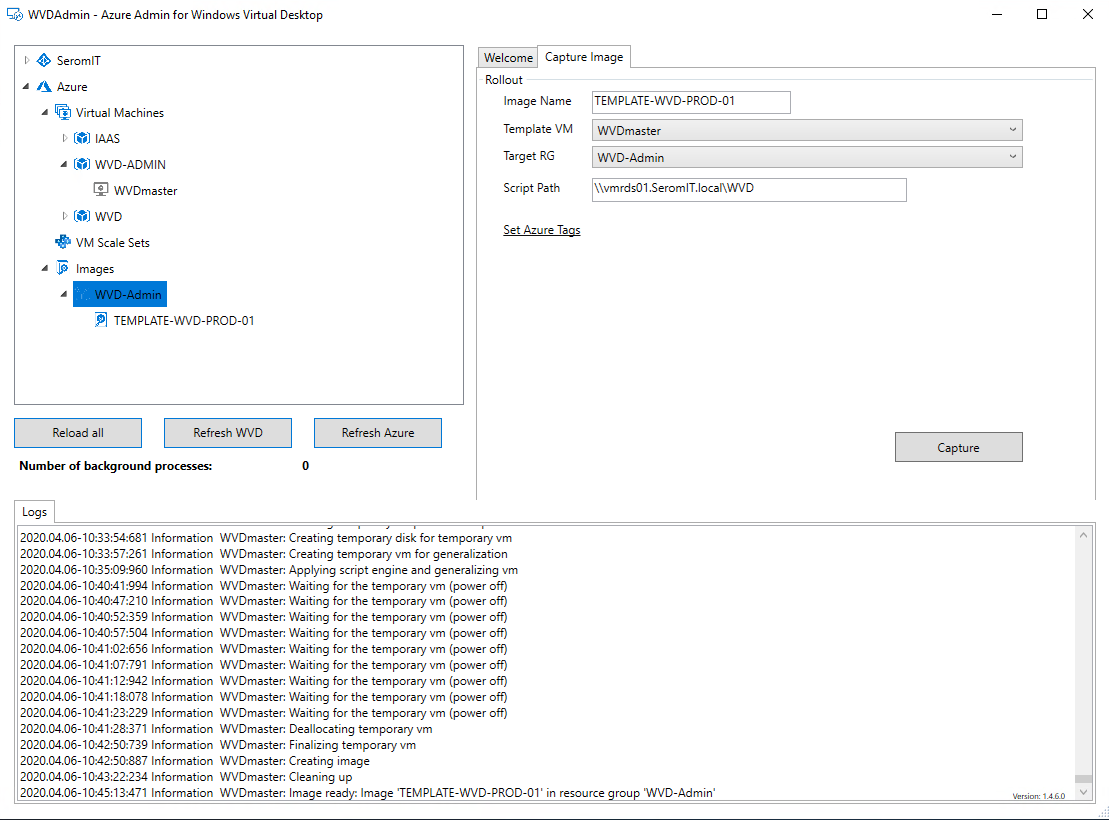
Once the capture is finished, you should have an image under … Images
Deploy session hosts from the image
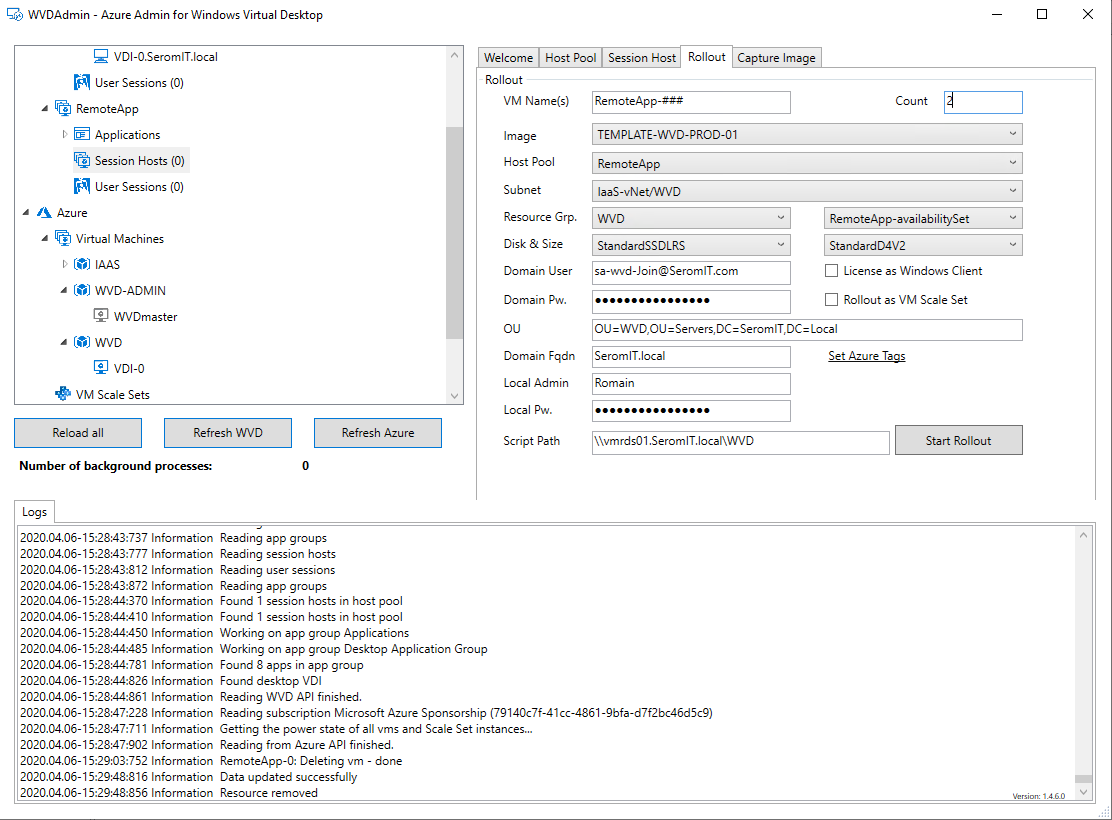
From WVD Admin, select a host pool and right-click on session hosts. Click on Rollout session Host(s) from Image.
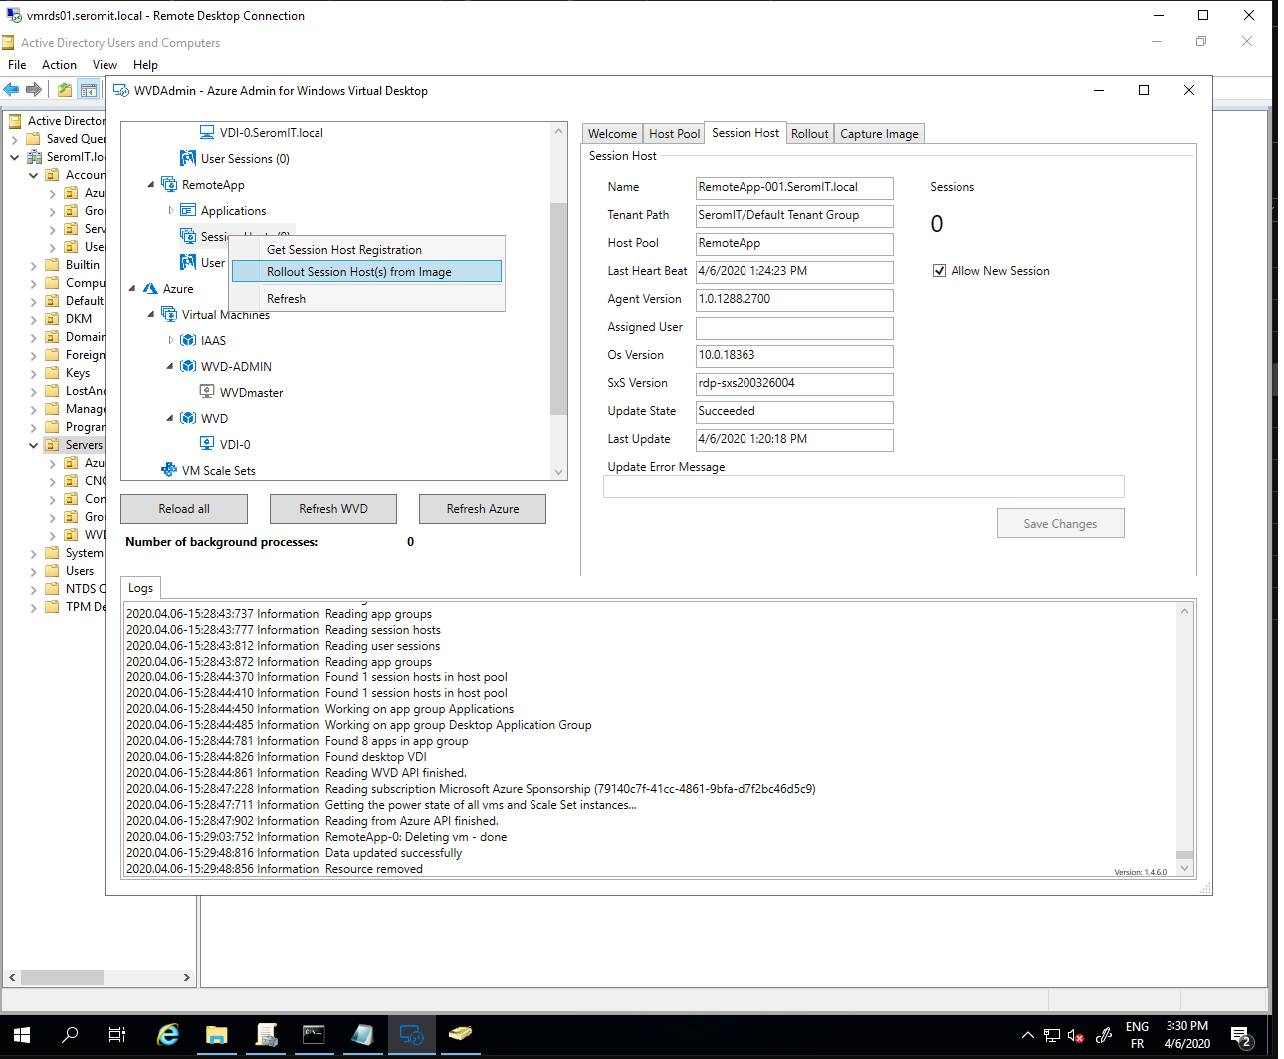
Next specify the VM name, the number of VMs and the Active Directory information. Click on start Rollout.
Once the VMs are deployed, you should see them in Active Directory in the OU you specified just before. 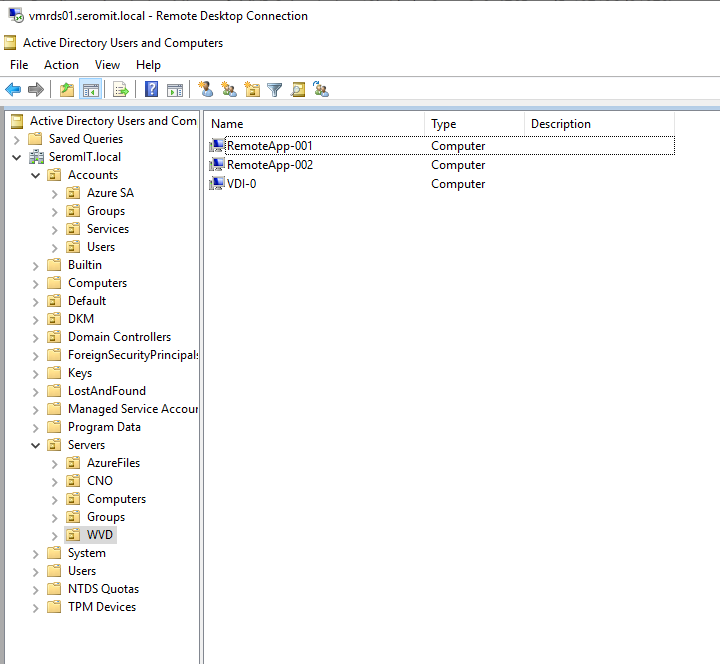
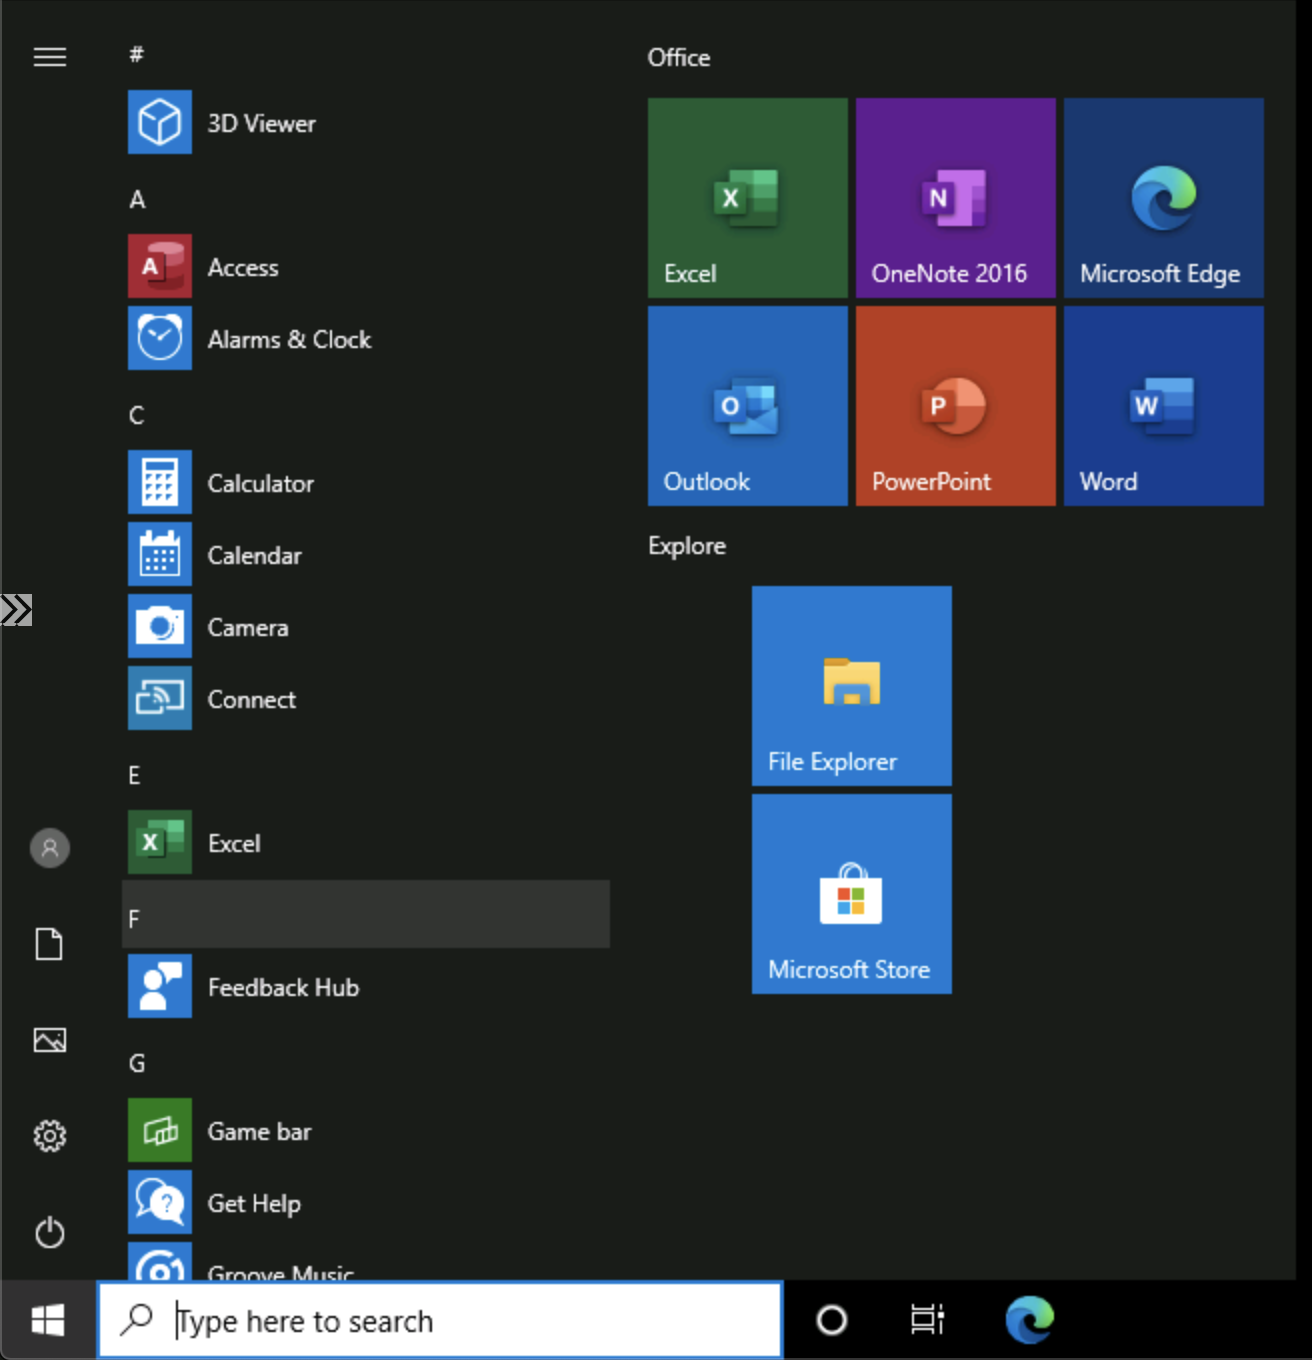
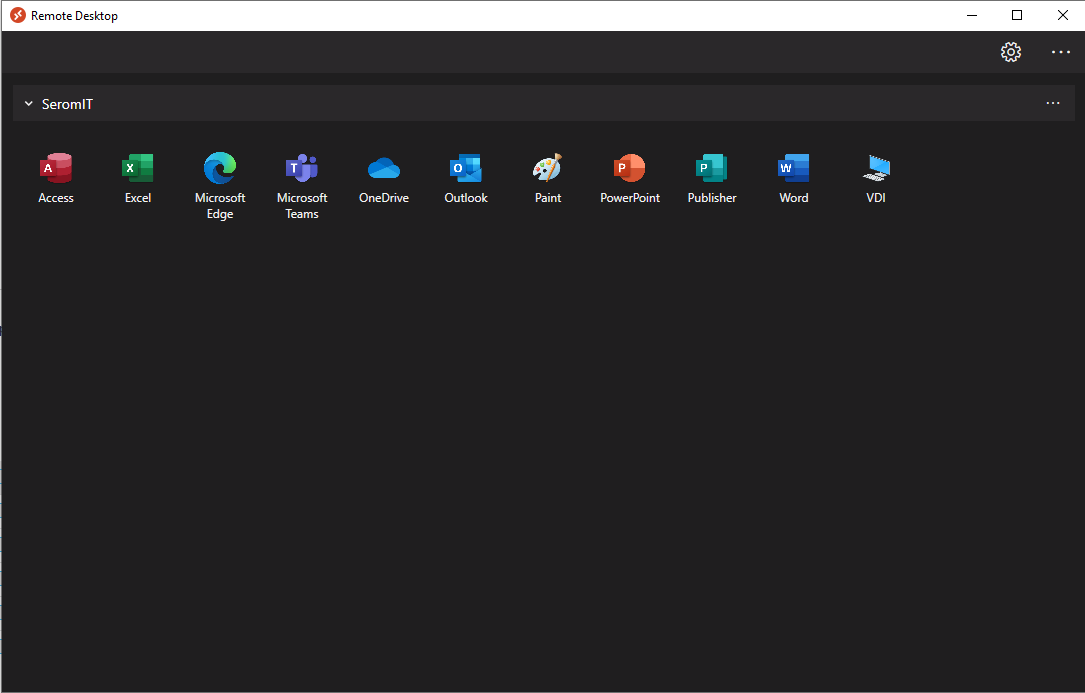
Finally, open the Windows Virtual Desktop client and verify if you can connect to your applications or desktops.


