
Part 1, How to Install Omnissa App Volumes In-Guest VHD, covered the App Volumes Manager installation and database setup. With the platform running, this second guide moves from installation to a usable VHD In-Guest Services environment. You will license the instance, register Active Directory, assign administrative access, connect an SMB file share, and upload the templates required for application packages and Writable Volumes.
Configure App Volumes In-guest VHD
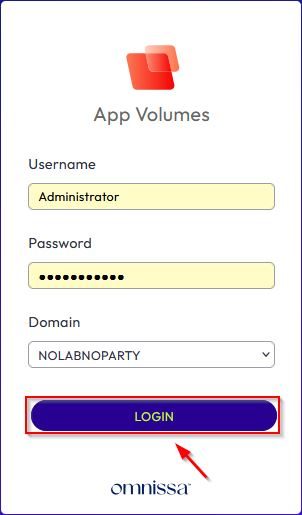
Access the Omnissa App Volumes Manager by entering the address https://<IP_AppVolumesManager> and logging in with your configured credentials. Click Login.
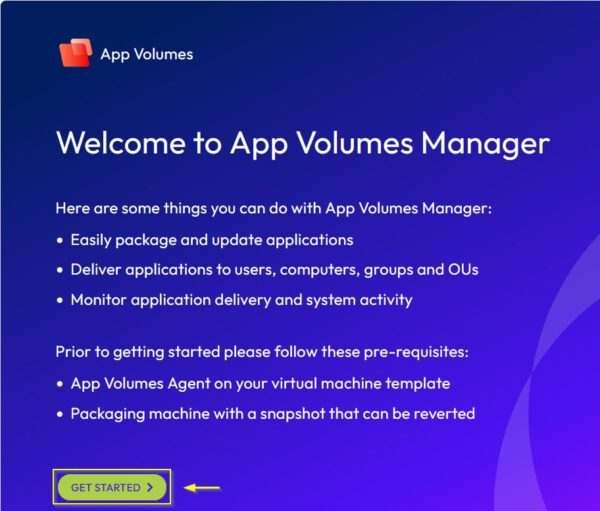
The welcome page will be displayed the first time you login. Click Get Started to begin the configuration.
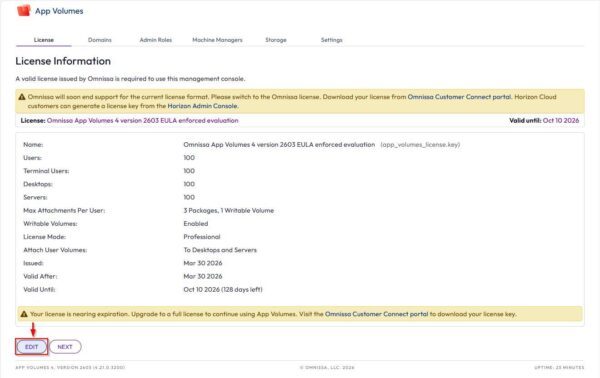
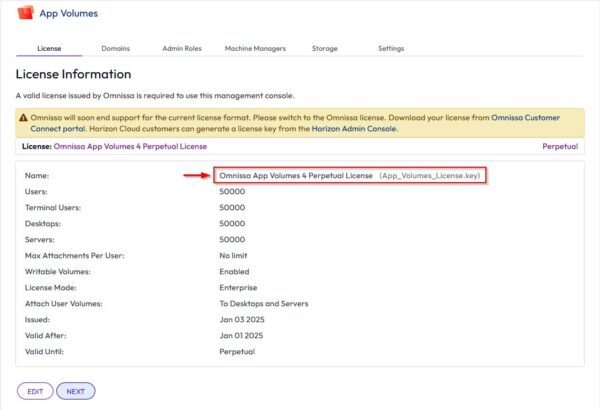
If you have a valid license, click Edit to apply the license key.
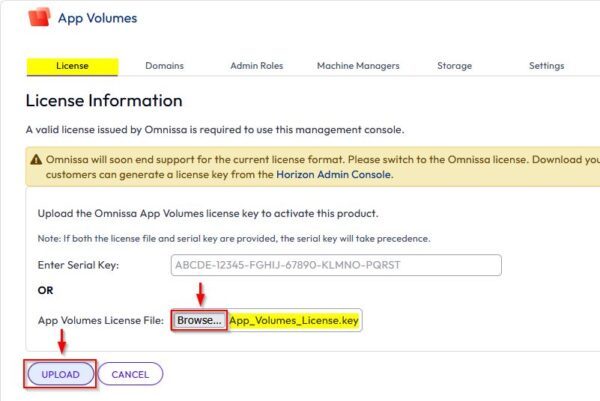
Click Browse, select the license key and then click Upload.
The new license has been successfully applied. Click Next.
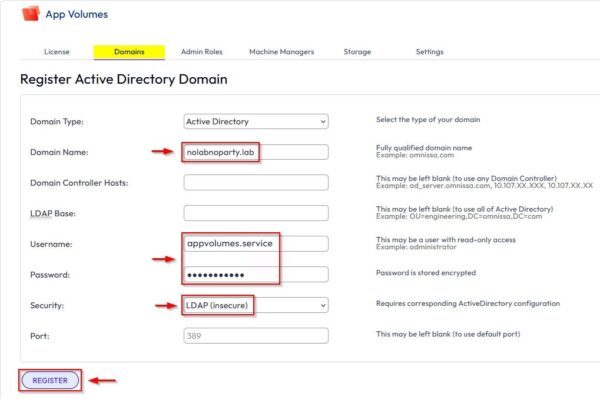
Enter the required parameters to register the Active Directory Domain, such as the Domain Name, Username/Password (use a domain user with read-only access) and the Security type. Click Register when done.
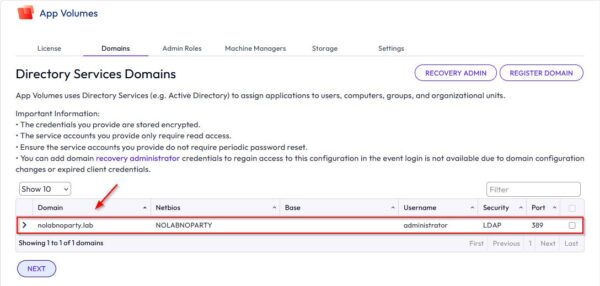
The domain is now registered. Click Next.
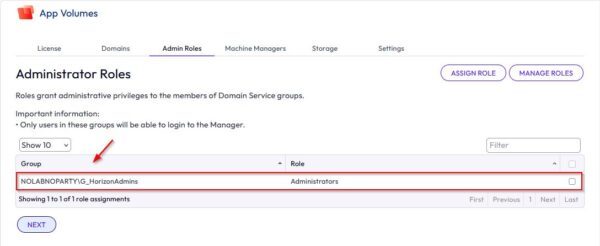
Select Administrators from the Role drop-down menu and select the appropriate group under Choose Group to assign the selected role. Click Assign.
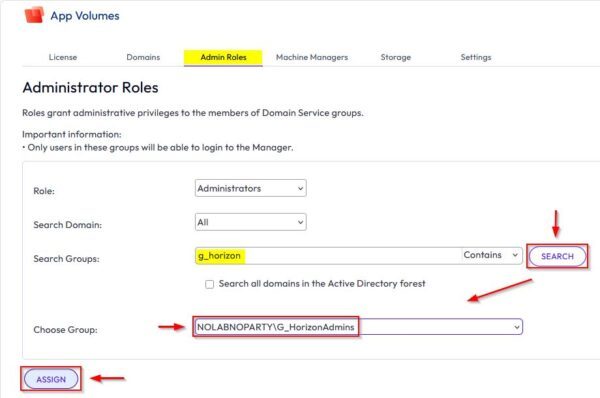
The Administrator role has been assigned to the selected Group. Click Next.
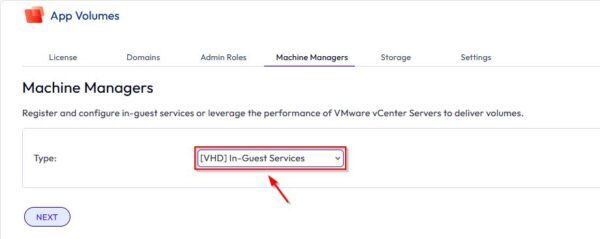
From the Type menu list, select the value [VHD] In-Guest Services.
![[VHD] In-Guest Services](https://www.starwindsoftware.com/blog/wp-content/uploads/2026/08/word-image-10.jpeg "[VHD] In-Guest Services - img")
Click Next.
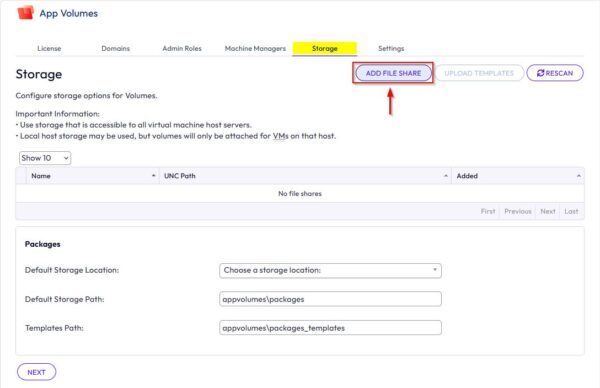
Click Add File Share to add the server where VHD disks will be stored.
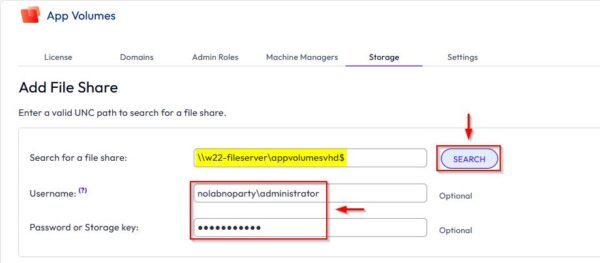
Type the share to use and click Search. Specify the Username and the Password or Storage key used to access the share.
When the share is found, click Add.
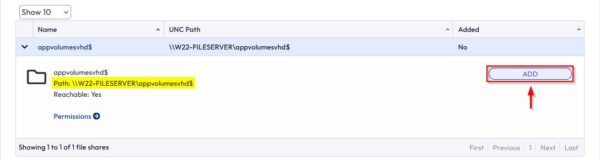
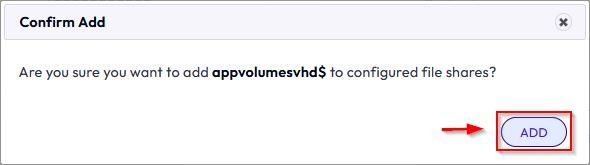
Click Add.
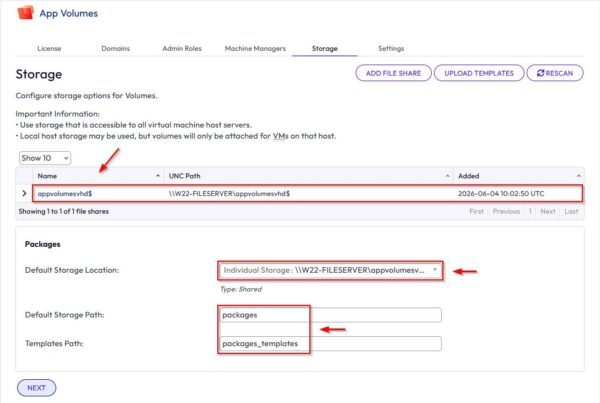
The share has been added. Select the Default Storage Location and leave the default values for the Default Storage Path and Template Path. Click Next.
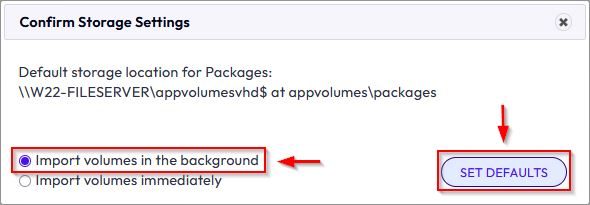
Select the desired option and click Set Defaults.
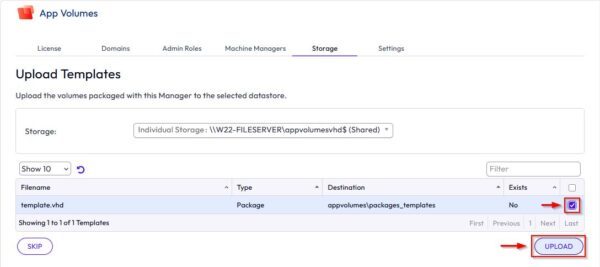
Tick the template.vhd checkbox and click Upload to save the package template to the system. You will notice that the Writable Volume template is not shown. In this version of App Volumes, this option must be enabled in the Settings tab.
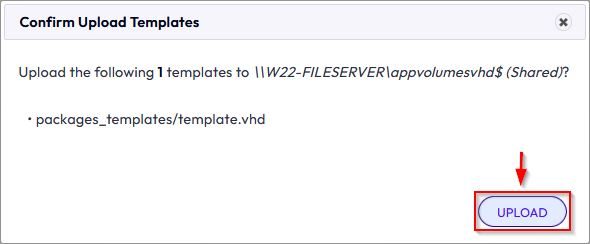
Click Upload.
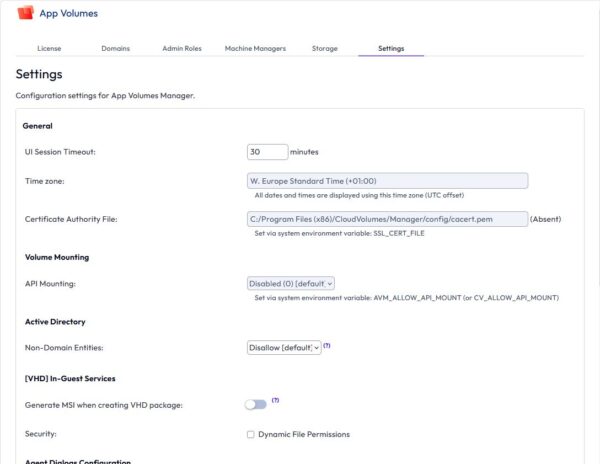
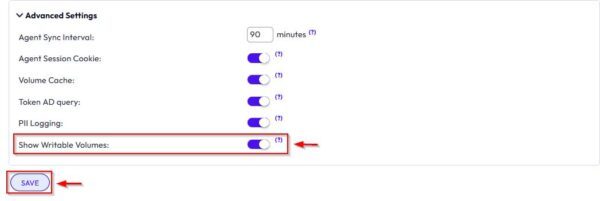
In Settings tab, you must scroll down to find the option to enable Writable Volumes.
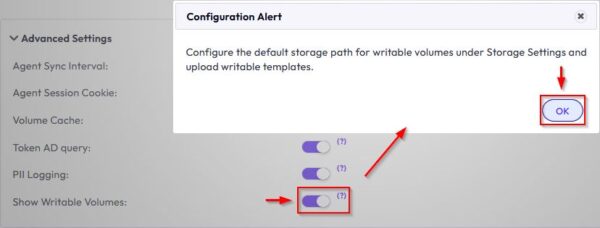
Under Advanced Settings, enable the Show Writable Volumes option and click OK.
The option is now enabled. Click Save.
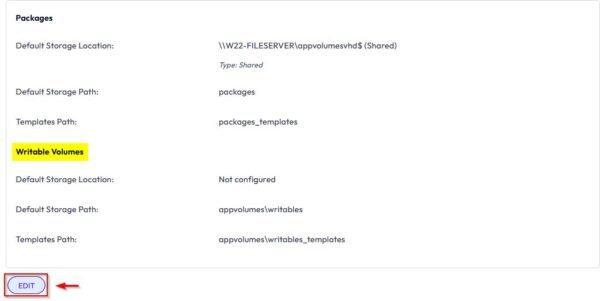
Go back to Storage tab to configure the Writable Volumes. Click Edit.
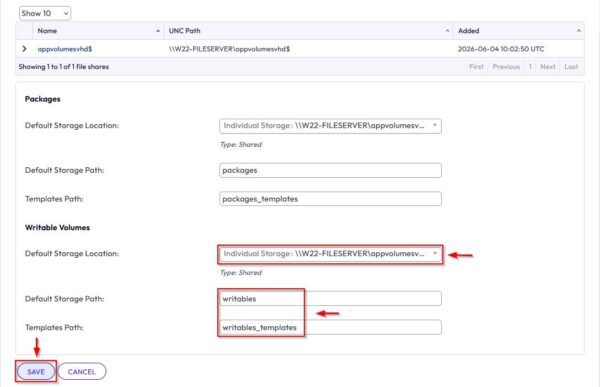
Select the the Default Storage Location and leave the default values for Default Storage Path and Template Path. Click Save.
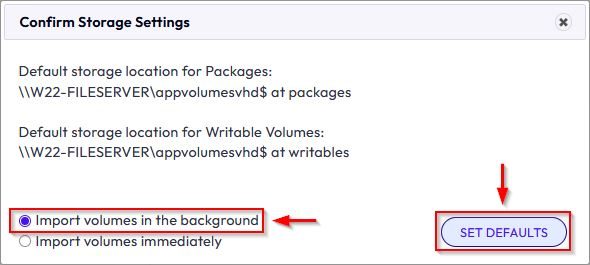
Select the desired option and click Set Defaults.
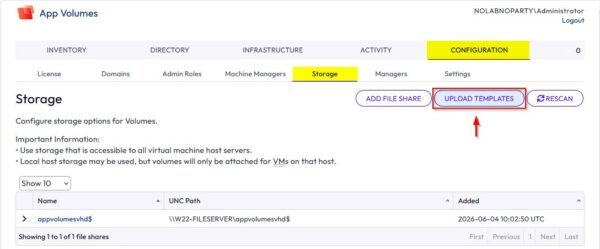
Click Upload Templates.
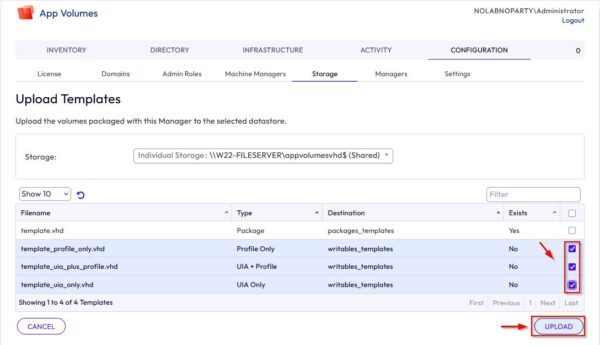
Select the Writable Templates files and click Upload.
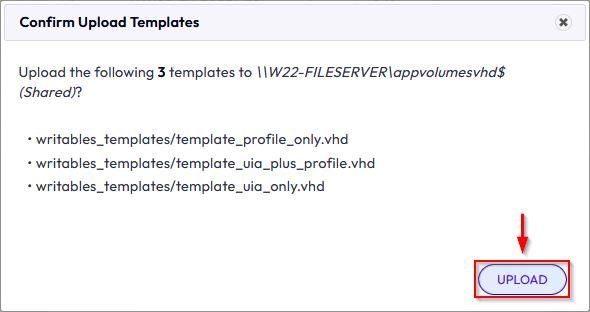
Click Upload.
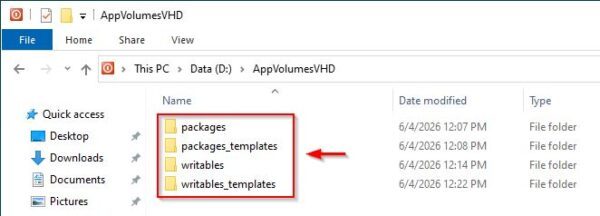
Looking at the File Server, you will find the newly created folder tree.
FAQ
What is VHD In-Guest Services in Omnissa App Volumes?
VHD In-Guest Services is a machine manager model that stores application packages and Writable Volumes on SMB file shares in VHD format. The App Volumes Agent receives the attach and detach instructions and mounts the disks inside the endpoint, so this model does not require a vCenter connection.
What type of storage does VHD In-Guest Services require?
It requires an SMB 3-compatible file share that the App Volumes environment and agent machines can reach. For production resiliency and load distribution, Omnissa recommends configuring at least two file shares on different systems.
Why is the Writable Volume template missing from the Storage tab?
In the App Volumes version shown in this guide, Writable Volumes are hidden by default. Open Settings, locate Advanced Settings, enable Show Writable Volumes, save the change, and return to Storage before uploading the writable templates.
Which templates are uploaded during this configuration?
First, upload template.vhd for application packages. After enabling Writable Volumes, upload the available writable templates, such as the profile-only, UIA plus profile, and UIA-only templates. The exact template set can vary by App Volumes version.
What should I verify before moving to Part 3?
Confirm that the Active Directory domain is registered, the administrator group is assigned, [VHD] In-Guest Services is selected, the file share is set as the default storage location, and both the package and writable templates are present. The file server should contain the packages, packages_templates, writables, and writables_templates folders.
Part 3 will cover the procedure for creating and assigning App Volumes In-guest VHD Writable Volumes to users.