


During Microsoft Ignite 2020, Microsoft revealed Backup Center, which is a single pane of glass to to configure a single or multiple Azure Backup vaults. Let’s imagine a huge infrastructure deployed in Microsoft Azure and the backup that relies on Azure Backup. This infrastructure is running in several Azure regions and you deployed several Azure Backup vaults to get backup nearby your chosen production. It’s a pain to manage because you have to jump between several backup vaults to handle the backups of the right location. Now, thanks to Backup Center, you have a single pane of glass for all of your Azure Backup vaults.
From Backup Center you can configure backups, restore data, monitor your resources, and you can set the necessary level of compliance. In this topic, I’d like to show you what the said tool looks like.
Create a backup job in Backup Center
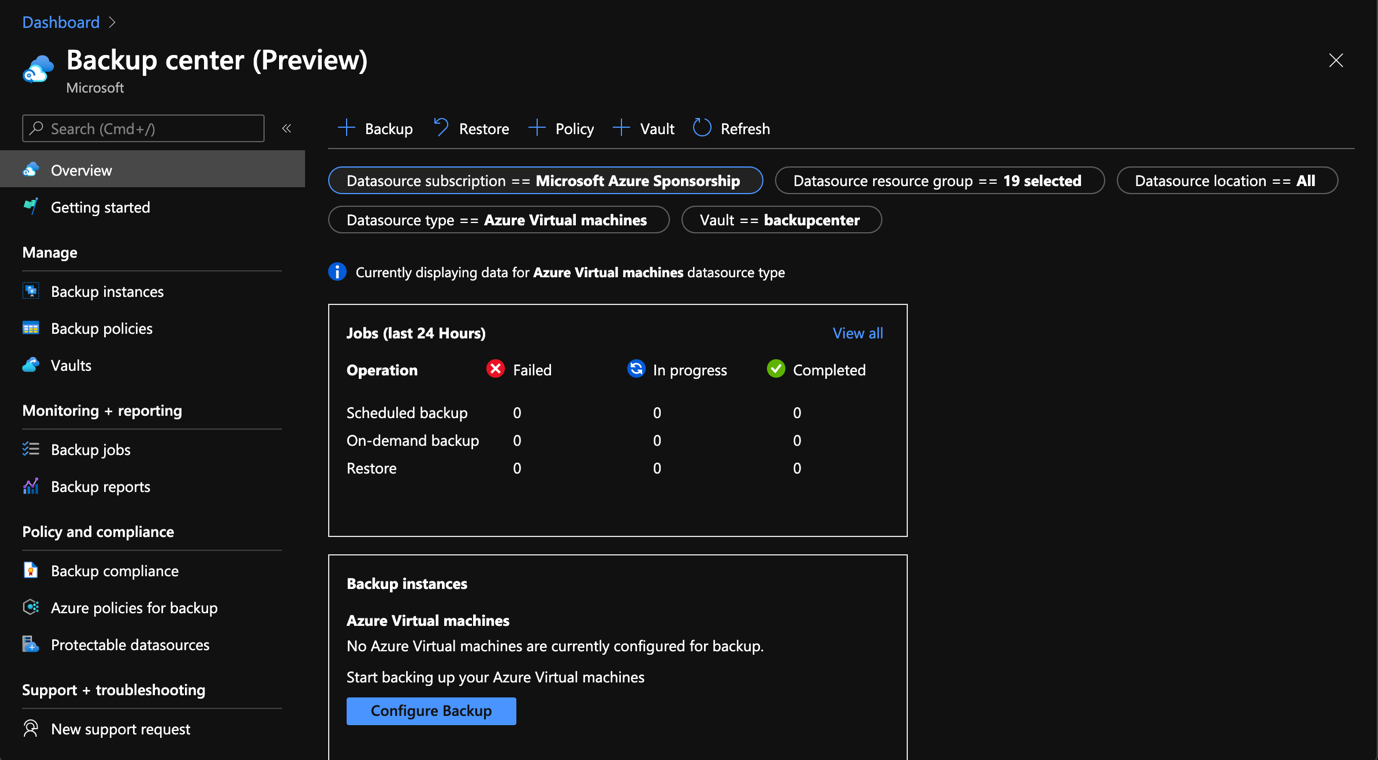
Open your favorite web browser and navigate to Azure Portal. Then, type Backup Center in the search box. When you open Backup Center for the first time, it looks like this:
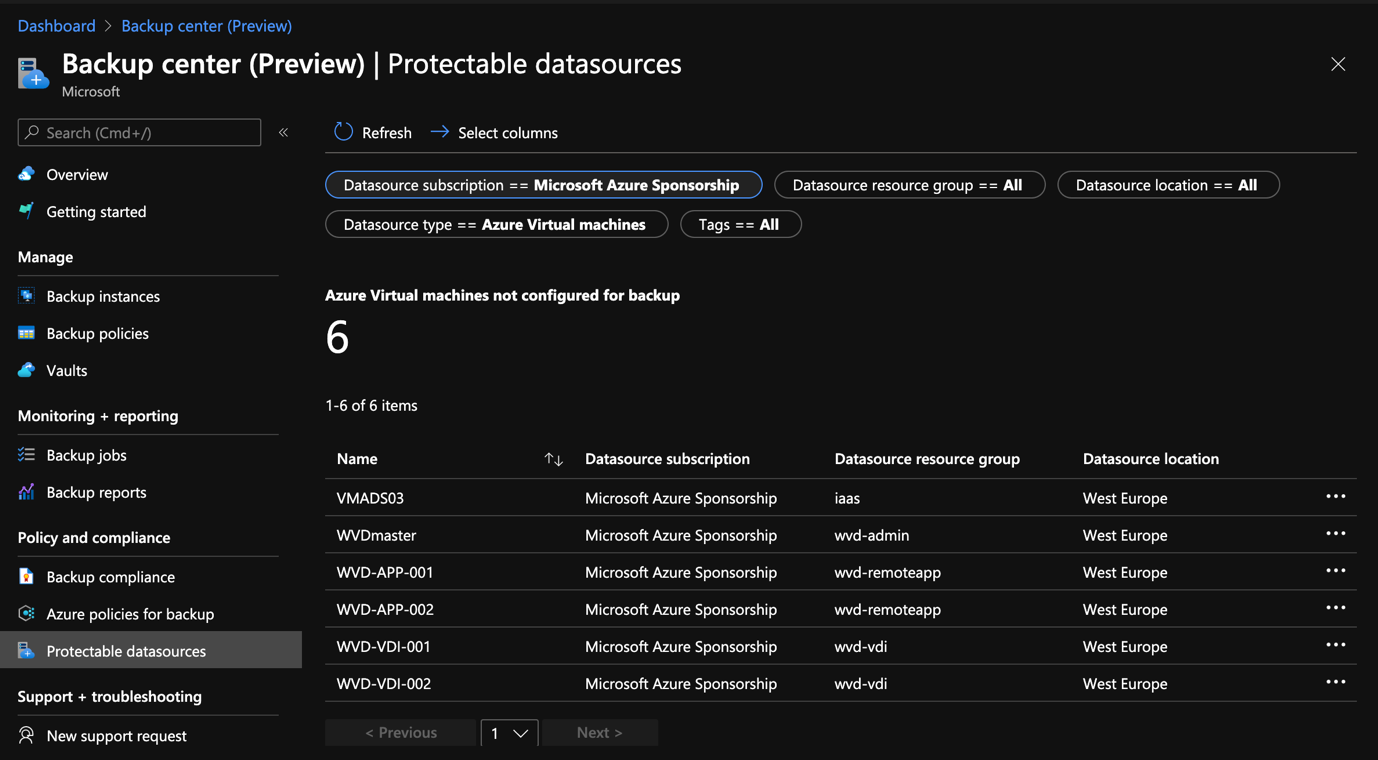
To enable backup on virtual machines, for example, navigate to Protectable datasources.
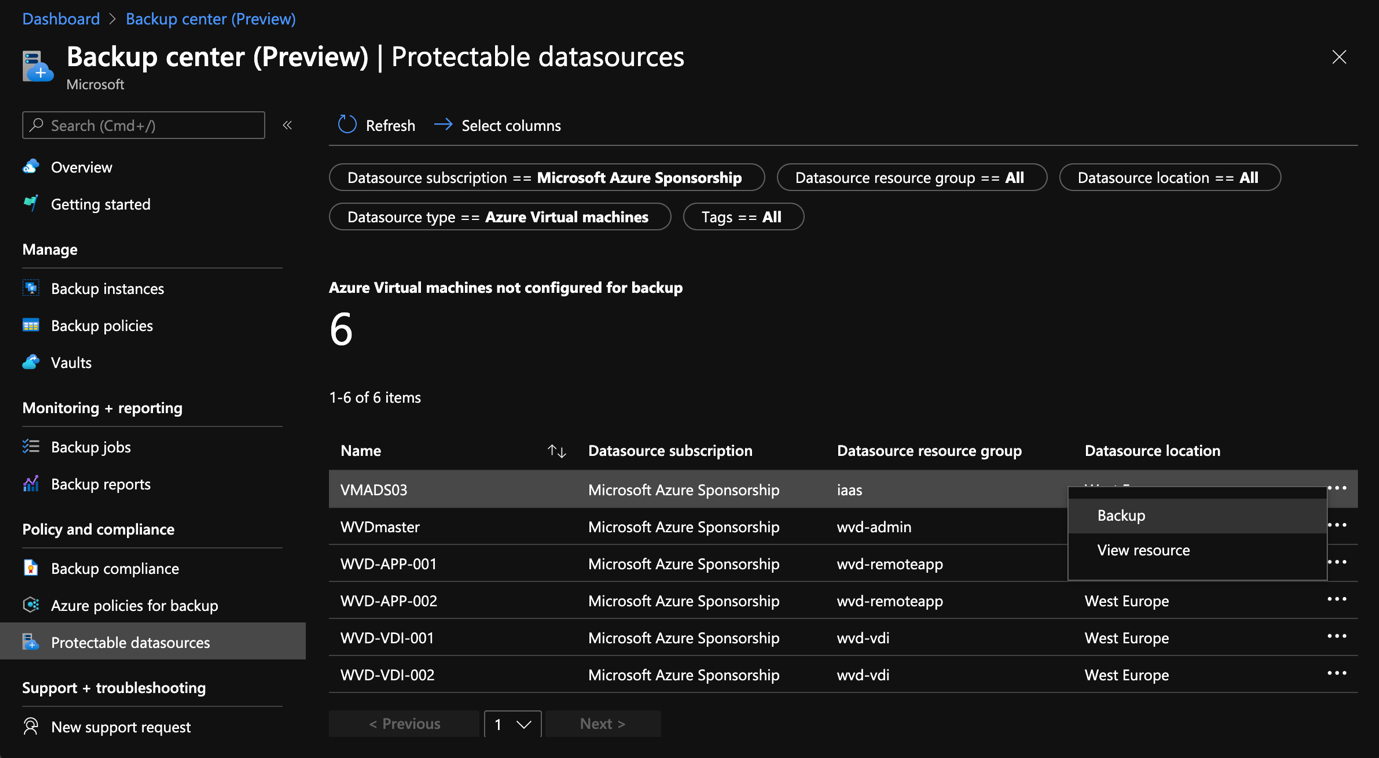
Then click on the three points at the right of a VM and select backup.
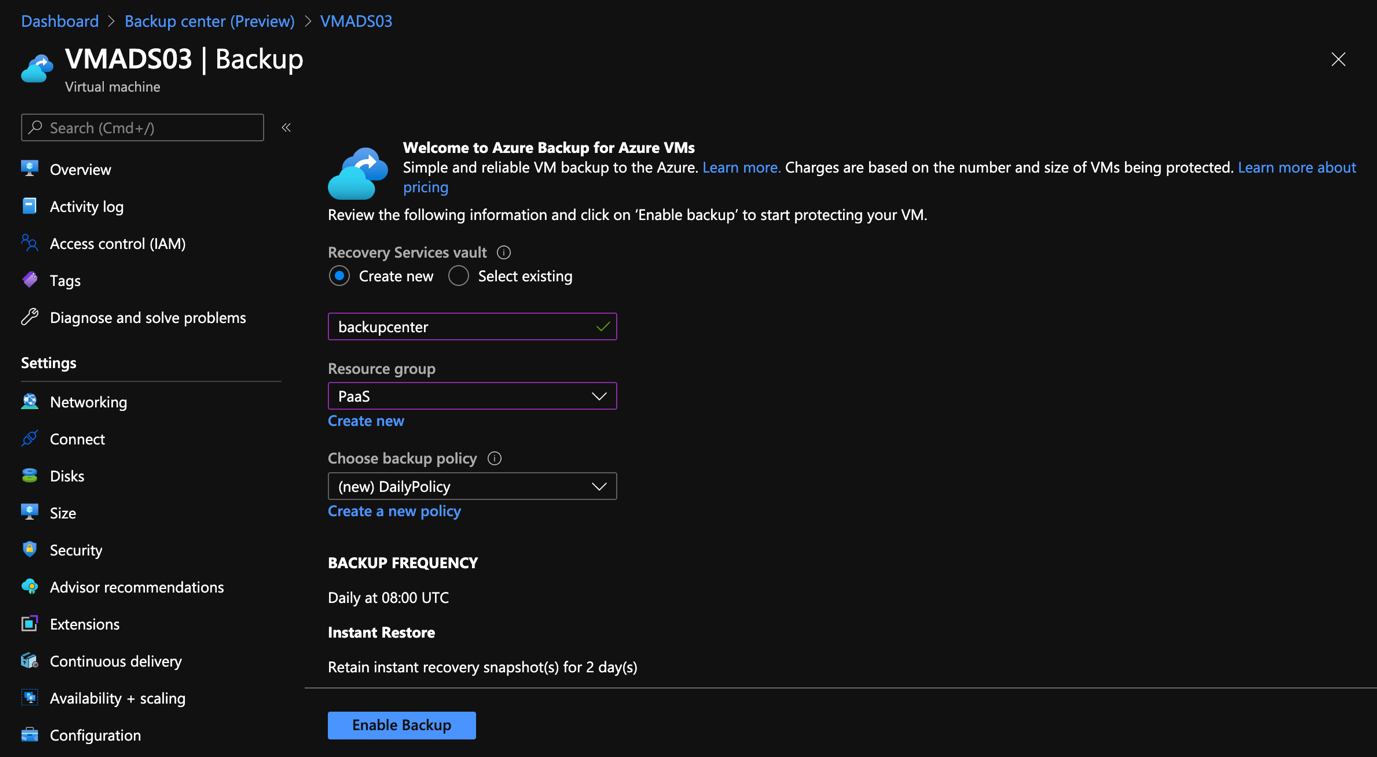
If you don’t have an Azure Backup vault yet, the wizard will ask you to create one. If you already have a backup vault, click on select existing to select your own backup vault. You can also configure your backup policy. You can select a default policy, or you can create your own.
Once the VM is created, you should get a vault available in the backup center (Vaults view). From there, you can see all the Azure Backup vaults you are using.

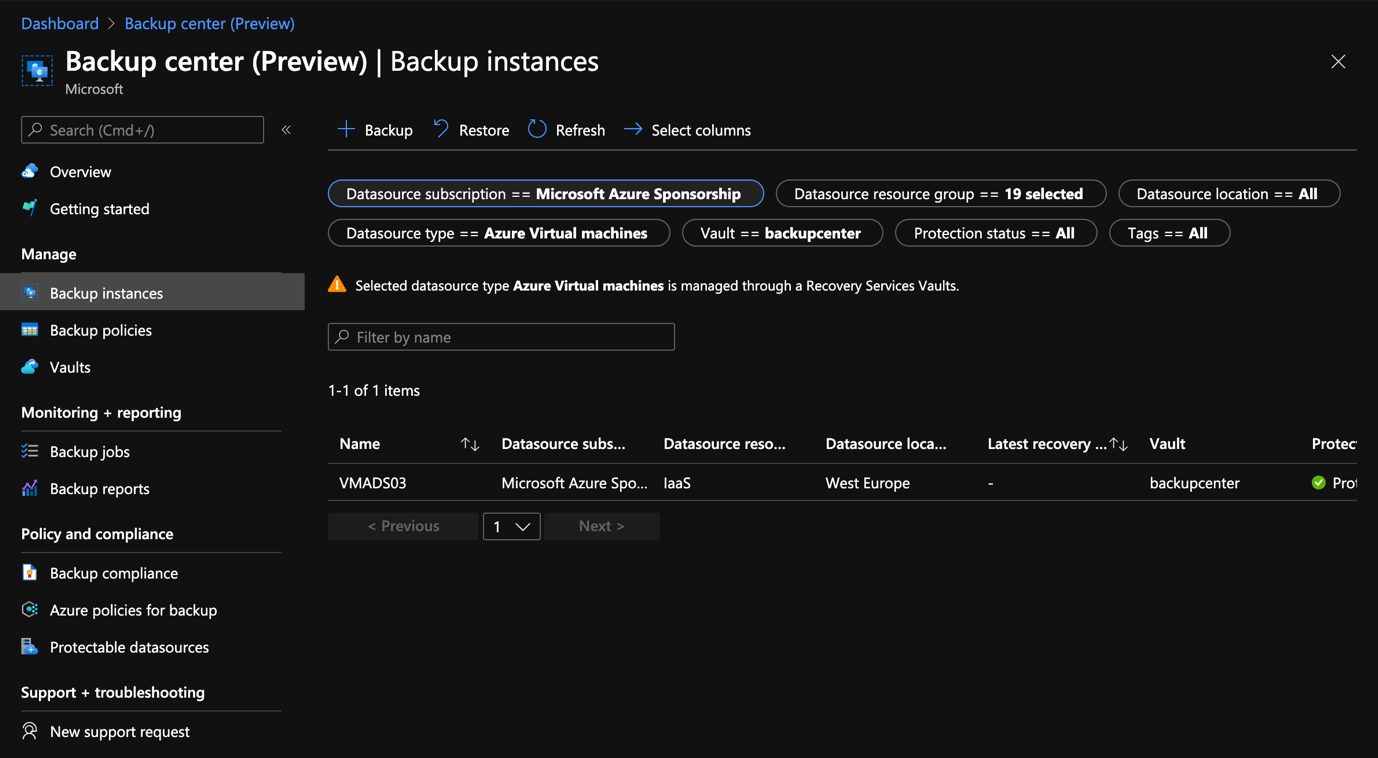
If you navigate to backup instances, you can see from a single pane of glass all of your virtual machines or databases protected by Azure Backup. Before Backup Center you didn’t have a single view of all protected workloads spread among several Azure Backup vaults.
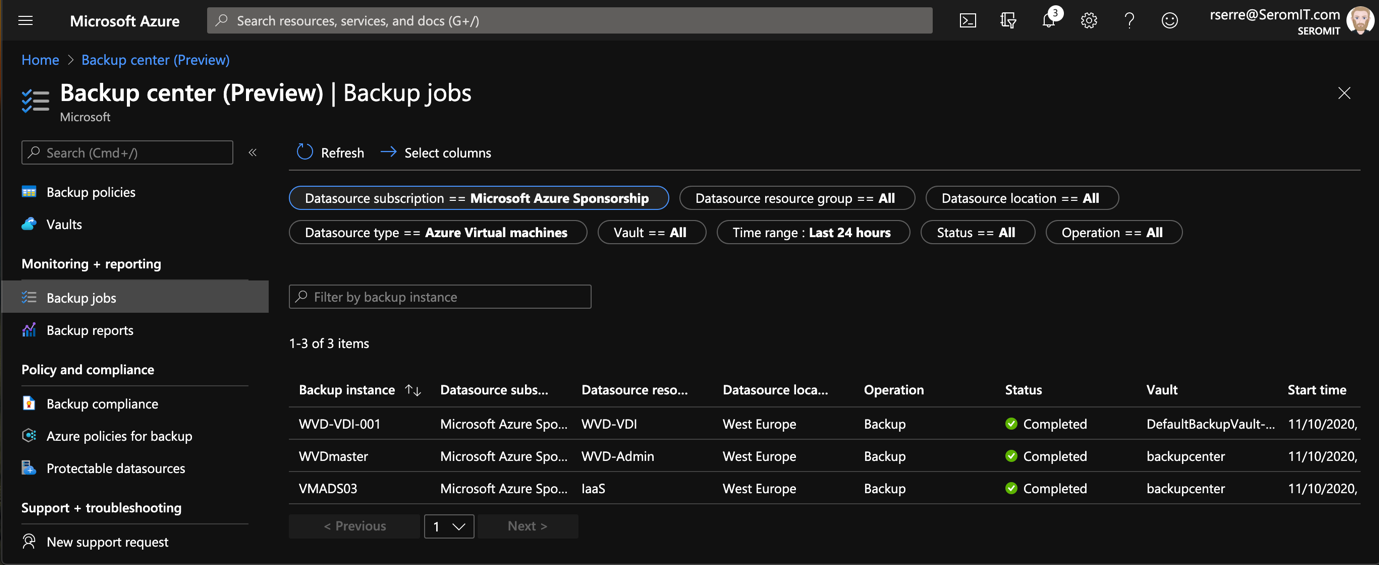
In the backup jobs tab, you should get the information about all backup jobs.
Restore backup from Backup Center
To restore data, navigate to backup instances and click on the three points at the right of an item. Then select the restore option you want.

In the next window, you can select the restore point and restore your VM:
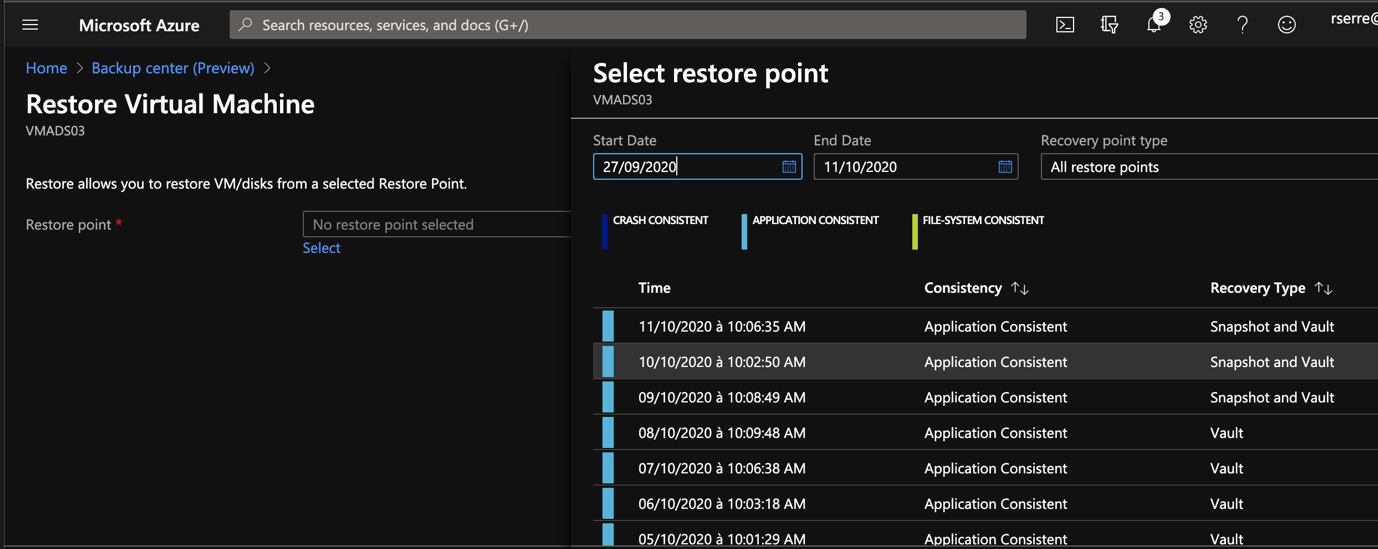
Once again, from a single pane of glass, you can restore your workloads regardless of the location.
Azure Policies
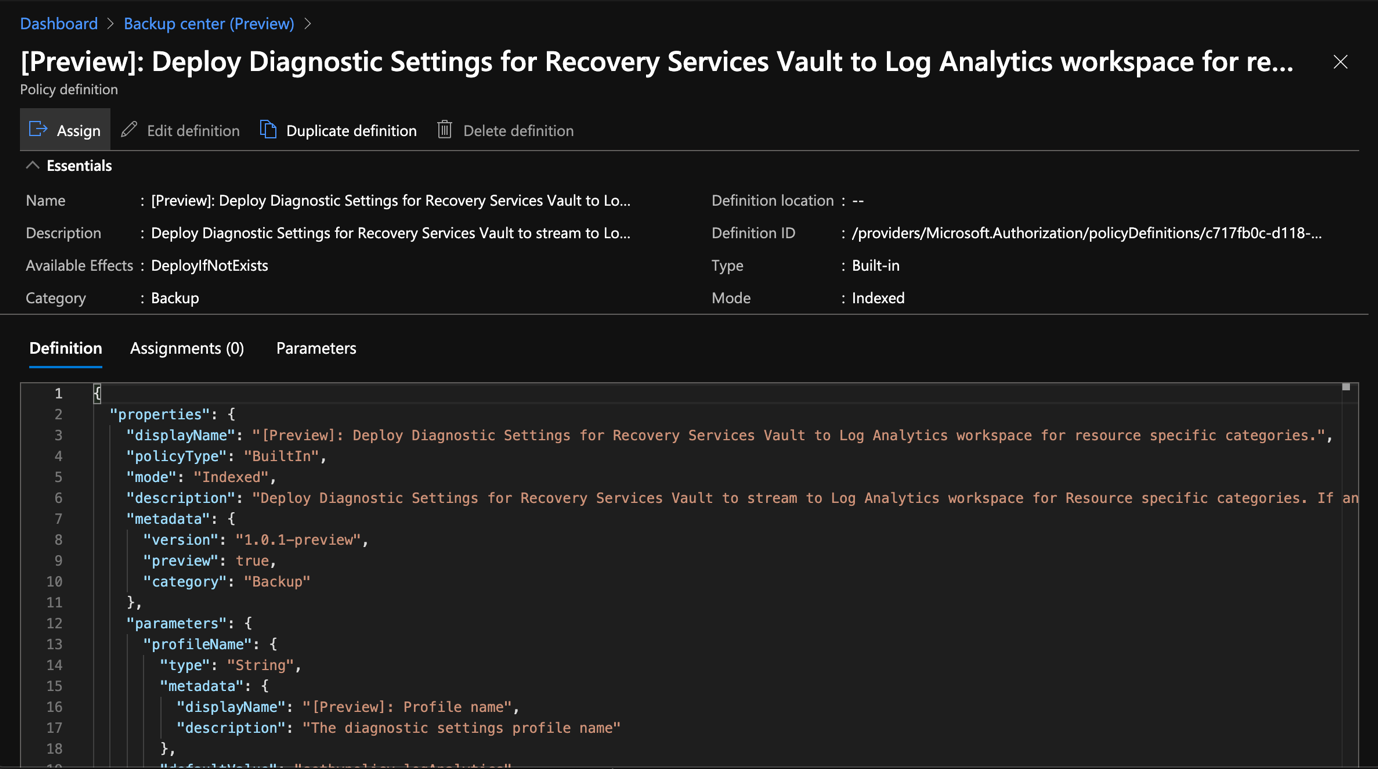
Another feature that’s great is Azure Policies. Thanks to that you can ensure your backup are compliant and enable some settings automatically. In this example, I set a policy to deploy diagnostic settings of an Azure Backup vault to a log analytics workspace. In this way, each time I create a recovery vault, I can set this policy in order for the settings to be assigned automatically.

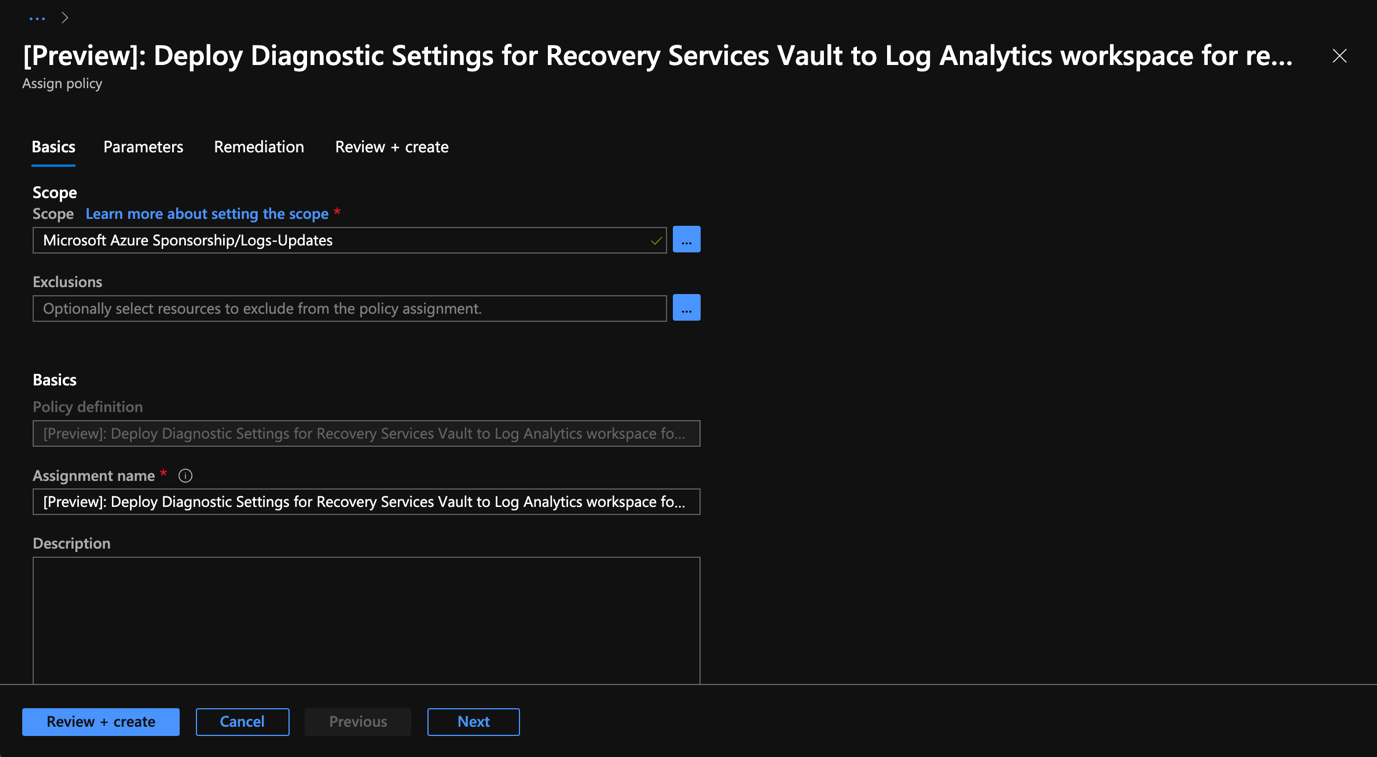
Once you have selected the Azure Policies, click on assign to
Then select the scope: it’s the resource group where the recovery vault will be created.
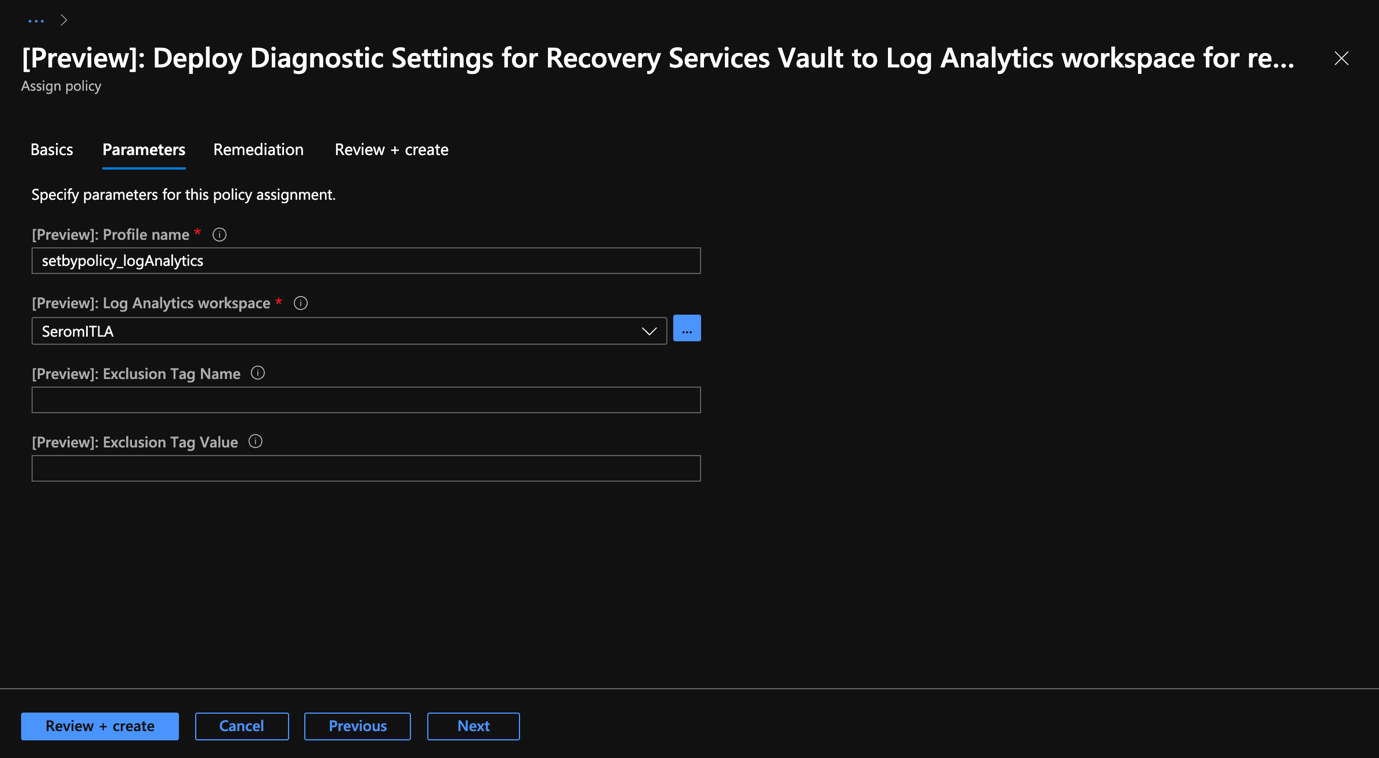
In the Parameters tab, select the log analytics workspace.
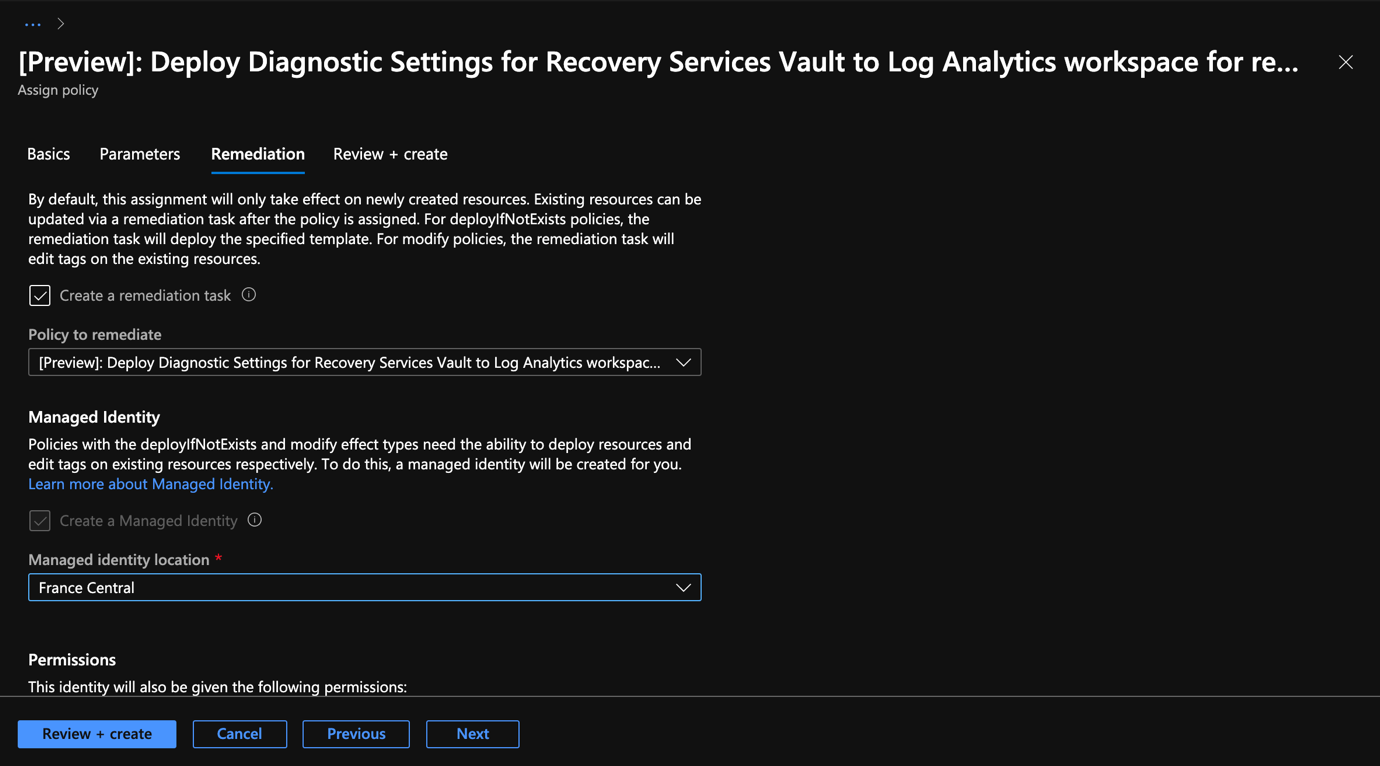
In the remediation tab, check the box Create a remediation task.
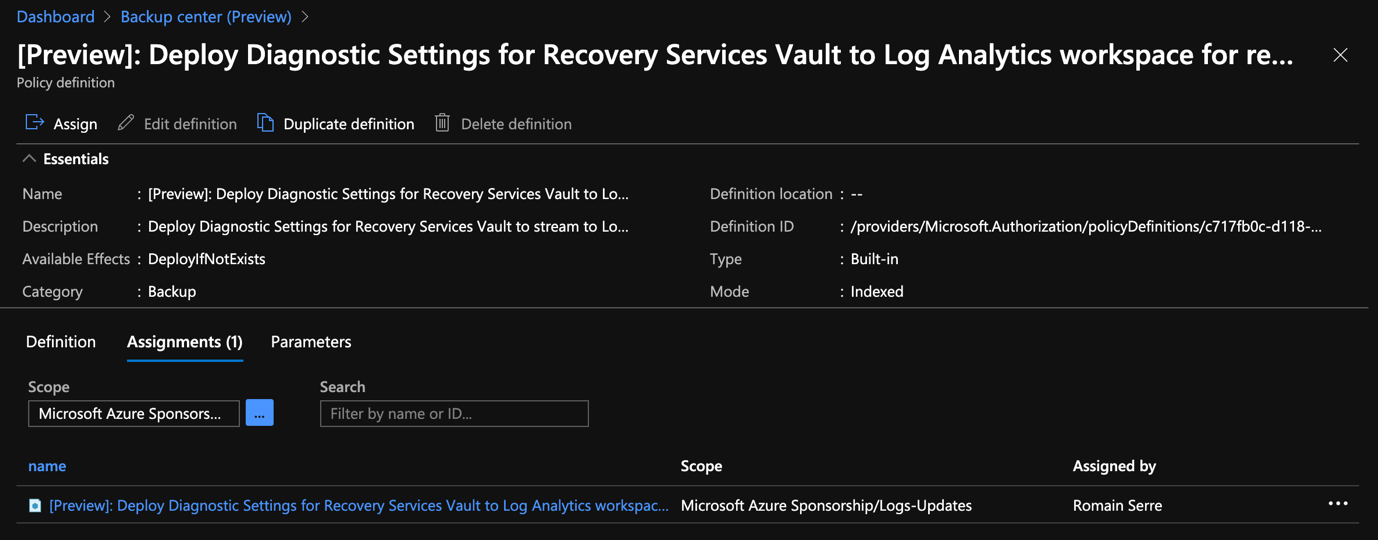
Once the assignment is done, you should get one assignment for this Azure Policies.
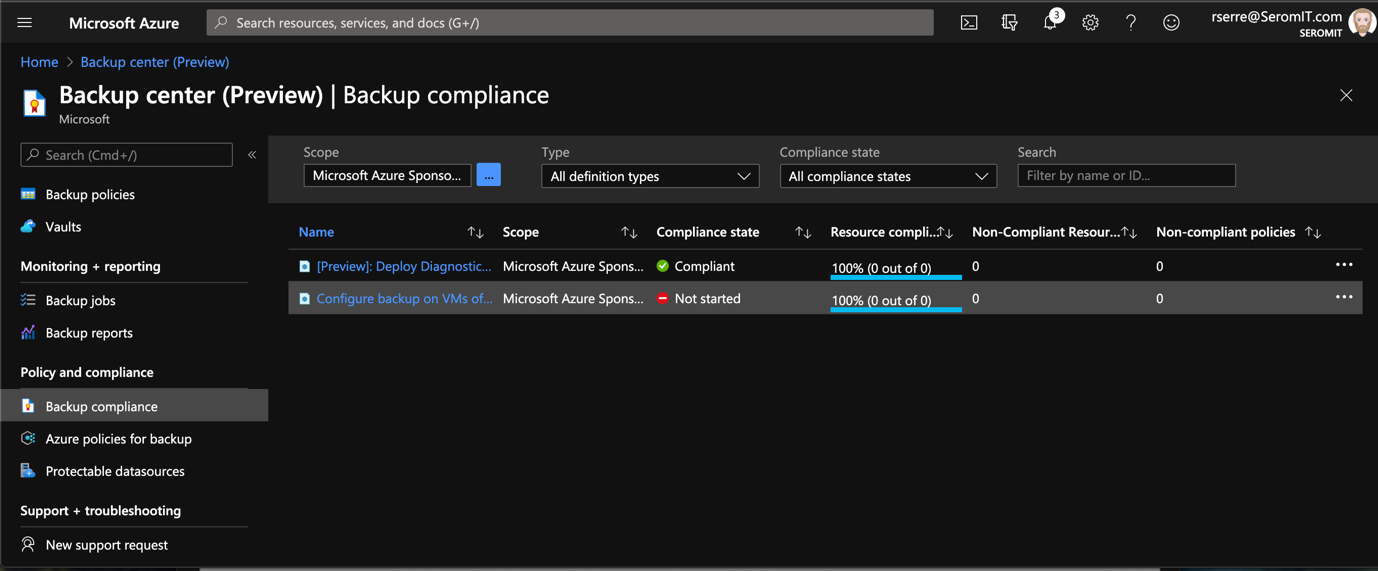
After some time, you should see the information in the Backup compliance tab.
Conclusion
Backup Center is still in preview but gives you some inputs about where Microsoft is going with their Azure Backup GUI. For large infrastructure, it was painful to manage dozens of Azure Backup vaults. Today, Microsoft is doing its best to simplify the backup management thanks to Backup Center.
