

StarWind Virtual SAN® Asynchronous replication and Disaster Recovery
- January 31, 2018
- 13 min read
Introduction to Asynchronous Replication
Having a disaster recovery site is crucial for companies that care about their data safety, and it’s a MUST for ones which are under the regulatory requirements. On-site Redundancy (RAID, Synchronous Mirroring, etc.) does not guarantee data protection from hurricanes, floods, and earthquakes that can completely destroy the primary datacenter. To reach the maximum data security, StarWind provides asynchronous replication functionality.
The combination of StarWind data-compression and replication technologies enable to eliminate the typical for conventional DR implementations issues: high cost, performance drops, and risk of data discontinuity. Allowing the installation to take place in the cloud VM for DR purposes and moving the replication and data compression to the background, it prevents the common pitfalls found in traditional DR solutions.
This document is intended for StarWind users who want to learn to set up asynchronous replication, and the basics of snapshot management. It describes the process in detail, being a comprehensive step-by-step instruction that is good for beginners and seasoned professionals.
A full set of up-to-date technical documentation can always be found here, or by pressing the Help button in the StarWind Management Console.
StarWind VSAN System Requirements
Prior to installing StarWind Virtual SAN, please make sure that the system meets the requirements, which are available via the following link:
https://www.starwindsoftware.com/system-requirements
Recommended RAID settings for HDD and SSD disks:
https://knowledgebase.starwindsoftware.com/guidance/recommended-raid-settings-for-hdd-and-ssd-disks/
Please read StarWind Virtual SAN Best Practices document for additional information:
https://www.starwindsoftware.com/resource-library/starwind-virtual-san-best-practices
Pre-Configuring the Servers
The reference network diagram of the configuration described further in this guide is provided below.
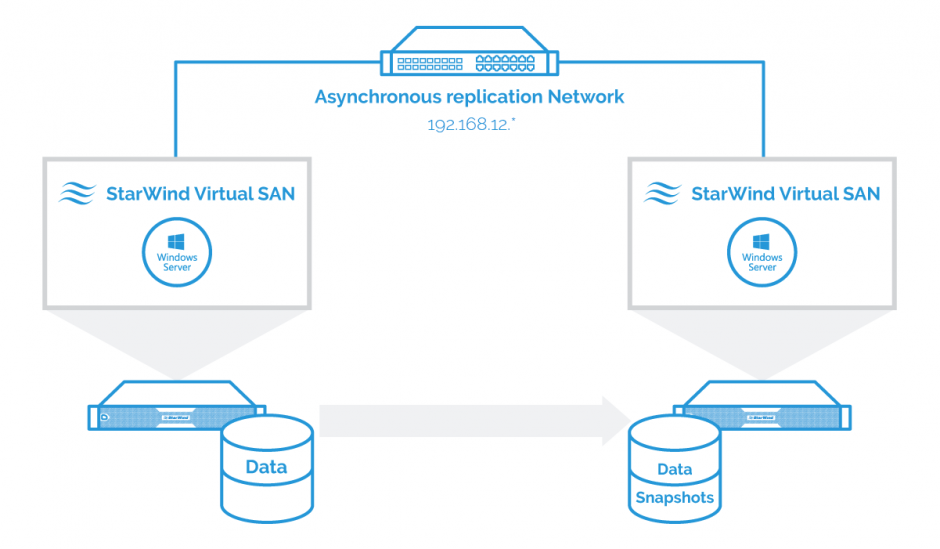
NOTE: Since Asynchronous node uses LSFS device by design, please, make sure that you are aware of LSFS device features and the node hardware fits LSFS device requirements, described here: https://www.starwindsoftware.com/resource-library/lsfs-container-technical-description
Installing StarWind VSAN for Hyper-V
1. Download the StarWind setup executable file from the StarWind website:
https://www.starwind.com/registration-starwind-virtual-san
2. Launch the downloaded setup file on the server to install StarWind Virtual SAN or one of its components. The Setup wizard will appear. Read and accept the License Agreement.

3. Carefully read the information about the new features and improvements. Red text indicates warnings for users that are updating the existing software installations.
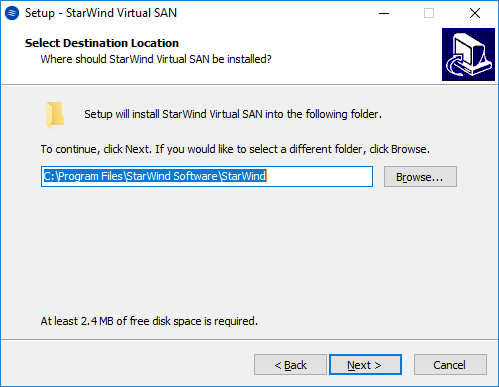
4. Select Browse to modify the installation path if necessary. Click on Next to continue.
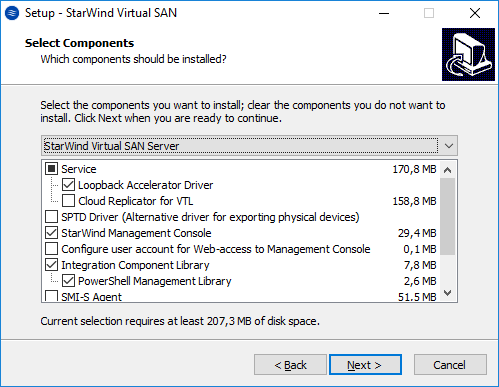
5. Select the following components for the minimum setup:
- StarWind Virtual SAN Service. The StarWind Virtual SAN service is the “core” of the software. It can create iSCSI targets as well as share virtual and physical devices. The service can be managed from StarWind Management Console on any Windows computer that is on the same network. Alternatively, the service can be managed from StarWind Web Console deployed separately.
- StarWind Management Console. Management Console is the Graphic User Interface (GUI) part of the software that controls and monitors all storage-related operations (e.g., allows users to create targets and devices on StarWind Virtual SAN servers connected to the network).
NOTE: To manage StarWind Virtual SAN installed on a Windows Server Core edition with no GUI, StarWind Management Console should be installed on a different computer running the GUI-enabled Windows edition.
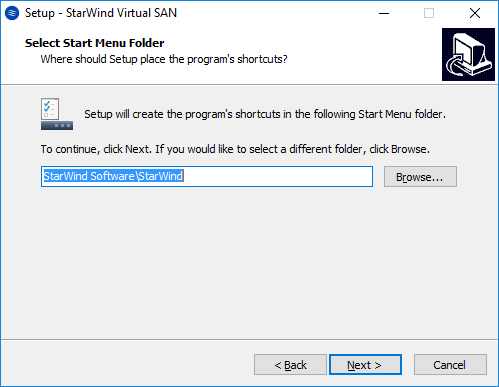
6. Specify Start Menu Folder.
7. Enable the checkbox if a desktop icon needs to be created. Click on Next to continue.
8. When the license key prompt appears, choose the appropriate option:
- request time-limited fully functional evaluation key.
- request FREE version key.
- relect the previously purchased commercial license key.
9. Click on the Browse button to locate the license file.
10. Review the licensing information.
11. Verify the installation settings. Click on Back to make any changes or Install to proceed with installation.
12. Enable the appropriate checkbox to launch StarWind Management Console right after the setup wizard is closed and click on Finish.
13. Repeat the installation steps on the partner node.
Creating Asynchronous Replication
NOTE: Asynchronous replica can be added to a standalone or an HA device. In this document, the asynchronous replica is created for a standalone device. Before replica creation, please, create necessary devices according to these guides:
Creating a standalone device: https://www.starwindsoftware.com/help/CreatingaNewImageFileDevice.html
Creating HA device: https://www.starwindsoftware.com/help/ConfiguringSynchronousReplication.html
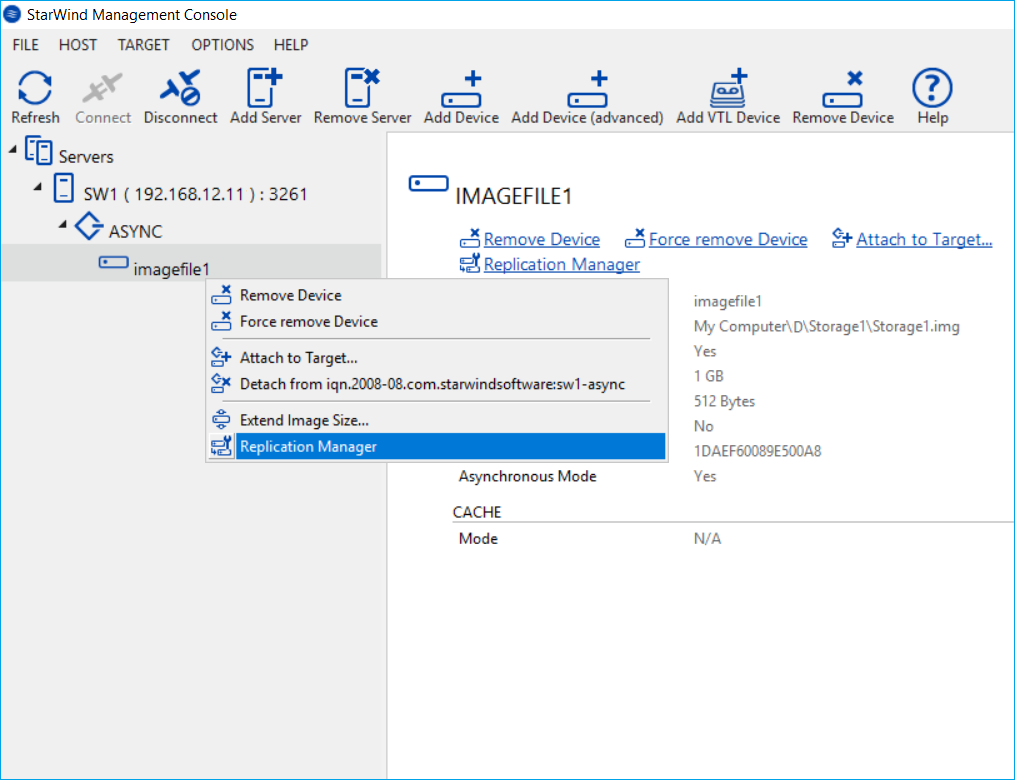
1. Open StarWind Management Console, select device and right click on it to select the Replication Manager.
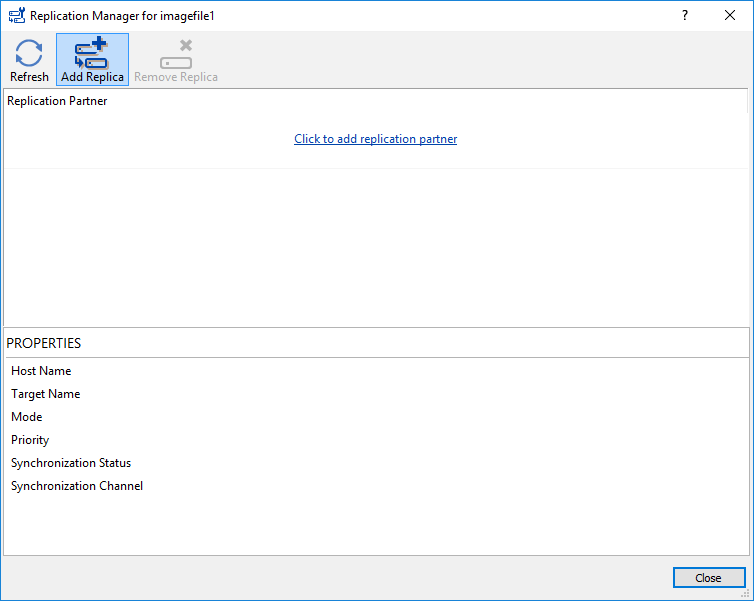
2. The Replication Manager window will appear. Press the Add Replica button.
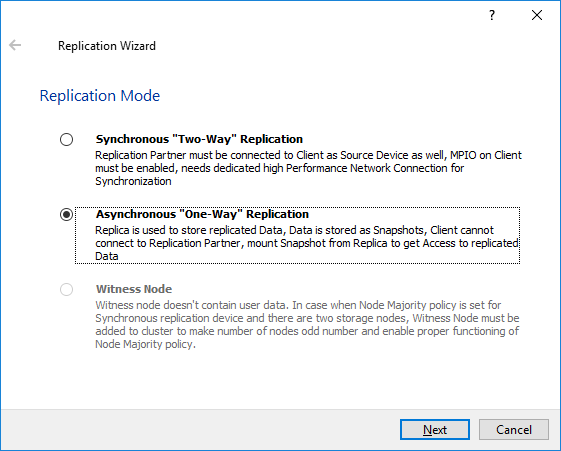
3. Select Asynchronous “One-Way” Replication and click Next to proceed.
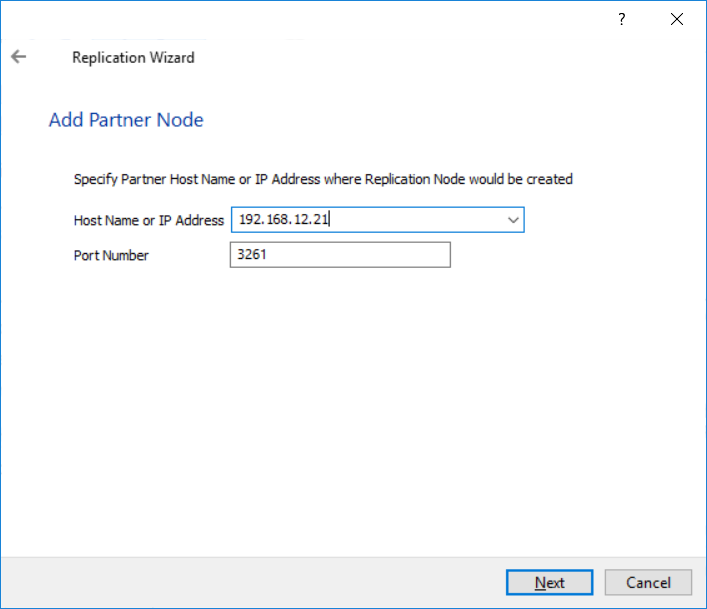
4. Enter the IP address of the Asynchronous node.
5. Choose the Create New Partner Device option and click Next.

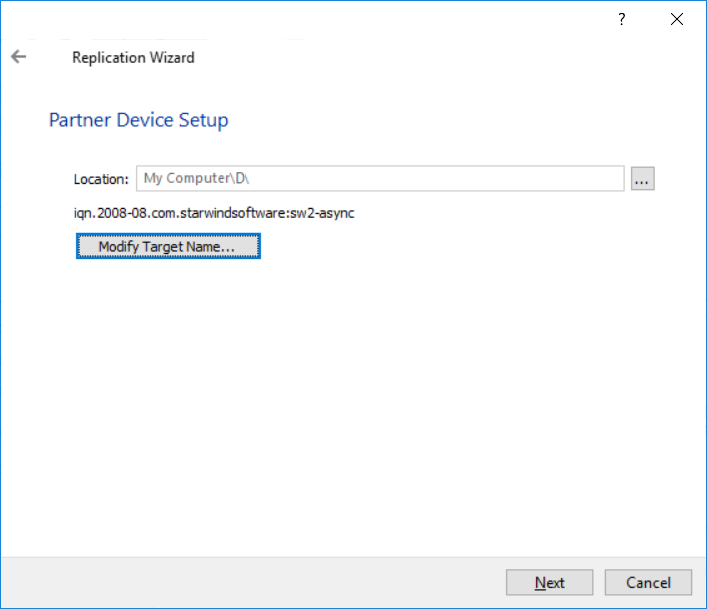
6. Specify the partner device location if necessary. You also can modify the device target name.
7. Click Change Network Settings.
8. Specify the proper network for asynchronous replication between two nodes, click OK and then Next.

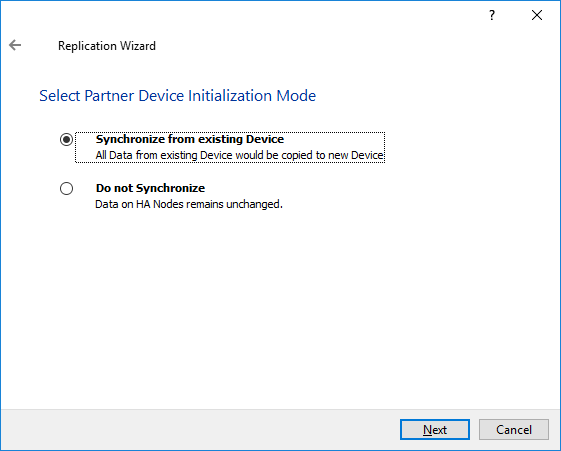
9. Select Synchronize from existing Device as a partner device initialization mode and click Next.
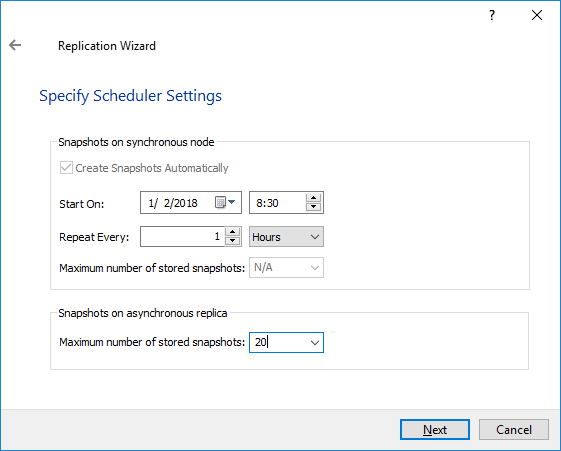
10. Specify Scheduler settings and click Next.
NOTE: The size of journal files and number of snapshots depends on the settings, specified in this window.
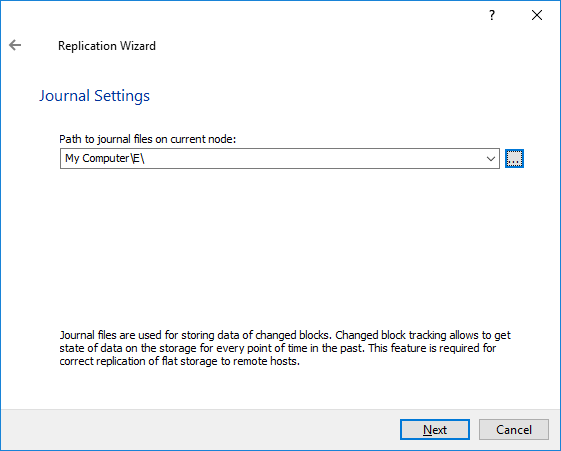
11. Specify the path for journal files and click Next.
NOTE: The journal files will be located on the node which has the original device. However, it is highly recommended do not store journal files on the same drive where the original device is located.
Also, do not use C:\ drive as the path for journal files to avoid any issues with Windows OS.
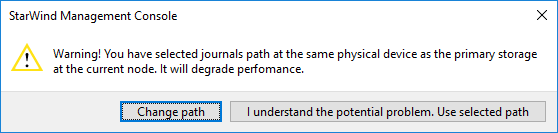
12. If you choose the same drive where the StarWind device is located, you will receive the warning about possible performance issues. If you do not have the additional volume to store the journals, you can click I understand the potential problem. Use selected path.
13. Press the Create Replica button.
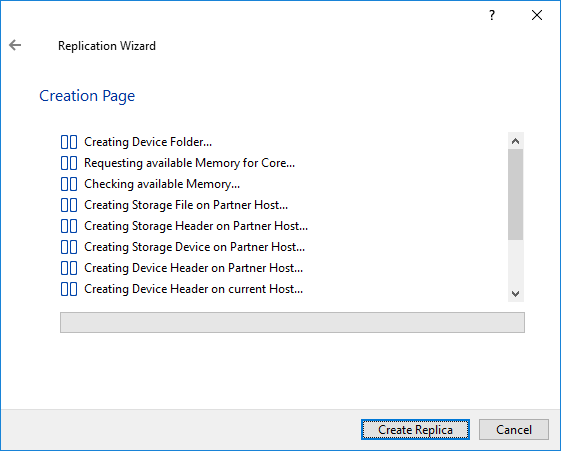
14. Wait until StarWind service creates a device and click Close to complete the device creation.

Restoring from an Asynchronous Replica
There are two possible ways for Hyper-V environment to bring the production online from an asynchronously-replicated node if the primary nodes are unavailable because of a disaster. The way to restore depends on particular needs:
Restoring Virtual Machines from a Read-Only Snapshot:
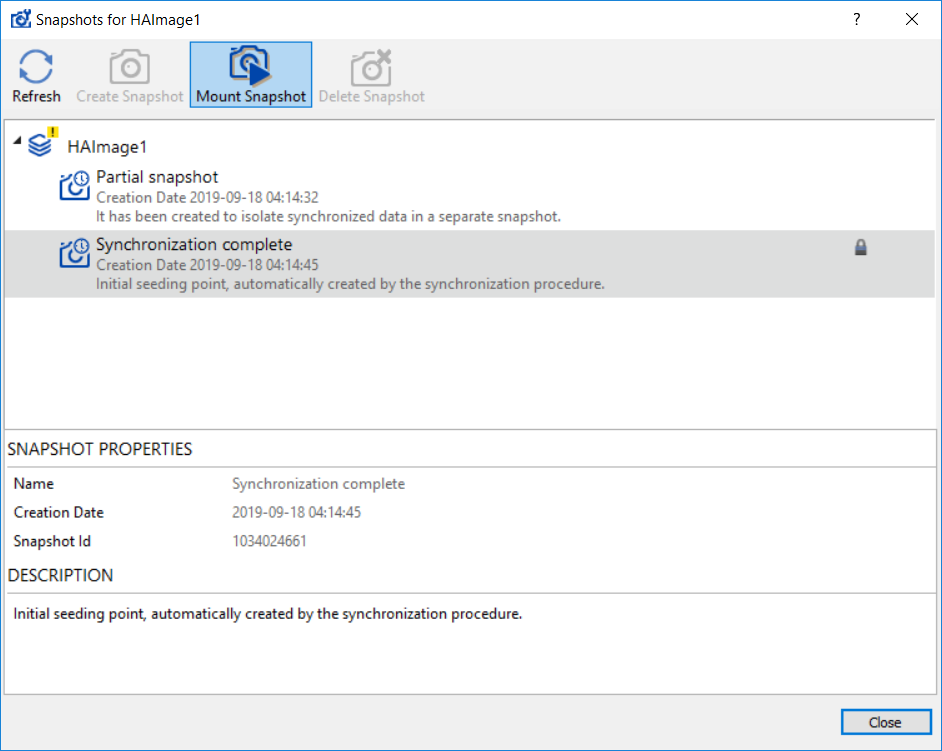
1. In StarWind Management console open device on the Asynchronous node, and click Snapshot Manager.

2. Select the Snapshot from the list and click Mount Snapshot. Snapshot will be mounted as a separate device in the Read-Only mode.
3. In the emerged window, specify target parameters. Target alias, as well as the target name, can be modified if needed.
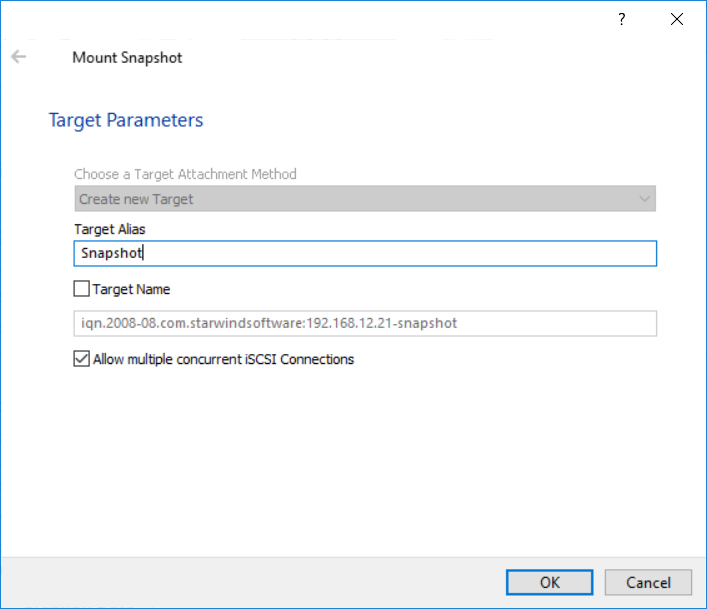
Click OK to mount the snapshot.
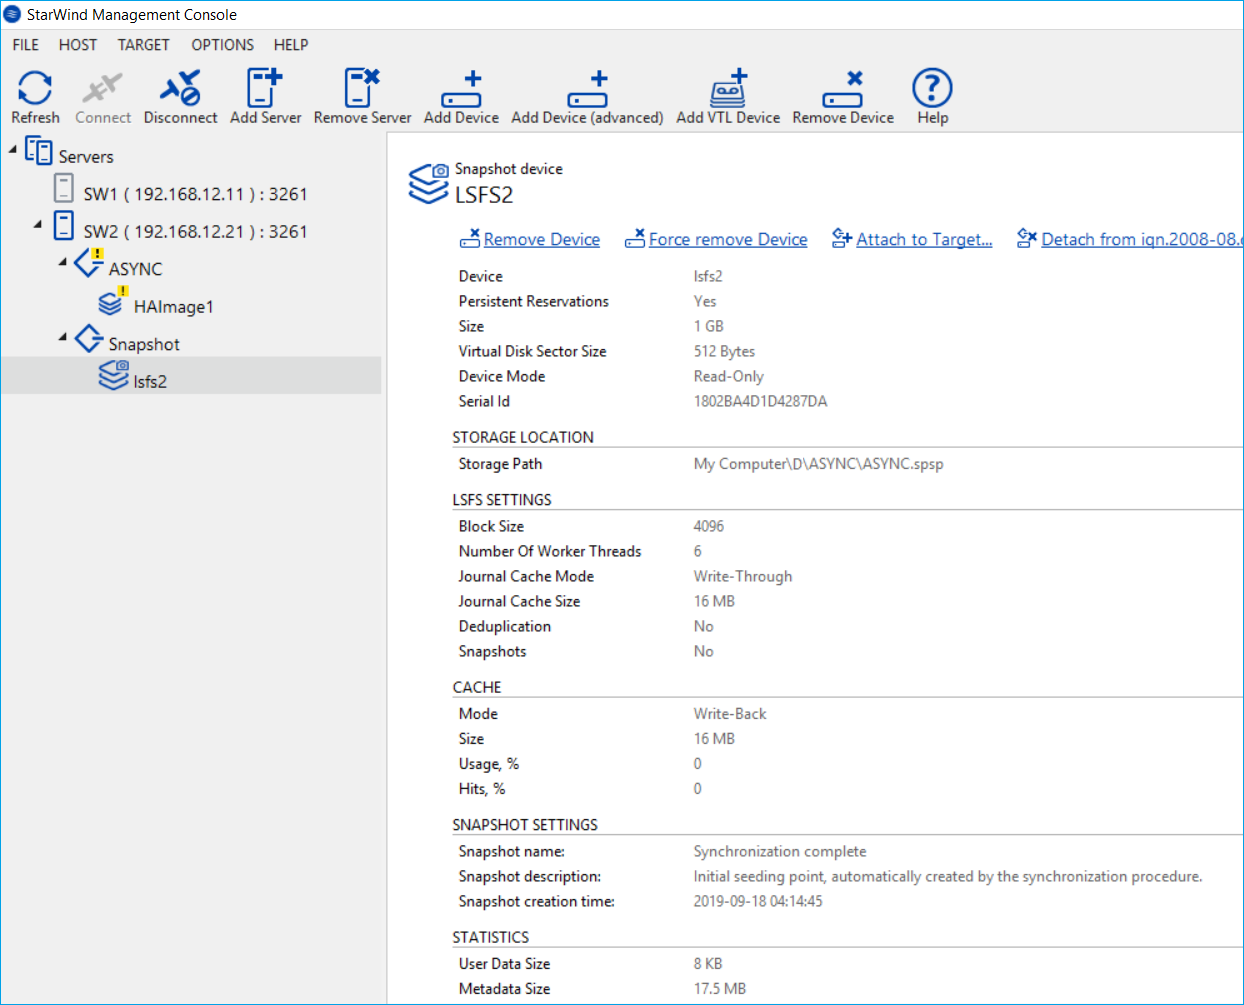
4. Device mounted from the snapshot should look like one in StarWind Management Console (look the figure below).
NOTE: Device mounted from a snapshot is in the Read-Only mode by design.
5. To access data on the read-only device, the target should be connected in Microsoft iSCSI Initiator.
Launch Microsoft iSCSI Initiator in Server Management tools or by deploying iscsicpl in the command line interface.
6. Navigate to the Discovery tab in the iSCSI Initiator Properties window.
7. Click the Discover Portal button. Once Discover Target Portal dialog appears, type in 127.0.0.1 to discover targets from the local host and click the Advanced button.
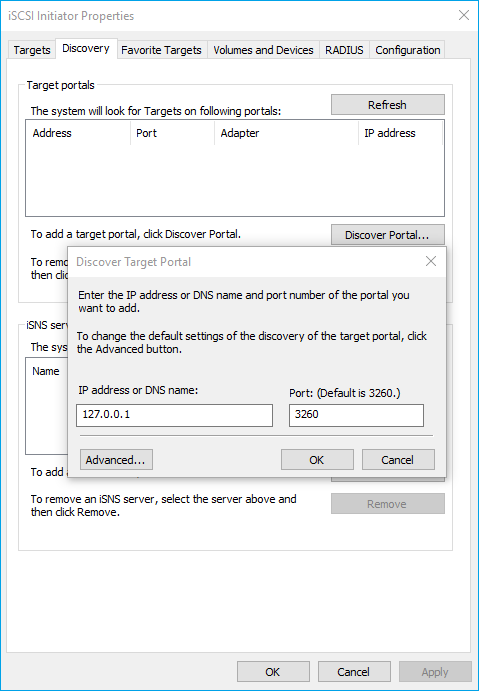
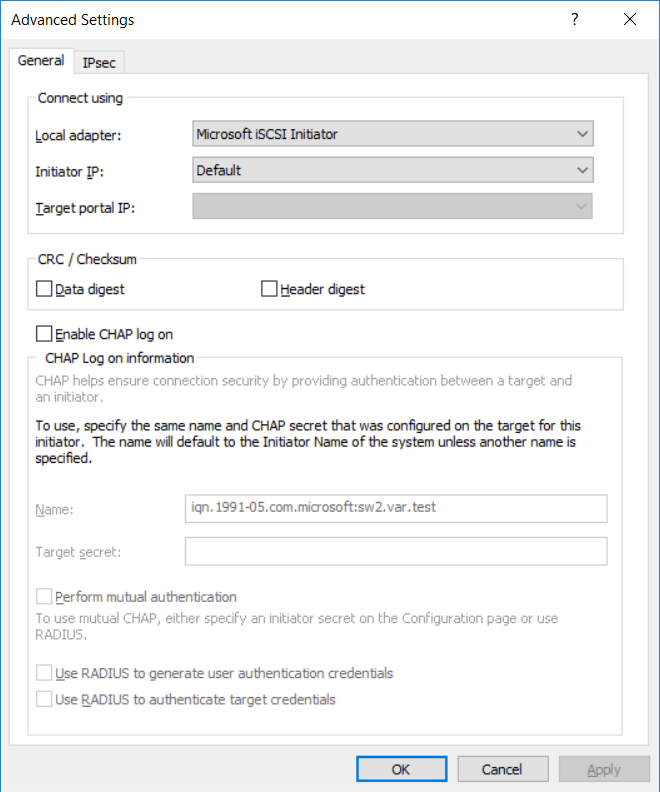
8. Select Microsoft iSCSI Initiator as the Local adapter and click OK twice.
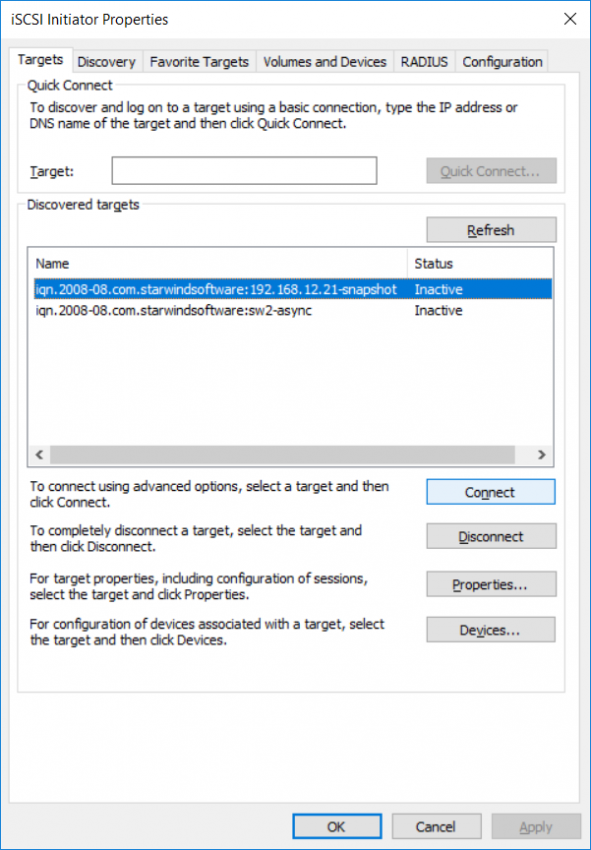
9. Navigate to the Targets tab, select the Snapshot target and click Connect.
NOTE: If targets are not listed, check the firewall settings of the StarWind Server and the list of networks served by the StarWind Server (go to StarWind Management Console -> Configuration -> Network).
10. Add the target to the Favorites list and enable multi-path. Click Advanced.
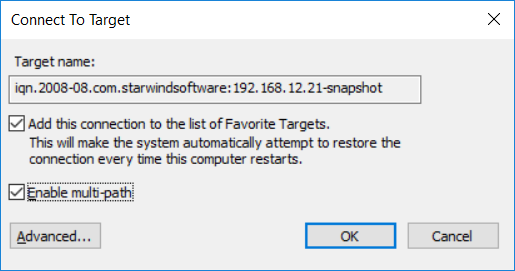
11. Select 127.0.0.1 from the Target portal IP drop-down list and set Microsoft iSCSI Initiator as the default initiator.
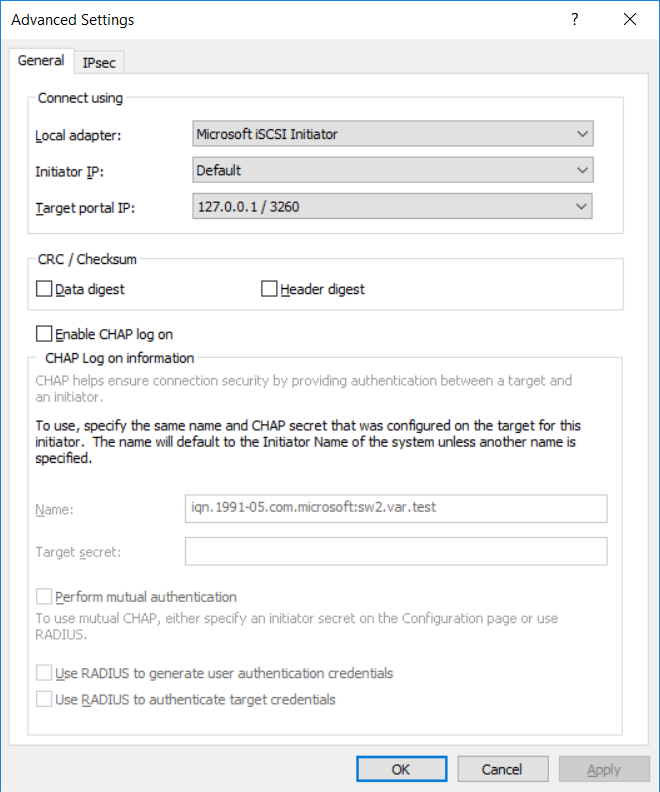
Click OK twice and complete the connection process.
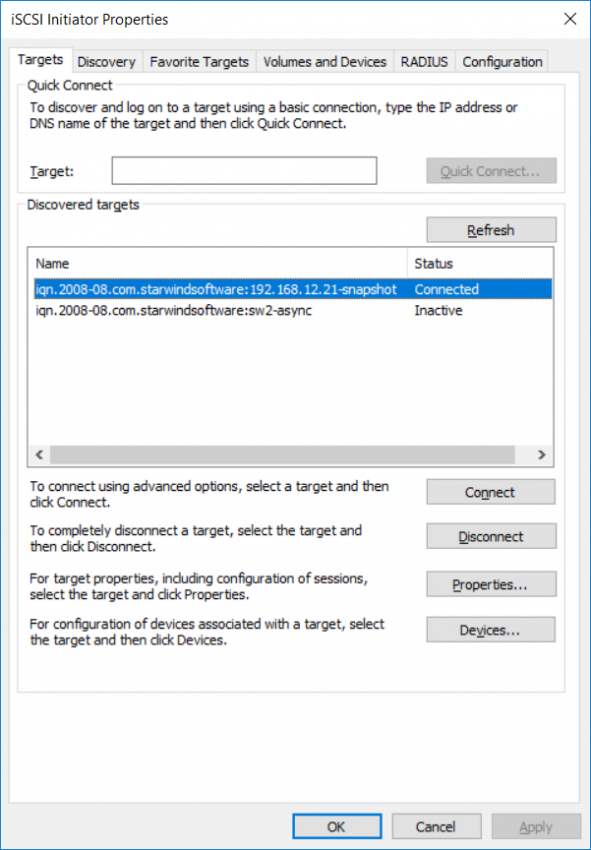
12. Make sure that target is connected as in the picture below:
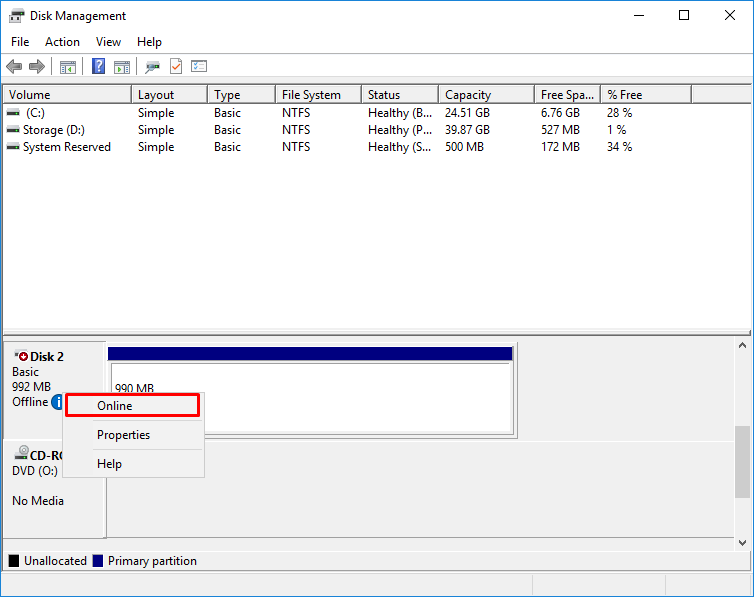
13. Open the Disk Management tab and bring the new disk online.
14. Once the Volume with the Virtual Machines or files is available, open Hyper-V Manager and click Import Virtual Machine…

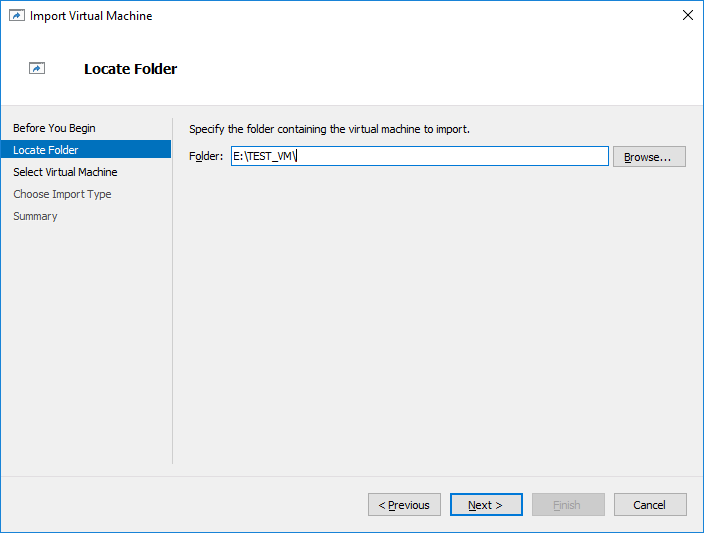
15. Specify the path to the Virtual Machine located on the Read-Only disk (mounted from snapshot) and click Next.
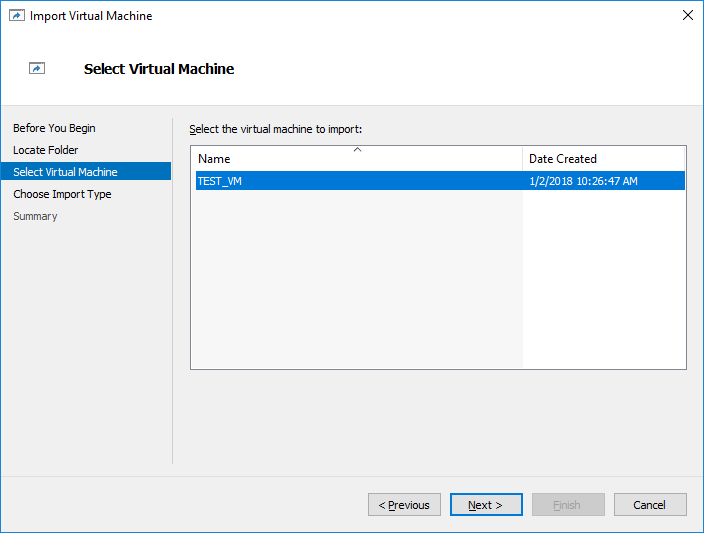
16. Select Virtual Machine and click Next.
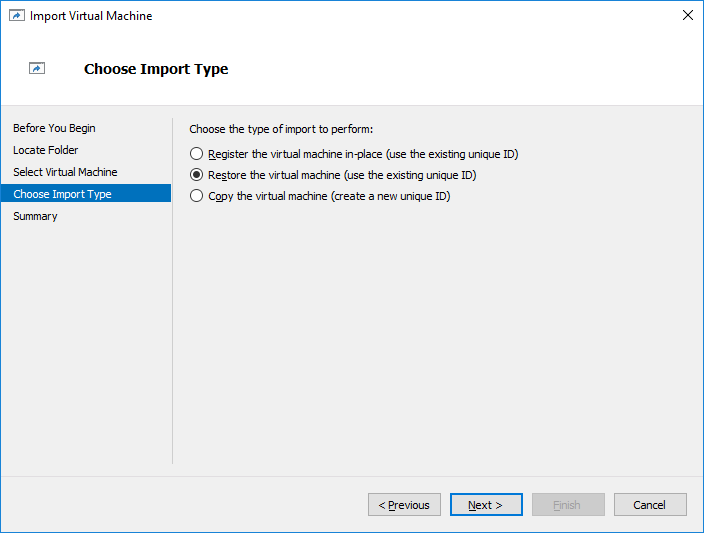
17. Choose the Restore the Virtual Machine option.
18. In Choose Destination check Store the Virtual Machine in a different location, specify the local path on the DR node and click Next.
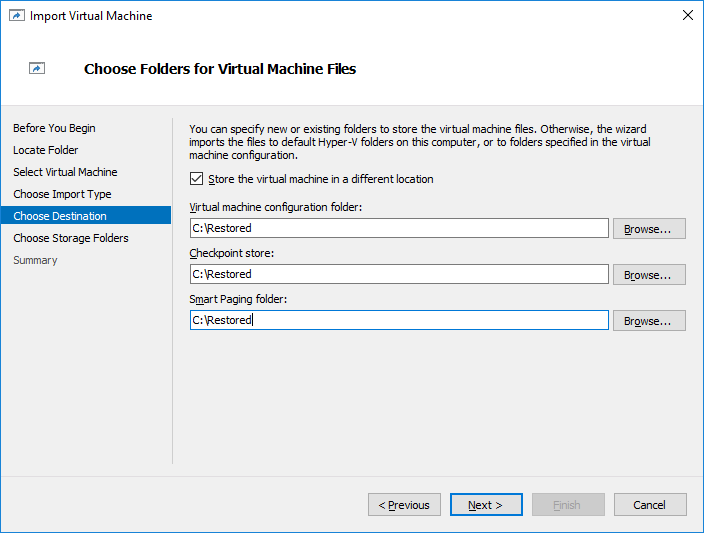
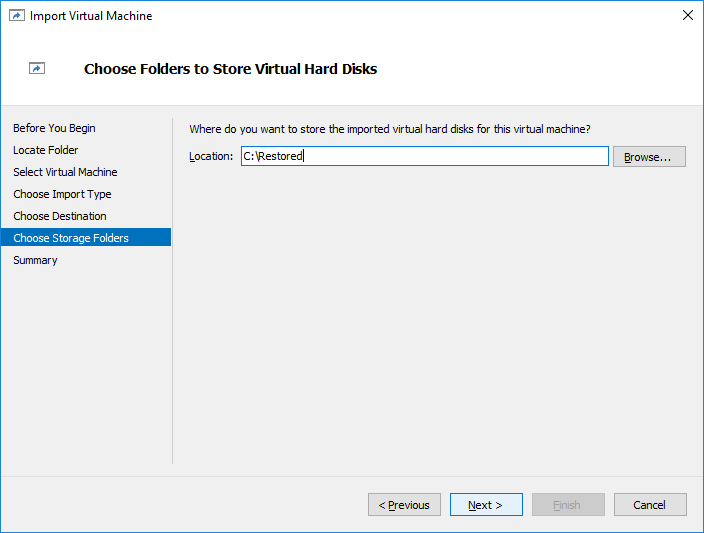
19. Choose a folder to store the Virtual Hard Disk and click Next.
20. Check the Import details and click Finish to complete and close the wizard. Once Virtual Machine import is done you can start the Virtual Machine in Hyper-V Manager.
Restoring Virtual Machines from the replicated device on the Asynchronous node
By design, the replicated device on the Asynchronous node is not allowed for any clients’ connections while the replica is not fixed at the specific time point. To make the target available for the client connections, it has to be re-added in StarWind Management console.
1. Open StarWind Management console, choose a device with Asynchronous replication mode, click Replication Manager and click Remove Replica in the appeared window.
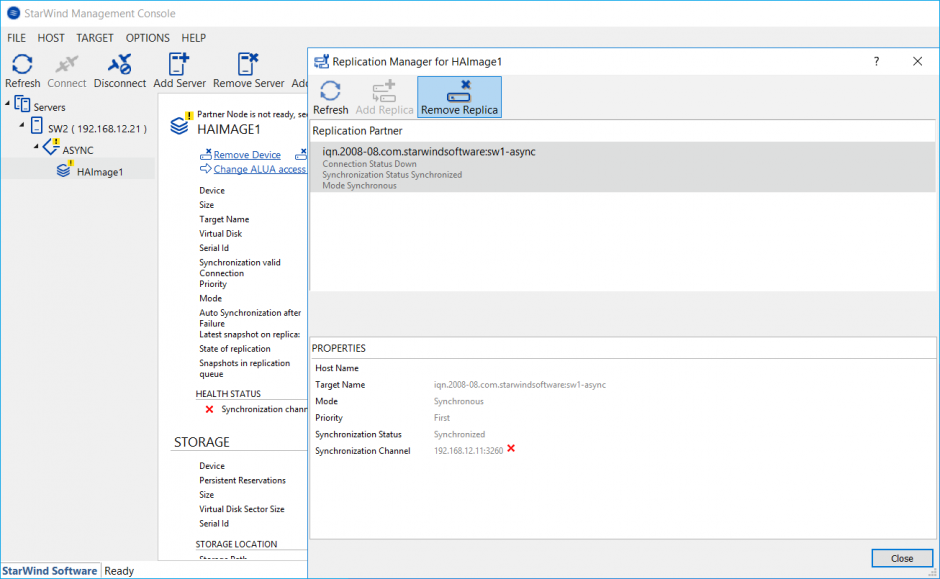
2. Confirm the replica removal by clicking Yes button.
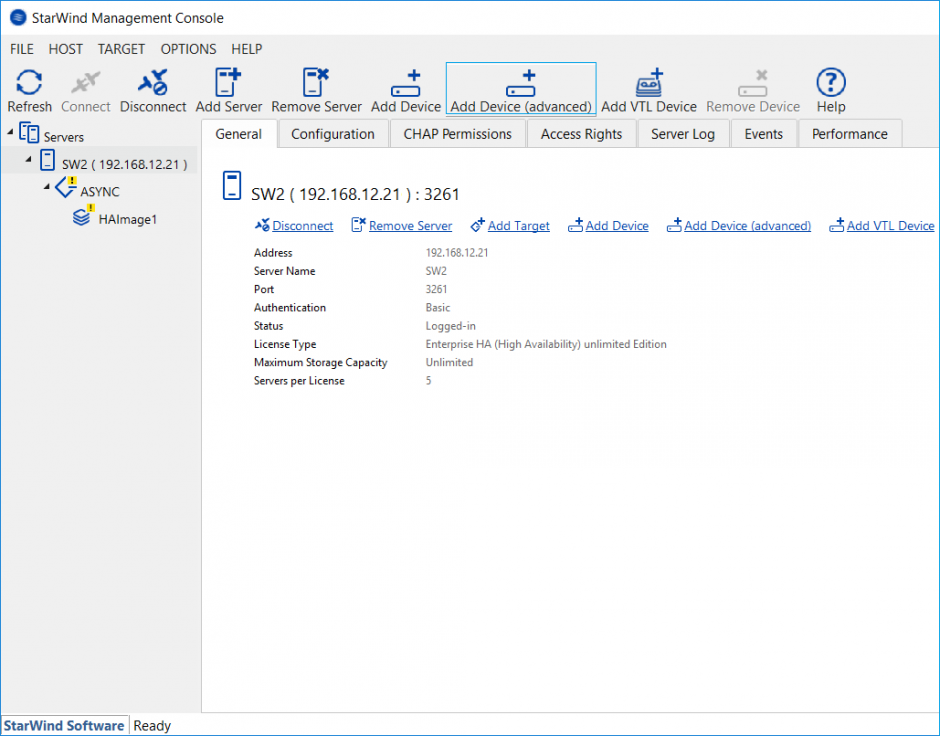
3. Open StarWind Management console and click Add Device (advanced) to add the device in Asynchronous replication mode one more time
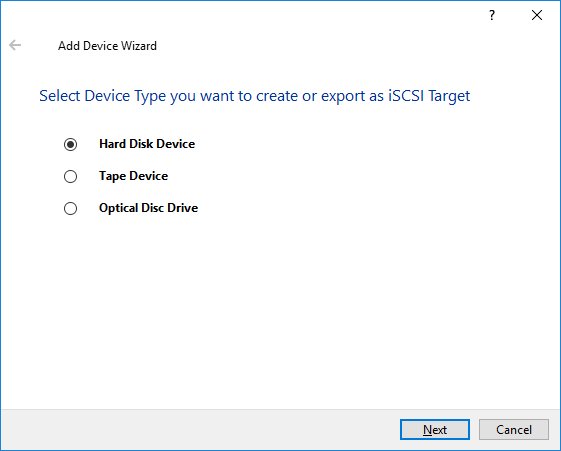
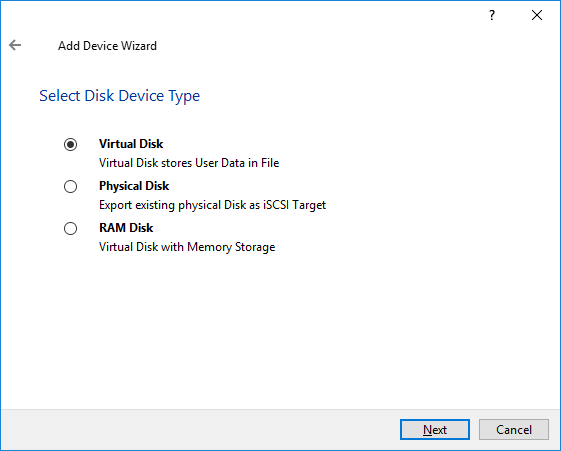
4. Add Device Wizard will appear. Select Hard Disk Device and click Next.
5. Select a Virtual disk and click Next.
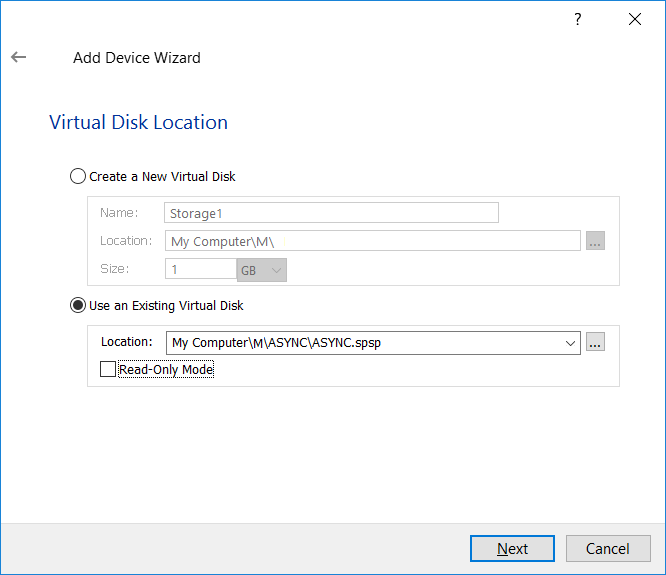
6. In the Virtual Disk Location window, choose Use an Existing Virtual Disk and specify the path to the device in Asynchronous replication mode. The path to file with the spsp extension should be specified and the Read-Only Mode checkbox should be unchecked.
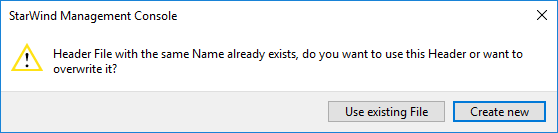
7. Press Create New to create the header file for the device which will be added.
8. Specify the same Block Size and click Next.
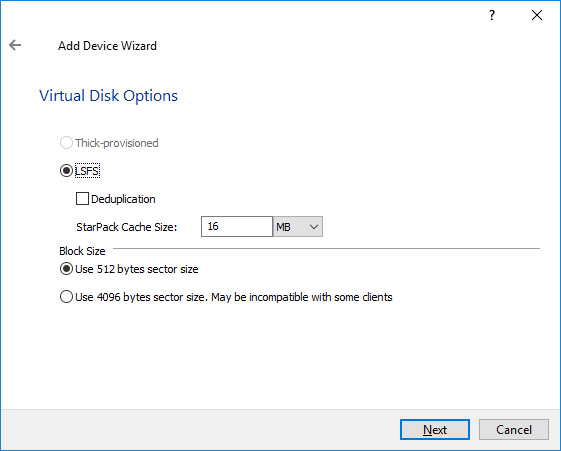
9. Modify LSFS settings, if required, and click Next.
10. Define the caching policy, specify the cache size, and click Next.
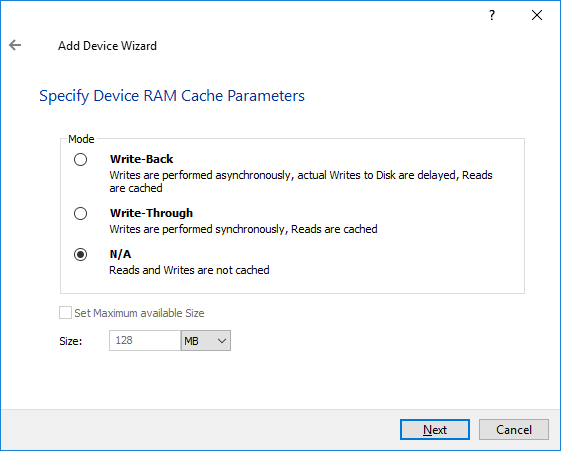
NOTE: It is not recommended to configure the cache in Write-Back mode on Standalone devices in order to avoid possible data corruption upon power outage or incorrect service shutdown.
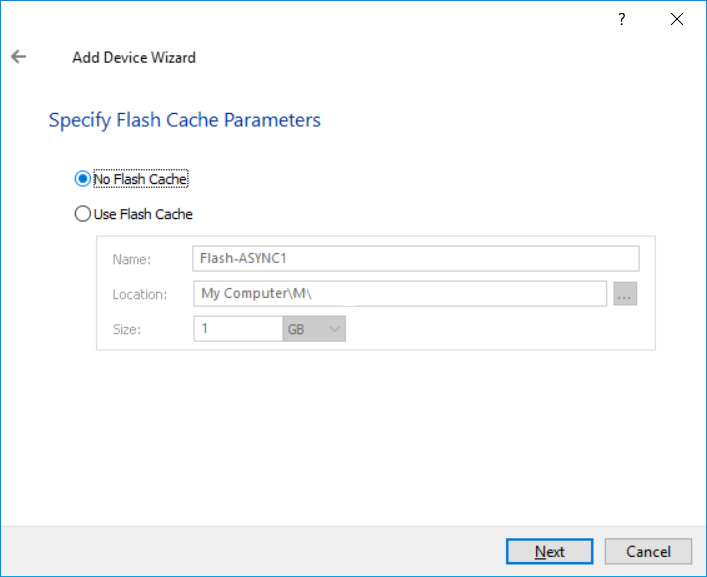
11. Define the Flash Cache Parameters policy and size if necessary. Choose SSD location in the wizard.
NOTE: The recommended size of the L2 cache is 10% of the initial StarWind device size.
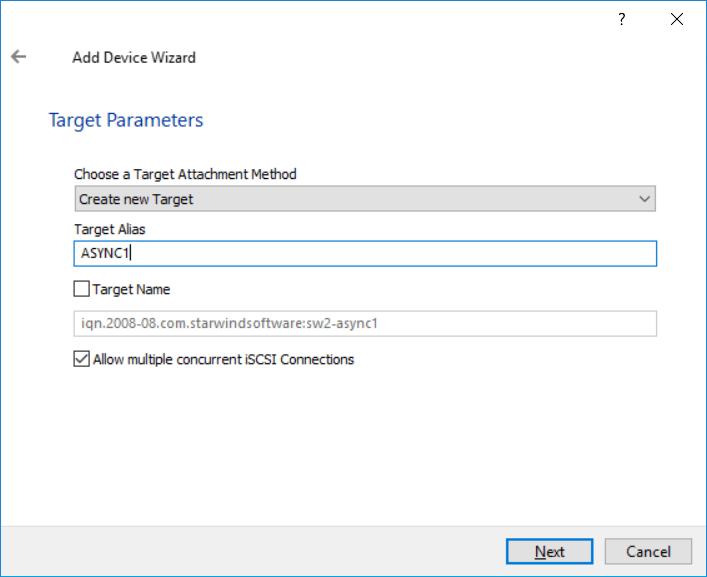
12. Modify the Target Alias and target name, if needed, and click Next.
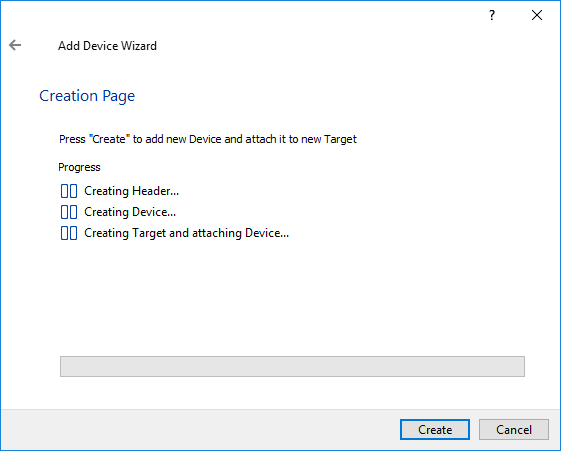
13. Click Create and Close to add a new device.
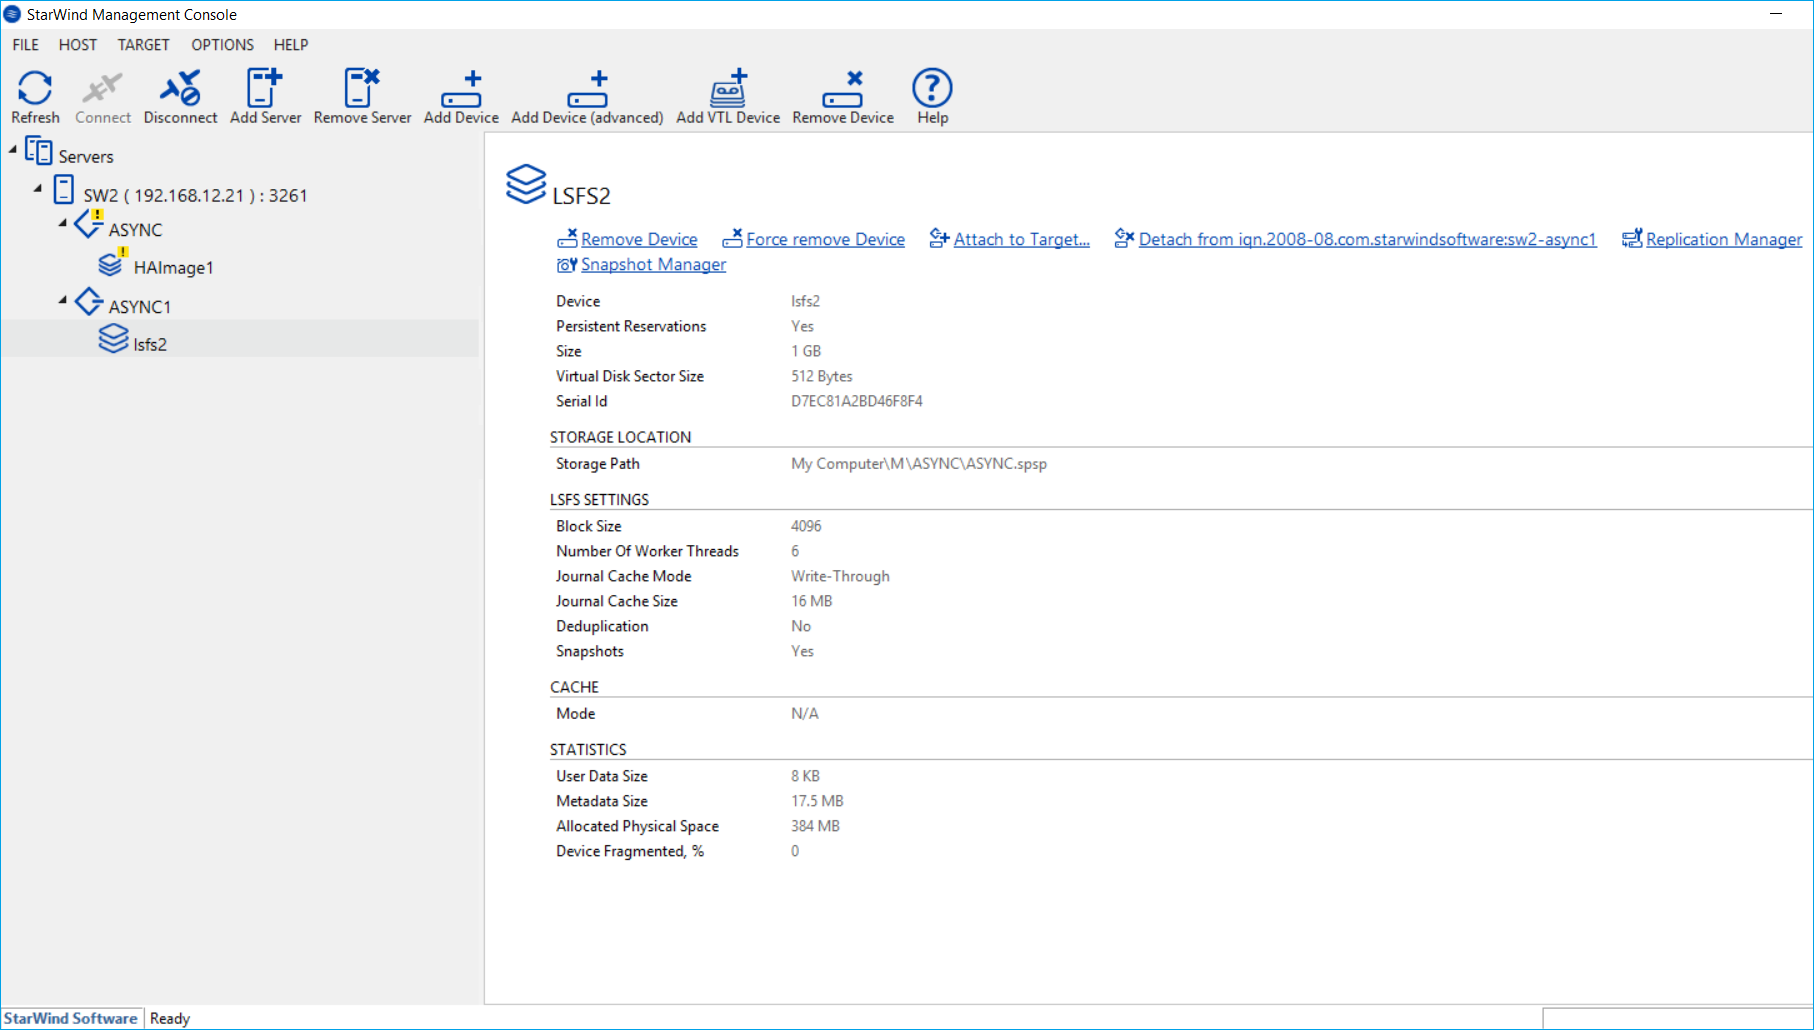
14. The re-added device should look like as one in the figure below.
15. Discover targets and connect the newly-created target to ISCSI initiator as it is described in steps 19-25. The connected target should look like one in the screenshot below:
16. Open Disk Management and bring the new disk online.

17. Once the Volume with Virtual Machines or files is available, open the Hyper-V Manager and click Import Virtual Machine…
18. Specify the path to the Virtual Machine which is located on the recently connected disk (mounted from snapshot) and click Next.

19. Select Virtual Machine, click Next, and choose the Register the Virtual Machine in-place option. Complete the wizard to register the Virtual Machine.

