


Setting up a home lab can be daunting, especially with the shift in the virtualization landscape. With VMware ESXi no longer offering a free version as of 2024, many IT professionals have turned to Proxmox VE – a free, open-source hypervisor that brings enterprise-grade functionality to personal environments. This guide walks you through building a compact, capable home lab using just a PC, a switch, and a laptop. Part two will cover VMware Workstation 17 Pro.
Why Proxmox VE?
Proxmox VE has gained traction as the go-to replacement for VMware ESXi in home lab environments. It supports KVM for full virtualization, LXC for lightweight containers, and ZFS for advanced storage capabilities, all accessible through a clean web interface. Unlike VMware, Proxmox doesn’t require paid licenses to unlock essential features like clustering, backup, or snapshots.
What makes Proxmox particularly appealing is its flexibility: you can run mixed environments, manage resources efficiently, and test configurations just like in a production-grade virtual infrastructure. And with regular updates and strong community support, it’s a future-proof option for experimentation and learning.
Minimum Hardware Requirements
Before you begin, ensure your system meets these requirements:
- CPU: Intel Core i7-12700 / AMD Ryzen 7 7700 or better (VT-x/AMD-V support required)
- RAM: 32 GB recommended (16 GB minimum for lighter use)
- Storage: 2× 1 TB SSDs (RAID 0 for speed, RAID 1 for redundancy)
- NICs: At least 1× GbE, ideally 10 GbE+ for network-heavy tasks
- Switch (Optional): For segmenting lab traffic or connecting multiple nodes
Ensure CPU virtualization is enabled in your BIOS/UEFI before proceeding.
Installing Proxmox VE
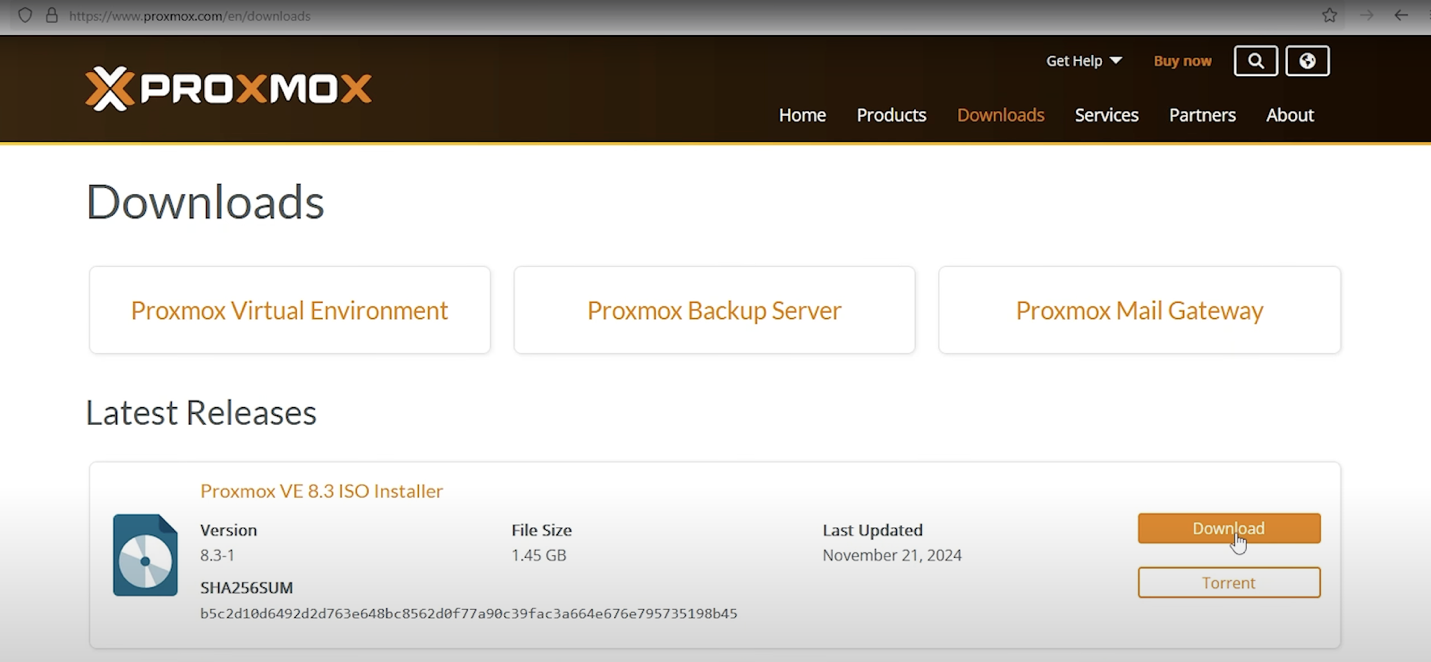
1. Download the ISO: Get the latest Proxmox VE 8.x release from proxmox.com
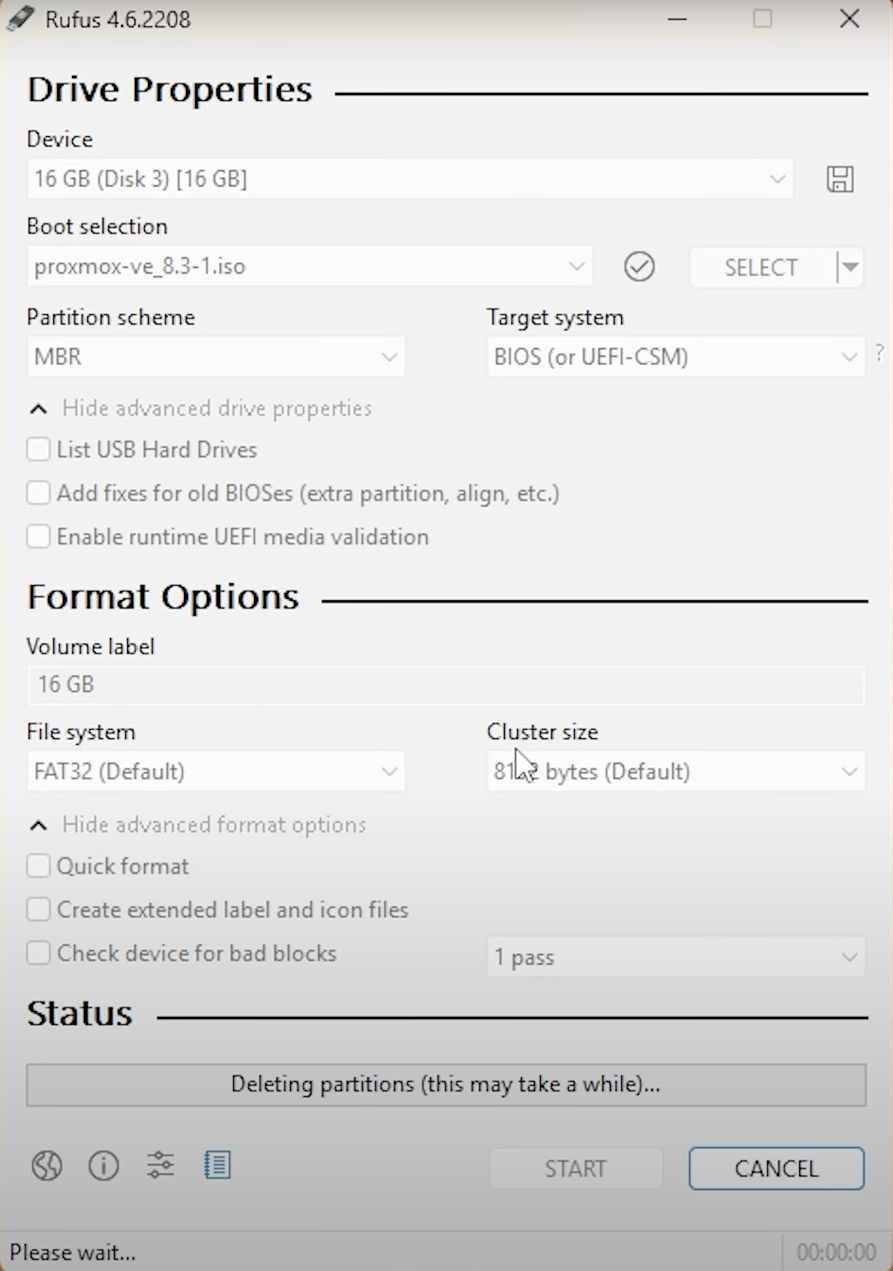
2. Create a bootable USB: Use Rufus (Windows) or balenaEtcher (multi-platform)
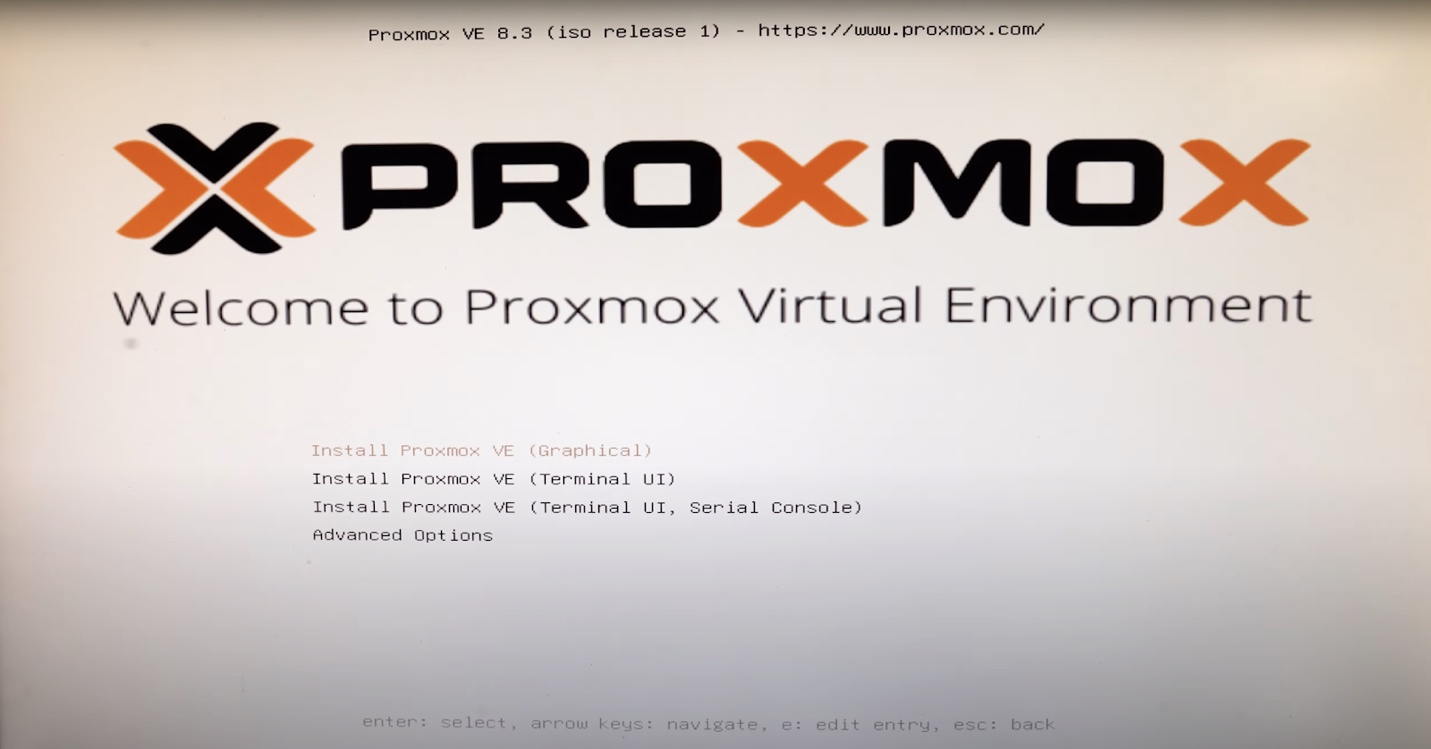
3. Install Proxmox: Boot from USB, choose ZFS (RAID 1 or RAID 0), and complete installation
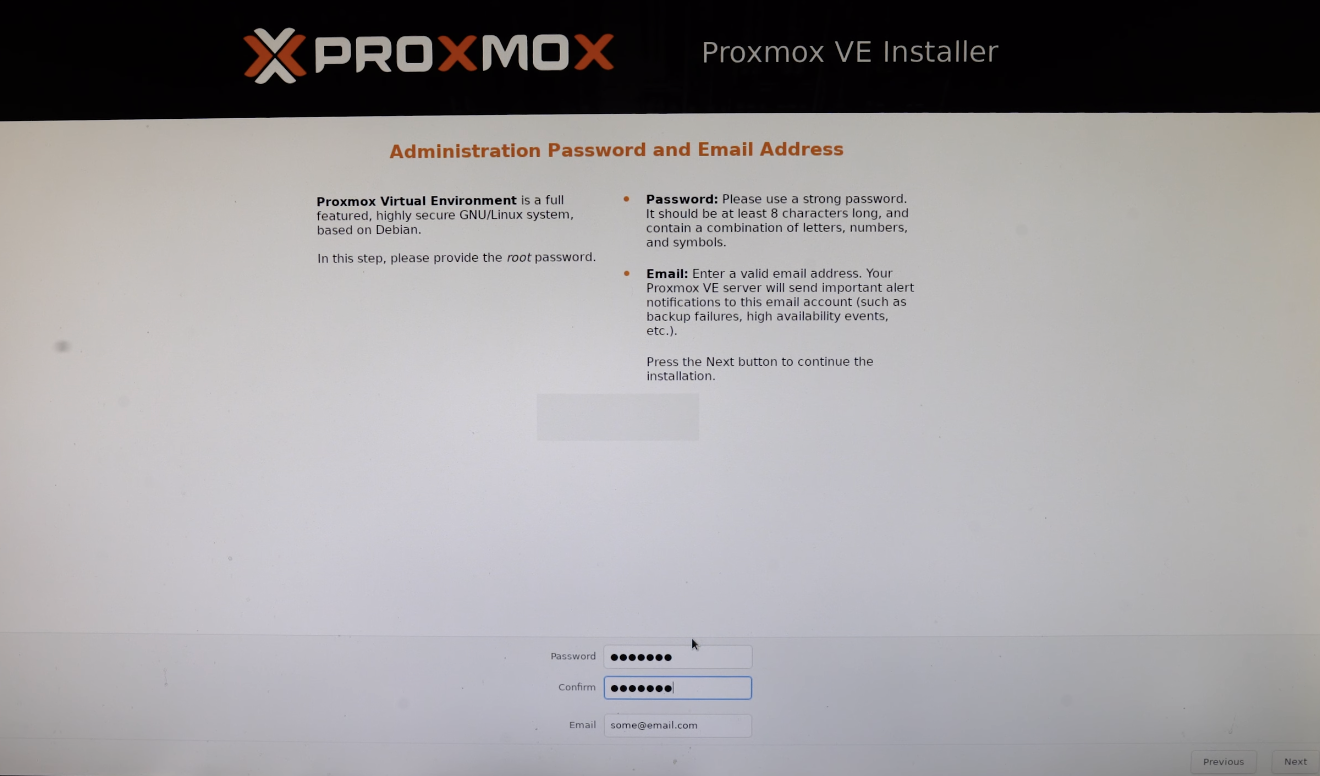
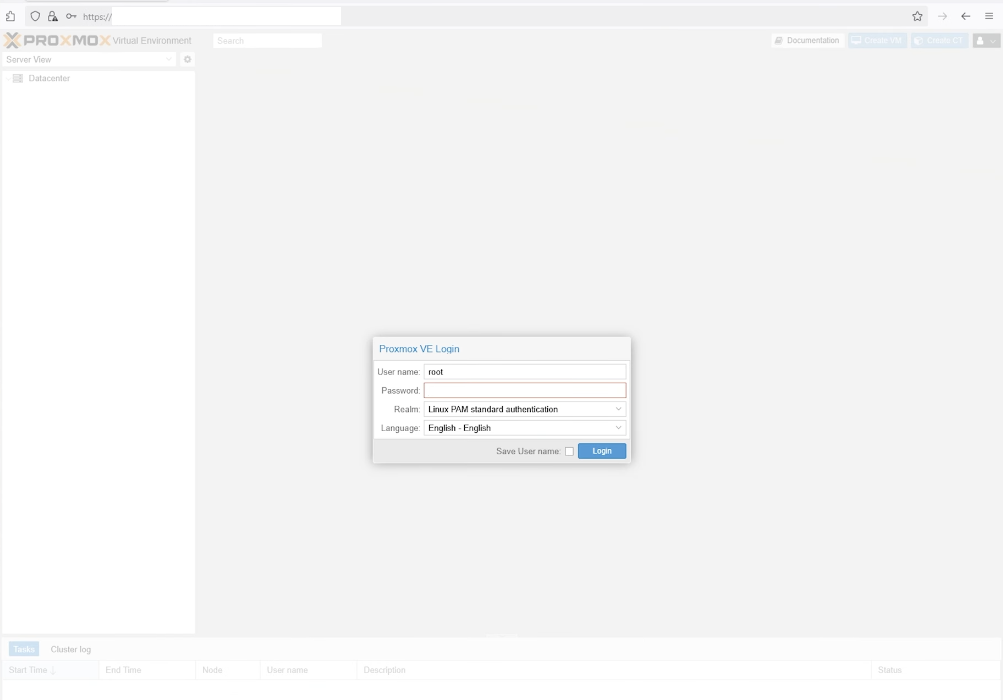
4. Set root credentials and network configuration
5. Log in via Web UI: Access https://your-server-ip:8006 from your browser
Initial Update Setup
Proxmox uses a paid enterprise repo by default. For free updates:
- Comment out the enterprise repo in /etc/apt/sources.list.d/pve-enterprise.list
- Add the no-subscription repo:
deb http://download.proxmox.com/debian/pve bookworm pve-no-subscription
- Then run:
apt update && apt dist-upgrade
Creating and Running Virtual Machines
- Upload your OS ISO: Go to the Storage > ISO Images tab in the web UI
- Create a VM:
- Assign 4–8 vCPUs and 8–16 GB RAM
- Use VirtIO for disk and network
- Select bridged networking to expose VM to your LAN
- Install the OS: Start the VM, boot from ISO, and proceed with installation
For Windows Guests
Use the VirtIO driver ISO during installation to load storage and network drivers. After setup, install the full guest tools for improved performance and integration.
Storage and Snapshots
Using ZFS allows you to take consistent snapshots and roll back quickly in case of misconfiguration or testing failures. Allocate disk space based on your expected workload, and monitor IOPS to avoid bottlenecks.
Nested Virtualization
If you plan to run hypervisors inside your VMs:
- Enable nesting on host:
- Intel:
echo "options kvm-intel nested=Y" > /etc/modprobe.d/kvm-intel.conf
-
- AMD:
echo "options kvm-amd nested=1" > /etc/modprobe.d/kvm-amd.conf
-
- Reload KVM modules or reboot the host
- Configure guest VM:
qm set <VMID> --cpu host
- Verify inside the guest that virtualization extensions are present (vmx or svm flags)
Use Cases for Your Home Lab
Here’s what you can test or deploy in a Proxmox-based lab:
- OS testing: Spin up and destroy VMs quickly for sandbox environments
- Self-hosted services: Nextcloud, Home Assistant, Pi-hole
- Container orchestration: Learn Kubernetes with K3s or MicroK8s
- Security research: Create isolated pentest environments with Kali Linux
- CI/CD pipelines: Run GitLab, Jenkins, or Docker registries for DevOps practice
Final Thoughts
Proxmox VE gives you powerful virtualization and containerization capabilities without licensing friction. Whether you’re testing enterprise architectures, learning DevOps workflows, or just running self-hosted tools, it’s a strong foundation for any IT pro’s home lab. In part two, we’ll look at building a flexible lab setup using VMware Workstation 17 Pro.