To manage identities and authentication On-Premises in a Microsoft world, we usually use Active Directory Domain Services. This feature enables to create a directory to handle accounts for users, services or computers. The servers and workstations are joined to the Active Directory and then users can use a single credentials to authenticate in all applications. Depending on the application implementation, Kerberos or NTLM is used to accomplish the authentication.
In Web modern App, Kerberos or NTLM is not used to authenticate a user. Instead, they use things like oAuth 2, SAML and so on. So, our On-Premises Active Directory is incompatible with web application. To solve that, we can leverage Azure Active Directory (AAD). AAD is able to deliver authentication token based on oAuth2, SAML and so on. However (by default), it is incompatible with Kerberos and NTLM. So, we have two directories: one for modern web applications and another for On-Premises usage. In this state, because we have two directories, a single user has two credentials. Maybe we can use something to synchronize identities across these both directories? The answer is Azure AD Connect.
Azure AD Connect synchronizes your On-Premises accounts located in Active Directory with Azure Active Directory. In this way, a single user will have a single credentials to authenticate to On-Premises applications and also in modern web applications. In this topic, we’ll see how to implement Azure AD Connect.
Requirements
Before following this topic, you need a working Active Directory Domain Services and a working Azure AD tenant with a custom domain registered and verified. I have the following domain:
- SeromIT.local: it’s my On-Premises domain name based on Windows Server 2019 (forest level Windows Server 2016)
- SeromIT.com: it’s my Azure AD domain
To implement Azure AD Connect your need two accounts with the following permissions:
- Azure AD side: an account with Global Administrator permissions
- Active Directory Side: an account with Enterprise admins permissions.
I recommend you to deploy a dedicated server to install Azure AD Connect in full GUI edition (Core edition is not supported). For security reasons, I don’t recommend you to deploy Azure AD Connect on domain controllers.
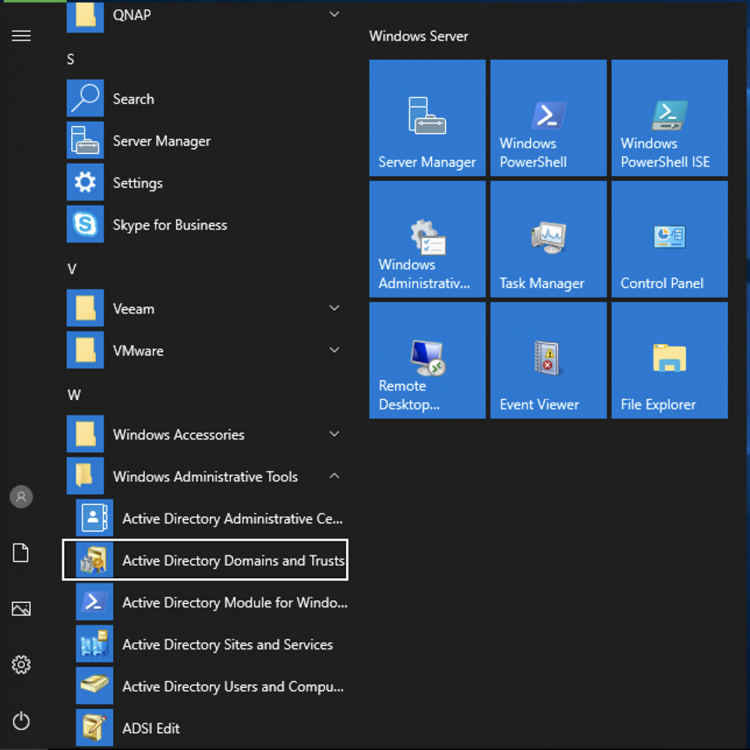
I have to add the SeromIT.com domain as an alternative UPN suffix in Active Directory (On-Premises). To do so, connect to a server or a workstation with Active Directory consoles and open Active Directory Domain and Trusts console.
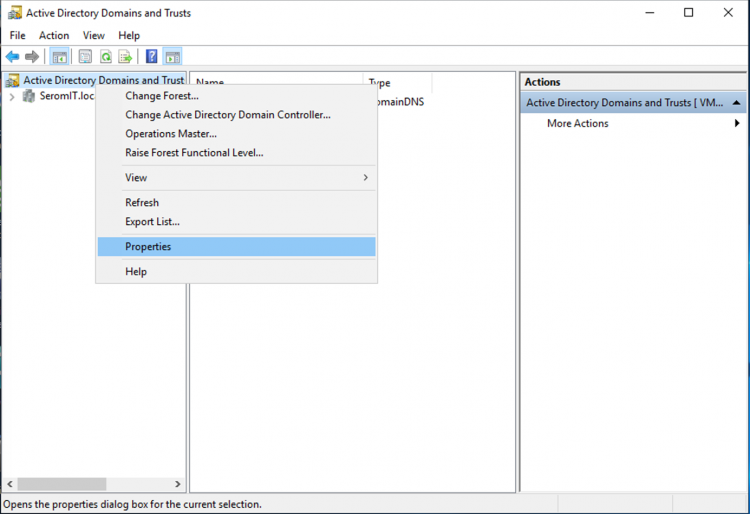
Then do a right click on Active Directory Domains and Trust and select Properties.
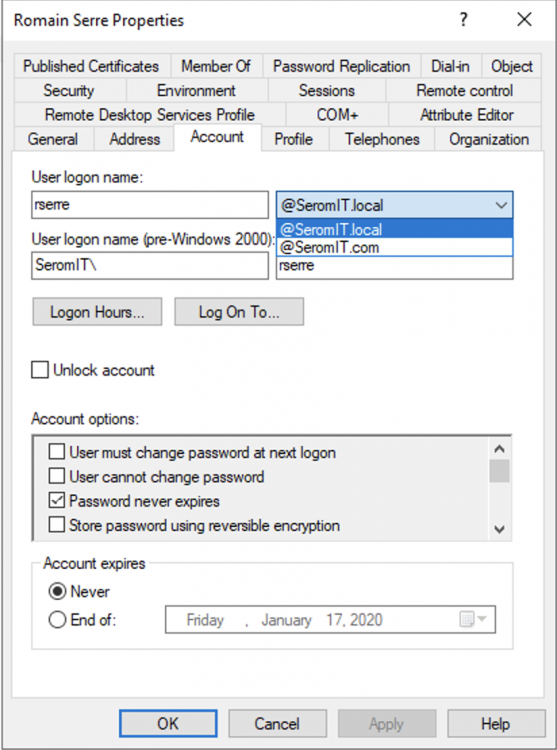
Next add your Azure AD domain as an alternative UPN suffix.

Now in Active Directory user accounts, you can change the user UPN to your Azure AD domain name.
I ran the following script to change the UPN of all users in my Active Directory.
$LocalUsers = Get-ADUser -Filter {UserPrincipalName -like '*SeromIT.local'} -Properties userPrincipalName -ResultSetSize $null

$LocalUsers | foreach {$newUpn = $_.UserPrincipalName.Replace("SeromIT.local","SeromIT.com"); $_ | Set-ADUser -UserPrincipalName $newUpn}
Deploy Azure AD Connect
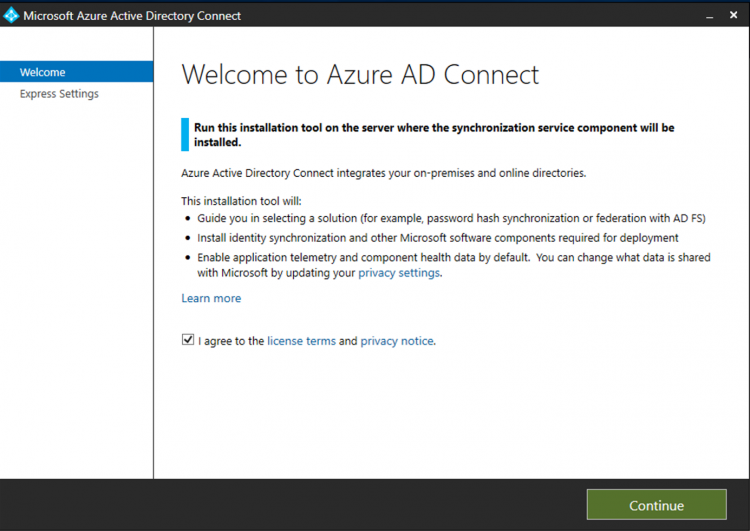
First of all, you need to download Azure AD Connect here. Connect to the Azure AD Connect machine and run the Azure AD Connect wizard. Then click on Configure.
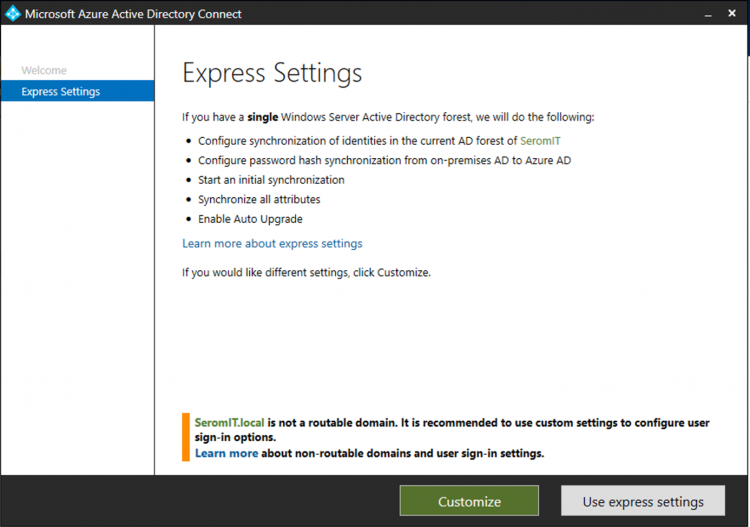
Click on Customize to continue the wizard.
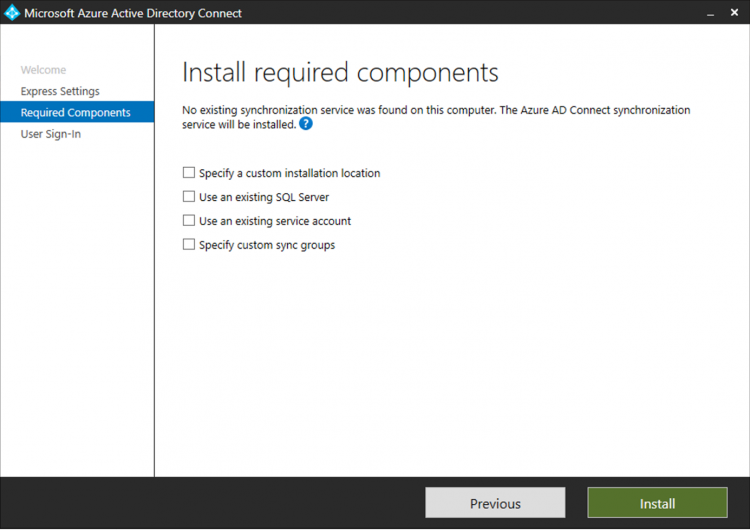
Because no Azure AD Connect was installed previously, the service will be installed. I leave the default settings and I click on Install.
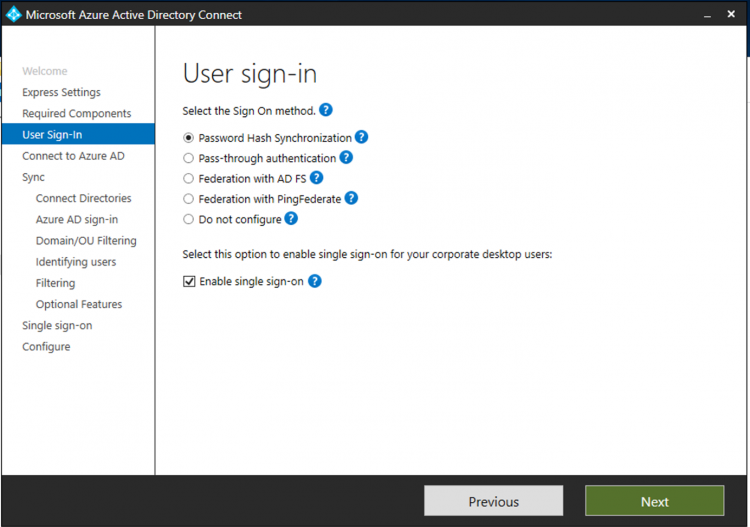
Next you have to choose the Sign On method. If you have an AD FS and you want to use it to handle authentication tokens, select Federation with AD FS. For this topic, I select Password Hash Synchronization to synchronize the On-Premises password hash to Azure AD. In this way, a user will have single password across both directories. I enable also single sign-on.
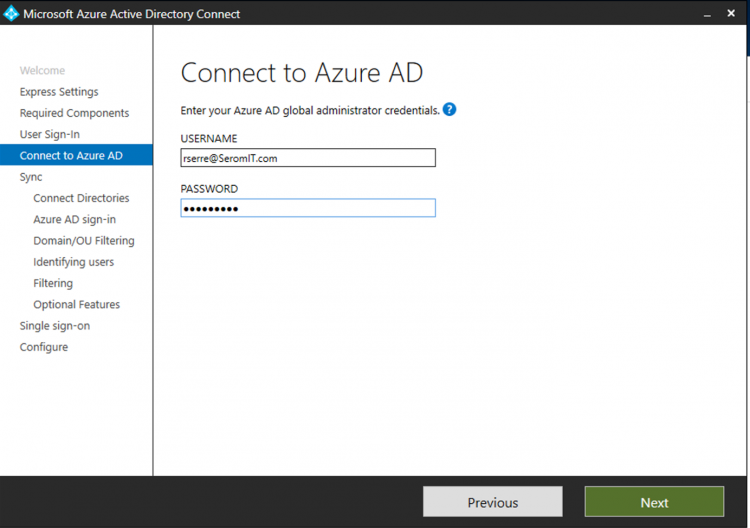
Next specify an Azure AD account with Global Administrator permissions.
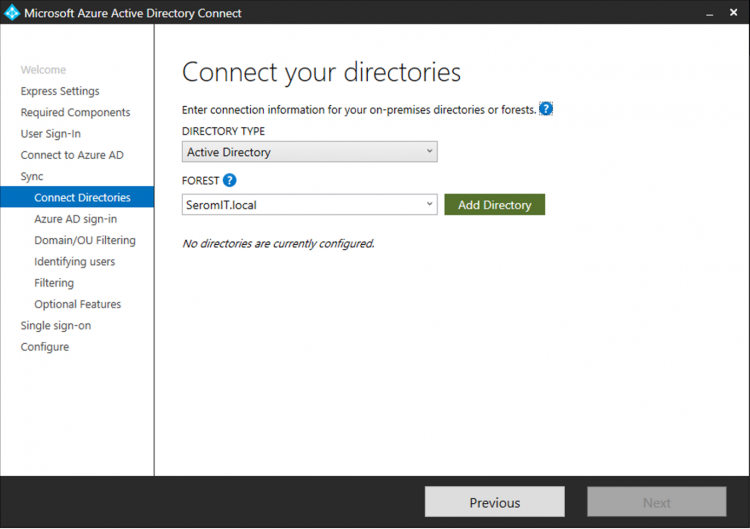
Then select your Active Directory domain to synchronize and click on Add Directory.
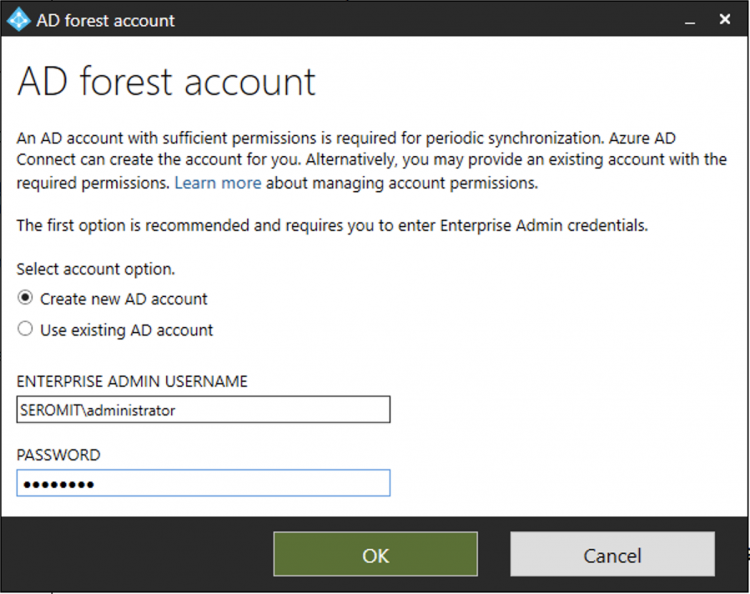
The wizard asks you to create a new AD account for periodic synchronization for you. For that, you need to specify an Active Directory account with Enterprise Admins permissions.
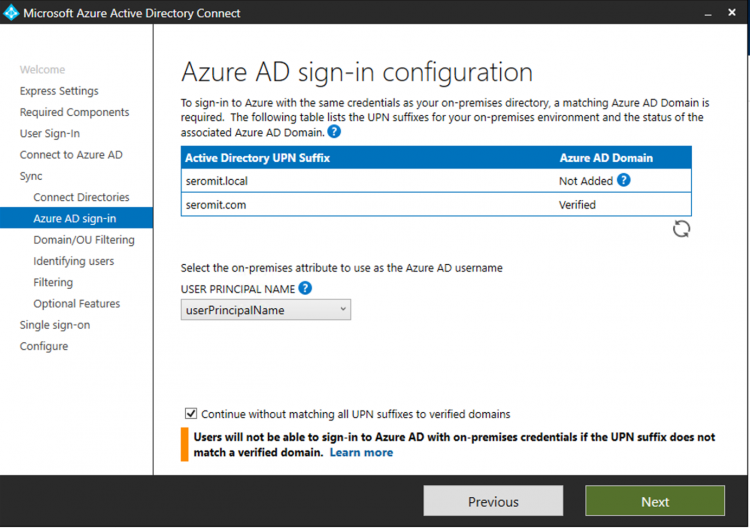
Next the wizard shows you both domains. It’s saying that local domain is not added to Azure AD domain. It makes sense because the local domain is not routable. This is why we added previously the Azure AD domain name as a UPN suffix in Active Directory and we changed all user UPNs.
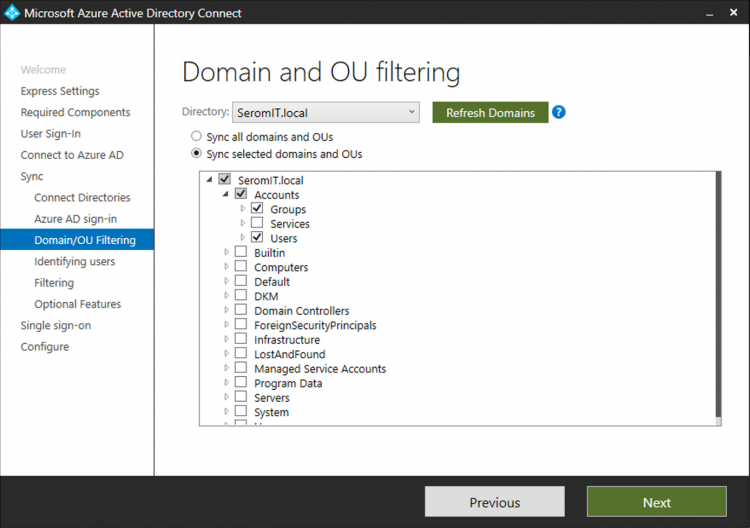
Then select the OU you want to synchronize. I choose to synchronize only user accounts and groups.
Next I leave all default settings and I click on Next.

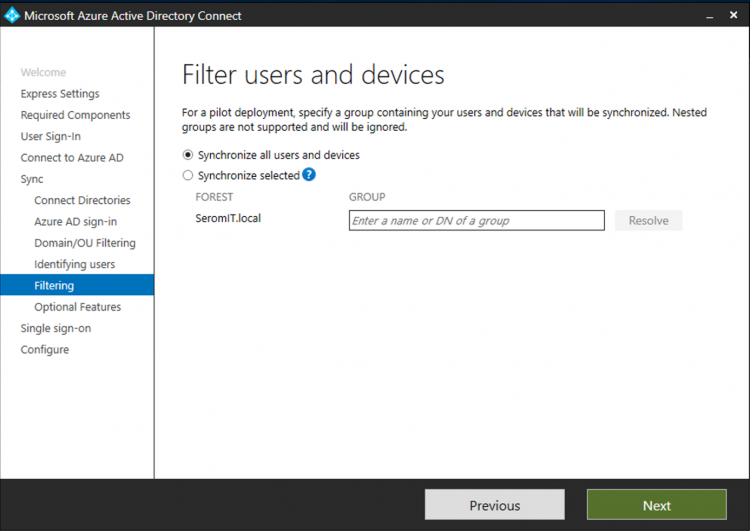
You can filter users and groups to synchronize only those you want. It’s useful for a pilot. I choose the synchronize everything.
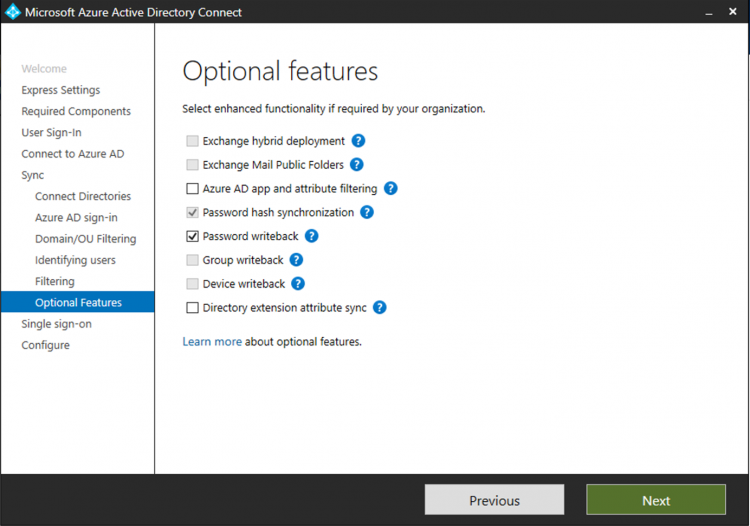
I enable Password writeback optional feature. Thanks to this feature, if a user change his password in Azure AD, it will be changed also in On-Premises directory.
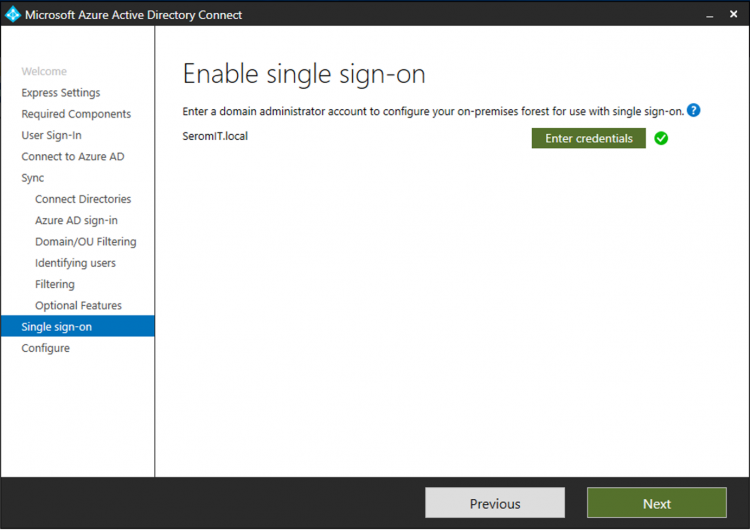
Then specify a domain administrator account to enable single sign-on.
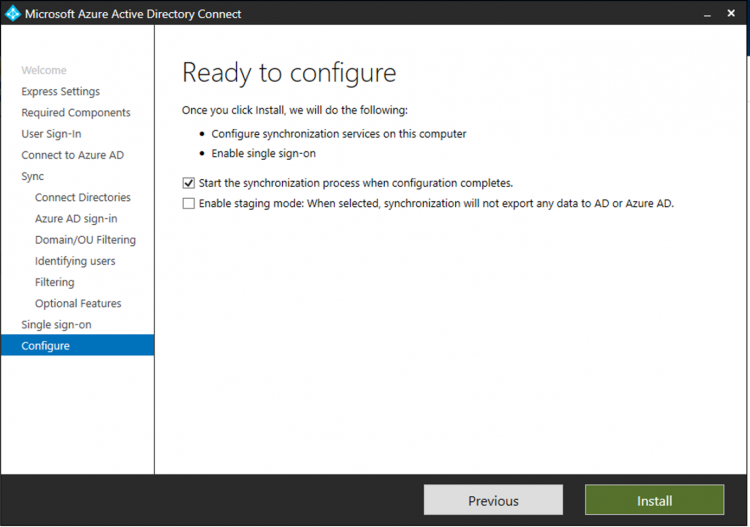
Finally, click on Install to run the first synchronization.
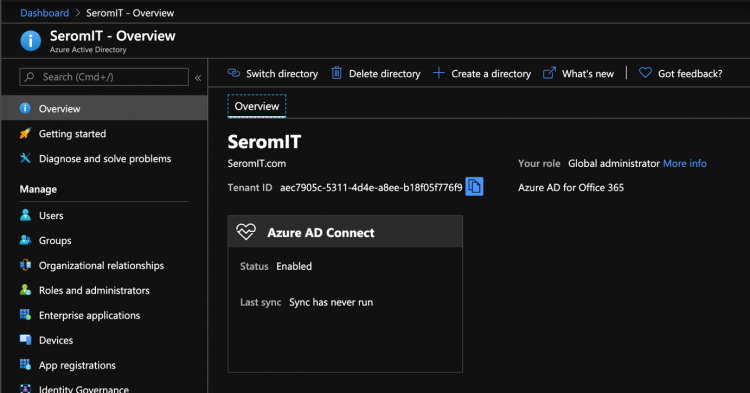
If you look in your Azure AD, you should see the Azure AD Connect status to enabled.
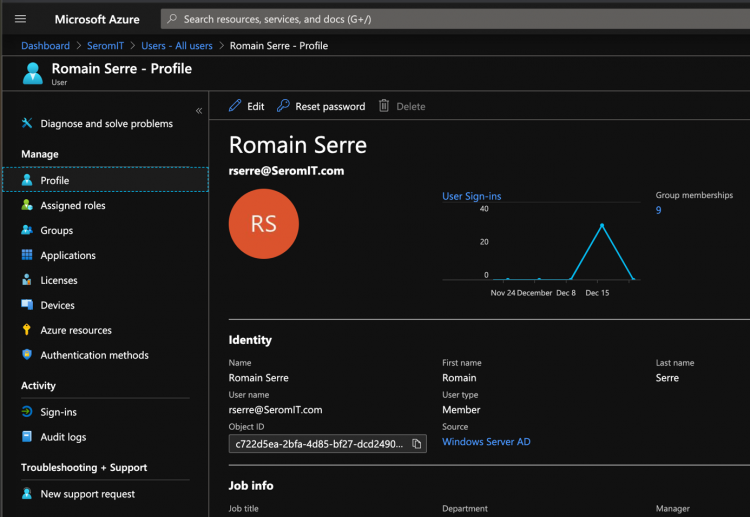
Once the synchronization is finished, you should retrieve your On-Premises account in Azure AD. You should also be able to authenticate with your On-Premises credentials to Azure AD.