In my previous article I covered installation of AMP stack on Ubuntu Server 18.04.02 (aka Bionic Beaver). As I used Hyper-V virtual machine, I very quickly realized that I am missing Hyper-V enhanced session features, and especially copy-paste between Hyper-V host and Ubuntu Server VM. Because of that I have started to explore ways to enable Hyper-V enhanced session or RDP type of connectivity for my Ubuntu Server virtual machine (the latter was on my to do list in any case).
Quick google search revealed that getting enhanced session enabled is a no brainer if you used Hyper-V optimized image from Hyper-V Quick Create Gallery (feature available starting from Windows 10 build 1709 aka Fall Creators Update). I did a quick test and indeed this approach can get you up and running with Ubuntu Hyper-V VM just in a few clicks (see screenshots below).

Wizard downloads image and configures VM for you and once you click on connect you will be presented with standard Ubuntu configuration wizard (keyboard, region, user name and password etc.):

As soon as you finish configuration, you will be presented with logon screen along with display configuration pop up window (which already tells us that we about to enter into enhanced session), and after clicking Connect in “Display Configuration” pop up you will see XRDP login window:

There you just type in your credentials and, voila, you have an active Hyper-V Virtual Machine Connection in enhanced session mode (which you can tell based on active “Basic session” icon):
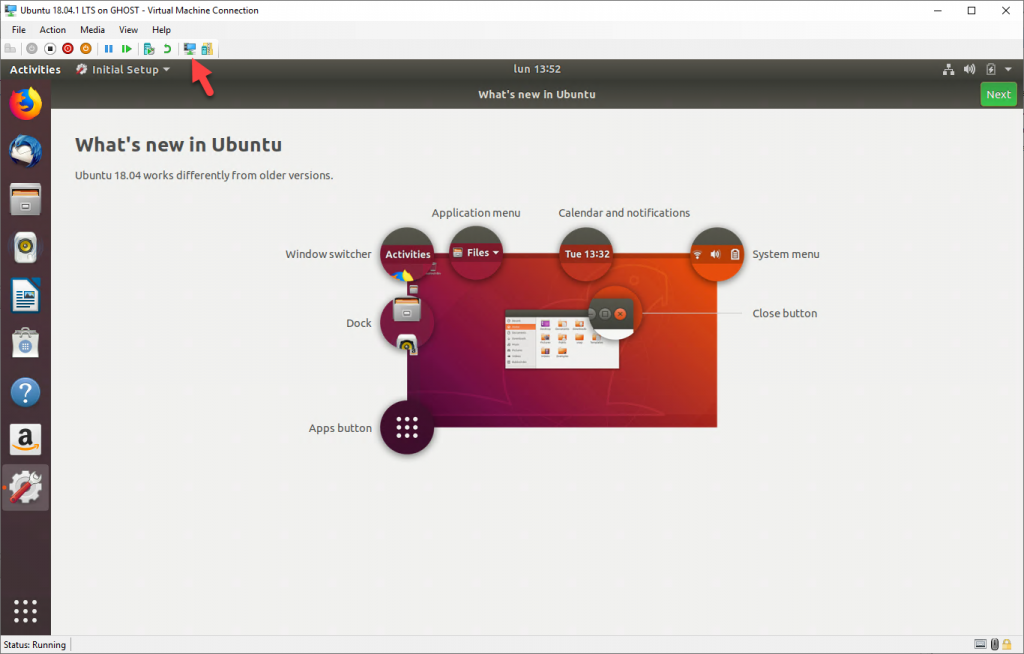
There are number of problems with this approach though. For example, Quick Create Gallery only offers us Ubuntu 18.04.01 whereas I wanted to keep my custom-built Ubuntu Server 18.04.02 VM I have created earlier. Microsoft has some instructions on respective GitHub page which describe manual configuration process, but it didn’t wok for me on my Ubuntu Server 18.04.02 VM.
With that, I moved on to exploring ways to connect to VM using remote desktop connection (and this was necessary to me in a long run anyway). This is quite logical next step after configuring AMP stack, at least if you come from Windows world or for some other reason have strong preference for GUI management tools. Necessary disclaimer: yes, I know that majority of Linux servers run in “headless” mode and remote desktop in not a preferable way of remote server management, but we should recognize that to reduce learning curve steepness some people may want to start with desktop GUI and naturally use the same thing for remote management while doing their first steps with the platform.
Let’s try to do that from scratch. Once you have your Ubuntu Server installed (see my older post about creating Ubuntu Server VM), it can be pinged by default (providing there is no external firewall of any kind) but RDP connection to it cannot be established:
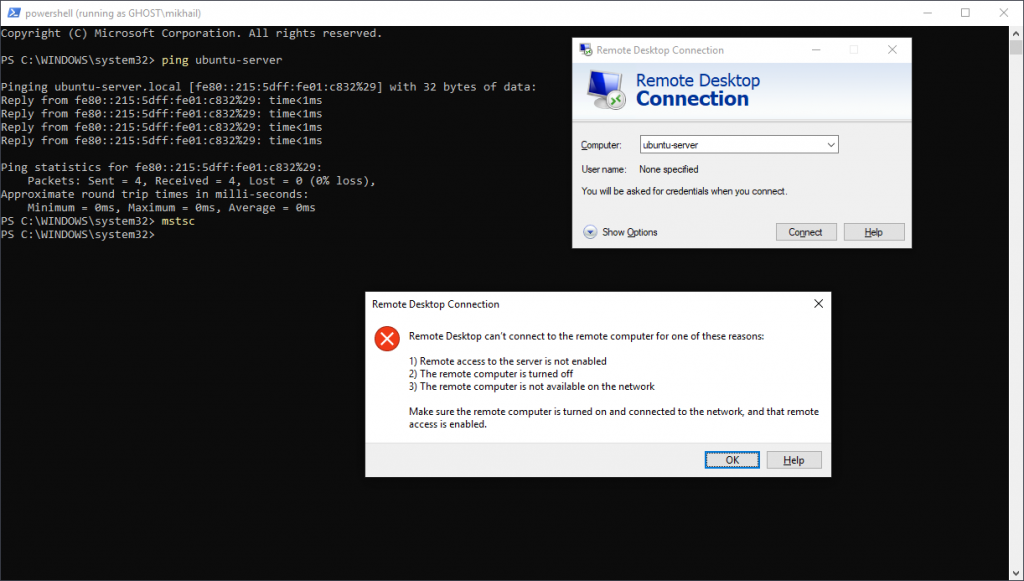
To be able to connect we need to enable this on Ubuntu Server side, and also understand that we cannot use MSTSC RDP client for that. Ubuntu uses VNC (Virtual Network Computing) as its graphical desktop-sharing system based on RFB (Remote Frame Buffer) protocol to give you capabilities similar to ones provided by RDP.
Let’s see how we can go about enabling this and using VNC client to connect to our Ubuntu server.
If your installation uses current version of Ubuntu, then, most likely, you are using GNOME as your window manager (in the past Ubuntu used to use Unity). We can easily confirm this using wmctrl -m command (you may need to install wmctrl first using sudo apt install wmctrl):

To enable remote desktop search for “sharing” in Applications menu:
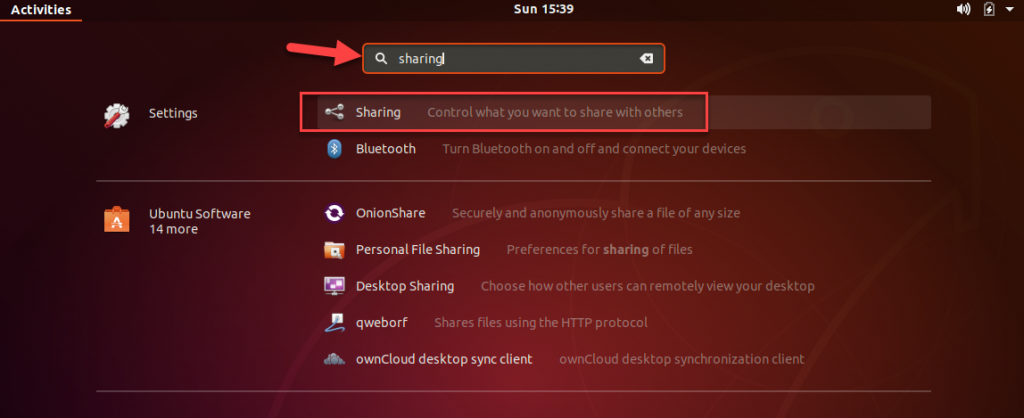
Once you opened Sharing Settings, enable Screen Sharing option which is disabled by default:

To enable it first move toggle in top right window corner from OFF to ON and then click on “Screen Sharing Off” button (until you move the toggle to ON this button is inactive/greyed out).

That brings you to Screen Sharing configuration settings window:

In my case I’ve got a problem with network selection as you can see from the screenshot above – instead of showing me a network or networks to select, it was saying to me “No networks selected for sharing”. To fix this you need to create new Netplan configuration file (YAML description file) in /etc/netplan folder as shown below: 
You need to add the following content into this file:

Be sure not to use tab symbol for indentation as it will cause error on attempt to apply this plan, just use spaces instead. Once you created this file run sudo netplan apply command (if you get errors on running this command, then verify syntax and content of YAML file you’ve created) and after this reboot your machine. After reboot, you will see your network adapter listed in Screen Sharing configuration and will be able to enable it as shown below:

To be able to access Ubuntu machine without consent of active user we need to set Access Options to “Require a password” and specify password which will be used for connection:

If this setting is left on “New connections must ask for access” your Ubuntu system will be displaying Desktop Sharing Request notifications which need to be approved/accepted:
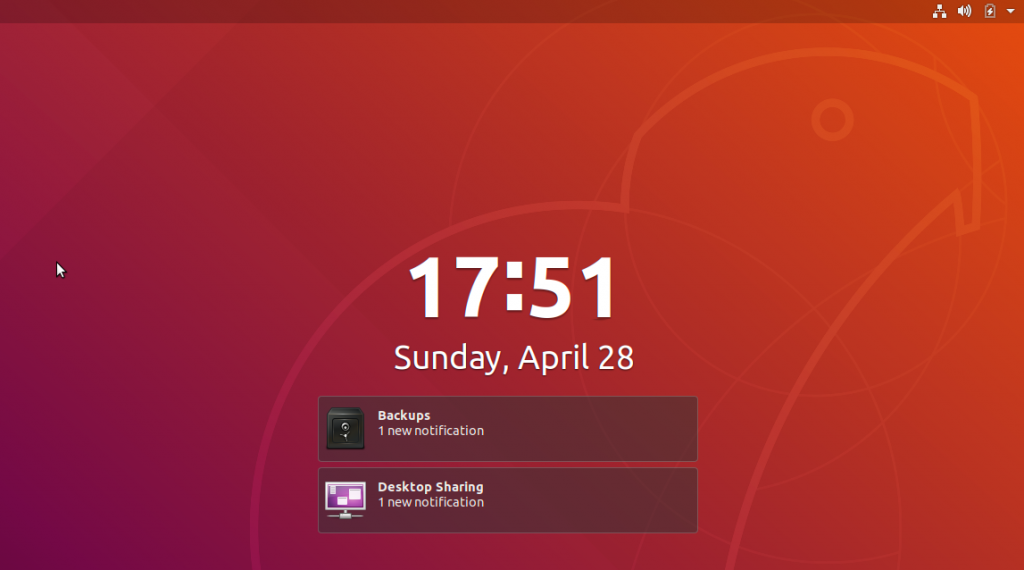
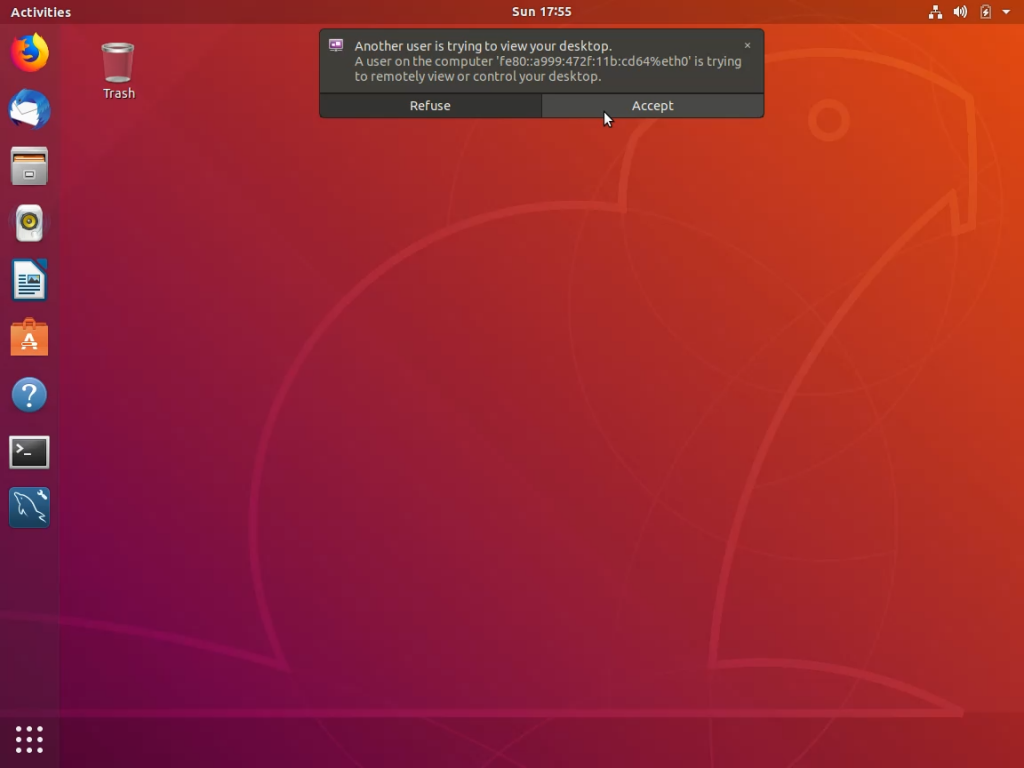
To be able to connect without approval, make sure you have set Access Options to “Require a password” (note that the session still should be opened/initiated locally first). One last touch to enable connectivity to your Ubuntu Server from Windows clients is to set require-encryption setting to false and reboot your Ubuntu machine as shown below:

At this stage we finished Ubuntu server side configuration and we can now switch over to Windows client machine to install VNC client software which we need to connect to Ubuntu remote desktop.
First you need to download appropriate version of the client, choosing between EXE/MSI installer or standalone client. In my case I’ve opted out for MSI installer:
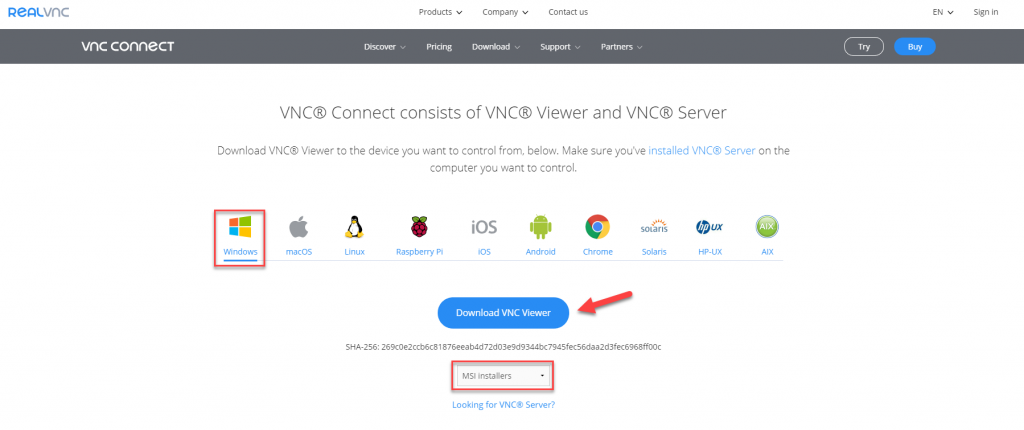
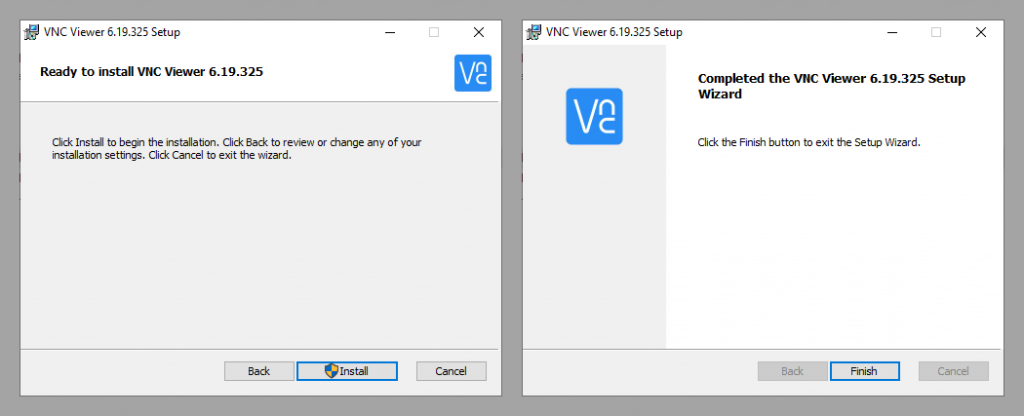
Once download completes, you have an archive with 32 and 64-bit MSI files. Select appropriate bitness and start installation process. Installation Wizard will guide you through the number of steps to get VNC viewer installed – you can see all of them below:

Alternatively, you can just download standalone client – which is ready to use without installation (you will still need to accept license and decide on whether you want to send anonymous usage data to VNC Viewer developers on Get started with VNC Viewer screen).
Once you have VNC Viewer installed just run it, type in your server name (providing your DNS can resolve it) or IP address and hit Enter:

You will first see “Connecting…” window, and then Unencrypted connection warning (you can tick “Don’t warn me about this again on this computer” if you don’t want to see this warning again). Lastly you will be prompted for authentication password (this is that password you set in Ubuntu Sharing Settings, which you can save to avoid entering it all the time):

If you see endless Connecting with eventual time out that most likely means that Ubuntu session has not been started locally – just logon to your session from Hyper-V window and try again.
Once you enter correct password and hit OK you should have your VNC Viewer remote desktop session window (providing there was active desktop session already on your server, i.e. you need to logon locally first):
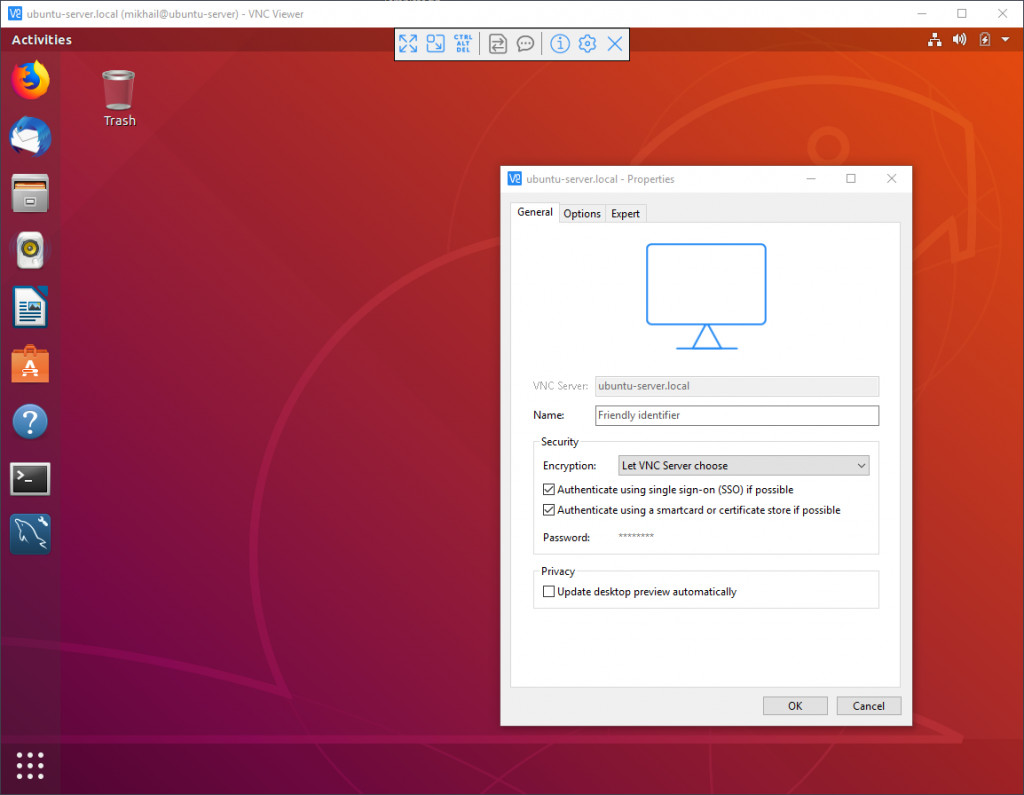
At this point at the very least you have an opportunity to copy paste between your local host and Ubuntu Server and potentially even connect to your server over the network. The main problem we have is that we still need to have active session initiated locally before we will be able to connect to Ubuntu Server.
I plan to write up a second article covering configuration of Ubuntu GUI remote access options and settings in more details where we will set this up with possibility to connect without need to initiate/open session locally. Stay tuned for the second part 😊
P.S. At the day I was finishing writing this article (06.05.2019) Hyper-V Quick Create Gallery was updated with Ubuntu 18.04.2 (Bionic Beaver) LTS and Ubuntu 19.04 (Disco Dingo) images, keep this in mind if you want to quickly spin off Hyper-V VMs to try these versions of Ubuntu – it is really convenient way to familiarize yourself with this OS.


