


virsh is the command-line interface for managing KVM virtual machines through libvirt, providing a fast, reliable, and script-friendly way to control Linux virtualization environments without depending on graphical tools.
This complete guide covers the practical virsh command workflow used by Linux administrators, from preparing a KVM kernel-based virtual machine, and connecting to the hypervisor, to creating virtual machines, managing storage and networks, taking snapshots, performing migrations, and automating VM operations with shell scripts.
What is virsh Command and How Does it Relate to KVM and libvirt?
virsh is the primary command-line management utility for libvirt, allowing administrators to create, configure, monitor, and control virtual machines from a Linux terminal.
KVM (Kernel-based Virtual Machine) provides hardware-assisted virtualization through the Linux kernel, while libvirt acts as the management layer that communicates with QEMU/KVM to create and operate virtual machines, known as domains.
The relationship between these components works as follows:
- KVM provides virtualization acceleration inside the Linux kernel.
- QEMU emulates hardware devices and runs virtual machines.
- libvirt manages virtualization resources through APIs.
- virsh provides the command-line interface for administrators.
Because libvirt supports multiple hypervisors, including KVM, Xen, and LXC, virsh commands remain consistent across different virtualization platforms.
For production Linux servers, virsh is often preferred over graphical tools because it works remotely over SSH, integrates easily with automation systems, and supports infrastructure-as-code workflows.
Prerequisites: Preparing the Linux Virtualization Host
Before creating and managing virtual machines, verify that your Linux server supports hardware virtualization and has the required KVM packages installed.
The following commands prepare an Ubuntu or Debian-based host for KVM virtualization.
1. Install KVM and libvirt Packages
Install KVM virtualization packages using the distribution package manager.
sudo apt install -y qemu-system-x86 libvirt-daemon-system libvirt-clients bridge-utils virtinst virt-manager
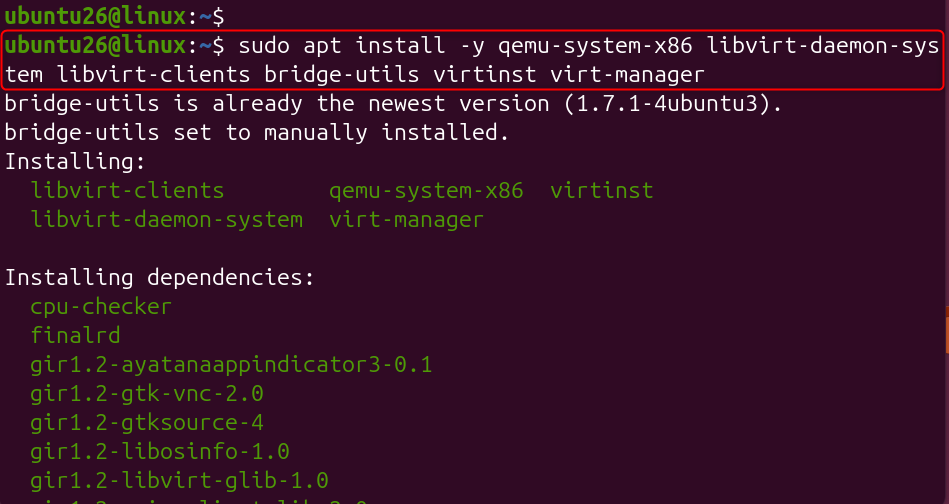
These packages install the QEMU hypervisor, libvirt daemon, command-line utilities, and supporting networking tools.
2. Add Your User to Virtualization Groups
Adding your account to the libvirt and KVM groups allows you to manage VMs without running every command with sudo.
sudo usermod -aG libvirt,kvm $USER

newgrp libvirt

Group membership enables direct communication with the libvirt service socket.
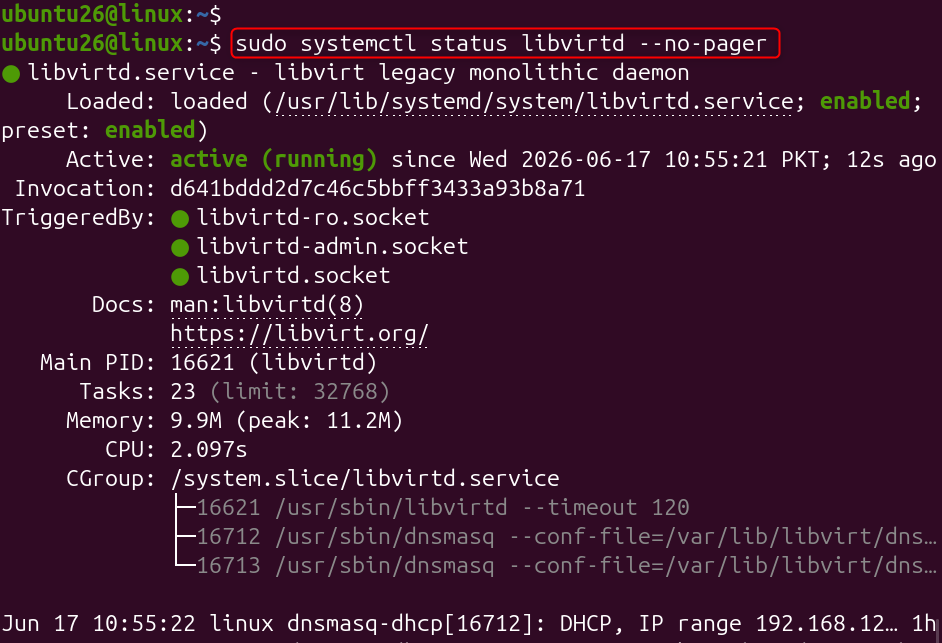
3. Verify libvirt Service Status
Confirm that the libvirt daemon is running correctly.
sudo systemctl status libvirtd --no-pager
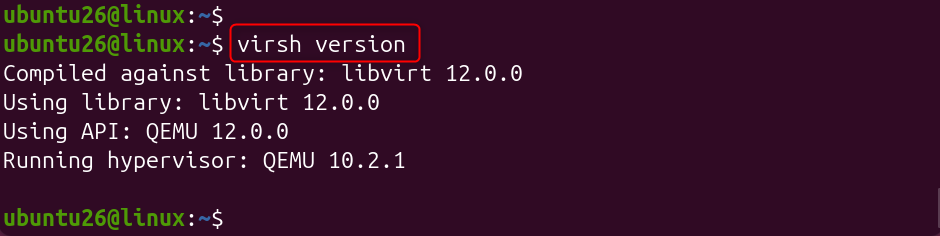
Let’s check the version after installation.
virsh version
A running libvirtd service confirms that the virtualization management layer is ready.
4. Validate KVM Acceleration
Install the CPU validation utility and test hardware acceleration.
sudo apt install -y cpu-checker
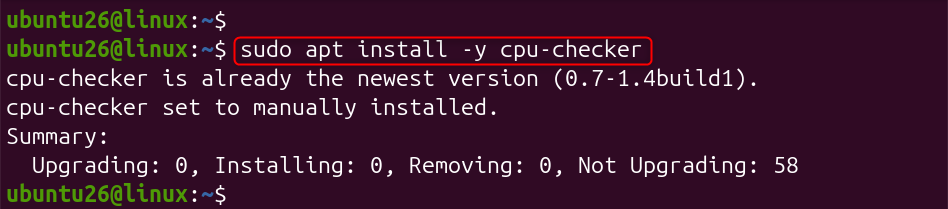
A successful result should be displayed.
If the check fails, enable virtualization extensions from BIOS/UEFI settings or verify nested virtualization configuration if running inside another VM.
How to Manage KVM Kernel-based Virtual Machine on Ubuntu/Linux Using virsh Command
virsh is a command-line tool used to manage KVM virtual machines on Ubuntu/Linux through libvirt. It allows administrators to start, stop, restart, delete, inspect, connect, and configure VMs directly from the terminal.
Let’s learn how to manage KVM-based virtual machines using virsh commands.
Connecting to the Hypervisor
virsh supports both direct command execution and interactive shell mode, making it suitable for both quick administration tasks and repeated operations. The default local system connection uses the qemu:///system URI, which is the recommended mode for production VM management.
1. Connect to the Local KVM Hypervisor
Use the following command to connect and list available virtual machines.
virsh -c qemu:///system list --all

This displays all configured domains, including running and stopped virtual machines.
2. Connect to a Remote Virtualization Host
virsh can manage remote servers through SSH without requiring a graphical interface.
virsh -c qemu+ssh://user@remote-host/system list

This approach allows administrators to manage multiple KVM servers from a single workstation.
3. Use Interactive virsh Mode
For multiple commands in one session, open the interactive shell.
virsh
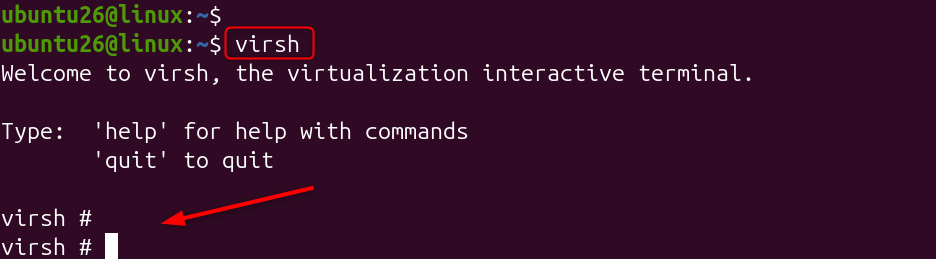
Inside the shell:
virsh # list --all

virsh # quit
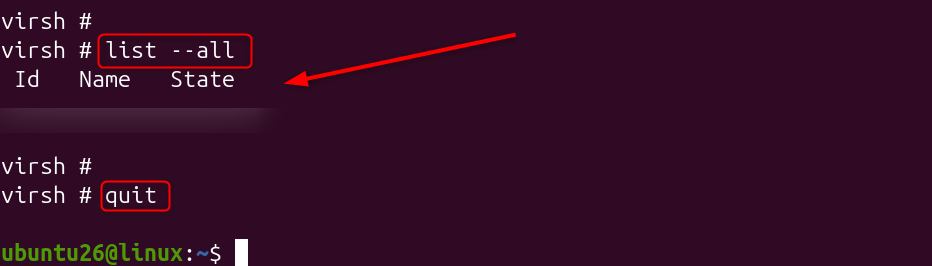
Interactive mode reduces repeated connection overhead when performing several administration tasks.
Managing VM Lifecycle Operations
Virtual machine lifecycle management includes starting, stopping, restarting, pausing, and removing domains. These commands are among the most frequently used operations for daily virtualization administration.
1. Start, Shutdown, and Reboot a VM
Start a powered-off virtual machine:
virsh start webserver01

This boots the VM using its existing libvirt configuration and attached storage.
Gracefully shut down the guest operating system:
virsh shutdown webserver01

This sends an ACPI shutdown signal, allowing the guest OS to close services safely.
Force power off an unresponsive VM:
virsh destroy webserver01

The destroy command only stops the VM process; it does not delete the virtual machine or its disk files.
Restart a running VM:
virsh reboot webserver01

This performs a guest reboot while keeping the VM definition intact.
2. Pause and Resume a VM
Suspend the VM while keeping memory state preserved:
virsh suspend webserver01

The VM CPU execution pauses, but RAM contents remain available for recovery.
Resume the suspended VM:
virsh resume webserver01

The guest continues from the exact point where it was paused.
3. Remove a Virtual Machine
Stop the VM before deleting its configuration:
virsh destroy webserver01

Remove the VM definition:
virsh undefine webserver01

The undefine command removes the libvirt XML configuration but does not automatically delete storage.
Remove the VM and attached storage:
virsh undefine webserver01 --remove-all-storage

This permanently deletes the VM disk files, so confirm kvm virtual machine backup exist before running the command on production systems.
Listing and Inspecting Virtual Machines
Before modifying any virtual machine, administrators should verify its current state, resource allocation, storage devices, and network configuration.
virsh provides several inspection commands that help troubleshoot performance issues, verify configuration changes, and maintain accurate VM inventories.
1. List Available Virtual Machines
Display only currently running virtual machines:
virsh list

This command shows active domains and their current runtime status.
Display all virtual machines, including stopped ones:
virsh list --all

The –all option is useful for checking inactive VMs that are available to start.
List only running VM names:
virsh list --state-running --name

This format is useful when integrating virsh commands into automation scripts.
2. View VM Resource Information
Display detailed information about a specific virtual machine:
virsh dominfo webserver01

The output includes VM state, allocated memory, CPU count, UUID, and current runtime information.
Monitor live VM performance metrics:
virsh domstats webserver01

This command reports CPU usage, memory statistics, disk activity, and network counters.
Creating a new VM using virt-install and XML definitions
libvirt provides two common methods for creating virtual machines:
- Using virt-install for automated VM deployment.
- Using XML definitions for importing or manually managing domains.
The recommended approach for administrators is to use virt-install because it provides a repeatable command-based workflow.
1. Create a VM Using virt-install
The following command creates a VM with 2 virtual CPUs, 2GB RAM, and a 20GB virtual disk.
sudo virt-install \

--name webserver01 \

--vcpus 2 \

--memory 2048 \

--disk path=/var/lib/libvirt/images/webserver01.qcow2,size=20 \

--cdrom /var/lib/libvirt/images/ubuntu-24.04-server.iso \

--os-variant ubuntu24.04 \

--network bridge=virbr0 \

--graphics vnc \

--noautoconsole
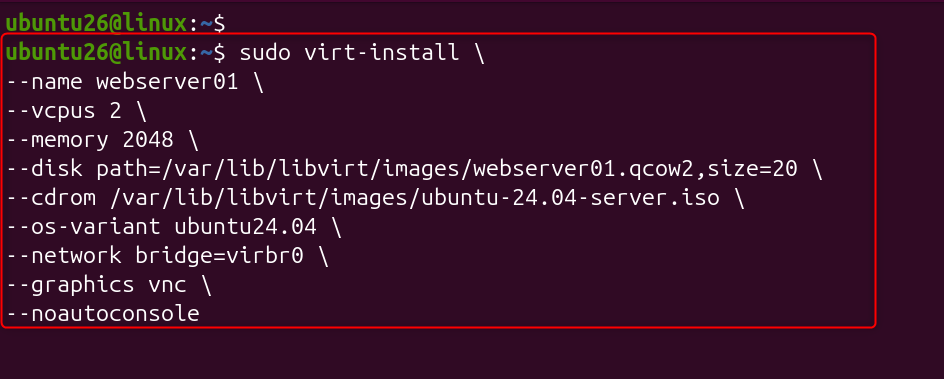
The virt-install utility automatically creates the VM definition, storage, and required hardware configuration.
The –noautoconsole option prevents the installer from opening a graphical console, which is ideal for remote servers.
2. Define an Existing VM Configuration
Import an existing XML domain file:
virsh define /etc/libvirt/qemu/webserver01.xml

This registers the VM with libvirt without immediately starting it.
Edit an existing VM configuration:
virsh edit webserver01

The editor allows administrators to modify CPU, memory, storage, and network settings directly.
Export a VM configuration, KVM virtual machine backup:
virsh dumpxml webserver01 > webserver01-backup.xml

Saving XML files helps restore or clone virtual machines during migrations or disaster recovery.
Managing Virtual Disks and Storage Pools
libvirt organizes VM storage through storage pools and volumes. A storage pool defines where VM disks are stored, while volumes represent individual virtual disk files attached to machines.
1. View Storage Pools
List all configured storage pools:
virsh pool-list --all
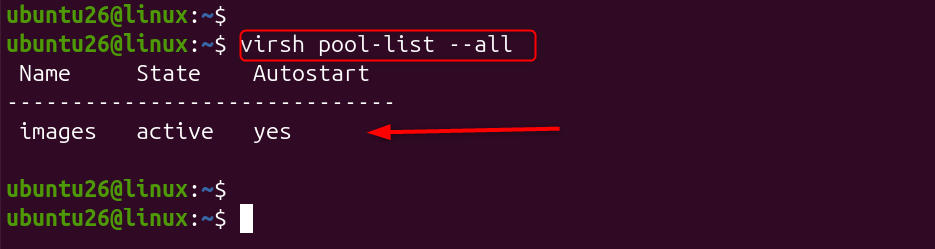
This command displays active and inactive storage locations managed by libvirt.
View available volumes:
virsh vol-list images
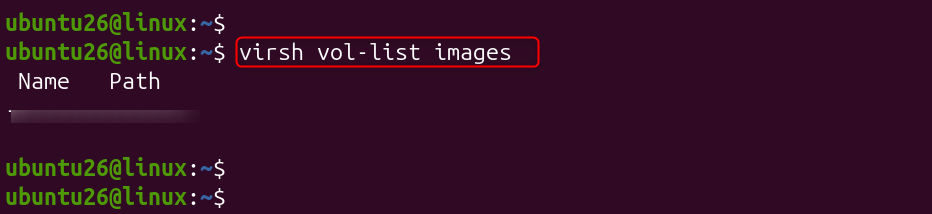
The output shows virtual disk images stored inside the selected pool.
Inspect a specific disk volume:
virsh vol-info webserver01.qcow2 default

This displays storage capacity, allocation size, and the volume path.
2. Create and Attach a New Disk
Create a new qcow2 disk image:
qemu-img create -f qcow2 \

/var/lib/libvirt/images/data02.qcow2 10G

The qcow2 format supports snapshots, thin provisioning, and flexible storage management.
Attach the disk to a running VM:
virsh attach-disk webserver01 \

/var/lib/libvirt/images/data02.qcow2 vdb \

--driver qemu \

--subdriver qcow2 \

--persistent
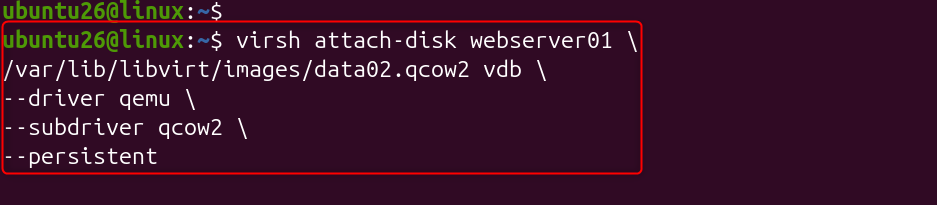
The –persistent option ensures the disk remains attached after reboot.
Detach the disk:
virsh detach-disk webserver01 vdb --persistent

Detaching removes the device from the VM configuration without deleting the disk file.
3. Resize a Virtual Disk
Shut down the VM before resizing:
virsh shutdown webserver01

This prevents filesystem corruption while modifying storage.
Increase the disk capacity:
qemu-img resize \

/var/lib/libvirt/images/webserver01.qcow2 +10G

The additional space becomes available after expanding the partition and filesystem inside the guest OS.
Managing Virtual Networks and Interfaces
libvirt provides built-in network management for connecting virtual machines. The default installation creates a NAT-based network called default, usually attached to the virbr0 bridge interface.
1. Check Available Networks
List all virtual networks:
virsh net-list --all
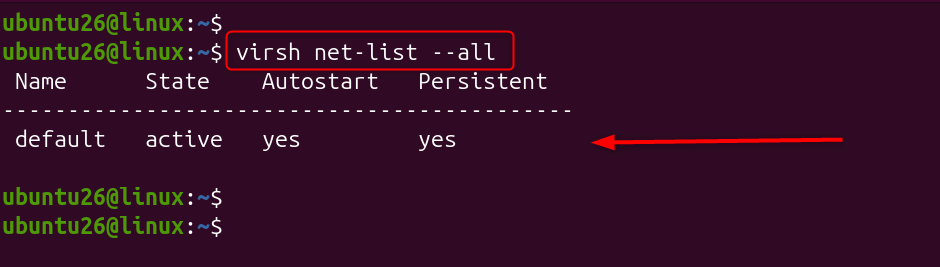
This shows active and inactive networks configured on the host.
Display network details:
virsh net-dumpxml default
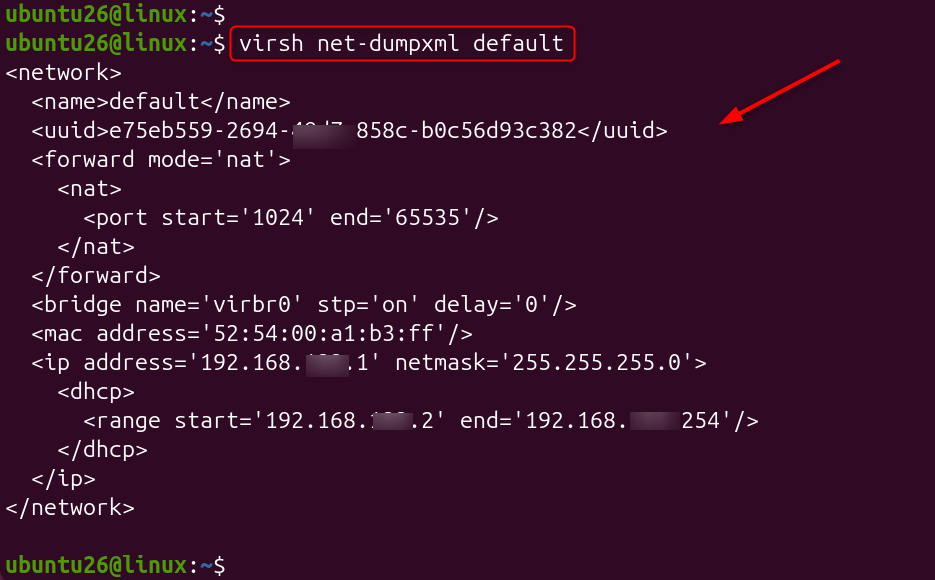
The XML output contains DHCP ranges, bridge settings, and forwarding rules.
2. Start and Enable the Default Network
Start an inactive network:
virsh net-start default

The network becomes immediately available for VM connections.
Enable automatic startup:
virsh net-autostart default

This ensures the network starts automatically after a host reboot.
3. Find VM IP Addresses
Retrieve the VM network address:
virsh domifaddr webserver01

This command displays the assigned IP address, interface name, and MAC address.
NAT vs Bridged Networking
NAT networking is suitable when virtual machines require outbound connectivity but do not need direct access from the physical network.
Bridged networking allows VMs to appear as independent devices on the LAN with their own IP addresses, making it better for production servers and externally accessible services.
Live Migration Between KVM Hosts Using virsh Command
Live migration allows administrators to move a running virtual machine from one physical Linux host to another with minimal downtime. This feature is commonly used for hardware maintenance, workload balancing, and avoiding service interruption during host failures.
1. Requirements Before Migration
Before migrating a VM, both source and destination hosts must have compatible CPU features, matching network bridges, and access to VM storage.
For shared storage environments such as NFS, Ceph, or SAN, both hosts must see the same disk path before starting migration.
2. Check Host Capabilities
Run the following command on both hosts:
virsh capabilities
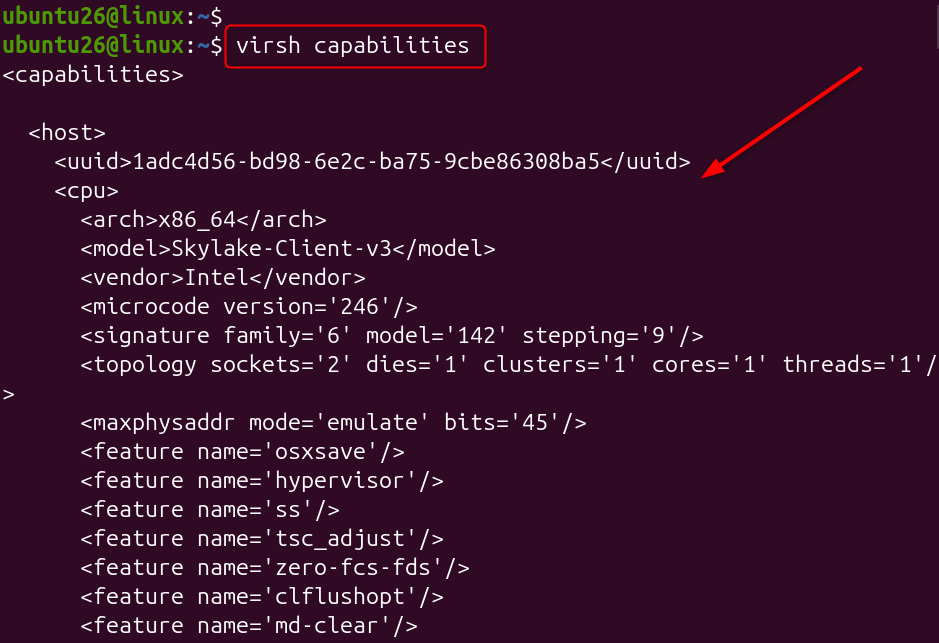
The output helps confirm CPU models, architecture, and virtualization features available on each system.
3. Perform Live Migration with Shared Storage
Migrate a running VM to another host:
virsh migrate \

--live \

webserver01 \

qemu+ssh://destination-host/system
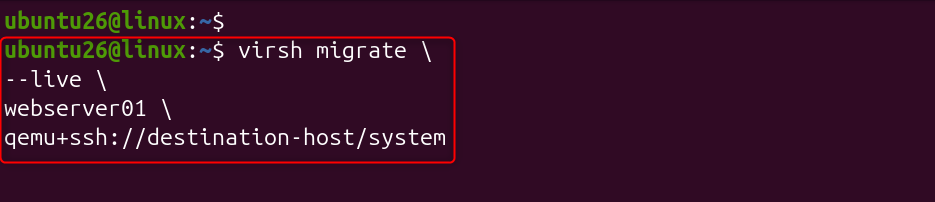
The VM continues running while memory pages are transferred to the destination server.
4. Migrate with Storage Copy
If the destination host does not have shared storage, copy the VM disk during migration:
virsh migrate \

--live \

--copy-storage-all \

webserver01 \

qemu+ssh://destination-host/system

This transfers both VM memory and storage contents to the new host.
5. Monitor Migration Progress
Check migration status:
virsh domjobinfo webserver01

The command shows migration progress, transferred memory, and remaining workload.
Linux virsh Command Cheat Sheet
| Task | virsh Command | Description |
|---|---|---|
| List all virtual machines | virsh list –all | Use the virsh command to list all VMs, including running and stopped virtual machines. |
| List running virtual machines | virsh list | Displays only active VMs currently running on the KVM hypervisor. |
| Create a new virtual machine | virt-install | Use the virsh command to create a new VM workflow with virt-install and libvirt settings. |
| Start a virtual machine | virsh start <vm-name> | The virsh command to start VM powers on a stopped virtual machine. |
| Stop a virtual machine | virsh destroy <vm-name> | The virsh command to stop vm forcefully stops a running VM. |
| Shutdown a virtual machine | virsh shutdown <vm-name> | The virsh command to shutdown vm performs a graceful operating system shutdown. |
| Restart a virtual machine | virsh reboot <vm-name> | The virsh command to restart vm reboots the guest operating system. |
| Delete a virtual machine | virsh undefine <vm-name> | The virsh command to delete a vm removes the VM definition from libvirt. |
| Connect to a virtual machine | virsh console <vm-name> | The virsh command to connect to vm opens a console session with the guest. |
| Check VM IP address | virsh domifaddr <vm-name> | The virsh command to check vm ip displays the assigned network addresses. |
| Connect to remote VM host | virsh connect qemu+ssh://user@host/system | Connect and manage virtual machines on a remote KVM server. |
Conclusion
The virsh command-line utility is the primary tool for managing KVM virtual machines (known as domains) via the libvirt API library. It allows system administrators to control the entire lifecycle of virtual machines, monitor hardware utilization, and alter configuration schemas without using a graphical user interface.
Use the virsh command-line tool for managing KVM virtual machines to view and audit virtual machines, control VM lifecycle states, modify and edit resource configurations, and delete and purge virtual machines.
FQA
How do I list all virtual machines using the virsh command?
Use virsh list – all to display all virtual machines, including running and stopped VMs. It shows VM names, IDs, and current states managed by libvirt.
How to create a new virtual machine using command-line tools?
Use virt-install to create a VM from the terminal with the required CPU, memory, disk, and OS options. Example: virt-install –name vm01 –memory 2048 –disk size=20 –os-variant ubuntu24.04.
What is the best way to start a virtual machine with the virsh command?
Start a VM using virsh start <vm-name> from the command line. Verify the VM status with the virsh list after starting.
List all running virtual machines on a local hypervisor
Run virsh list to show only currently running virtual machines. Use it to quickly monitor active VMs on the local KVM host.
Connect to a remote virtual machine host for management
Use virsh connect qemu+ssh://user@host/system to access a remote libvirt host. After connecting, manage remote VMs with standard virsh commands.
