


To remove Ceph datastore from Proxmox several steps are involved, especially if you want to completely clear Ceph from your system.
Before proceeding, keep in mind that this process will permanently delete all data stored on the Ceph datastore. Make sure to have a working backup of any critical data before proceeding.
Migrate VM disks off Ceph datastore
Before removing the Ceph datastore, move the virtual machines or container disks to a different datastore.
Select the VM you want to migrate then navigate to Hardware section. Select the hard disk to move then select Disk Action > Move storage.

From the dropdown menu select the new datastore (NFS in the example) as Target Storage.

Click Move disk.

The disks have been moved to the chosen NFS datastore.

Repeat this operation for all VMs running in your infrastructure to remove all disks from the Ceph datastore.

Remove Ceph datastore from Proxmox
To remove Ceph datastore from the Proxmox, from the web GUI navigate to Datacenter > Storage and select the Ceph datastore to remove. Click Remove.

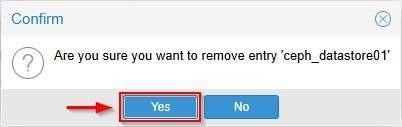
Click Yes to confirm.

The Ceph datastore has been removed from the Proxmox configuration.

Remove Ceph Pools
Removing Ceph from the configuration is not enough to clean the system. Ceph Pools or OSDs are still in place and to remove them correctly, they shouldn’t be in use.
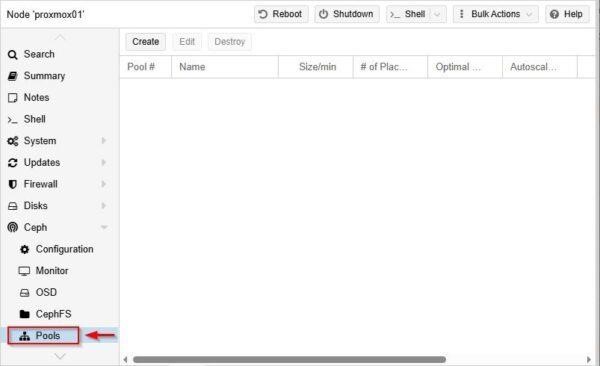
Select a Proxmox node and navigate to Ceph > Pools. Select the Pools to remove (one at time) and click the Destroy button.

Click Yes to proceed.
All Ceph Pools have been removed successfully.
Remove OSDs
To successfully remove Ceph datastore, OSDs must be removed from the configuration. OSDs removal is a three step procedure:
- Stop
- Out
- Destroy
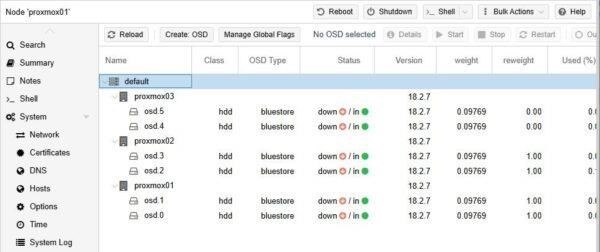
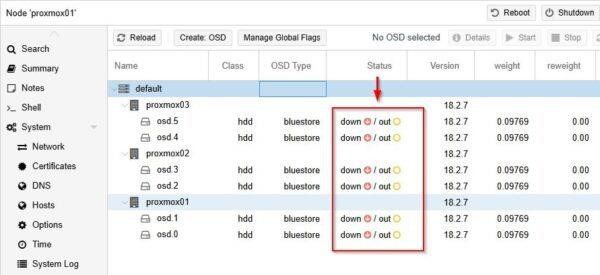
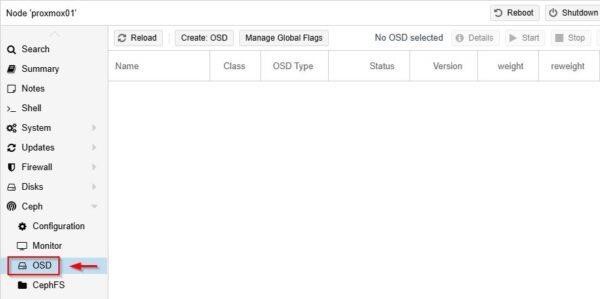
Select a Proxmox node and navigate to Ceph > OSD. Select the OSD to stop and click Stop. The OSD Status will be reported as down.

Make sure all OSDs are in a down Status.
From Ceph > OSD, select the OSD to remove and click Out.
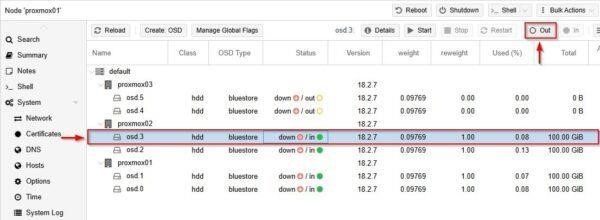
Repeat this step for all configured OSDs.
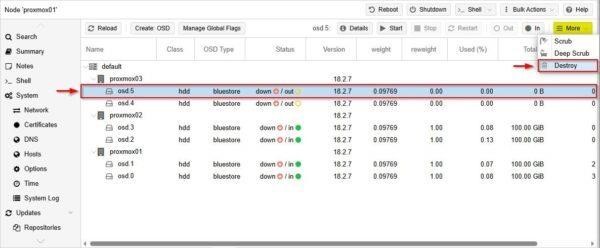
After stopping, the last step involves the removal of the OSDs. Select the OSD to destroy and click Destroy.
Enable the Cleanup Disks option then click Remove.

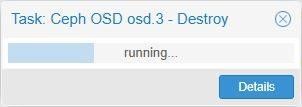
The selected OSD is being removed.
Repeat these steps for all OSDs to remove.
Clean up Ceph from Proxmox
To fully remove all Ceph components and configurations from your Proxmox system, you must perform additional steps on all Proxmox nodes that were part of the Ceph cluster.
First you must stop the running services. Navigate to >_Shell area and run the following commands:
# systemctl stop ceph-mon.target

# systemctl stop ceph-mgr.target

# systemctl stop ceph-mds.target

# systemctl stop ceph-osd.target

Disable Ceph daemons.
# systemctl disable ceph-mon.target

# systemctl disable ceph-mgr.target

# systemctl disable ceph-mds.target

# systemctl disable ceph-osd.target

Purge Ceph configuration.
# pveceph purge

Remove startup files and processes.
# rm -rf /etc/systemd/system/ceph*

# killall -9 ceph-mon ceph-mgr ceph-mds ceph-osd

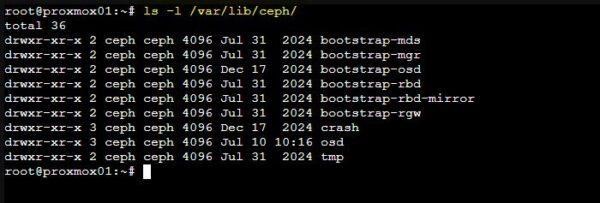
Remove Ceph data directories and check the actual removal.
# rm -rf /var/lib/ceph/mon/

# rm -rf /var/lib/ceph/mgr/

# rm -rf /var/lib/ceph/mds/

# rm -rf /var/lib/ceph/osd/

# ls -l /var/lib/ceph/
Remove Ceph configuration files.
# rm -rf /etc/ceph/*

# rm -rf /etc/pve/ceph.conf

# rm -rf /etc/pve/priv/ceph.*

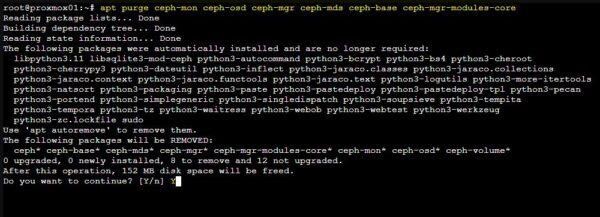
Remove Ceph packages. Type Y then Enter to proceed.
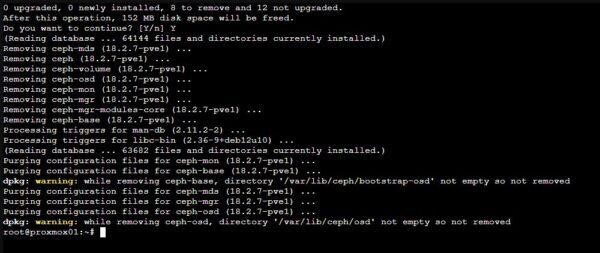
# apt purge ceph-mon ceph-osd ceph-mgr ceph-mds ceph-base ceph-mgr-modules-core
When the removal process is completed, make a note of any directory not deleted by the apt command. You will remove these directories after rebooting the node.
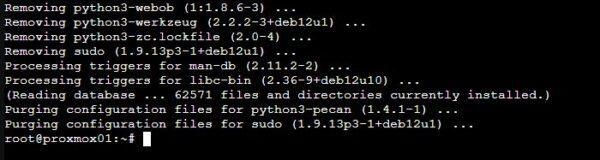
Now run the following command. Type Y then Enter to proceed. # apt autoremove –purge

Packages have been purged from the system.
Reboot the node.
# reboot

Repeat the same procedure for all nodes members of the Ceph cluster.
By following this procedure, the Ceph datastore should be successfully removed from the system. Again, make sure to have a working backup before proceeding.
During the removal of Ceph from a multi-node cluster, ensure the cluster remains healthy throughout the process.
