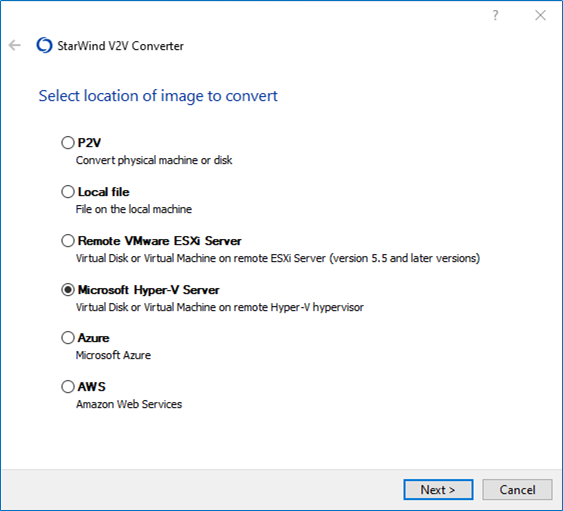
- Specify the location of the image to convert. Press Next.
- Type the name or IP address of the Microsoft Hyper-V or Windows server. Press Next.

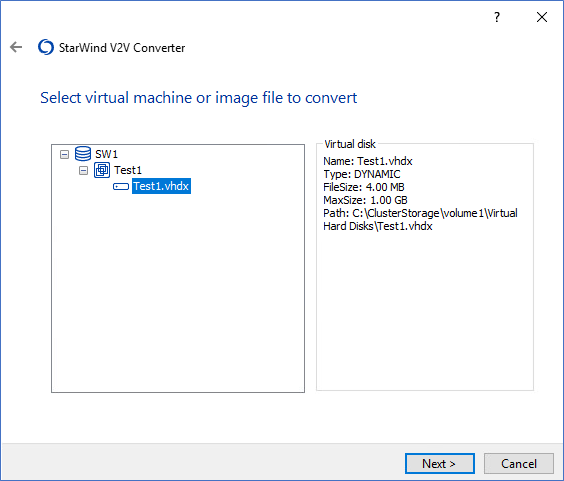
- Select the image file to convert. Press Next.
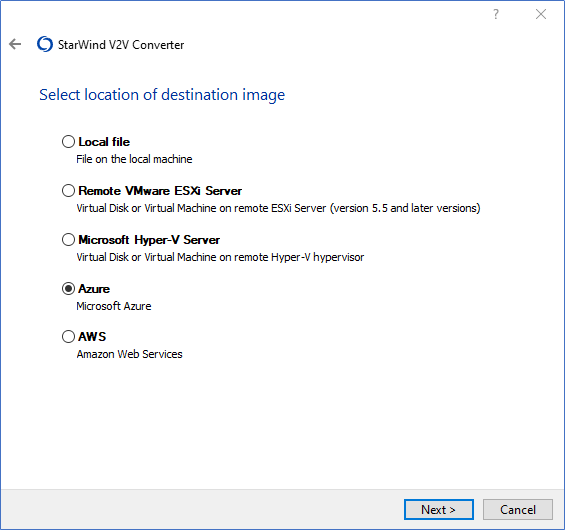
- Select Azure as the location of the destination image. Press Next.
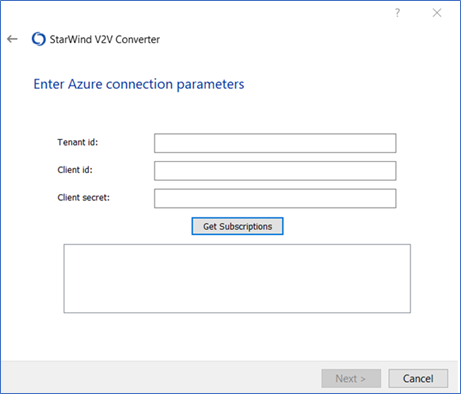
- Specify the Tenant ID, Client ID (i.e., Application ID), and Client secret. Click Get Subscriptions, select the subscription from the field under the button, and press Next.
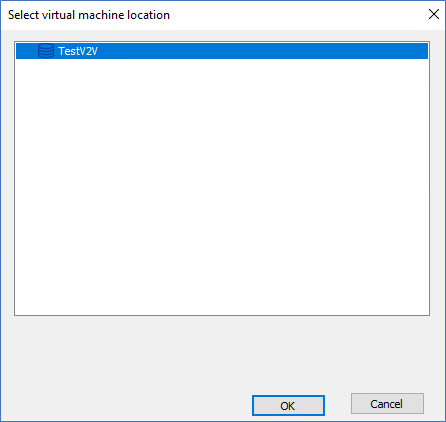
- Select the virtual machine to attach the image. If there are no VMs available, press Create new virtual machine.

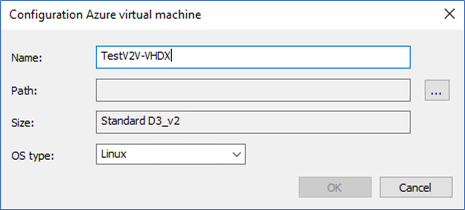
- If it is necessary to create a new virtual machine, change its name (if needed) and OS type. The Size field is grayed out because it is determined by the subscription. To proceed with the file conversion, specify the path.
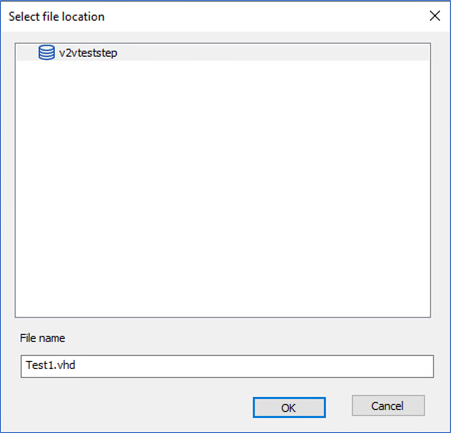
- Select the storage account and press OK.
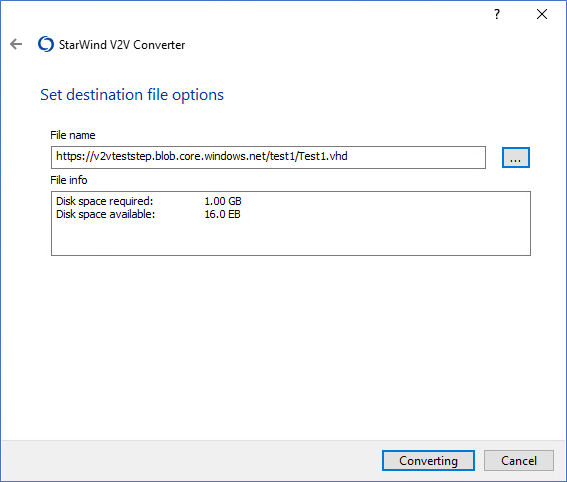
NOTE: Steps 6-8 are skipped if the image file is connected to an existing virtual machine. - Click the … button to specify the destination location of the image.

- Select the storage where the image is to be kept and rename the virtual disk (if needed). Press OK.
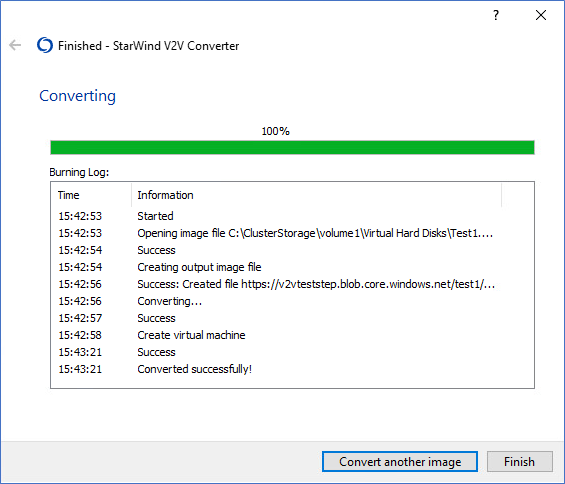
- Click Converting to initiate the process of file conversion.
- Wait until the conversion process is over and press Finish to complete the wizard or Convert another image if there are any images or VMs left to convert.