- Select Azure as the location of the image to convert.

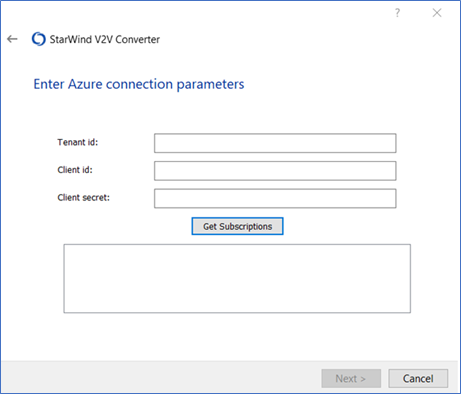
- Specify the Tenant ID, Client ID (i.e., Application ID), and Client secret. Click Get Subscriptions, select the subscription from the field below, and press Next.
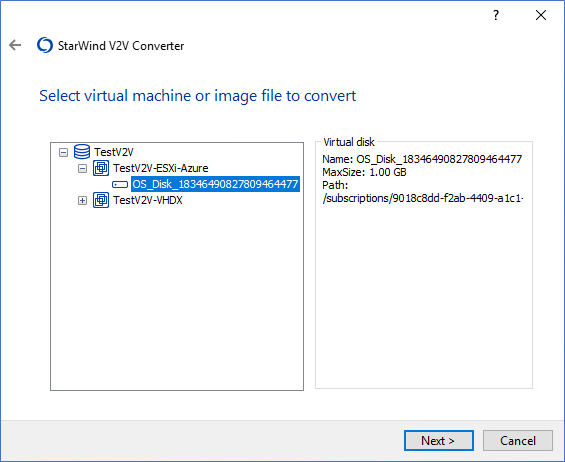
- Select the image file to convert and press Next.
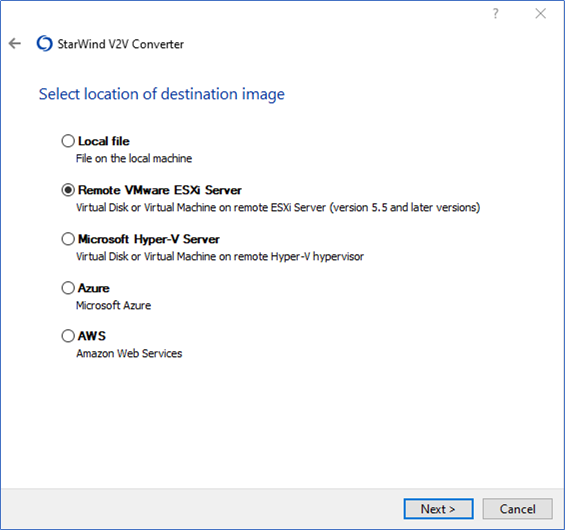
- Select Remote VMware ESXi Server as the location of the destination image.
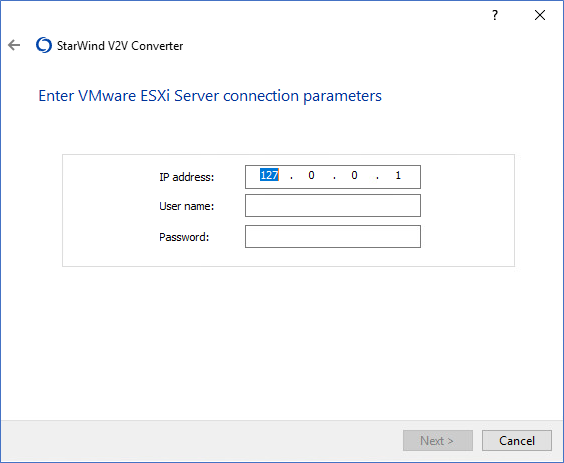
- Specify the remote VMware ESXi server IP address and credentials.
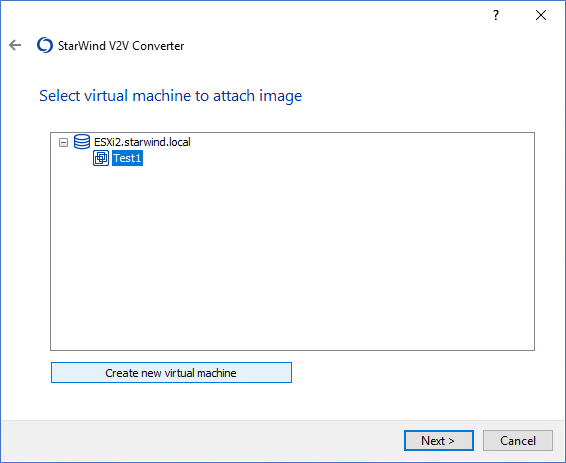
- Select a virtual machine to attach the image or create a new instance.
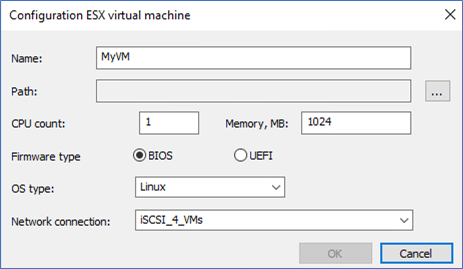
- If it is necessary to create a new ESX virtual machine, modify its settings and press … to select the location of a new instance.
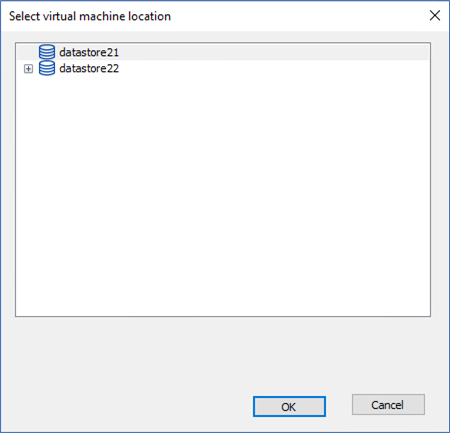
- Select the virtual machine location.
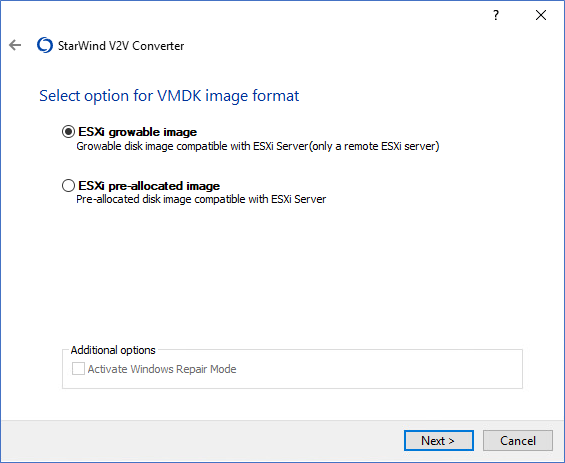
NOTE: Steps 6-8 are skipped if the image file is connected to an existing virtual machine. - Select the VMDK file format and press Next.
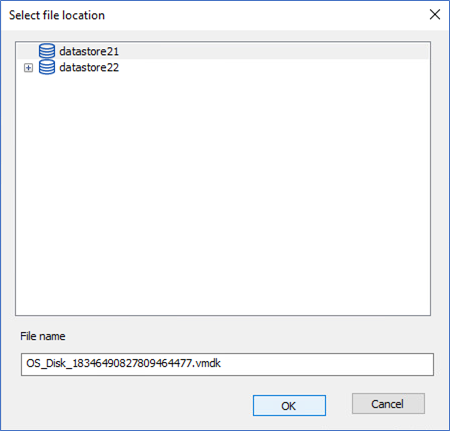
- Select the destination file location by pressing the … button.
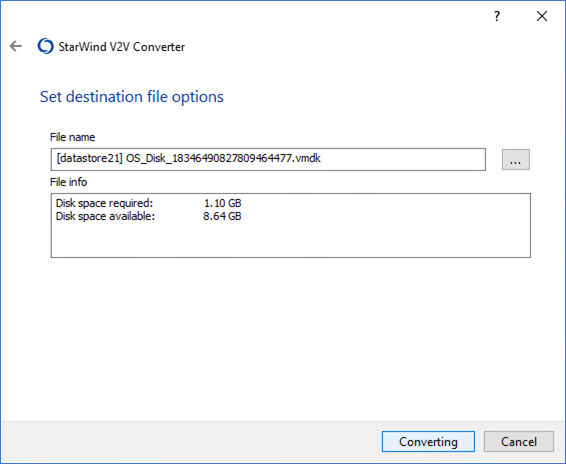
- Select the destination file location and modify the image name if needed. Press OK to return to the Set file options step and click Converting to initiate the image conversion process.
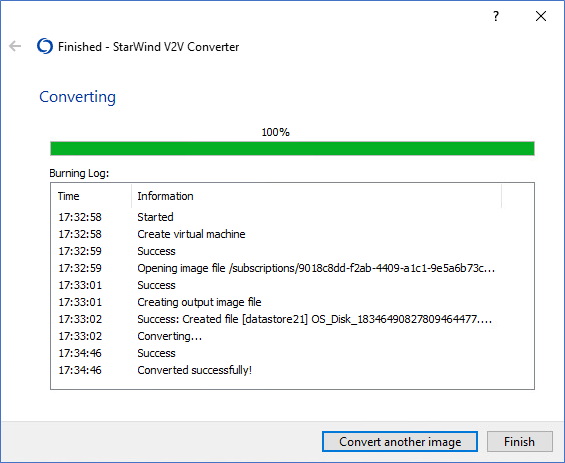
- Wait until the conversion process is over and press Finish to complete the wizard or Convert another image if there are more images or virtual machines to be converted.