StarWind Tape Redirector: Installation Guide
Download PDFAnnotation.
Relevant Products
StarWind Tape Redirector
Purpose
The guide provides detailed instructions for installing and configuring the StarWind Tape Redirector, a tool that allows to share a tape library as ISCSI target within the network. Once the ISCSI target is connected on the destination server, the tape library becomes available there as a connected locally. The guide includes steps for adding physical tape device in StarWind Management Console and connecting to the device using iSCSI Initiator.
Audience
The primary audience for this guide includes IT professionals, system administrators, and network engineers who manage virtualized environments and backup solutions.
Expected Result
Following the guide, users should be able to successfully share the tape library in the network and connect it for direct backup to tape operation. This setup is designed to streamline backup processes in virtualized environments using the iSCSI protocol.
Implementing StarWind Tape Redirector
NOTE: This document assumes that StarWind Virtual SAN is already installed on the server which is connected to the Tape Library.
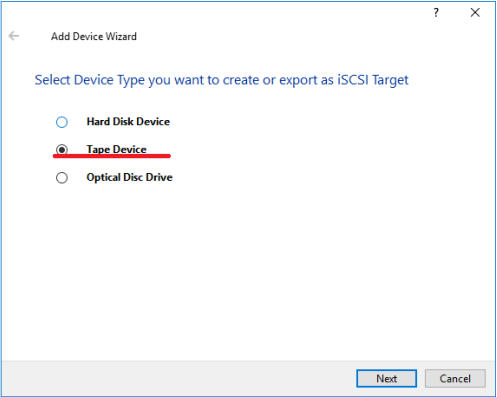
1. In StarWind Virtual SAN Management Console, click Add device (advanced), select Tape Device and click Next:
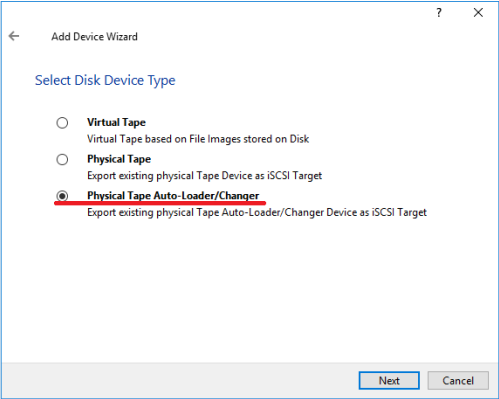
2. Select Physical Tape Auto-Loader/Changer and proceed to the next step.
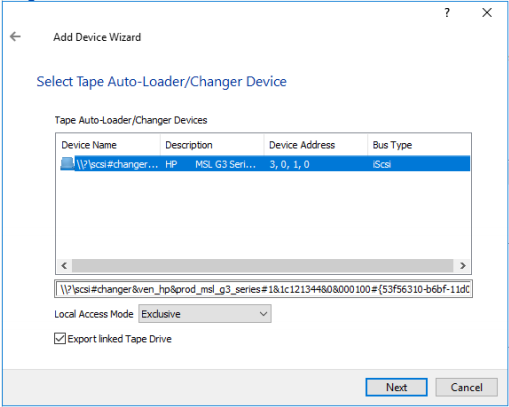
3. Select Tape Auto-Loader/Changer Device to export and select local Access Mode for it.
4. Select Tape Drive to export and the Access Mode.

5. Enter Target Alias if needed and check the box Allow multiple concurrent iSCSI Connections. The target name generates automatically and must be unique.
NOTE: The target name should contain only letters from A to Z, numbers, points, dashes, “:” and should not contain spaces.
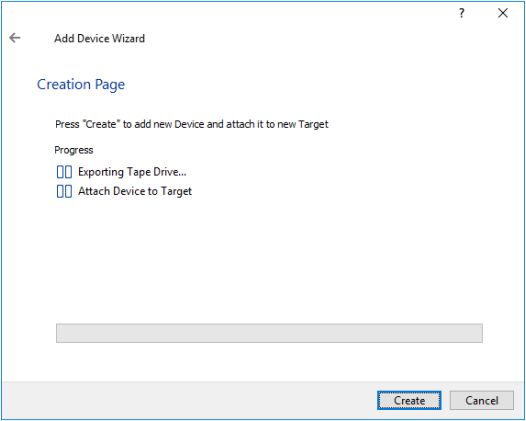
6. Click the Create button to add a new device and attach it to the target.
7. The newly created device and the target will appear in the StarWind Management Console.
8. To add more devices, open StarWind Management Console, click the Add device (advanced) button, and select Tape Device.
9. Select Physical Tape.
10. Select a tape drive to export and select Access Mode for it.

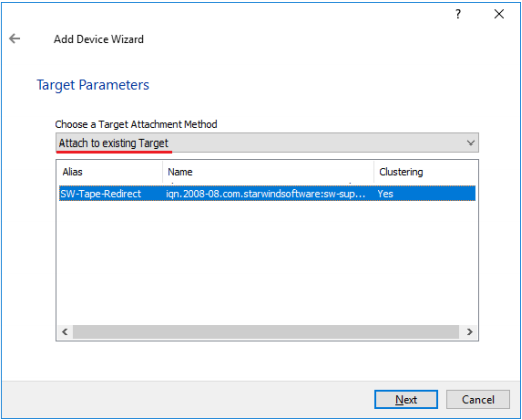
11. Choose Attach to existing Target as a target attachment method and select the required target.
13. Press the Create button to add the newly created device.
Connecting to a Remote Device using iSCSI Initiator
1. Launch Microsoft iSCSI Software Initiator on the server to connect the Tape Library to.
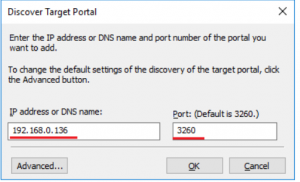
2. Switch to the Discovery tab and click the Discover Portal button.
3. Type the appropriate IP address or DNS name and the Port number (default: 3260) of the StarWind host where the Tape Redirector has been configured.
4. Switch to the Targets tab and select the created target (if no targets are listed, click the Refresh button).
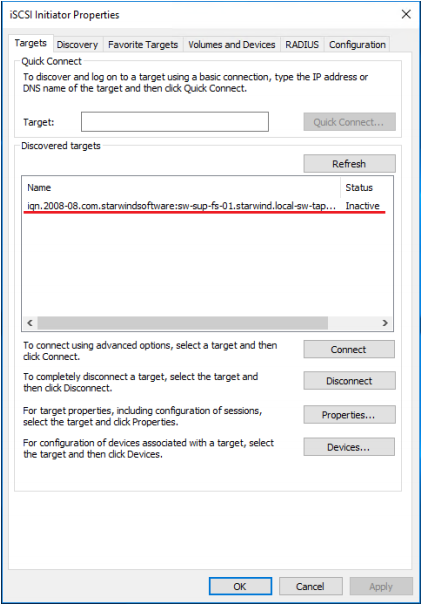
5. Press the Connect button. The Connect to Target window appears. If there is no need automatically restore the connection after the system restart, uncheck the option Add this connection to the list of Favorite Targets.
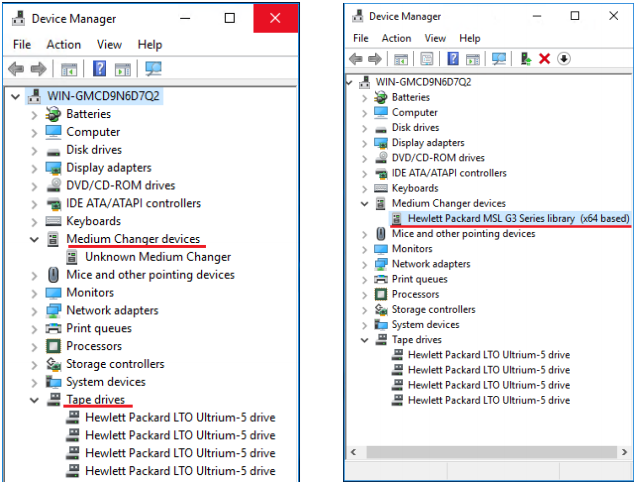
6. Now, Tape drives and Medium Changer devices will appear as the local ones. Install drivers for Unknown Medium Changer device to for it to be displayed properly in Device Manager.
7. Now, a backup software can use theTape Library directly to create backups.
Conclusion
The StarWind Tape Redirector Installation Guide is a crucial resource for integrating tape backup systems with IT environments. By following these instructions, users can effectively connect to tape libraries, enhancing the efficiency and availability of backup resources in the IT environment.
