NOTE: Each of the arrays which will be used by StarWind Virtual SAN to store virtual disk images, should meet the following requirements:
- Be initialized as GPT.
- Have a single NTFS-formatted partition (recommended).
- Have a drive letter assigned.
To create an image file device from StarWind Management Console:
1. Open Add Device Wizard in one of the following ways:
- Right-click a StarWind server and select Add Device (advanced) from the shortcut menu.
- Select a StarWind server and click the Add Device (advanced) button on the toolbar.
2. As Add Device Wizard appears, follow the instructions to complete the creation of a new image file device.
3. Select Hard disk device as a type of a device to be created.

4. Select Virtual Disk and click Next.

5. Specify the Virtual Disk Name, Location, and Size. Click Next.

6. Specify Virtual Disk Options and click Next.
NOTE: Use 4096 Virtual Block size for a Windows-based system or 512 bytes sector size for a Linux-based system (ESXi/Xen/KVM).

7. Define the caching policy and specify the cache size (in MB). Click Next to continue.
You can also set the maximum available cache size by selecting the appropriate checkbox.
NOTE: It is not recommended to configure cache in Write-Back mode on Standalone devices in order to avoid possible data corruption upon power outage or incorrect service shutdown.
NOTE: It is recommended to read the information on implementing of cache at the link below before adding it: https://www.starwindsoftware.com/resource-library/starwind-virtual-san-l1-and-l2-caches-operational-principles

8. Click Next to continue.
9. Define the L2 caching policy and the cache size. Click Next.
NOTE: L2 cache can be used with flat storage devices for performance acceleration. Use SSD drives to enable L2 cache.

10. Specify target parameters.
Select a method of target attachment and fill in the Target Alias text field.
Select the Target Name checkbox to enter a custom name of a target. Otherwise, the name is generated automatically in accordance with the specified target alias.
NOTE: Specifying a reasonable name and alias simplifies navigation through the available iSCSI targets.
Select the Allow multiple concurrent iSCSI Connections checkbox if you want to enable several clients to connect simultaneously to the target.

11. Click Next to continue.
12. Click Create to add a new device and attach it to the target.

13. Click Close to close the wizard.

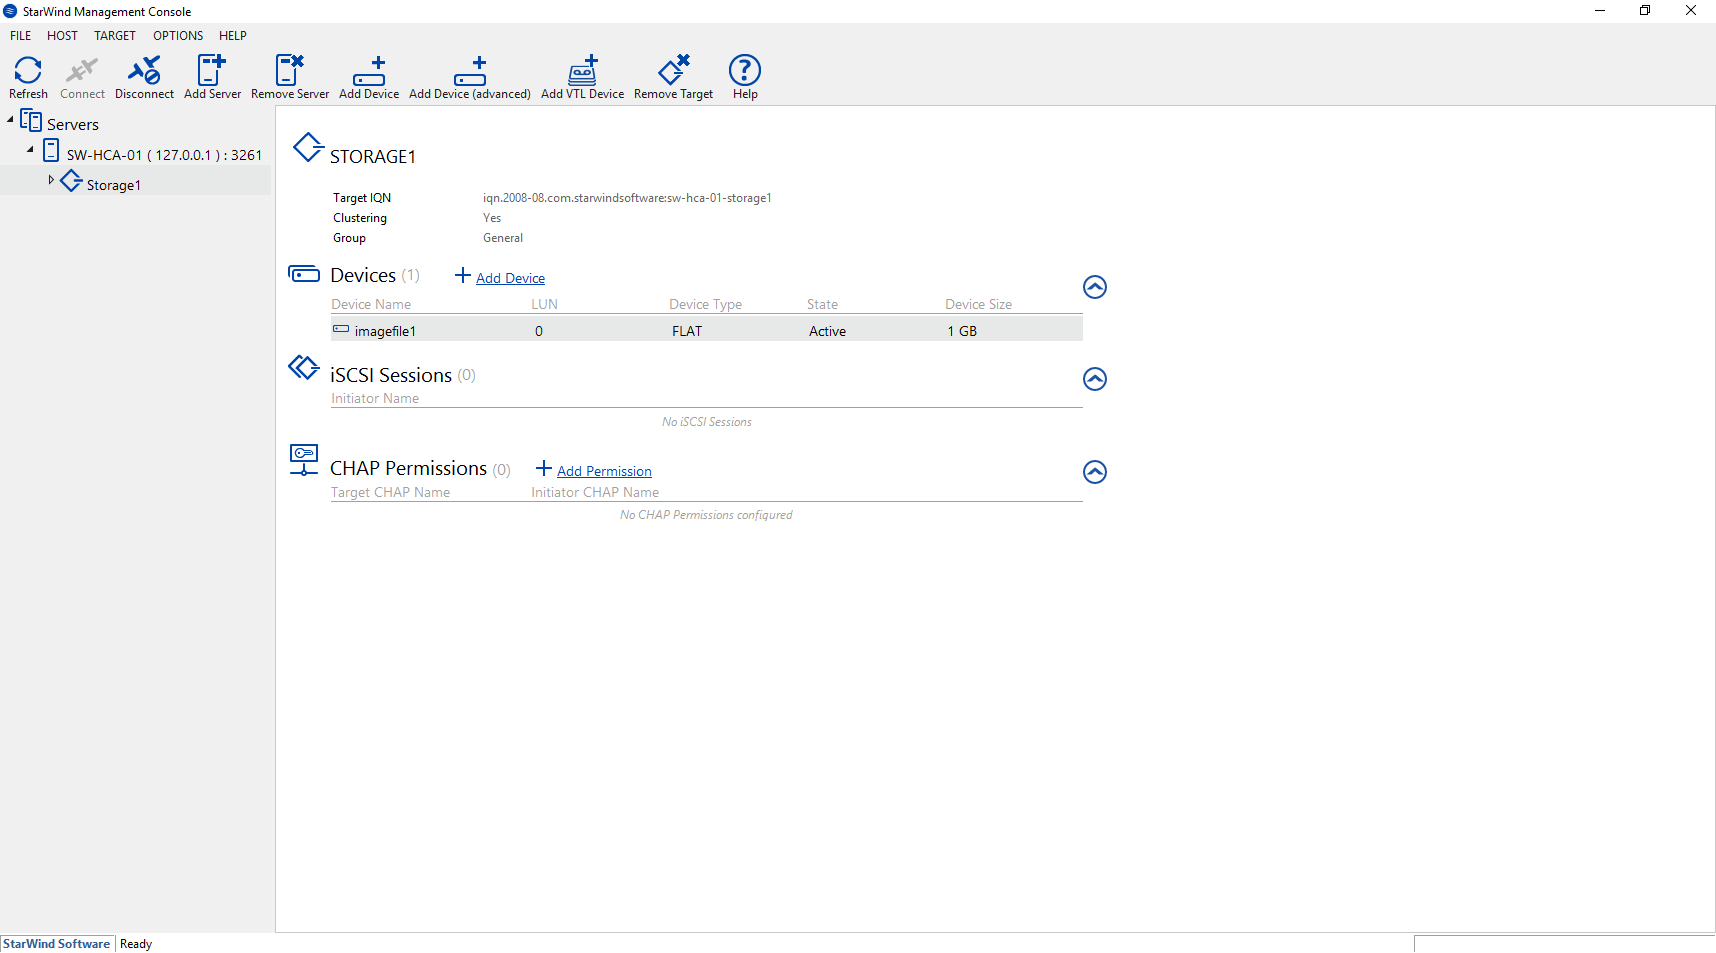
15. The device added will appear in StarWind Management Console.
To create an image file device with PowerShell script:
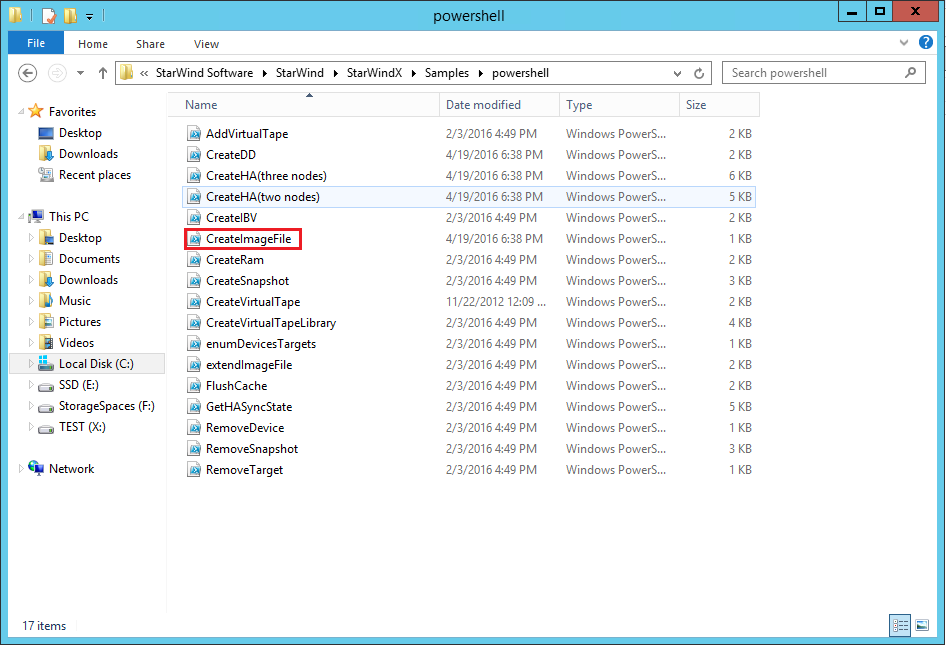
1. Open the folder that contains StarWind PowerShell samples.
By default samples are located in the following folder:
C:\Program Files\StarWind Software\StarWind\StarWindX\Samples\powershell.
2. Locate the file named CreateImageFile.ps1 and copy it to any other place for further editing.
3. Open the file CreateImageFile.ps1 via PowerShell ISE (or any other text editor) and change the values marked with red.
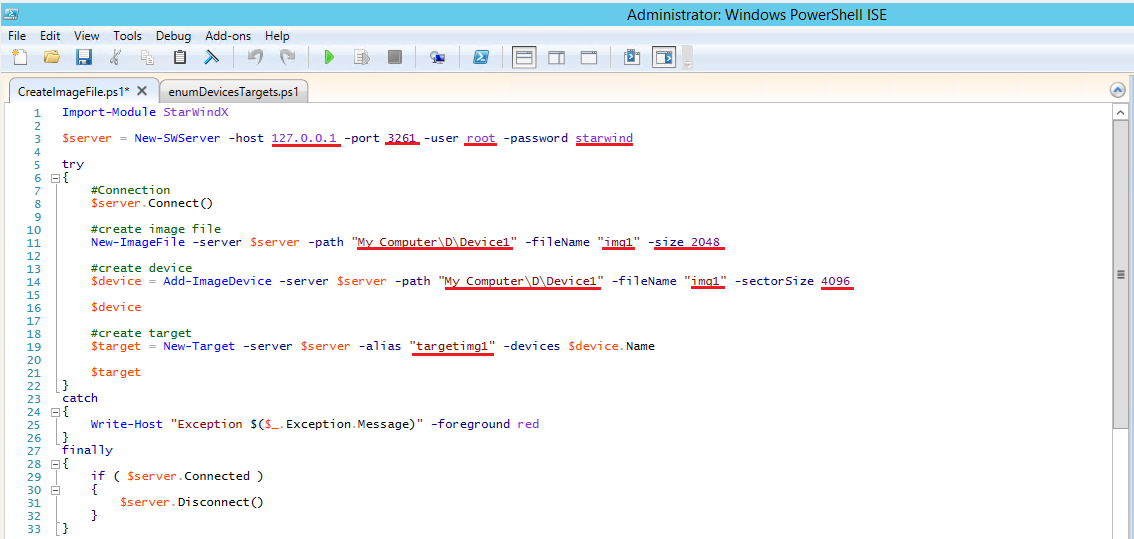
- host; Enter the IP address of the host that has StarWind Service installed;
- port; Enter the StarWind service connection port number (3261 by default);
- user and password; Enter the StarWind username and password (default values are: username: root, password: starwind);
- #create image file
- path; Enter the path to an existing directory where image file will be located;
- fileName; Enter image file name.
- size; Enter image file size in megabytes;
- #create device
- path; Has to be equal to the value path in the #create image file section;
- fileName; Has to be equal to the value fileName in the #create image file section;
- sectorSize; Enter Device sector size (512 for ESXi or 4096 for Hyper-V, SOFS);
- #create target
- alias; Enter Target alias.
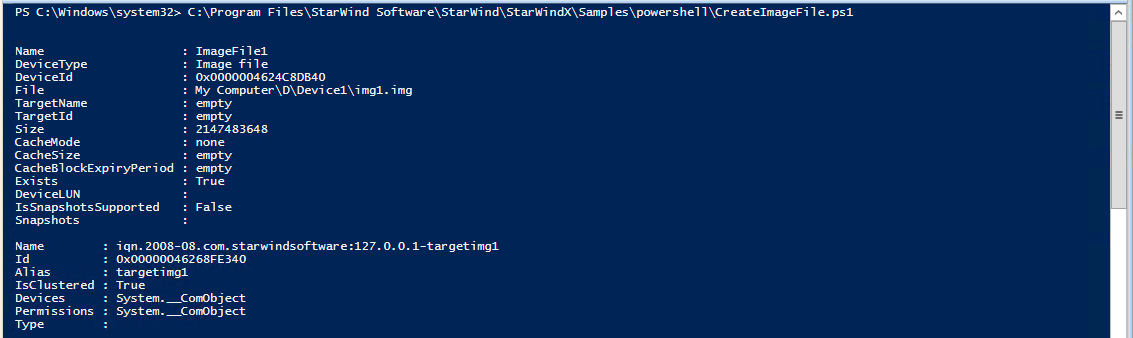
4. Run the script. After the device is created, you should see the following:
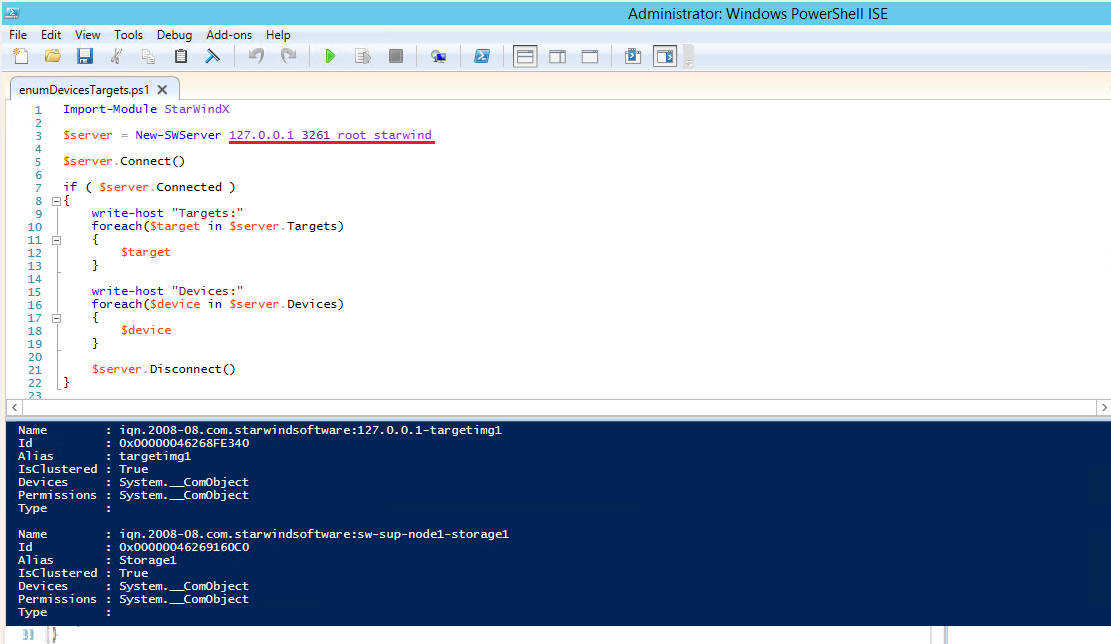
5. In order to list all the devices and targets on the StarWind host, run enumDevicesTargets.ps1 script.
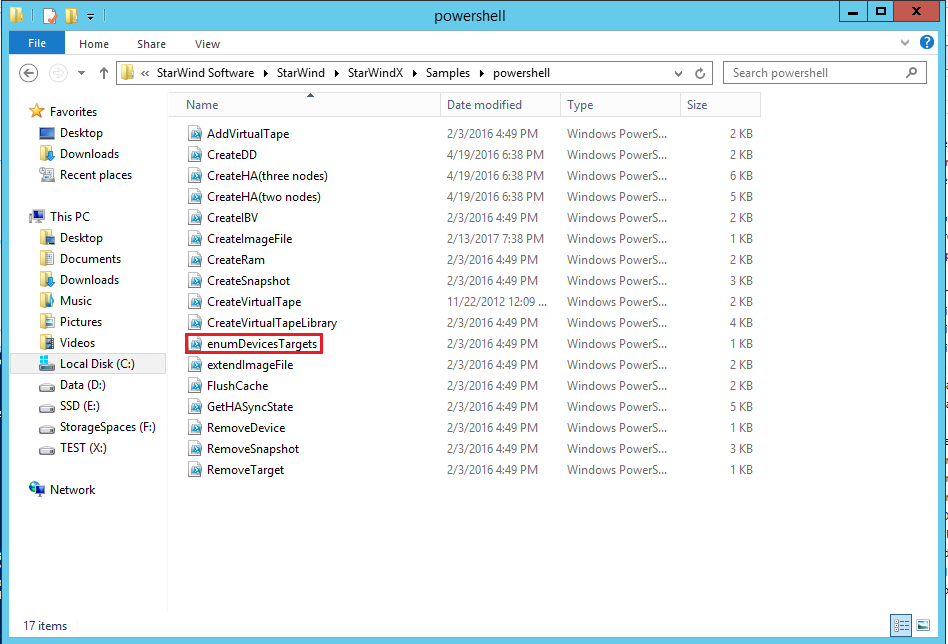
6. Make sure to modify the values marked with a red line in order to fit your setup (host IP, port, user, password), save the script and run it.