It is possible to configure SMB file share as Witness for StarWind HA device, created with Node Majority Failover Strategy. SMB Witness is a file, located on SMB share, which can be accessed by both nodes and help them to eliminate the split-brain issue in case of synchronization connection interruption between the nodes.
To set up the SMB file share as a Witness for 2-nodes HA device with Node Majority Failover Strategy, perform the following actions:
- Create a folder, shared in the network, which will be used by StarWind VSAN as File Share Witness. Please note that the folder must be located out of StarWind nodes and a separated service account must be used by StarWind VSAN service to access the folder. It can be a local account as well as a domain account that has write permission to the folder. File share must be accessible from each StarWind node with credentials, mentioned above.
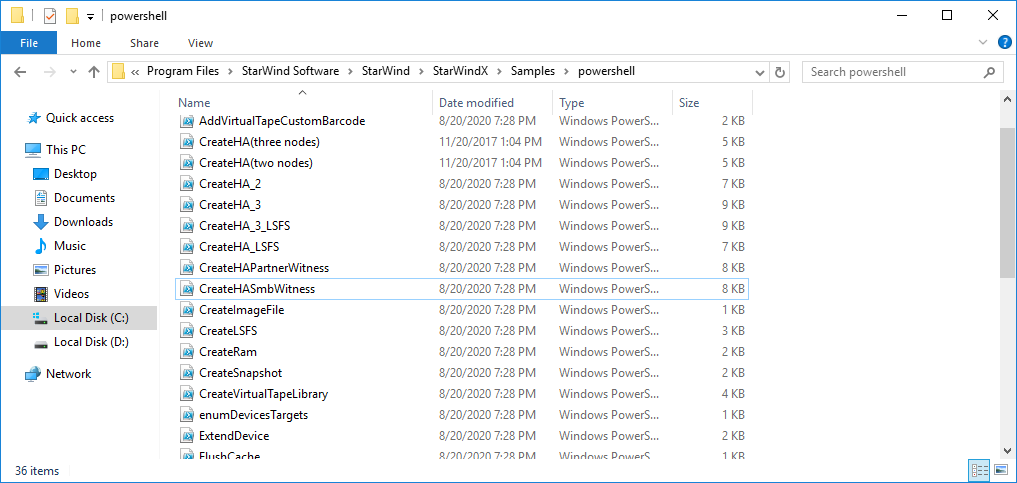
By default, samples are located under the path: C:\Program Files\StarWind Software\StarWind\StarWindX\Samples\powershell.
Locate the file named CreateHASmbWitness.ps1 and copy it to any other place for further editing.
Open the file CreateHASmbWitness.ps1 file with PowerShell ISE (or any other text editor) and change the following values.
- Common parameters:
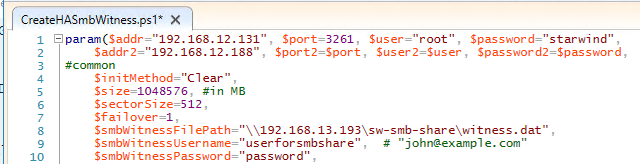
- addr; IP address of the 1st node which will be used to access to StarWind service;
- addr2; IP address of the 2nd node which will be used to access to StarWind service;
- port; Enter the StarWind service connection port number (3261 by default);
- user and password; Enter the StarWind username and password (default values are: username: root, password: starwind);
- size; Enter an image file size in megabytes;
- sectorSize; Enter device sector size (512 for ESXi or 4096 for Hyper-V, SOFS);
- smbWitnessFilePath; a path to the previously created file share;
- smbWitnessUsername; username for the account, used by StarWind service to access file share. It can be a local account as well as a domain account that has write permission to the file share;
- smbWitnessPassword; password for the username above
6. For the first StarWind node:
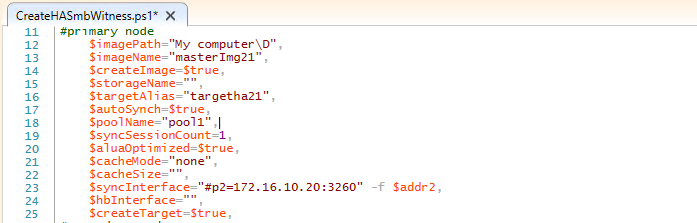
- ImagePath; Enter the path to an existing directory where image file will be located;
- ImageName; Enter an image file name;
- CreateImage; Create an image file. NOTE that CreateImage value should be equal to $true;
- StorageName; Can be left default, the service will assign it automatically;
- targetAlias; Name for the target on the 1st node;
- AutoSynch; Make sure to specify automatic or manual synchronization after device creation by setting the value of this variable to either $true or $false;
- poolName; Enter the pool name in case you would like your resource to be tagged in SMI-S provider. Enter leave it as “” in case you do not need to tag your resources to the SMI-S provider;
- syncSessionCount; Synchronization session count. Make sure you set the value of the variable to “1”;
- aluaOptimized; default optimization mechanism. Please leave it as $true;
- CacheMode; Caching mode cache (“none” - without caching, “wt” – write-through mode or “wb” - write-back mode). Enter the necessary value;
- CacheSize; Enter the size for L1 cache in megabytes or leave it as “” in case you would like it to be N/A;
- syncInterface. Enter the IP address(s) of the partner node interface(s) (the “second” StarWind node) which will be used as the synchronization channel;
7. For the second StarWind node:
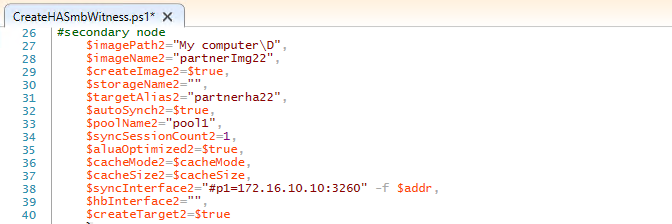
- ImagePath2; Enter the path to an existing directory where image file will be located;
- ImageName2; Enter an image file name;
- CreateImage2; Create an image file. NOTE that CreateImage value should be equal to $true;
- StorageName2; Can be left default, the service will assign it automatically;
- targetAlias2; Name for the target on the 2nd node;
- AutoSynch2; Make sure to specify automatic or manual synchronization after device creation by setting the value of this variable to either $true or $false;
- poolName2; Enter the pool name in case you would like your resource to be tagged in SMI-S provider. Enter leave it as “” in case you do not need to tag your resources to the SMI-S provider;
- syncSessionCount2; Synchronization session count. Make sure you set the value of the variable to “1”;
- aluaOptimized2; default optimization mechanism. Please leave it as $true;
- CacheMode2; Caching mode cache (“none” - without caching, “wt” – write-through mode or “wb” - write-back mode). Enter the necessary value;
- CacheSize2; Enter the size for L1 cache in megabytes or leave it as “” in case you would like it to be N/A;
- syncInterface2. Enter the IP address(s) of the partner node interface(s) (the “first” StarWind node) which will be used as the synchronization channel;
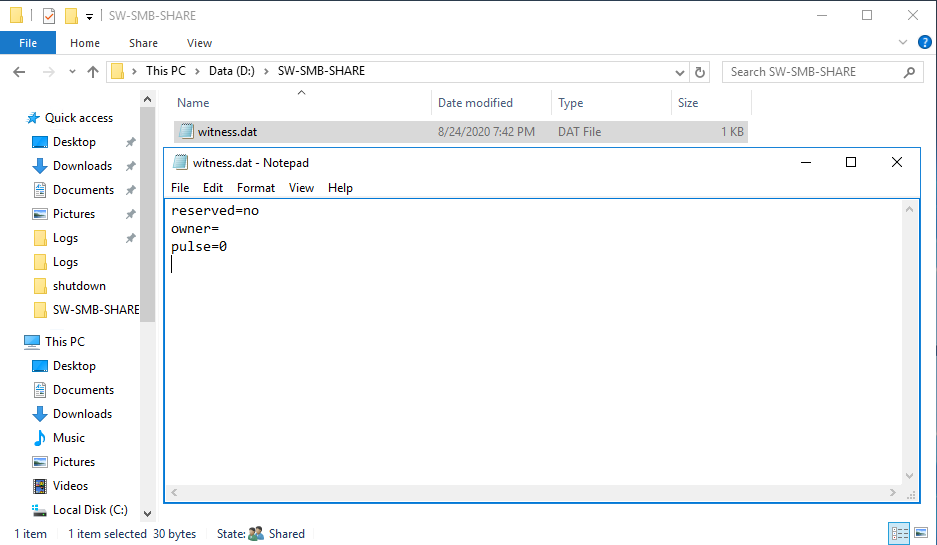
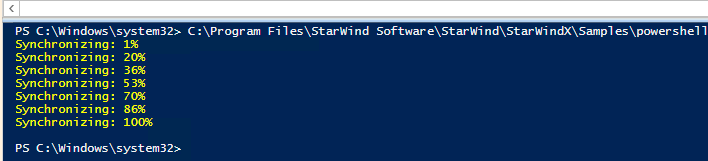
8. Save and run the script. After the HA device creation you should see the following:
On the SMB file share location, the .dat file with 1KB size will be created: