IMPORTANT NOTE: Starting from 14869 build, the Asynchronous replication feature was excluded and deprecated. Please remove all Asynchronous replicas and LSFS devices before the update. See more information in the release notes: https://www.starwindsoftware.com/release-notes-build
To set up asynchronous replication, perform one of the following actions:
1. Open Add Device Wizard in one of the following ways:
- Right-click a StarWind server and select Add Device (advanced) from the shortcut menu.
- Select a StarWind server and click the Add Device (advanced) button on the toolbar.
2. As Add Device Wizard appears, follow the instructions to complete the creation of a new device.
3. Select Hard Disk Device as the type of a device to be created.
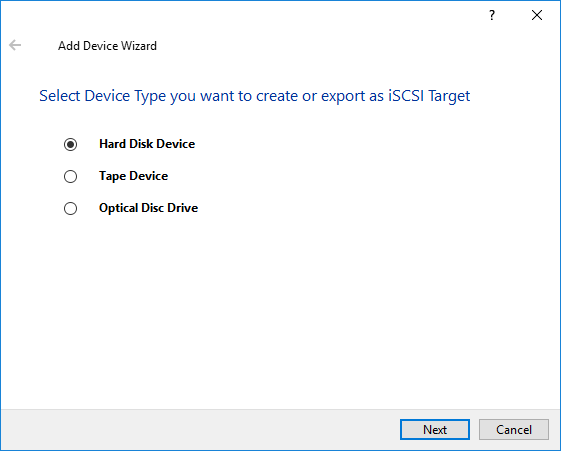
4. Click Next to continue.
5. Select Virtual Disk as a disk device type.
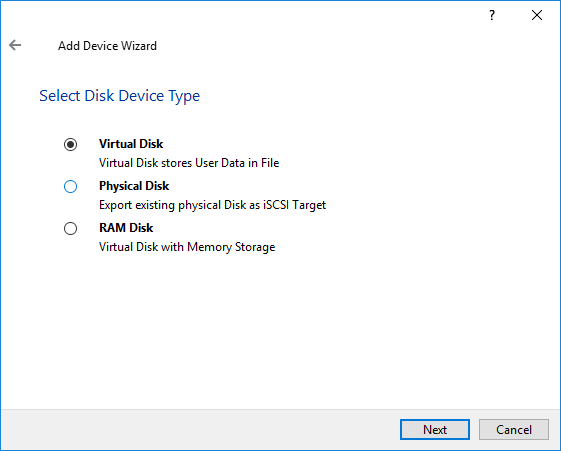
6. Click Next to continue.
7. Specify a virtual disk location and create a new file if required.
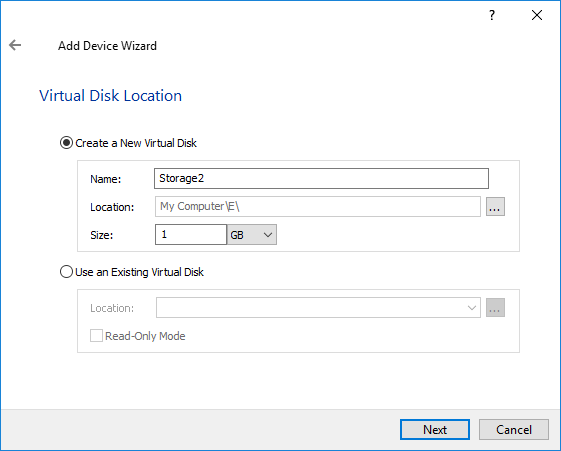
8. Click Next.
9. Select virtual disk options:
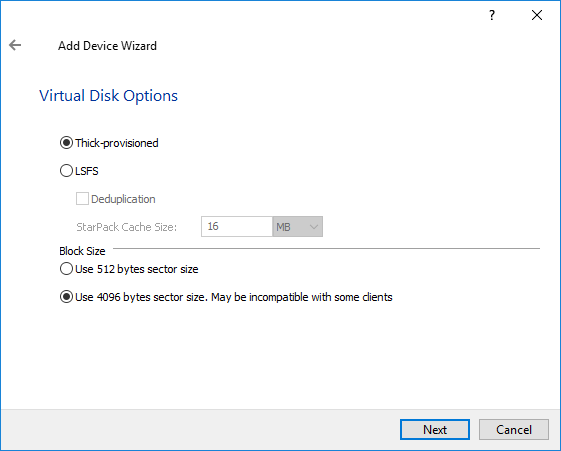
10. Click Next to continue.
11. Define the caching policy and specify the cache size (in MB).
You can also set the maximum available cache size by selecting the appropriate checkbox.
Note: It is recommended to use write-back caching in order to improve the storage system performance.
To reach higher performance, provide a larger cache size or just select the Set Maximum available Size option.
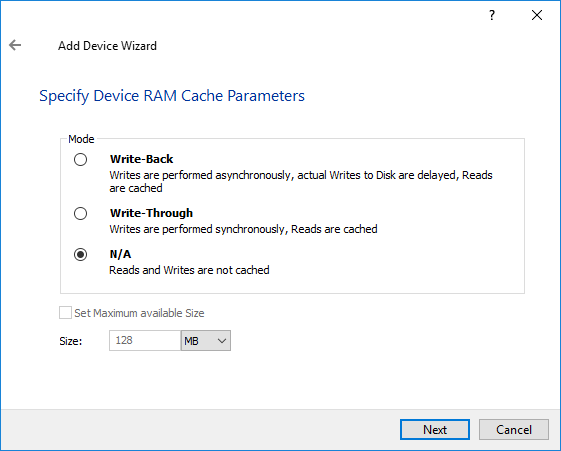
12. Click Next to continue.
13. Define the L2 caching policy and the cache size.
Note: L2 cache can be used with flat storage devices for performance acceleration. Use SSD drives to enable the L2 cache
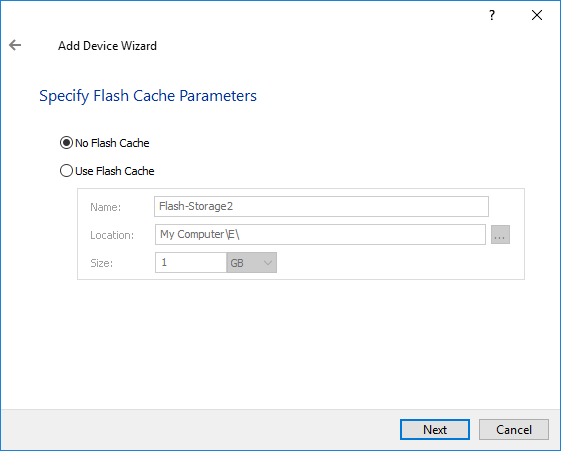
13. Click Next to continue.
14. Specify target parameters.
Select a method of target attachment and fill in the Target Alias text field.
Select the Target Name checkbox to enter a custom name of a target. Otherwise, the name is generated automatically in accordance with the specified target alias.
Note: Specifying a reasonable name and alias simplifies navigation through the available iSCSI targets.
Select the Allow multiple concurrent iSCSI Connections checkbox if you want to enable several clients to connect simultaneously to the target.
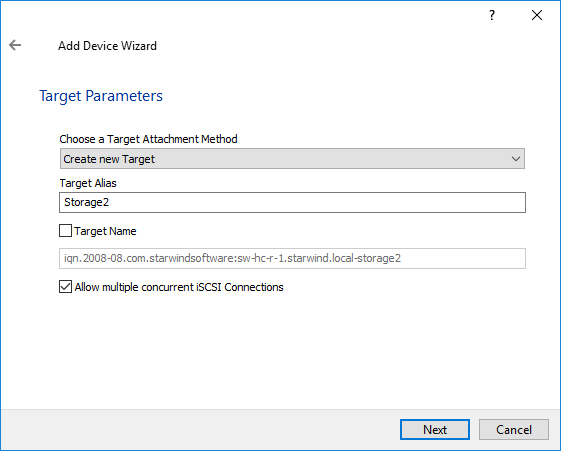
15. Click Next to continue.
16. Click Create to add a new device and attach it to the target.
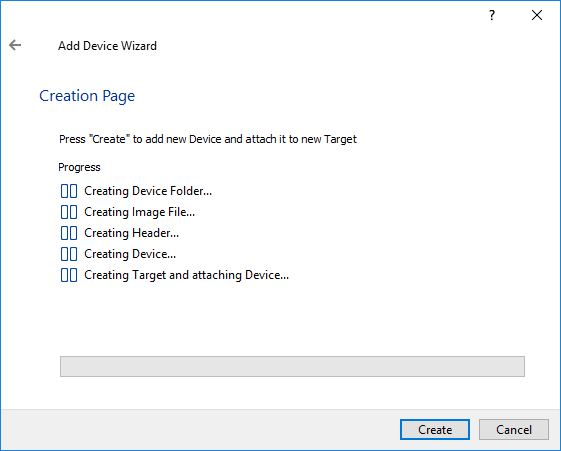
17. Click Close to close the wizard.

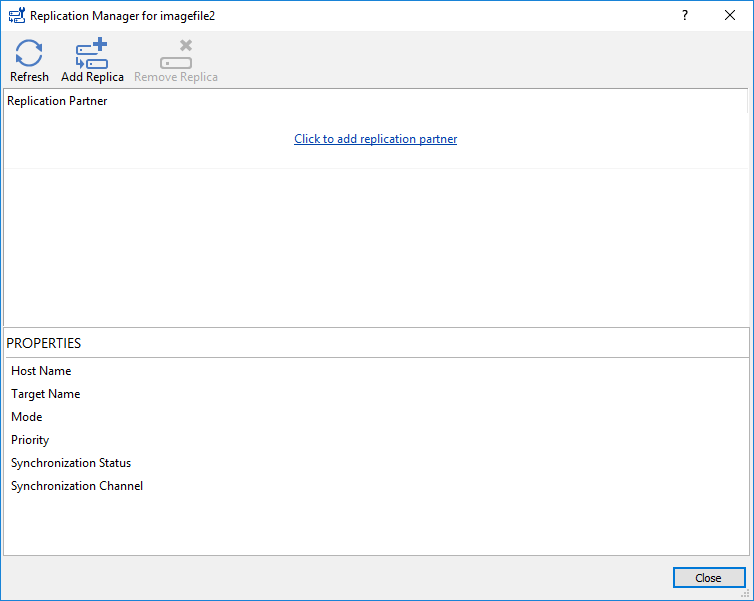
18. Right-click the required device and select Replication Manager from the shortcut menu. Then, click Add Replica.
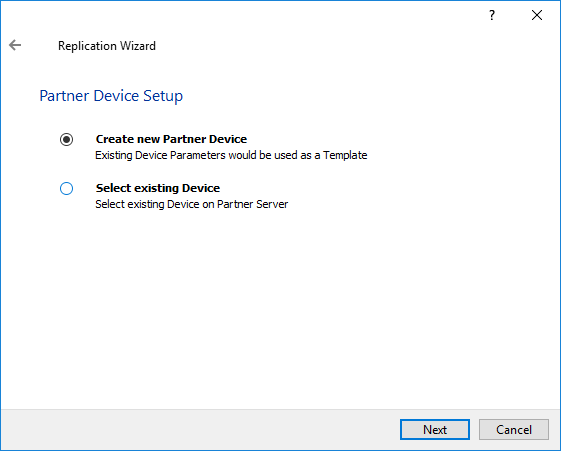
19. Select Asynchronous "One-Way" Replication as a replication mode.
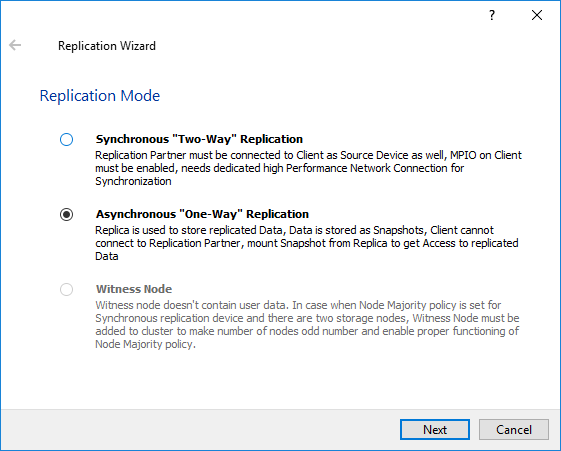
20. Click Next to proceed.
21. Specify a partner hostname, IP address, and port number.
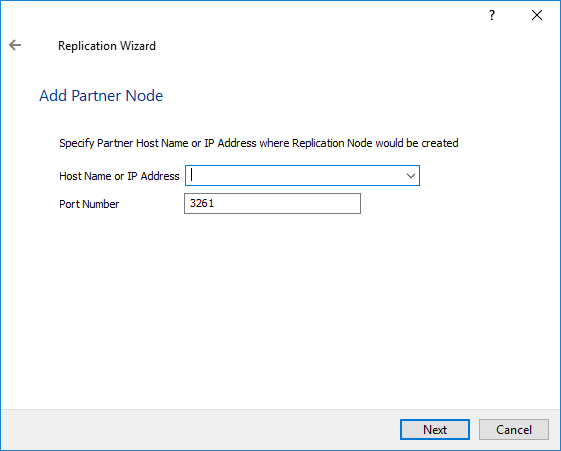
22. Click Next.
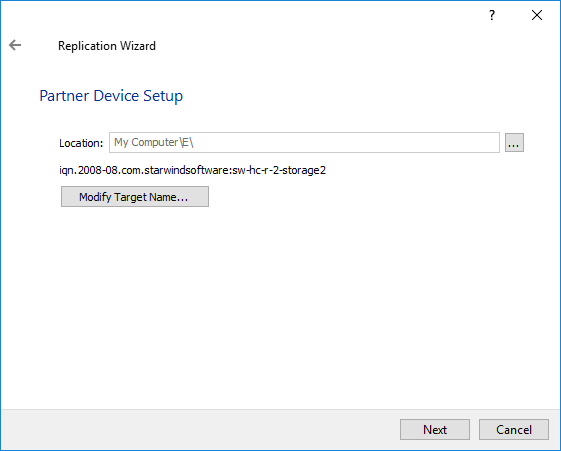
24. You can modify the target name if required, then click Next.
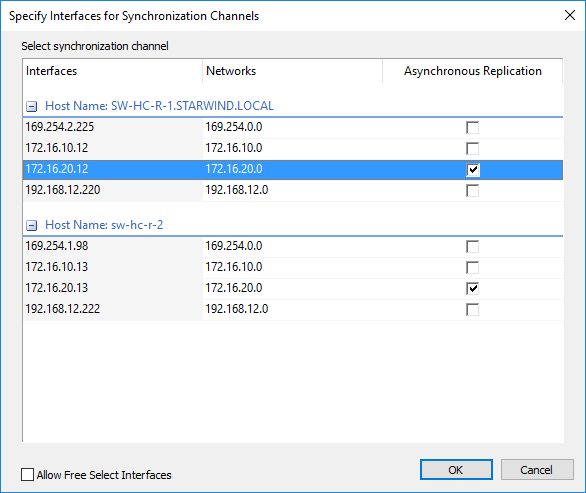
25. Click Change network settings.
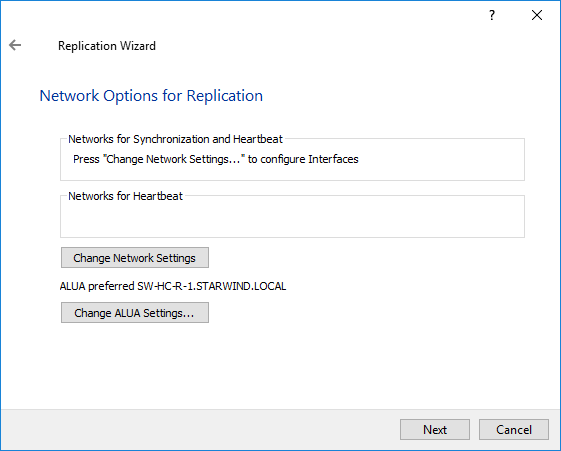
26. Specify interfaces for the synchronization channel.
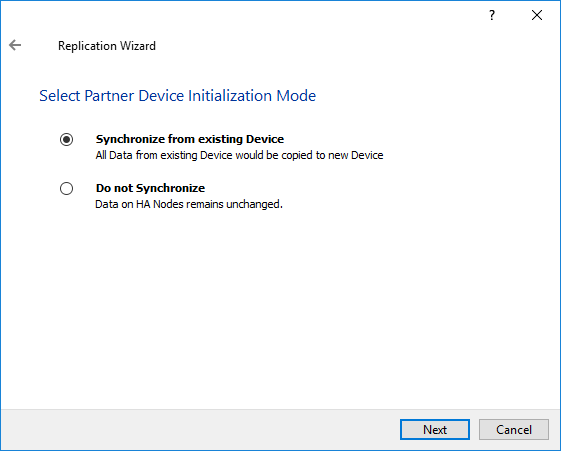
27. Select Synchronize from existing Device or Do not Synchronize and click Next.
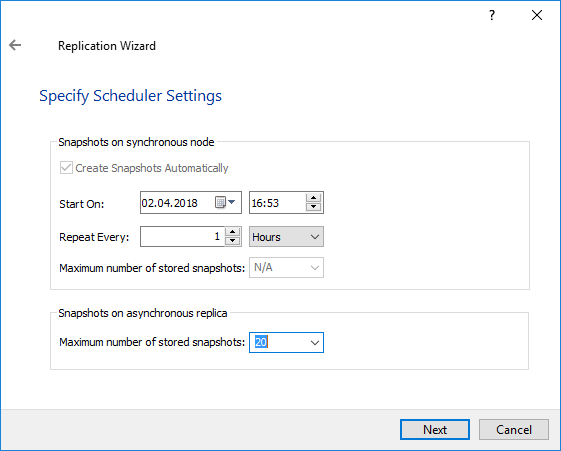
28. Specify the Snapshot Scheduler settings and click Next.
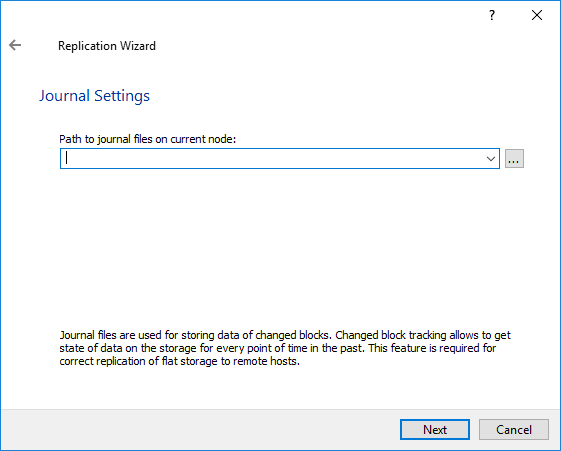
29. Specify the path to journal files on the current node.
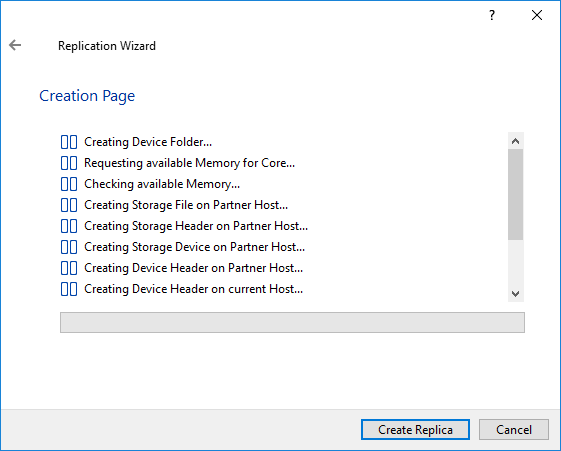
30. Click Create Replica.
31. Click Close to close the wizard.
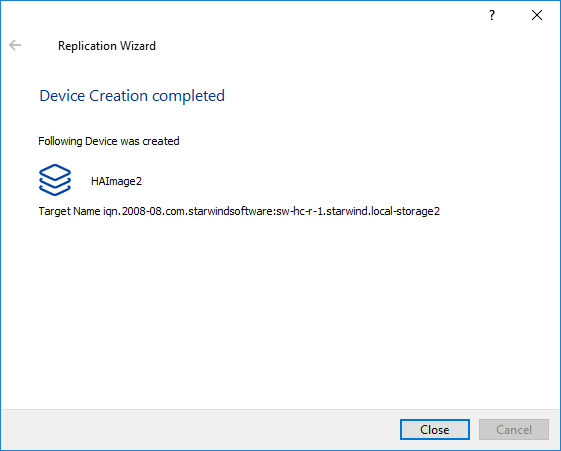
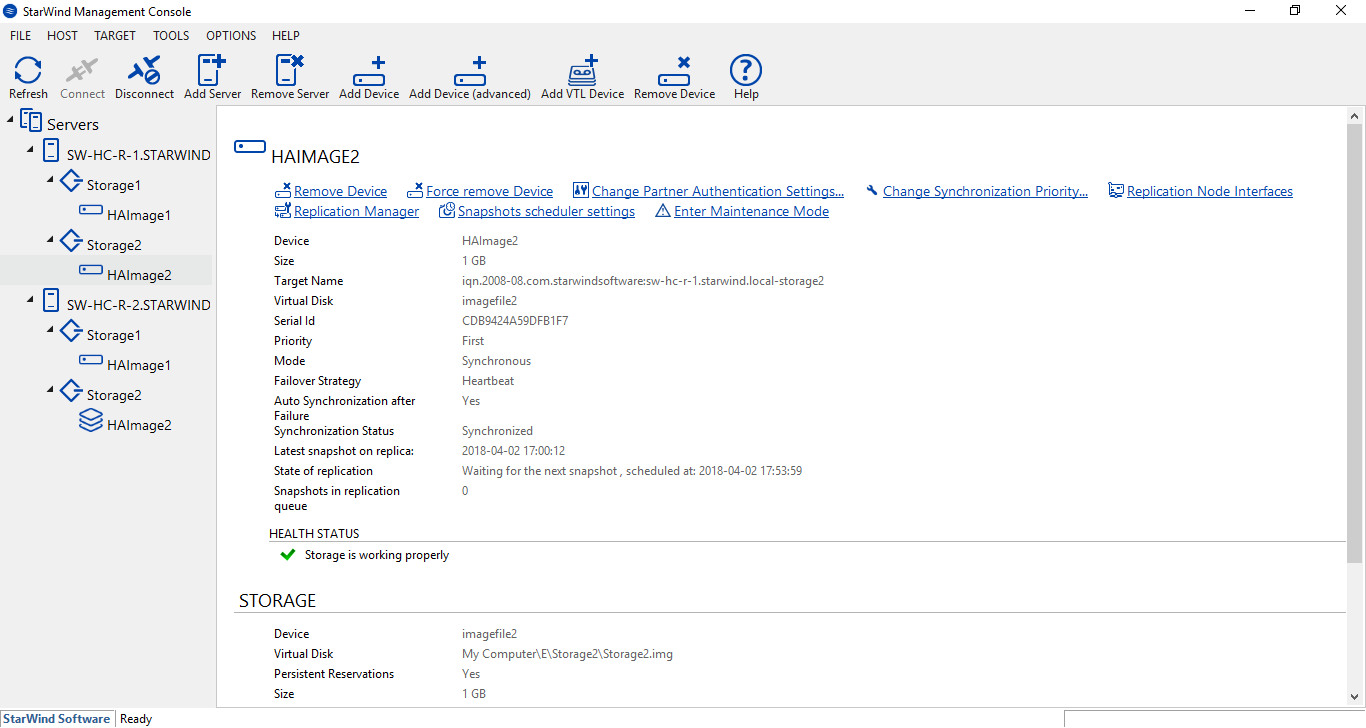
32. The successfully added devices appear in the StarWind Console.