Microsoft Azure is a cloud provider where you pay-as-you-go. So, to optimize cost management, we try to deploy virtual machines where the size (CPU, RAM and disks) fits roughly to resources required by the application. Sometime the VM size is too small for the workloads so slowdown can affect the application and when the VM size is too large you don’t optimize cost management. To optimize that, you can change the VM size to set the right number of memory and vCPU. You can do the same for disks: you can change the type (HDD, SSD Standard, SSD premium etc.) and the capacity. In this topic, we’ll see how to change the disk size without recreating the virtual machine.
Check if you need to change the disk size
Before changing the disk size, it’s important to check if the disk is the bottleneck. If you have capacity issues, it’s easy to check in the operating system the free space. However, it can be more complicated to check if the disk is the bottleneck for performance. Some metrics are available from Azure Portal. To get these metrics, open your Azure VM and in the overview blade you have some input:
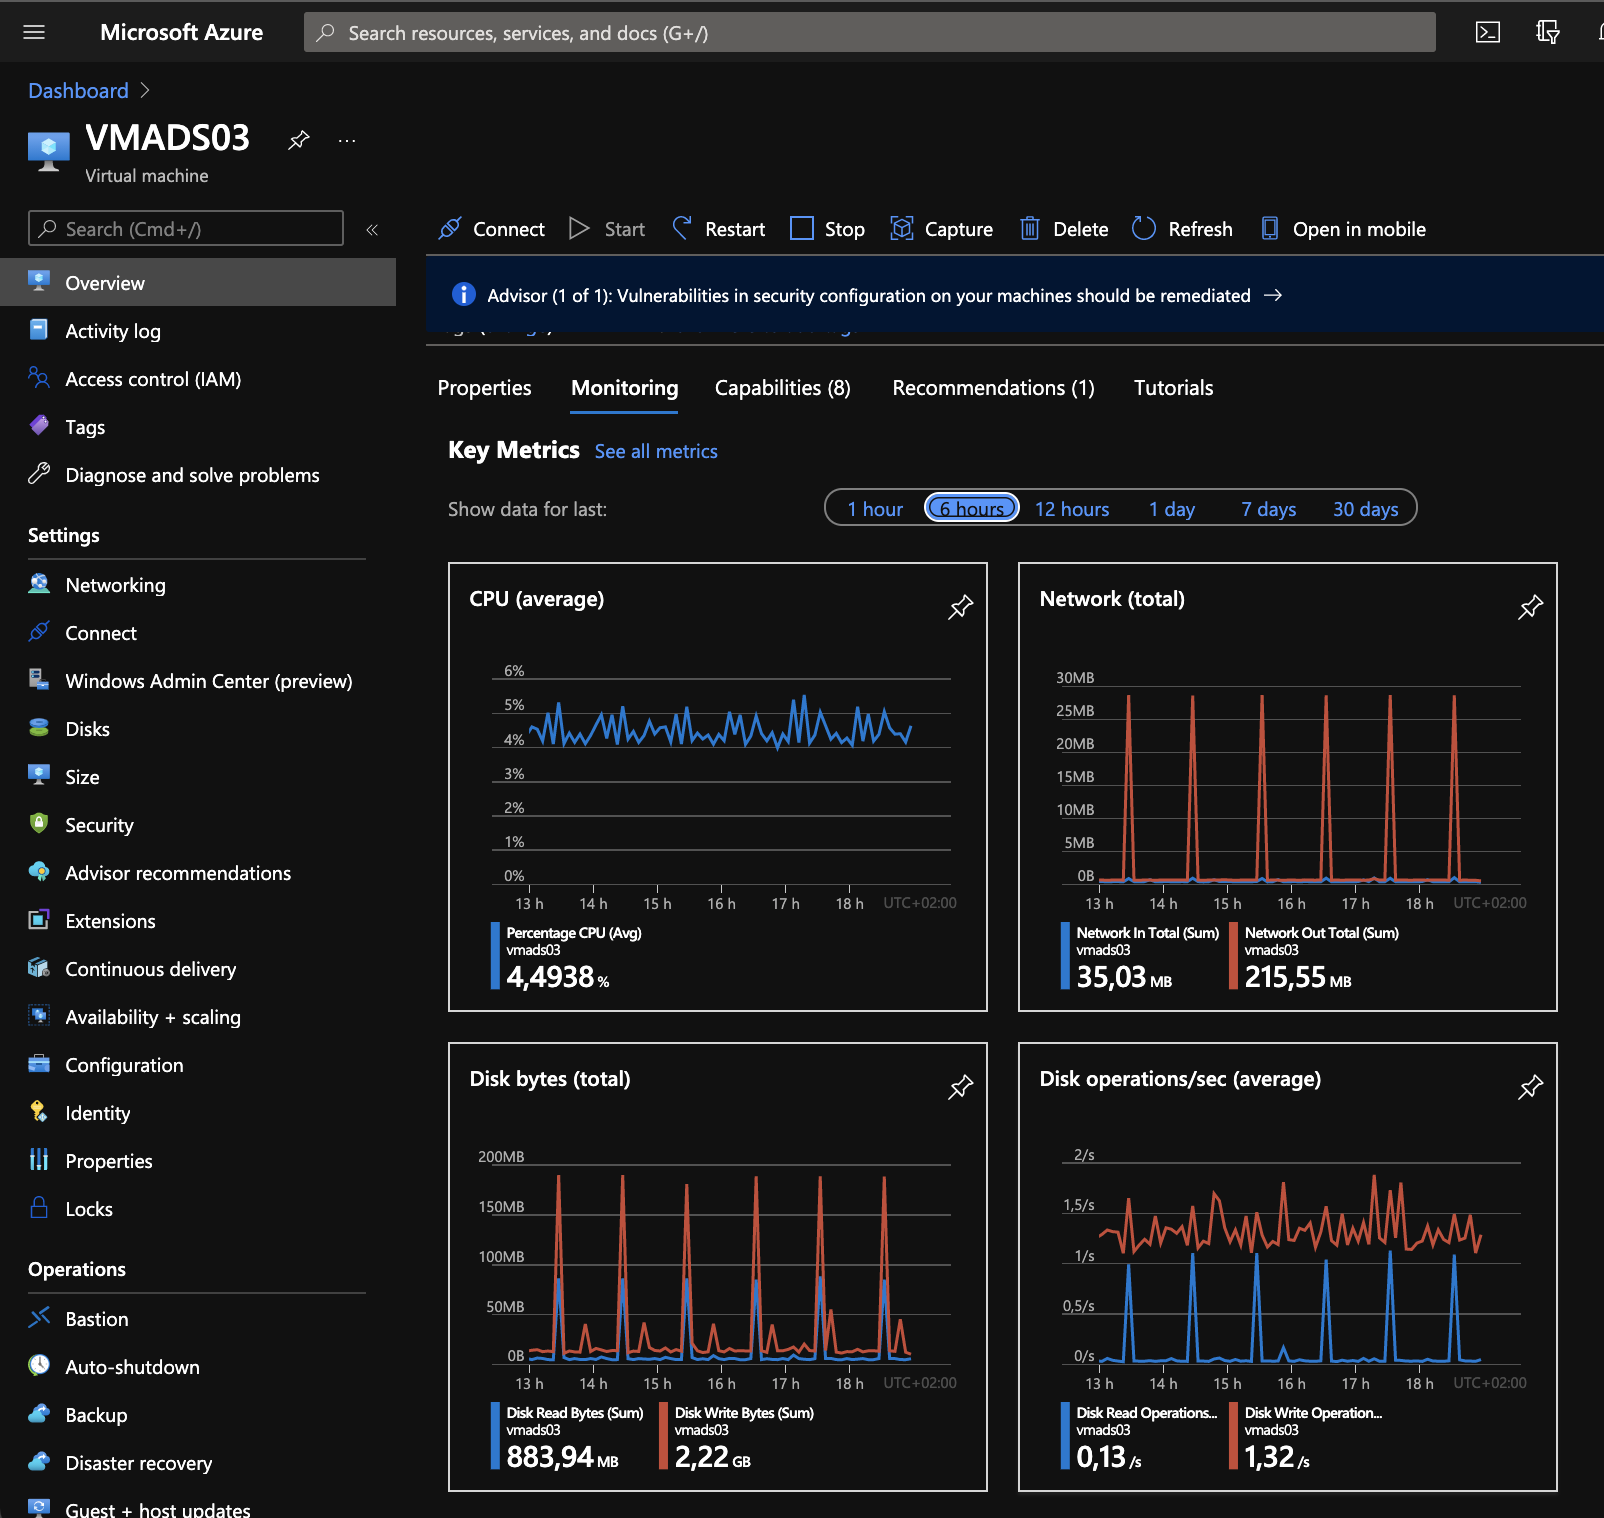
The above screenshot contains two disk metrics that can help you to troubleshoot your issue. If you need additional metrics, you can click on See all metrics. For example, the below screenshot shows the average bandwidth consumed for the OS disk.

Change disk size
To change the operating system disk size, you have to shut down the Azure VM:
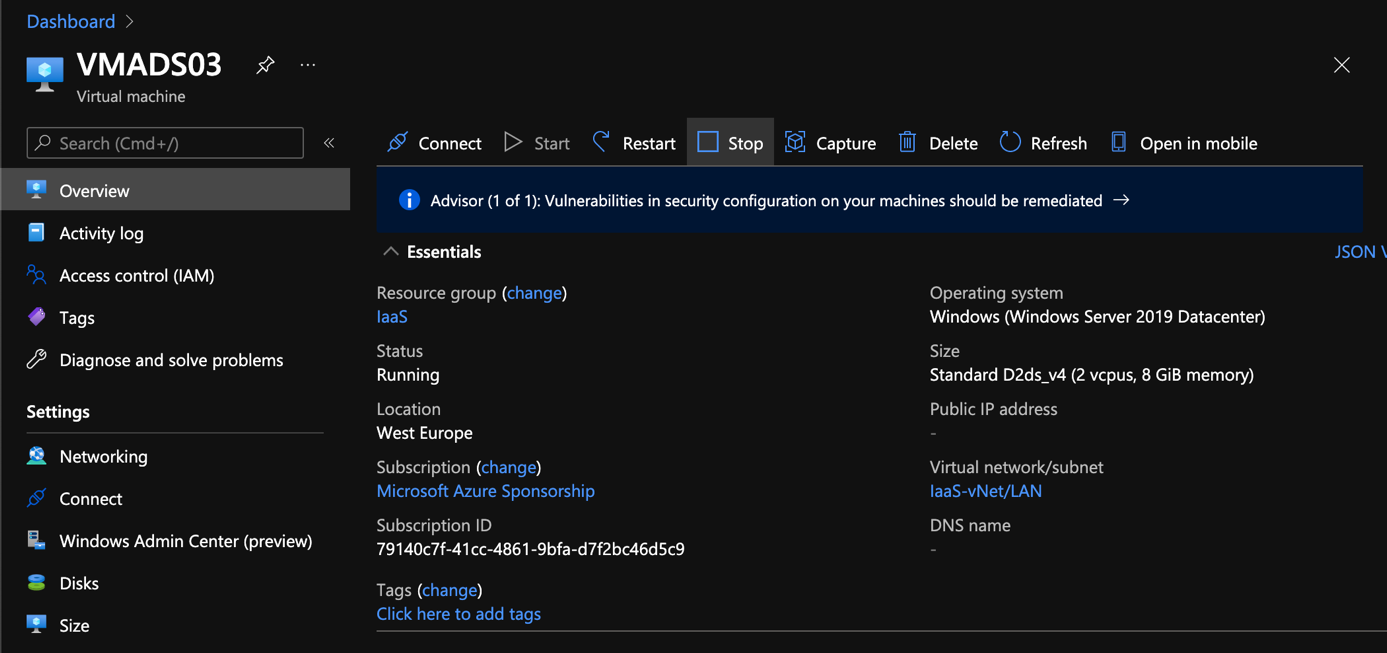
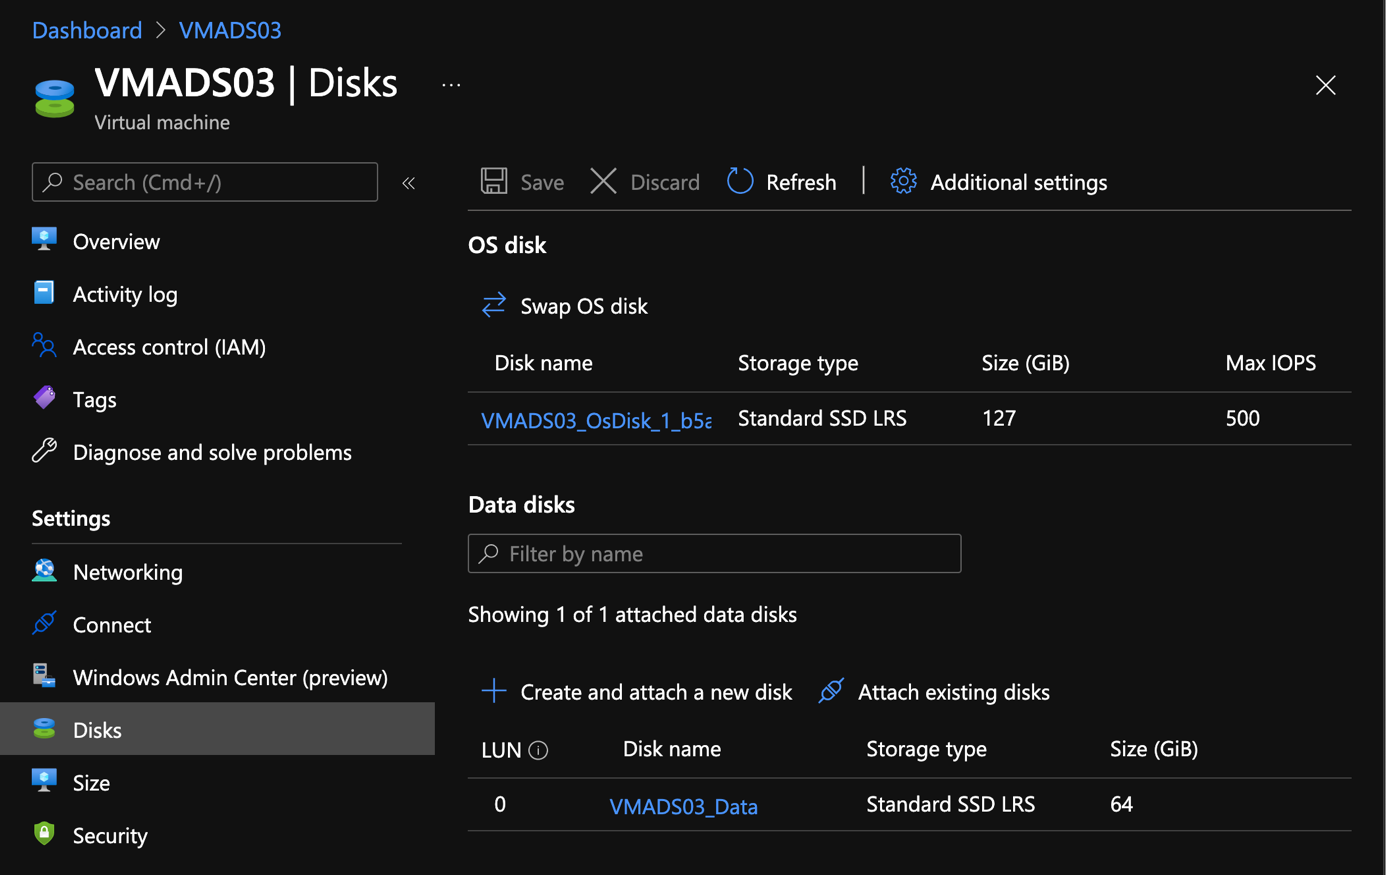
Once the VM is stopped, you can click on Disks in the left menu of the VM. Then click on the disk you want to change.
In the disk blade, select size & performance.
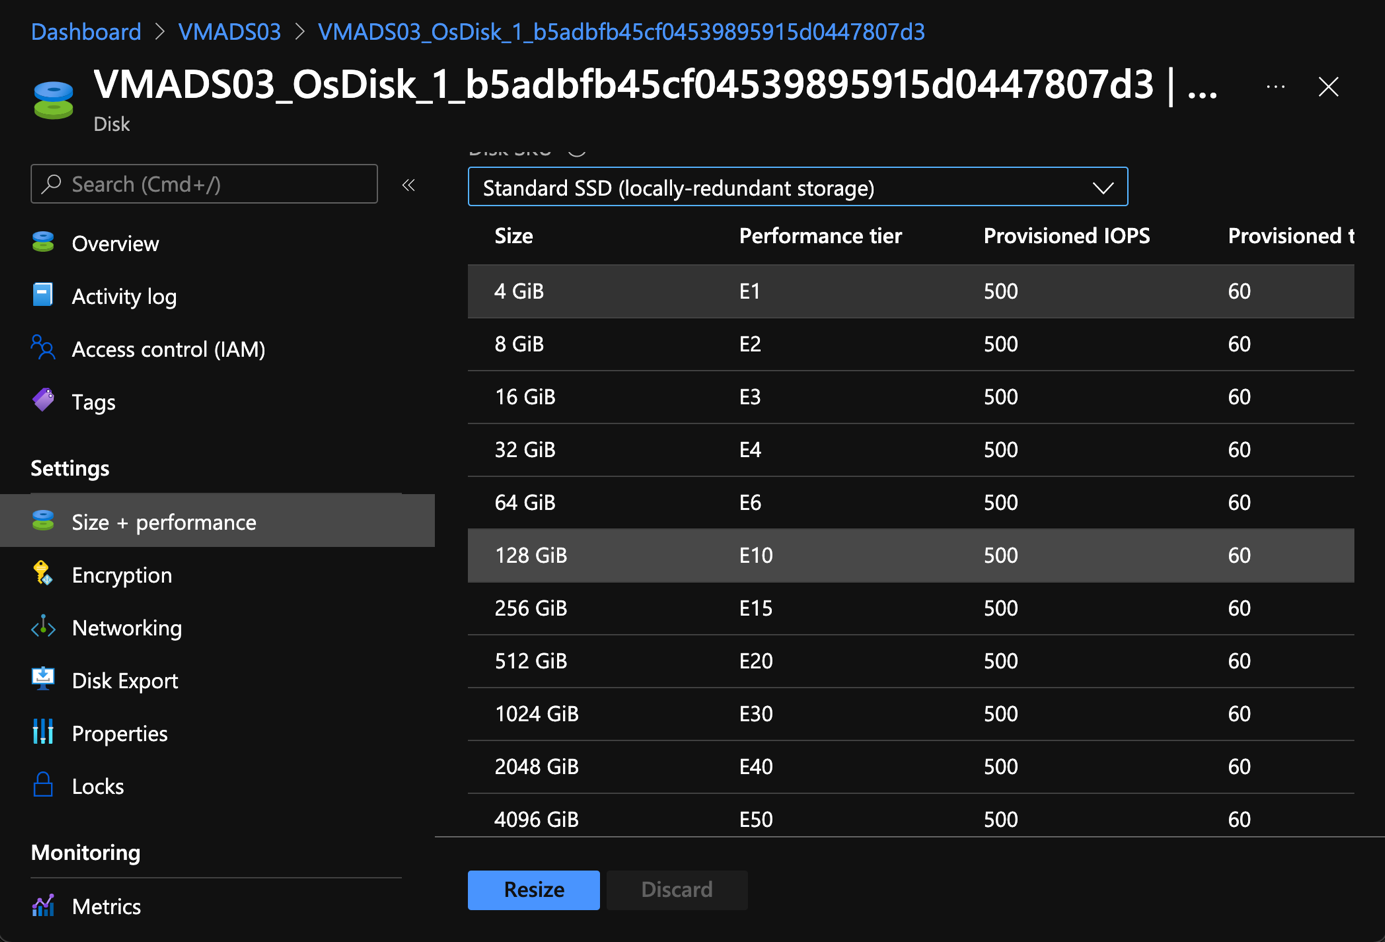
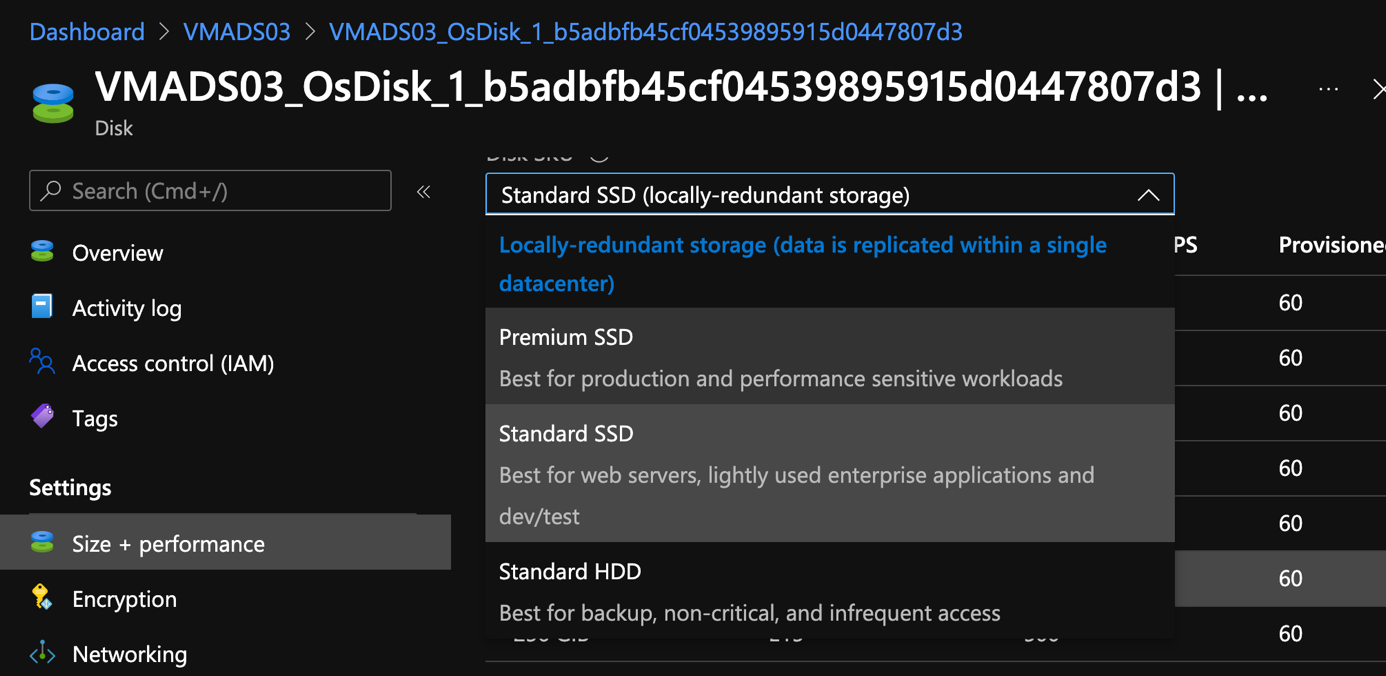
In this view, you can change the disk type: either Premium SSD, Standard SSD or Standard HDD.
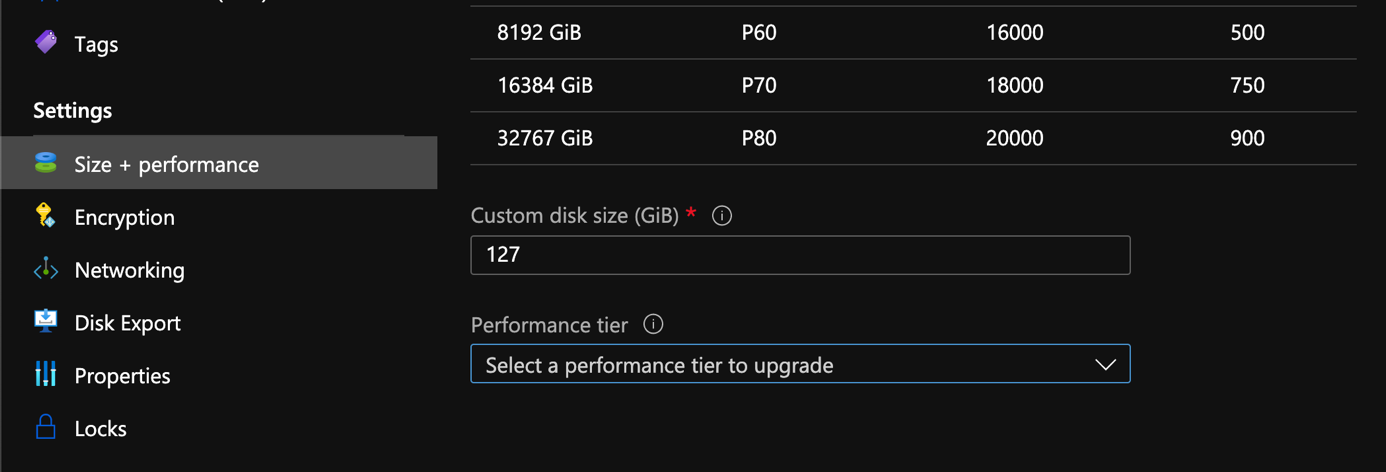
In the same view, you can specify the disk size.
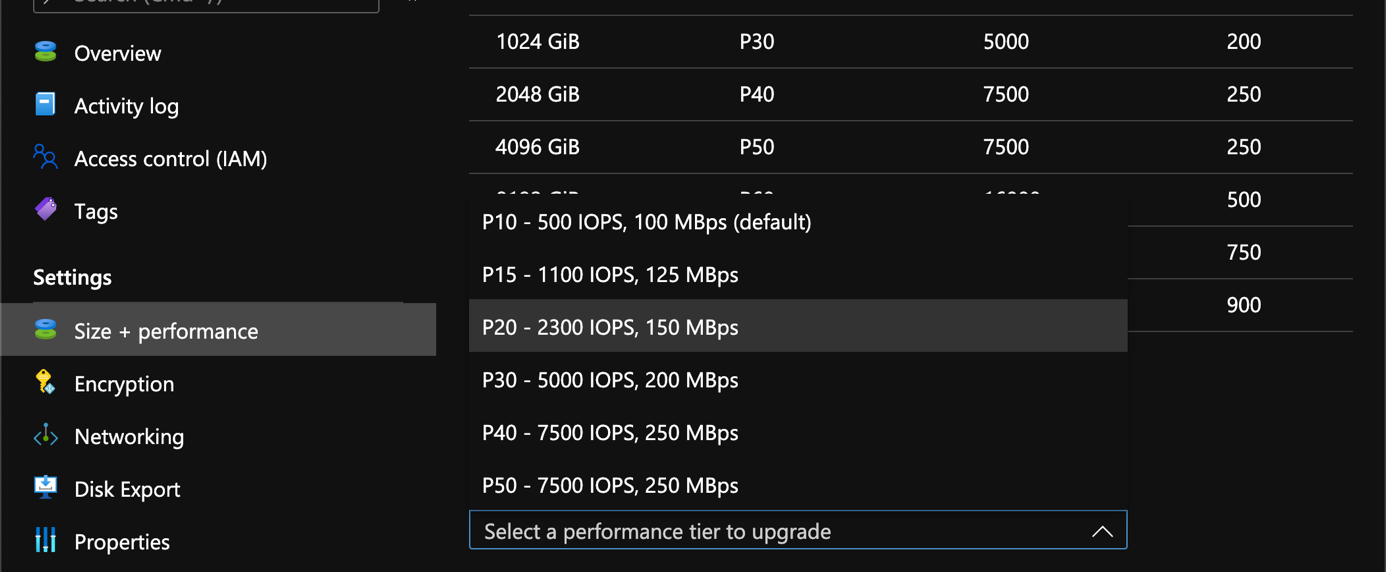
And you can change the performance level of the disk.
To apply the settings to the disk, just click on resize. Now you can restart the virtual machine and the new disk size & performance settings should apply.
N.B: To downgrade the disk type (HDD, SSD standard or Premium) you have to wait 24h after any change on the disk.


