

In the previous article, we have created a free SMB3 file server. I decided to proceed with the testing of Microsoft Server Hyper-V 2016 free version possibilities. In this post, I will try to create Highly Available devices with VSAN from StarWind and then create a Microsoft Failover Cluster to make a Highly Available File Server.
Important note: StarWind does not recommend repeating the steps below because it is a violation of Microsoft license agreement.
Setup
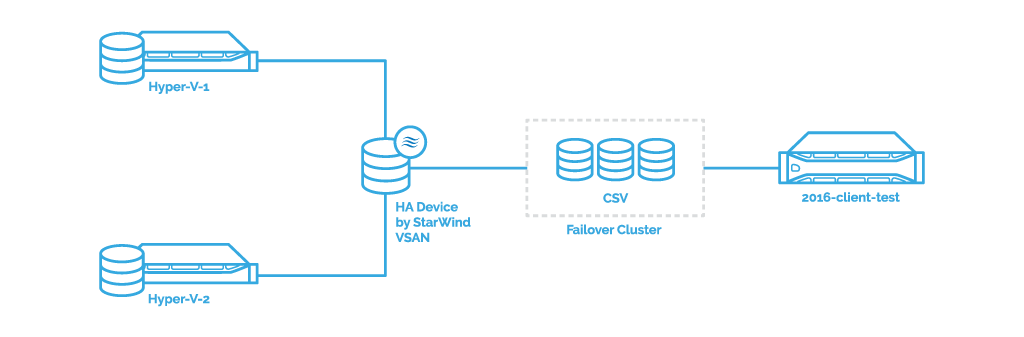
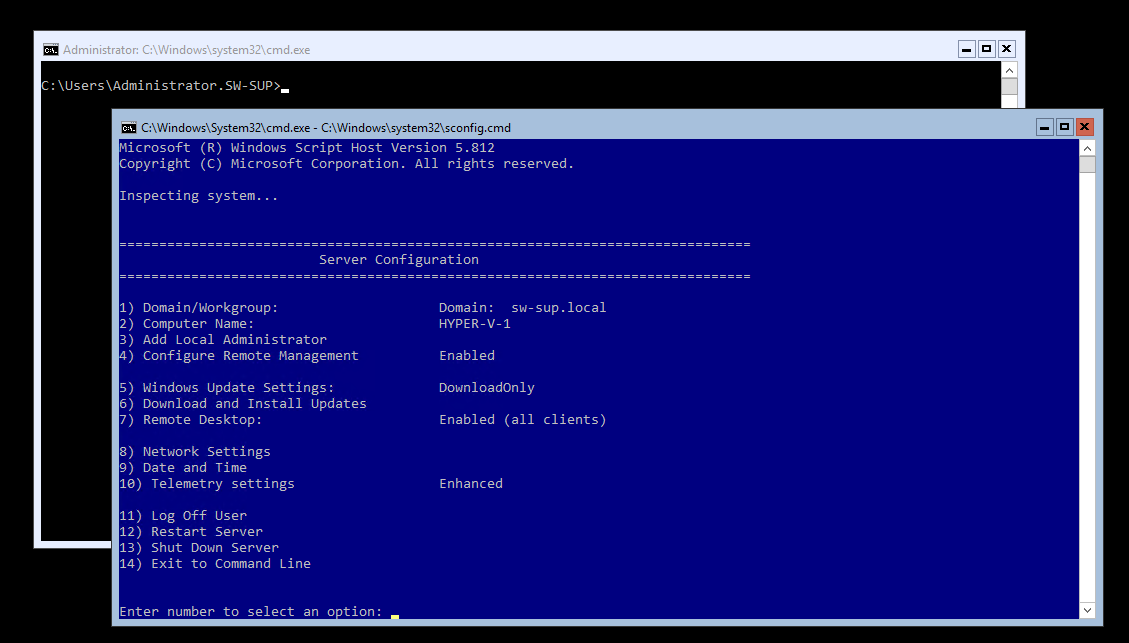
We are using 2 servers with Microsoft Hyper-V 2016 added into a domain (Hyper-V-1; Hyper-V-2). Client node with Windows Server 2016 (2016-client-test).
Installation
Join both nodes into a domain.
Run PowerShell in cmd window and install StarWind VSAN. Basically, we’ll only need the service, so we’re using /components=service parameter. Additionally, we’ll use /verysilent to start it in the console.
Repeat this procedure on the both nodes.

We can manage StarWind through PowerShell with included StarWindX module. But in this case, I would like to use GUI StarWind Management Console.
NOTE: StarWind Management Console requires the Desktop Experience feature.
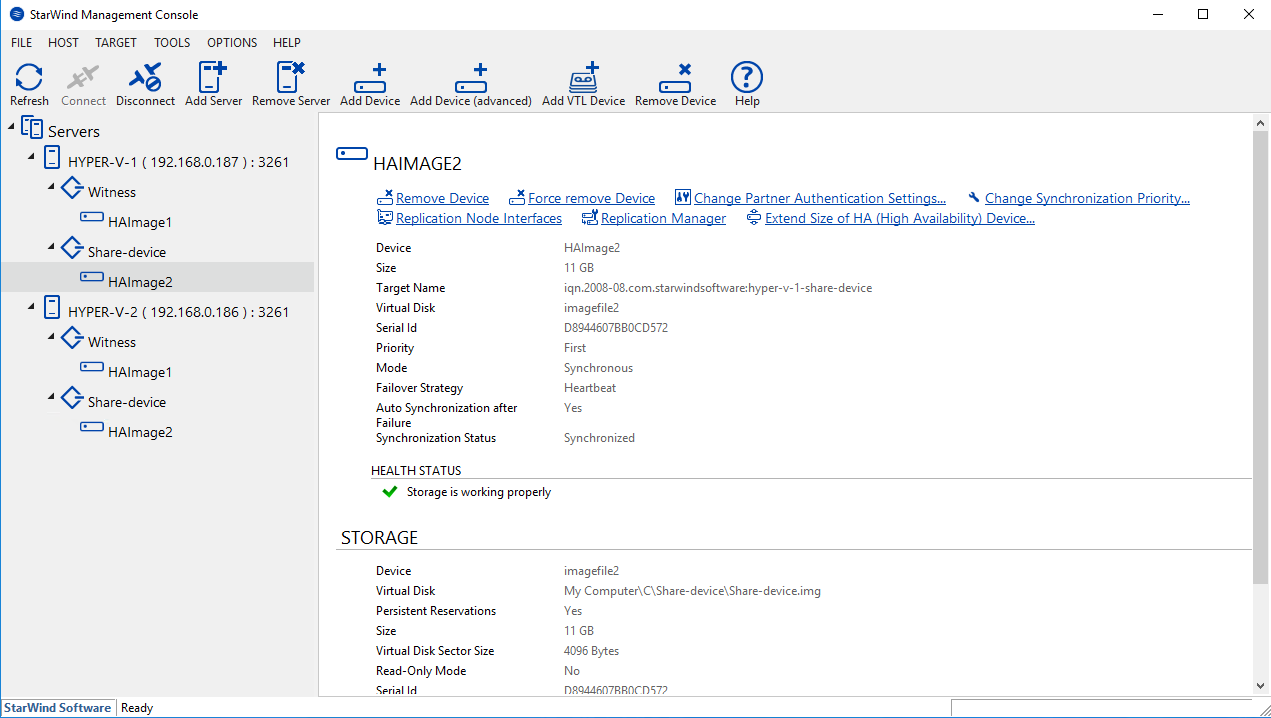
After the installation of StarWind Management Console on Windows with Desktop Experience is completed, we are adding both hosts to the list and creating HA Witness device, and HA for Share device.
We need to Install MultiPathIO feature using the following command:
|
1 |
Enable-WindowsOptionalFeature –Online –FeatureName MultiPathIO |
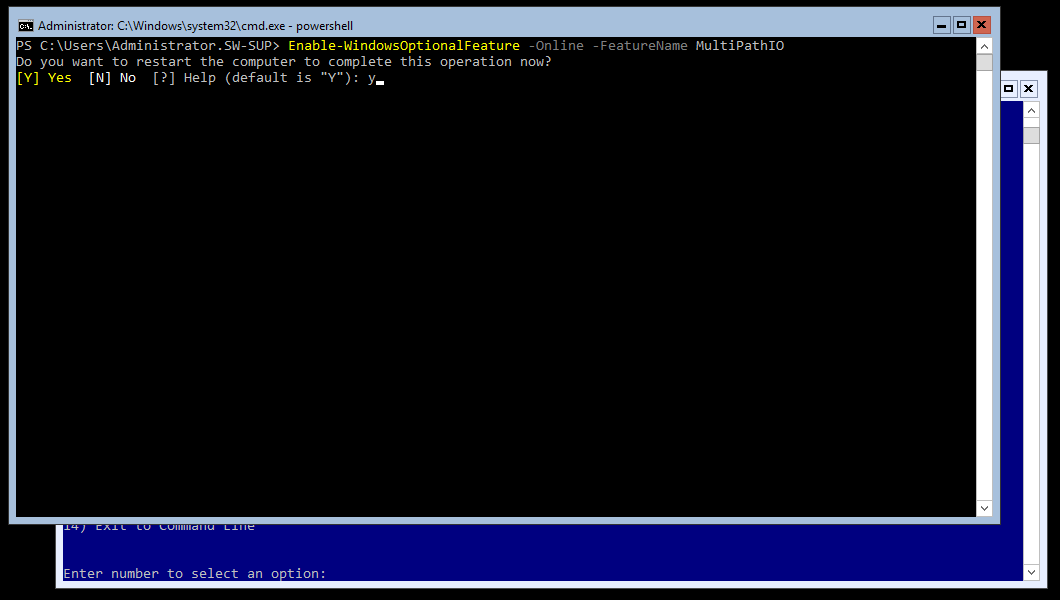
Answer “Yes” to perform the reboot. When the Host will boot up, we need to enable multipath for iSCSI with the command
|
1 |
Enable-MSDSMAutomaticClaim –BusType iSCSI |

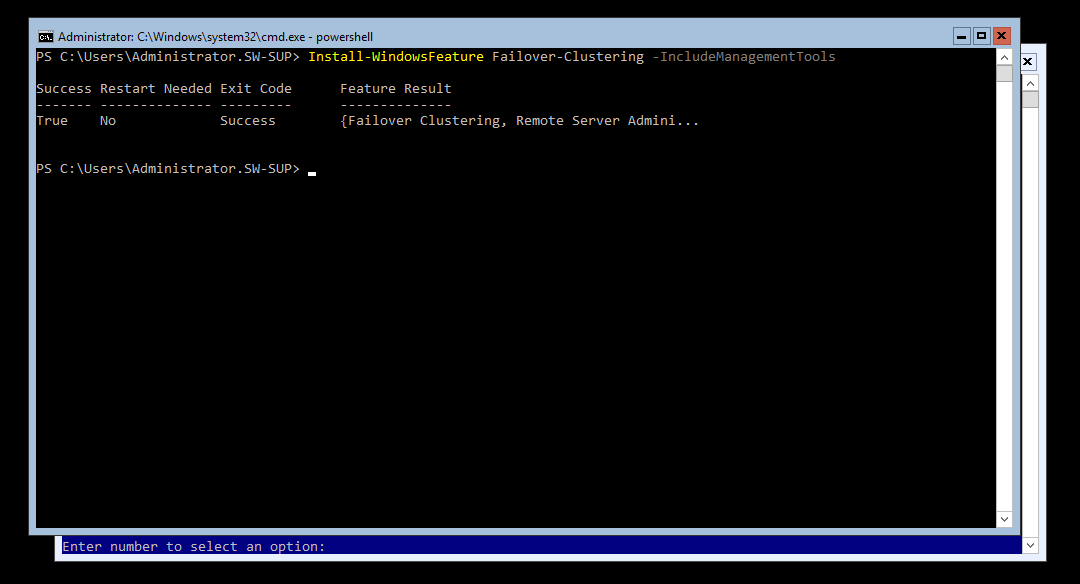
Also, we need to install the Failover Cluster:
Let’s connect StarWind devices in Microsoft iSCSI Initiator. You can run iscsicpl in cmd to open GUI for iSCSI Initiator.
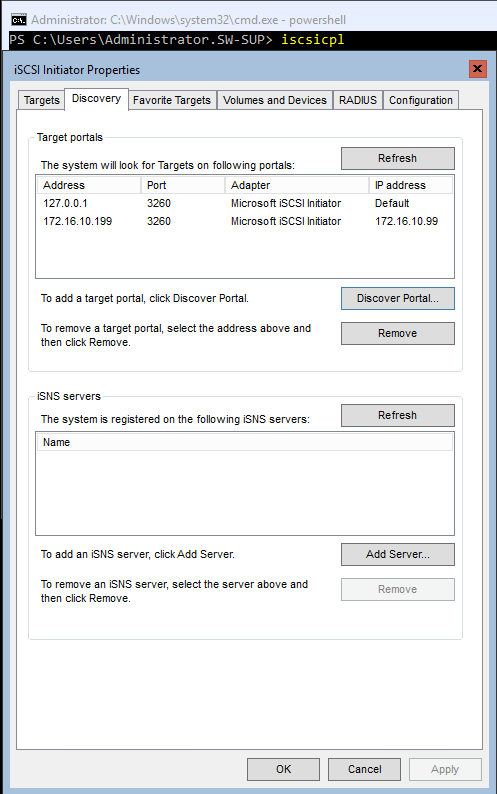
Open Discovery tab and discover Local IP (127.0.0.1), and partner iSCSI channel (for me is 172.16.10.199).
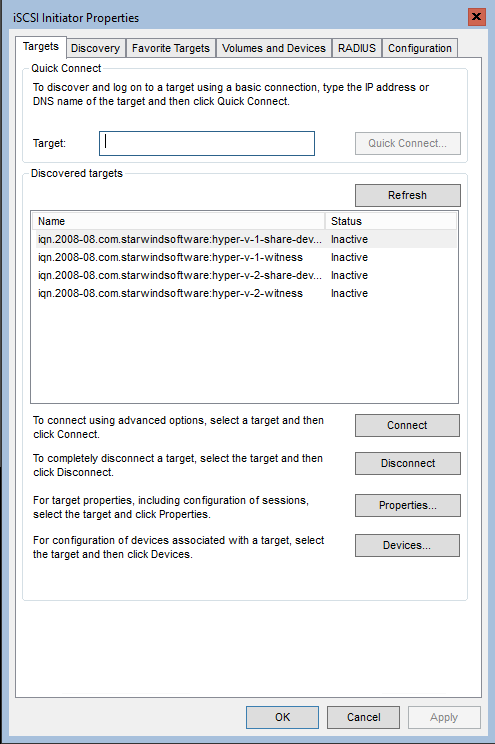
Connect all devices in the Targets tab.
Note: In the case of the hyperconverged scenario, we recommend connecting witness device just via loopback. It means that the partner Witness drive should be “Inactive”.
How it should be on the first node:
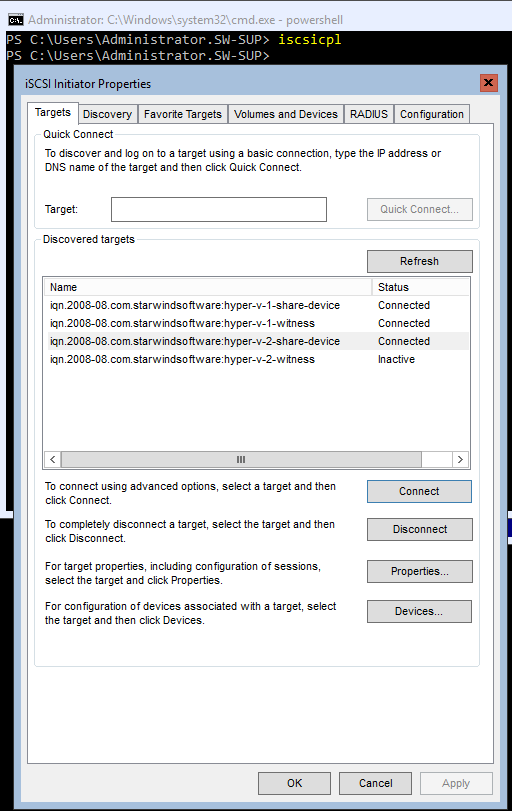
How it should be on the second host:

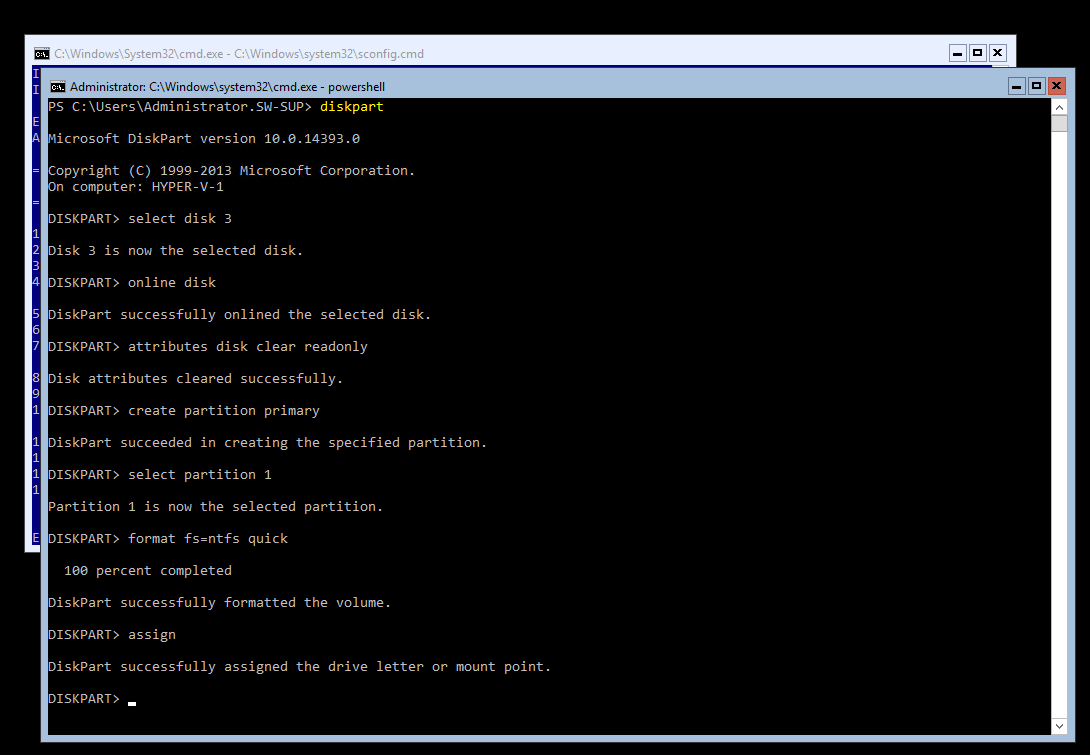
As soon as StarWind devices are connected via iSCSI, we need to create a Volume on them using DISKPART utility.
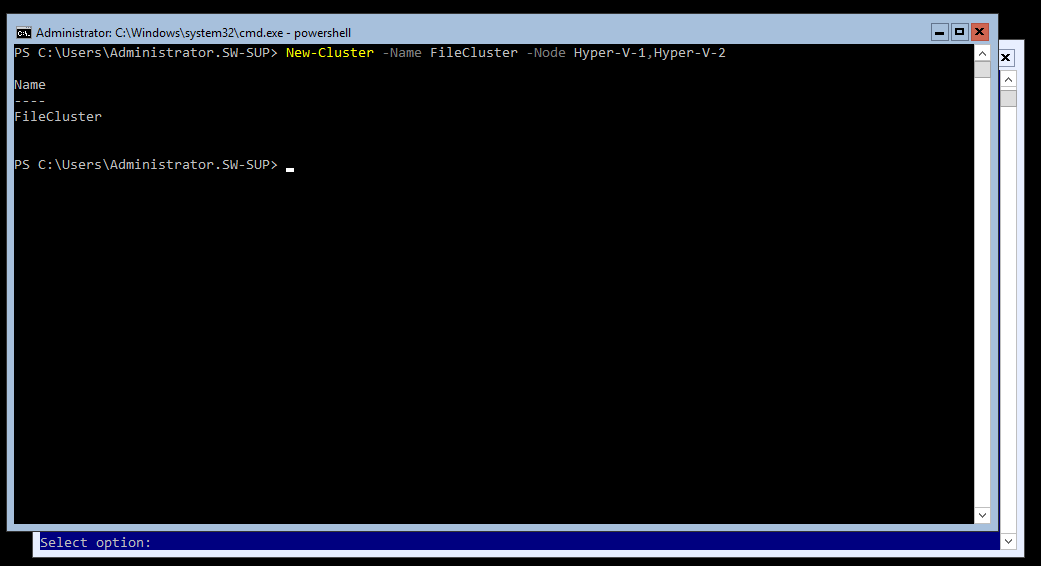
Once partitions and volumes are created on StarWind devices, we need to create a Failover (we can install the Failover Clustering Manager on Microsoft Server 2016 Desktop version and create the Cluster through GUI). If you decide to use PowerShell instead of GUI, run the following commands to create the cluster:
|
1 |
New-Cluster |
where “–Name” is a name of the cluster, and “–Node” for the cluster nodes. In my example, I decided to create the cluster via PowerShell.
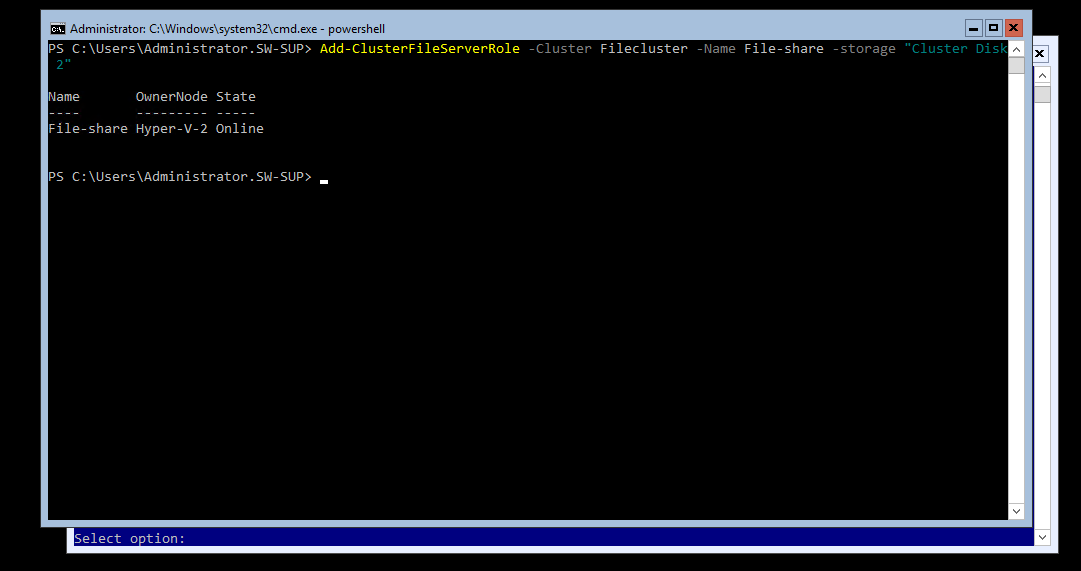
Next step is adding a File-server role. Run cmdlet
|
1 |
Add-ClusterFileServerRole |
“-Cluster” is the cluster where the role is added. “-Name” is the name of the file share. “–Storage” is the available cluster disk.
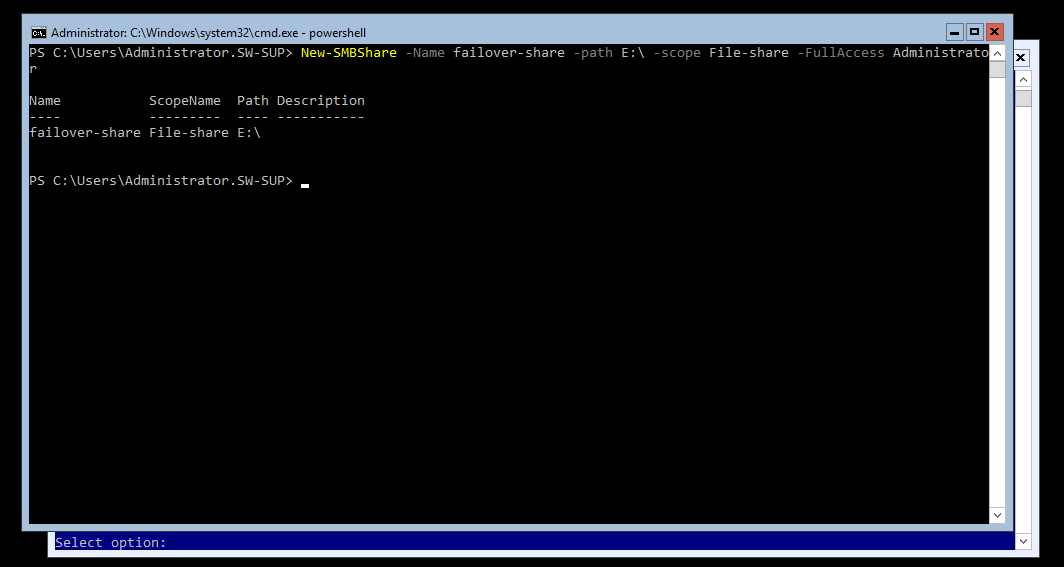
To create the share, we use the following cmdlet:
|
1 |
New–SmbShare |
on the share owner. “-Name” parameter sets directory name of the share. “-Path” is the path to the shared disk of the share. “-Scope” is a file share name. “-FullAccess” provides users with the rights to work with the share.
Now we can check the parameters of the share which we have created using the following command in PowerShell:
|
1 |
Get-SmbShare –Name X | Select * |
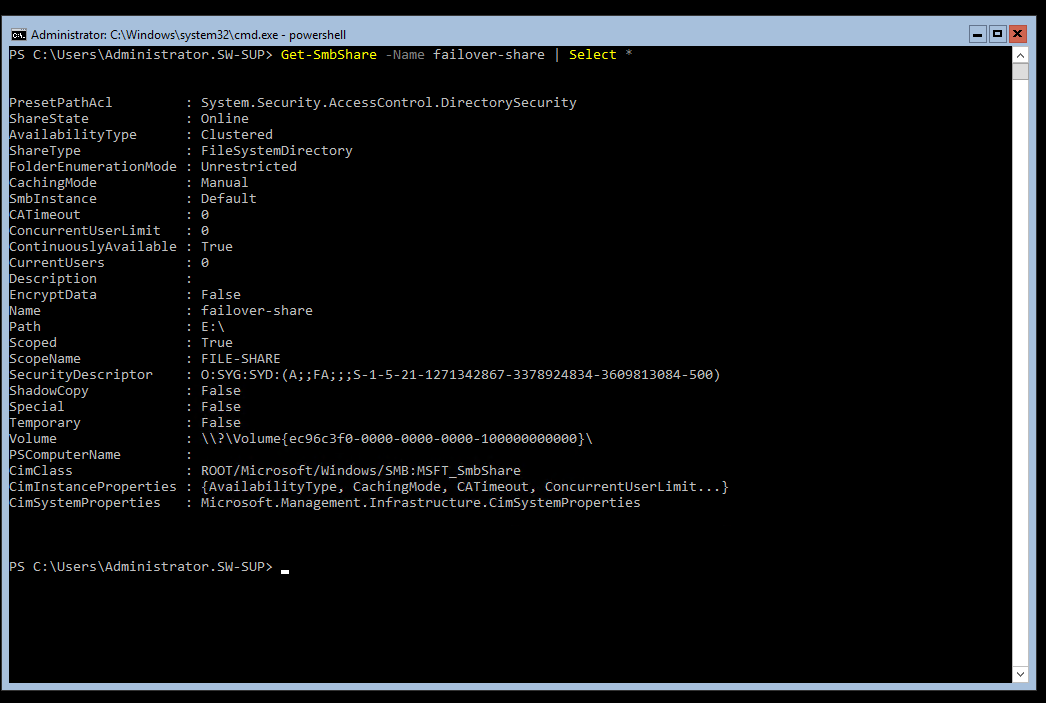
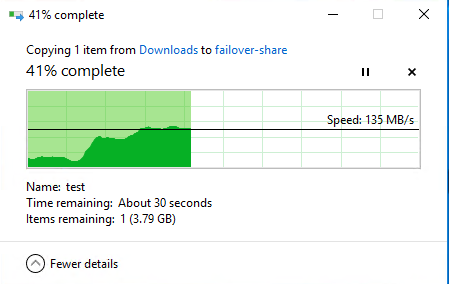
Additionally, let’s check if we can copy files to the share and if the failover function runs properly. The screenshot shows that everything works as planned (node-owner was turned off and the resource moved to the other node).
Conclusion:
The Highly Available File Server on the free Microsoft Hyper-V 2016 works great! You may follow the instructions, but remember that it must not be used for commercial purposes because that would mean the violation of your license agreement.
