

VM Fleet is a collection of scripts that enables to deploy virtual machines which perform I/O to stress the underlying storage system. To achieve I/O, the VMs leverages DiskSpd which is a Microsoft tool.
When you implement an infrastructure based on Hyper-V, you usually want to get the maximum IOPS and MB/s that your storage can deliver. This tool helps you to get this information by stressing your storage. In this topic, we will see how to deploy a VM Fleet to benchmark the storage system.
Lab overview
Currently I’m implementing a hyperconverged solution for a Demo to present to customers. This solution is based on Windows Server 2016, Hyper-V and Storage Spaces Direct. To achieve this demo, Lenovo kindly lends me the following hardware:
- 3x x3650 M5 servers. Each node has the following part:
- 2x Xeon 2650v4
- 256GB of memories (DDR4)
- 1x SAS HDD 256GB for Operating System
- 1x SSD SAS 800GB for Storage Spaces Direct (Cache)
- 10x HDD SAS 500GB for Storage Spaces Direct (Capacity)
- 1x Simple HBA N2215
- 1x Mellanox Connectx-3Pro
- 1x Switch G8264
The goal of this lab is not to reach a maximum IOPS but to introduce the Microsoft Hyperconverged model.
Before deploying VM Fleet, I have deployed the hyperconverged cluster (you have an example for a 2-nodes here). The VM Fleet must be deployed after that your infrastructure is implemented.
Cluster preparation for VM Fleet
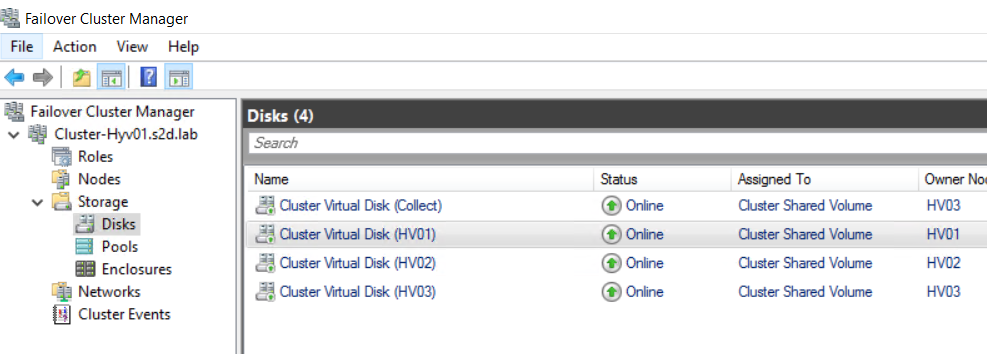
To deploy a VM Fleet, you need several Cluster Shared Volume (CSV) in the cluster. First you need a CSV per node. Be careful that the name is Cluster Virtual Disk (<Node Name>) as below. Otherwise some scripts will fail. Moreover, you need another CSV called Cluster Virtual Disk (Collect). This CSV will store VM Fleet scripts, flags, result and the gold image (VHDX).
To create the collect volume in my environment, I have run the following cmdlet:
|
1 |
New-Volume -StoragePoolFriendlyName "S2D*" -FriendlyName Collect -FileSystem CSVFS_ReFS -Size 50GB |
Then rename the folder in C:\ClusterStorage with the CSV Name. Below you can find the script that you can run from a cluster node to rename folder regarding CSV name:
|
1 2 3 4 5 6 7 |
Rename-Item -Path C:\ClusterStorage\Volume1 -NewName HV01 Rename-Item -Path C:\ClusterStorage\Volume1 -NewName HV02 Rename-Item -Path C:\ClusterStorage\Volume1 -NewName HV03 Rename-Item -Path C:\ClusterStorage\Volume1 -NewName HV04 |
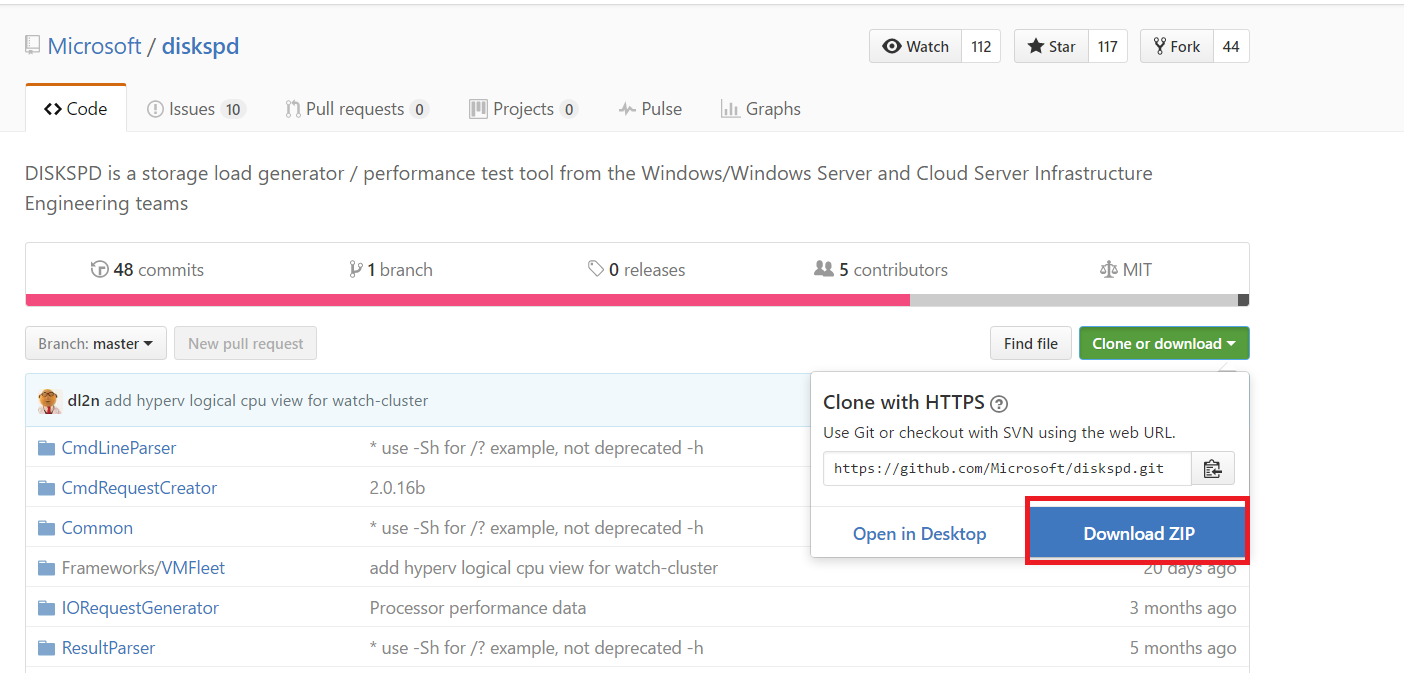
Next download the VM Fleet from Github. Click on Clone or download and choose Download ZIP as below. Then I extract the ZIP in C:\temp in the first cluster node.
Then you can install VM Fleet in the collect CSV. Because scripts come from Internet, you require to change the PowerShell execution policy:
|
1 2 3 4 5 6 7 |
#Change the PowerShell execution policy Set-ExecutionPolicy unrestricted # Prepare the cluster for VM Fleet .\install-vmfleet.ps1 -Source C:\temp\diskspd-master\Frameworks\VMFleet |
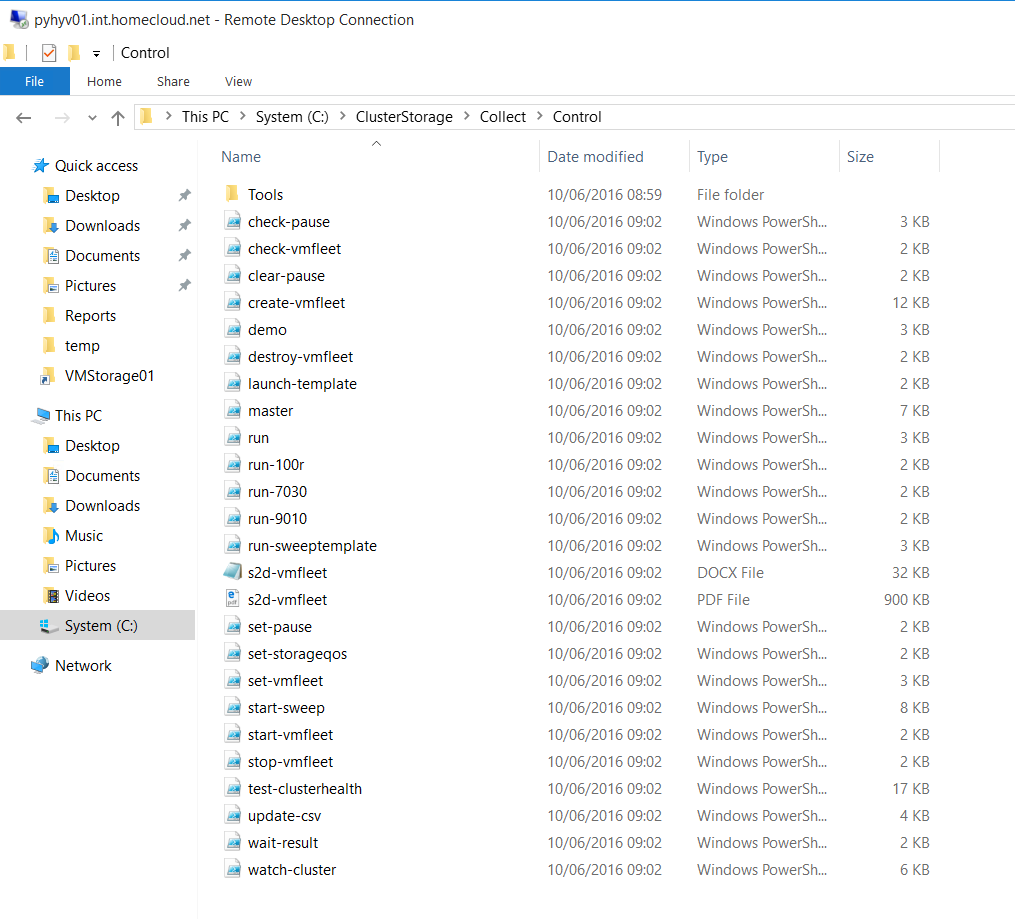
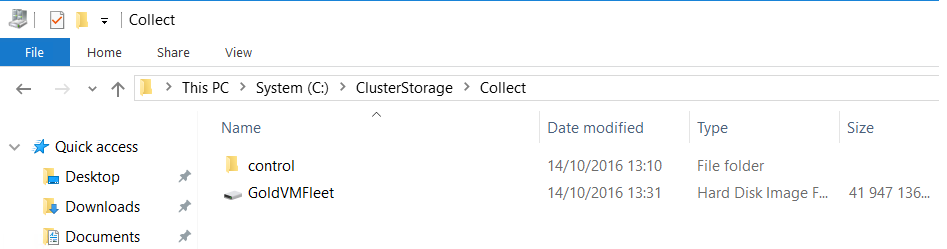
Once the script is finished, you can navigate to C:\ClusterStorage\Collect\Control. You should have something as below:
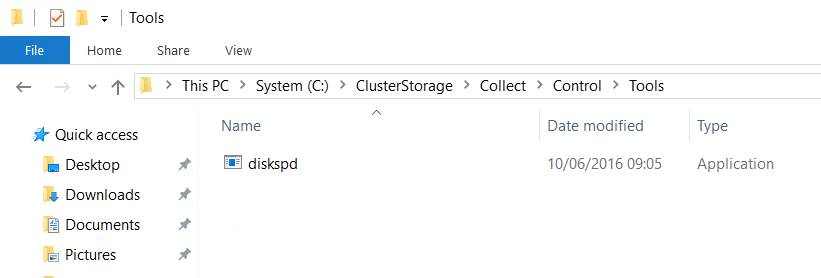
Then download DiskSpd and paste it in C:\ClusterStorage\Collect\Control\Tools.
From this moment, your cluster preparation is finished. Now a Windows Server 2012 R2 gold image is required for virtual machines.
Prepare the Gold image
First of all, we need to create a virtual machine to prepare the image. To create the VM, I run the following script. The VM will be stored in C:\VirtualMachines of the node. To run this script, you need also the Windows Server 2012 R2 ISO stored in C:\temp. You can change the path to reflect your environment.
|
1 2 3 4 5 6 7 8 9 10 11 12 13 14 15 16 17 18 19 20 21 22 23 24 25 26 27 28 29 30 31 32 33 34 35 36 37 38 39 40 41 42 43 44 45 |
$VMName = "GOldVMFleet" # Create Gen 2 VM with dynamic memory, autostart action to 0s and auto stop action set. 2vCPU New-VM -Generation 2 -Name $VMName -SwitchName SW-10G-CNA -NoVHD -MemoryStartupBytes 2048MB -Path C:\VirtualMachines Set-VM -Name $VMName ` -ProcessorCount 2 ` -DynamicMemory ` -MemoryMinimumBytes 1024MB ` -MemoryMaximumBytes 4096MB ` -MemoryStartupBytes 2048MB ` -AutomaticStartAction Start ` -AutomaticStopAction ShutDown ` -AutomaticStartDelay 0 ` -AutomaticCriticalErrorAction None ` -CheckpointType Production # Create and add a 60GB dynamic VHDX to the VM New-VHD -Path C:\VirtualMachines\$VMName\GoldVMFleet.vhdx -SizeBytes 40GB -Fixed Add-VMHardDiskDrive -VMName $VMName -Path C:\VirtualMachines\$VMName\GoldVMFleet.vhdx # Rename the network adapter Get-VMNetworkAdapter -VMName $VMName | Rename-VMNetworkAdapter -NewName Management-0 # Add a DVD drive with W2016 ISO Add-VMDvdDrive -VMName $VMName # Mount the ISO of Windows Server 2012 R2 Set-VMDvdDrive -VMName $VMName -Path "C:\temp\en_windows_server_2012_r2_with_update_x64_dvd_6052708.iso" |
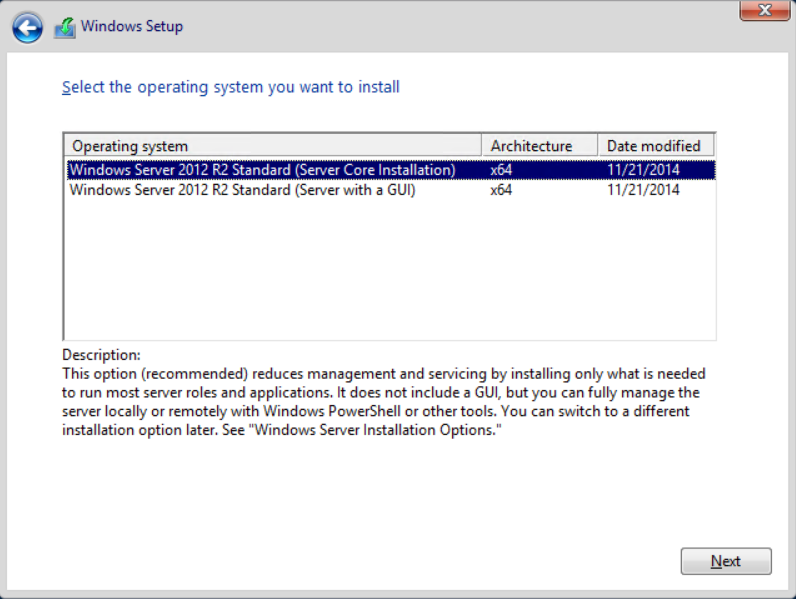
Once the VM is created, you can start it to run the Windows Server installation. Make sure to choose Server Core Installation.
Once Windows Server is installed, you are asked for a password. Keep this password, it will be useful later.

Once the server is ready, you can shut down the VM. We don’t need to sysprep the VM.
|
1 |
Shutdown -s -t 0 |
To finish, copy the VHDX to c:\ClusterStorage\Collect:
|
1 |
Copy-Item c:\VirtualMachines\GoldVMFLeet\GoldVMFleet.vhdx c:\ClusterStorage\Collect |
Now you can delete the GoldVMFleet VM.
Deploy the VM Fleet
Now that the gold image is ready, we can deploy X VMs in the cluster. To create these VMs, I leverage the script Create-VMFleet.ps1 located in C:\ClusterStorage\Collect\Control.
To deploy the VM fleet, I run the following script:
|
1 |
.\create-vmfleet.ps1 -basevhd "C:\ClusterStorage\Collect\GoldVMFleet.vhdx" -vms 20 -adminpass <VM password> -connectuser <Host login> -connectpass <Host Password> |
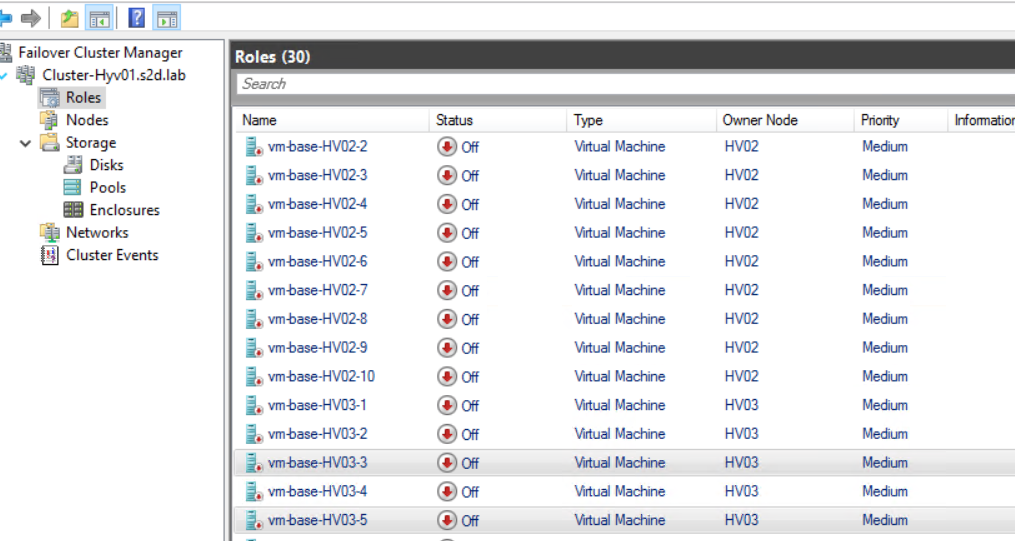
This script means that I will deploy 20 VMs per CSV. I have three CSV (Collect CSV is not counted), so I will have 60 VMs.

Once the VM fleet is deployed, I run the following cmdlet to set the VMs to two vCPU and 8GB of static memories:
|
1 |
.\set-vmfleet.ps1 -ProcessorCount 2 -MemoryStartupBytes 8GB -DynamicMemory $False |
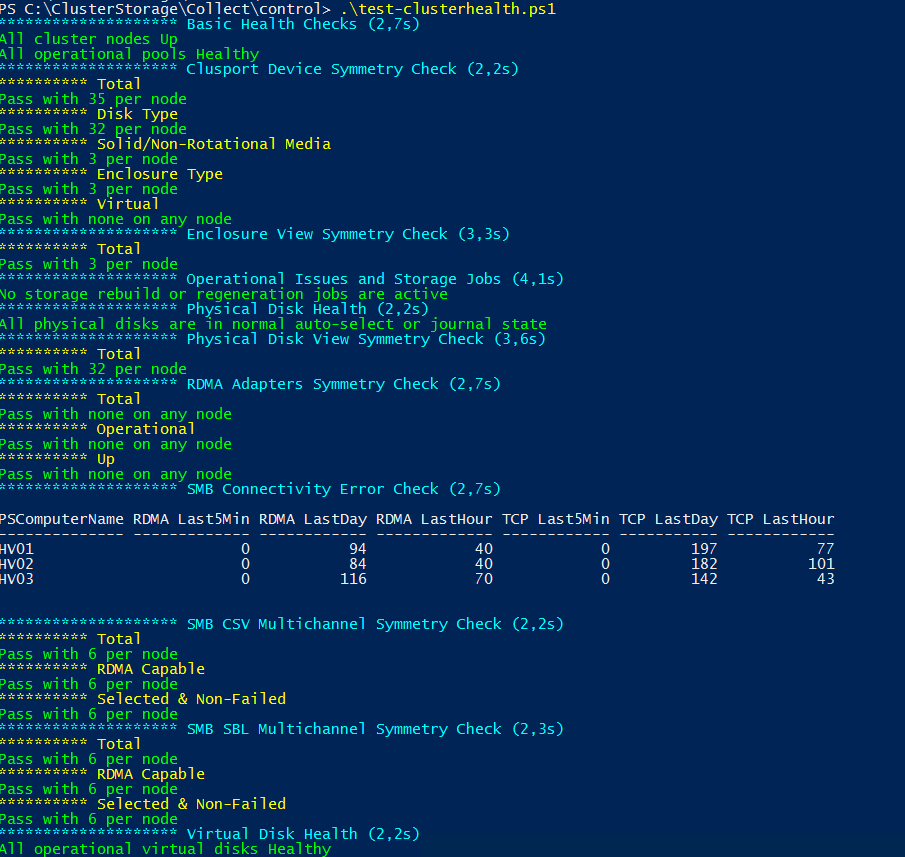
To finish I check the health of my cluster to verify that all is ok to run the stress test:
|
1 |
.\Test-ClusterHealth.ps1 |
Play with the VM Fleet
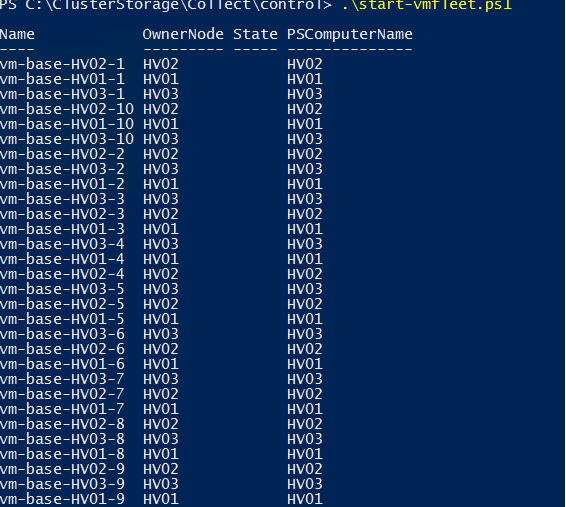
When the VM Fleet is deployed, all the VM are stopped. To start all VM you can run the following cmdlet:
|
1 |
.\Start-VMFleet.ps1 |
When the VM are started, they are in state PAUSE IN FORCE. It is because the VM check the folder C:\ClusterStorage\Collect\Control\Flags. In this folder, a file called pause is created by default to force the stress test to be paused.
When a stress test is launched, the pause is clear and flags folder is filled with a go file and the test to run. The VMs see the go flag and run the test specified.
You can clear and set a pause with the following script:
|
1 2 3 4 5 6 7 |
# set a pause ./Set-Pause.ps1 # Clear pause ./Clear-pause.ps1 |
When you want to stop all VMs you can run the following script:
|
1 |
./Stop-VMFleet.ps1 |
When you have finished benchmarking your storage, you can destroy the VM fleet:
|
1 |
./Destroy-VMFleet.ps1 |
Run a test
To start a sweep, you can use the Start-sweep.ps1 script. This script accepts the following parameters. These parameters are passed to DiskSpd to run the test.
- b: list of buffer sizes (KiB)
- t: list of thread counts
- o: list of outstanding IO counts
- w: list of write ratios
- p: list of patterns (random: r, sequential: s, sequential interlocked: si)
- warm: duration of pre-measurement warmup (seconds)
- d: duration of measured interval (seconds)
- cool: duration of post-measurement cooldown (seconds)
For example, I run the following script to launch a 100% read test:
|
1 |
.\Start-Sweep.ps1 -b 4 -t 2 -o 40 -w 0 -d 300 |

When the test is running, you can launch the script Watch-Cluster.ps1. (The HV01 seems to be tired 😛 )

When the test is finished, you can find the result in C:\ClusterStorage\Collect\Control\result. After the test I erase the content of this directory. I also set a pause because sometime the pause is not well set and the second test fail.
Conclusion
Microsoft has built a powerful stress tool to evaluate the performance of the storage system. It is great in validation steps because you can verify that the storage can deliver the required IOPS and MB/s. VM Fleet is ease to deploy and the VM creation is automated. So the stress test is not time-consuming. I think it is a good practice to test the storage performance before going into production.
- How-to Create Bootable Windows Server 2016 USB Thumb Drive for Installing OS
- Why moving from Windows Server 2012 R2 to 2016 for Hyper-V
