Veeam Backup & Replication 10 was released a few days ago. A lot of new features are added to this new version and one of my favorites is the ability to back up a NAS. In my area, I have a lot of customers who was waiting this feature specially to protect their files. Now that Veeam allows this kind of backup, a lot of them are updating Veeam to get this functionality. So, I wanted to write this topic to show you how you can protect your NAS with Veeam.
In my home lab I have QNAP NAS (TS-853U) that I’m going to backup with Veeam. I took these screenshots in order to protect this NAS and next after, send them to a storage account in Azure.
NAS Configuration
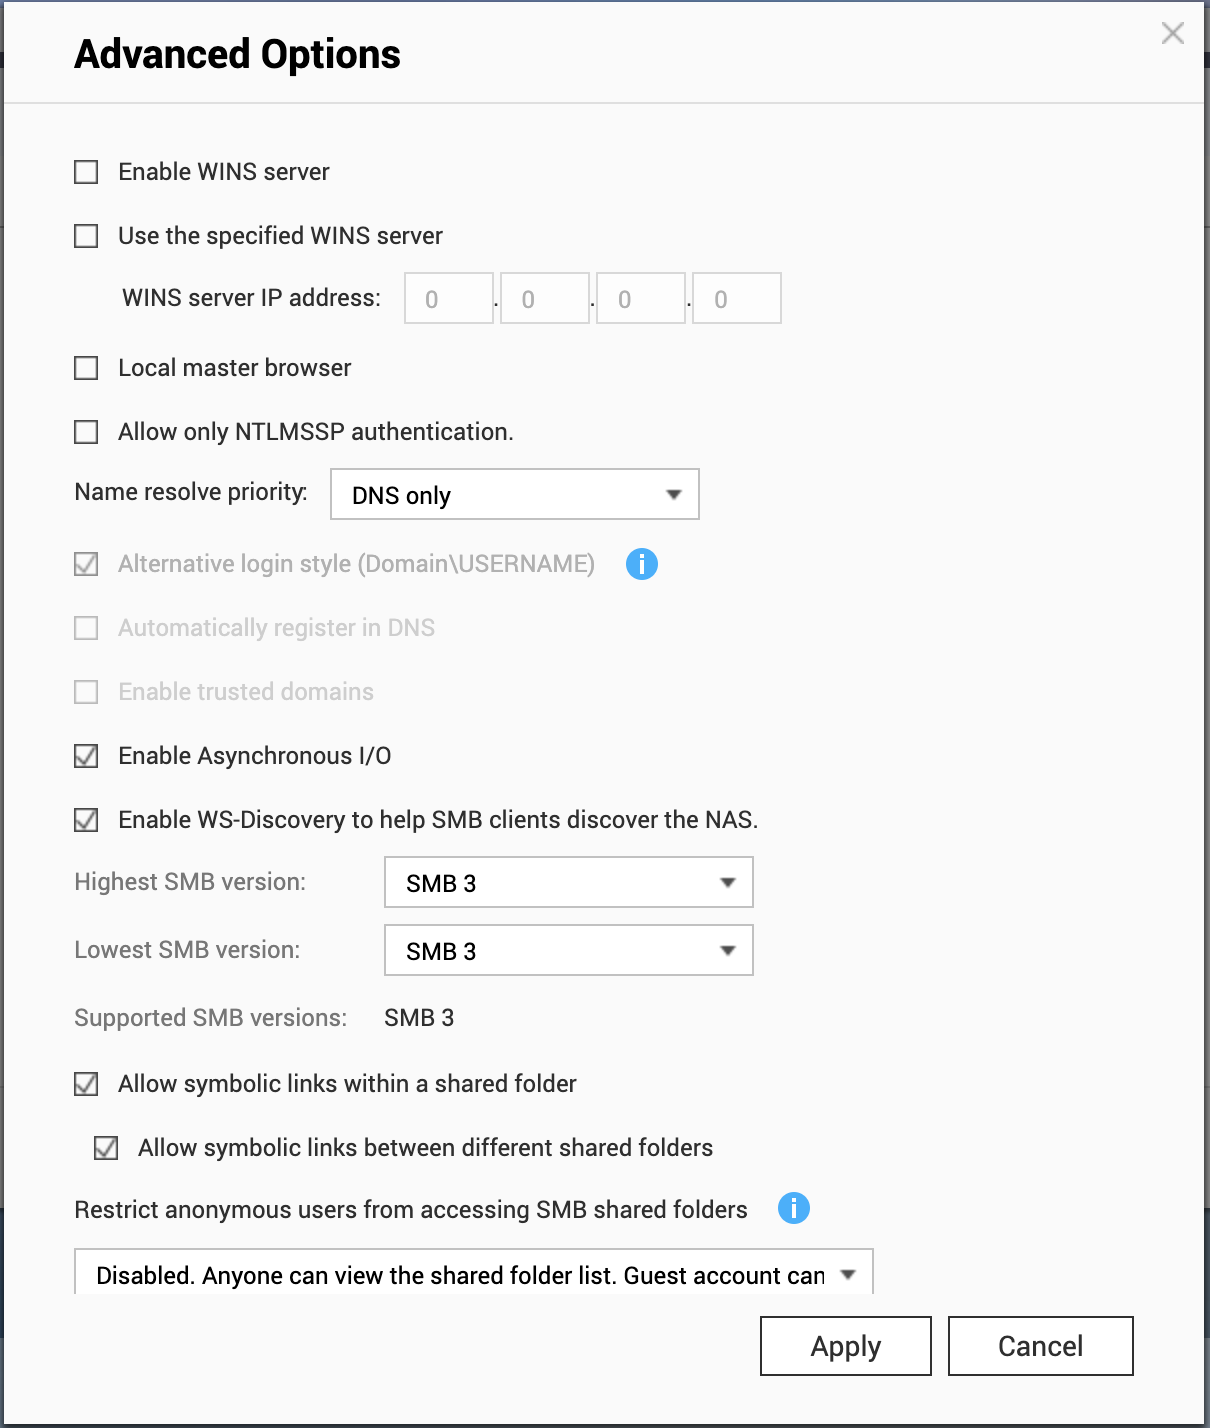
First of all, I checked in my NAS if SMB3 is enabled. I opened the Win/Mac/NFS configuration to allow SMB3. As you can see, the lowest and highest supported SMB version is SMB3. Some functionality is available only through SMB3, we will see that just after.
Add the file shares to Veeam
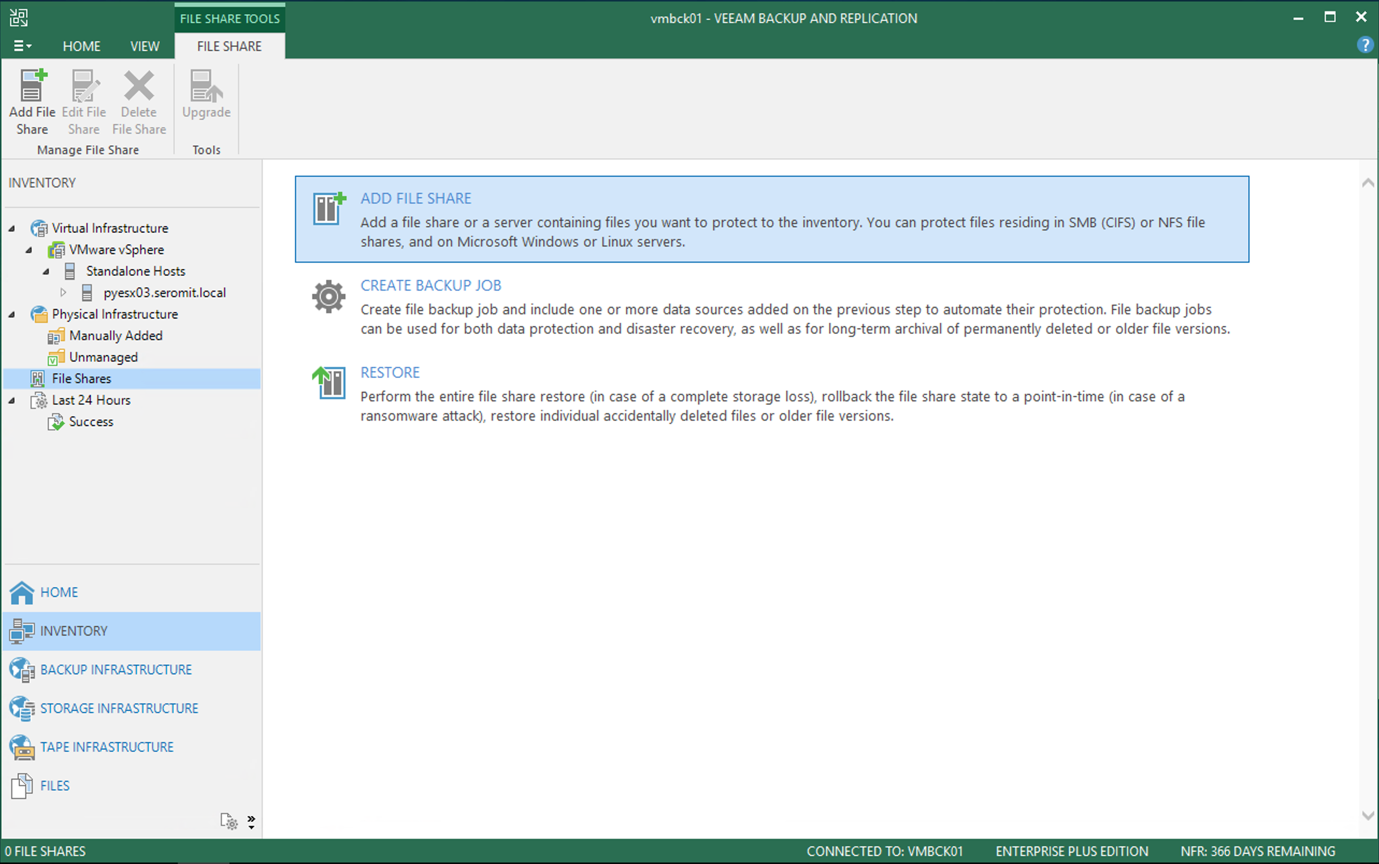
From Veeam Backup & Replication 10, a new sub menu is available in Inventory tab: File shares. Click on it and then select Add file share.
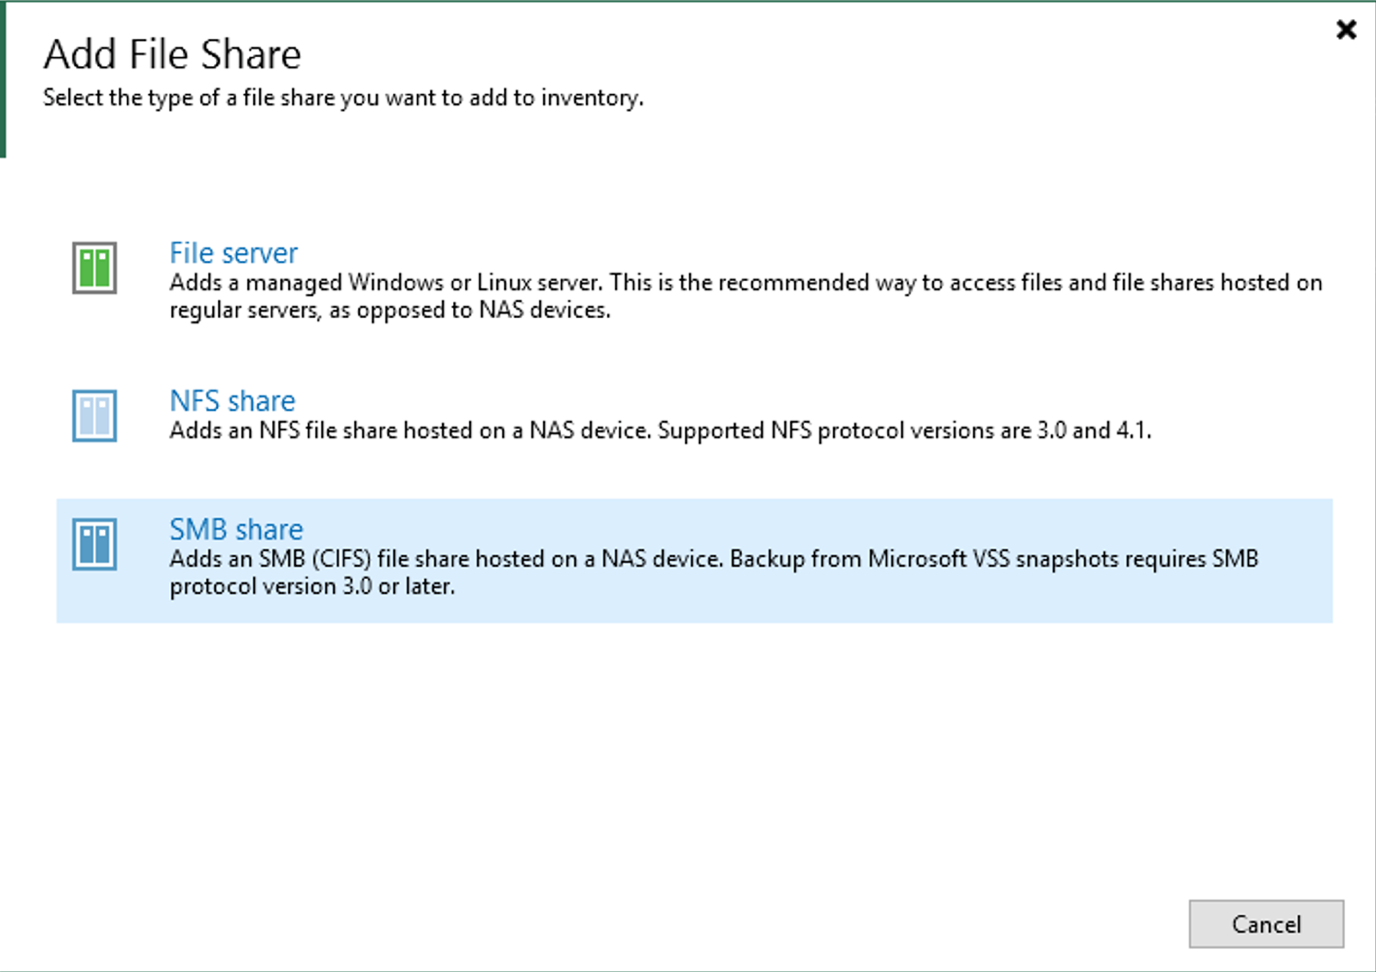
Now you get three options: backup a Linux or Windows file server, an NFS share or a SMB Share. I choose SMB Share. As you can see, if you have a SMB3 NAS, you can leverage Microsoft VSS snapshot.
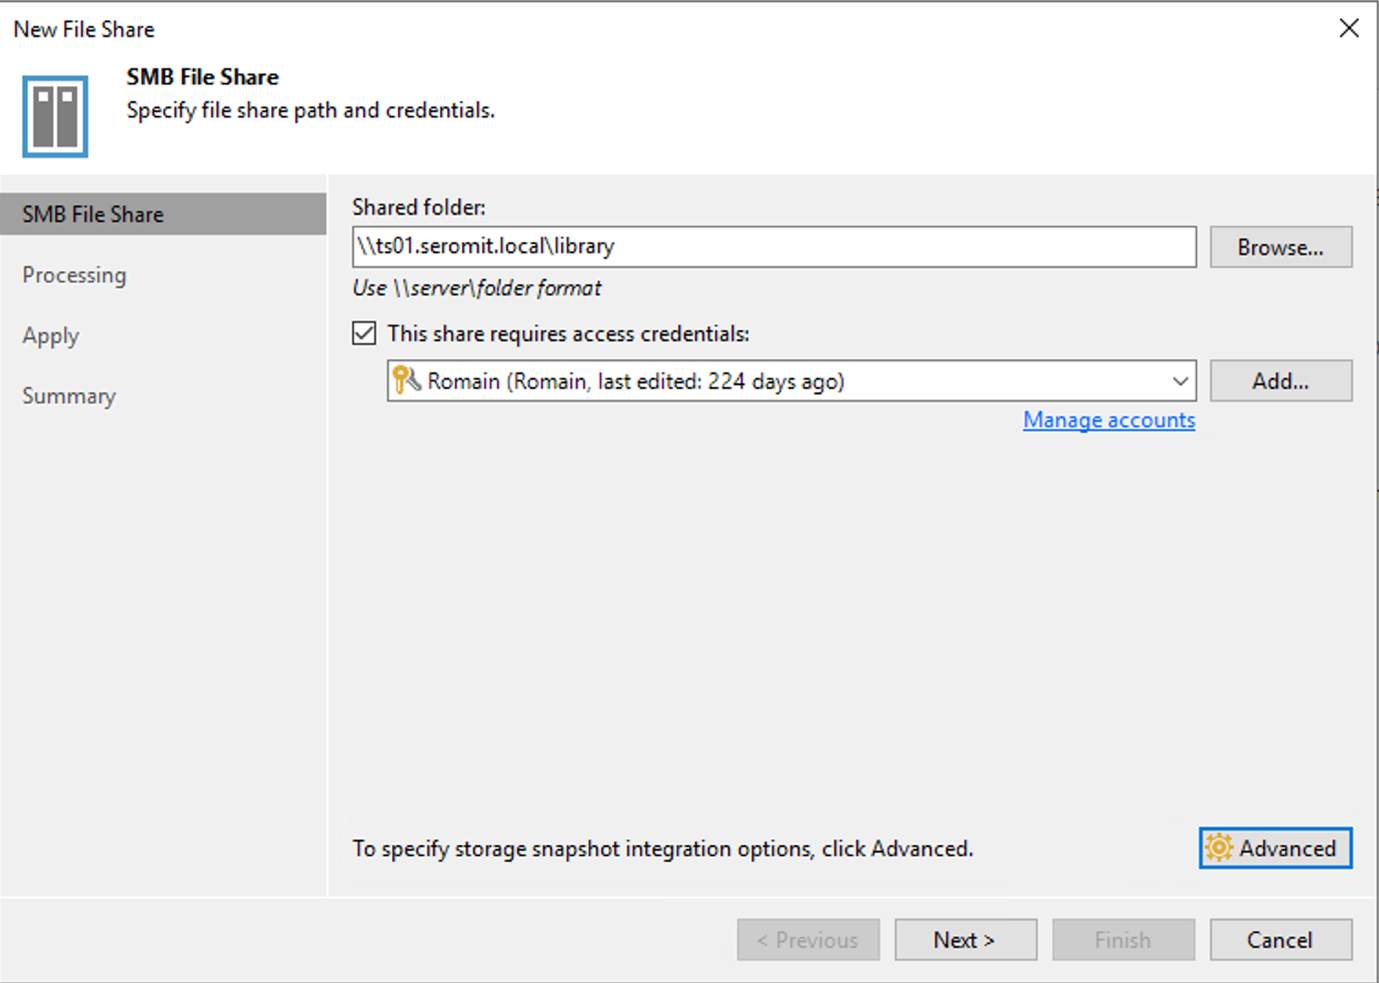
Next specify the shared folder and the credentials that are allowed to connect to this one.
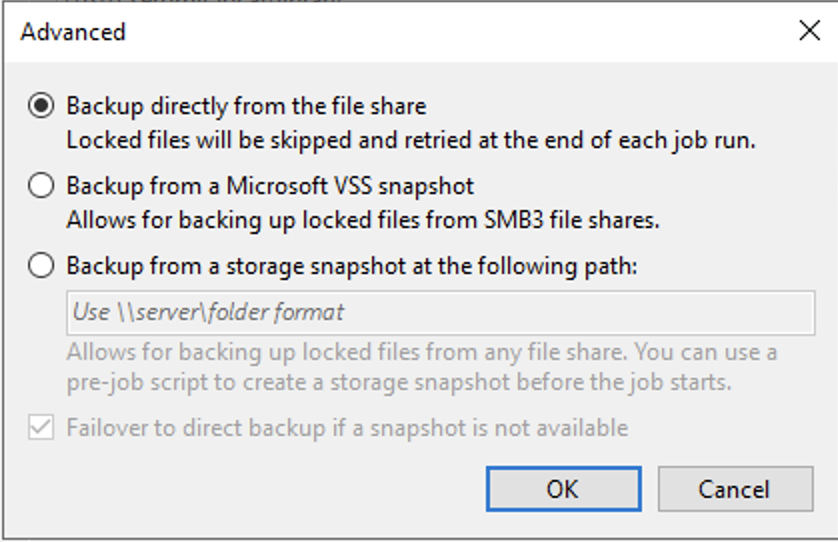
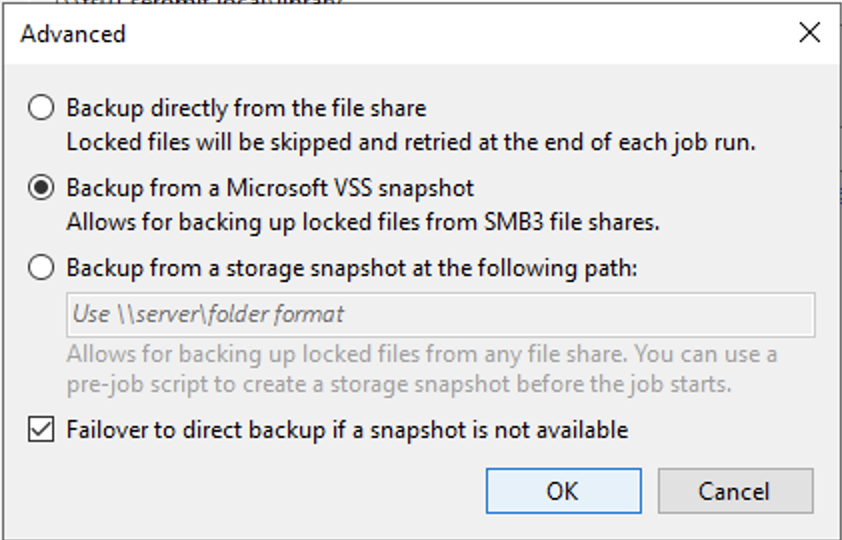
If you click on advanced, you can choose the backup source: from file share, a Microsoft VSS Snapshot of from a storage snapshot.
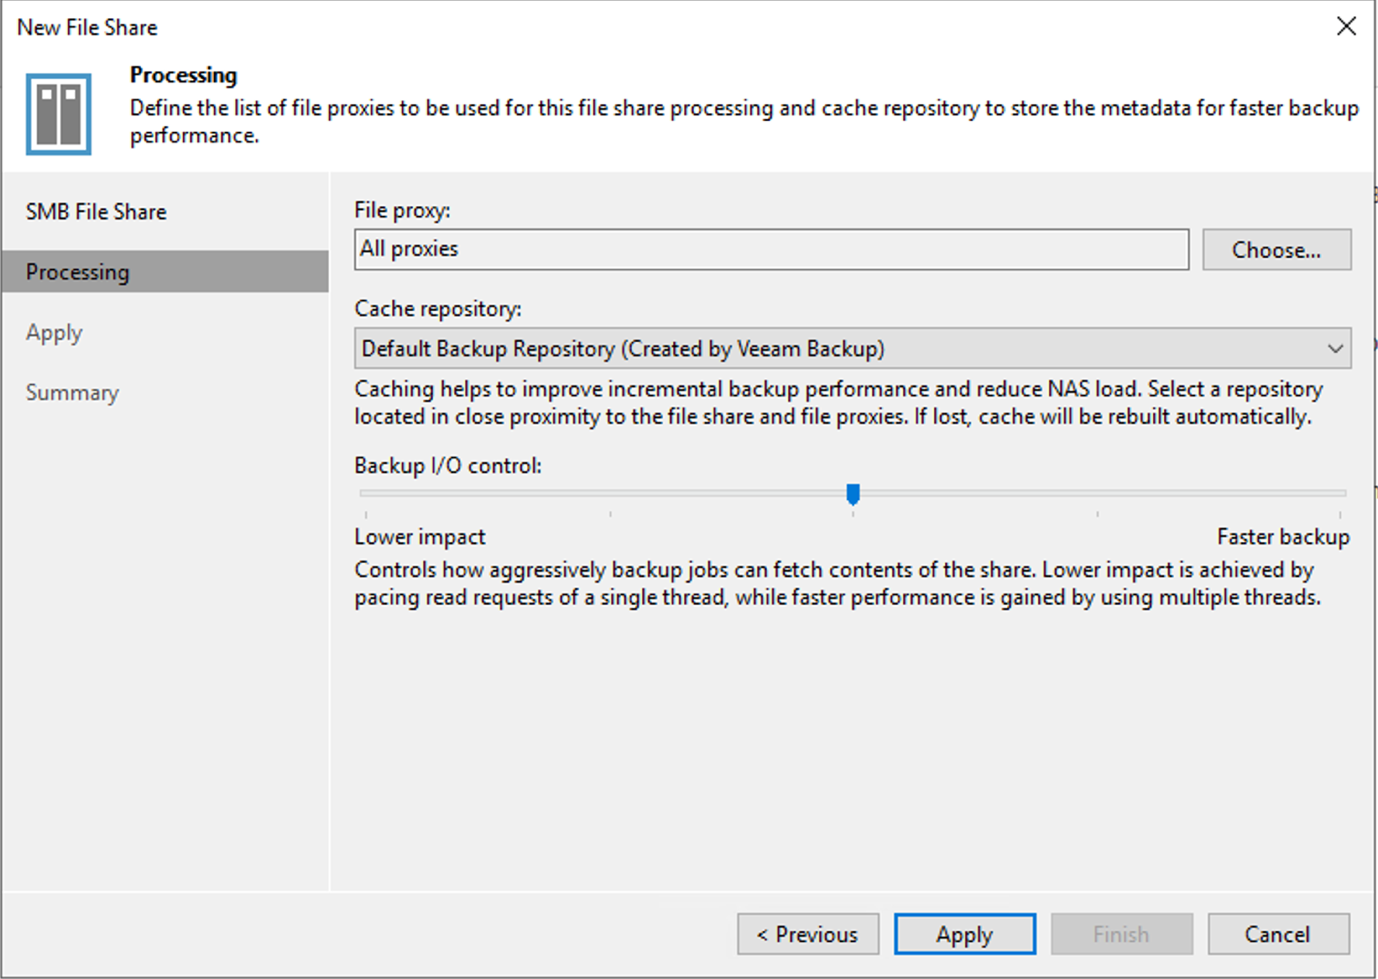
In the next window, you can set some settings related to the processing. First, as the backup proxy, you can get a file proxy to handle the backup job. Because it’s a lab, I leave this setting to default. Then a cache repository is required. This repository should be close to the NAS and the file proxies. For small environment, the cache repository will be located on the Veeam server itself. The last setting allows you to choose between single thread or multiple threads to get a faster backup.
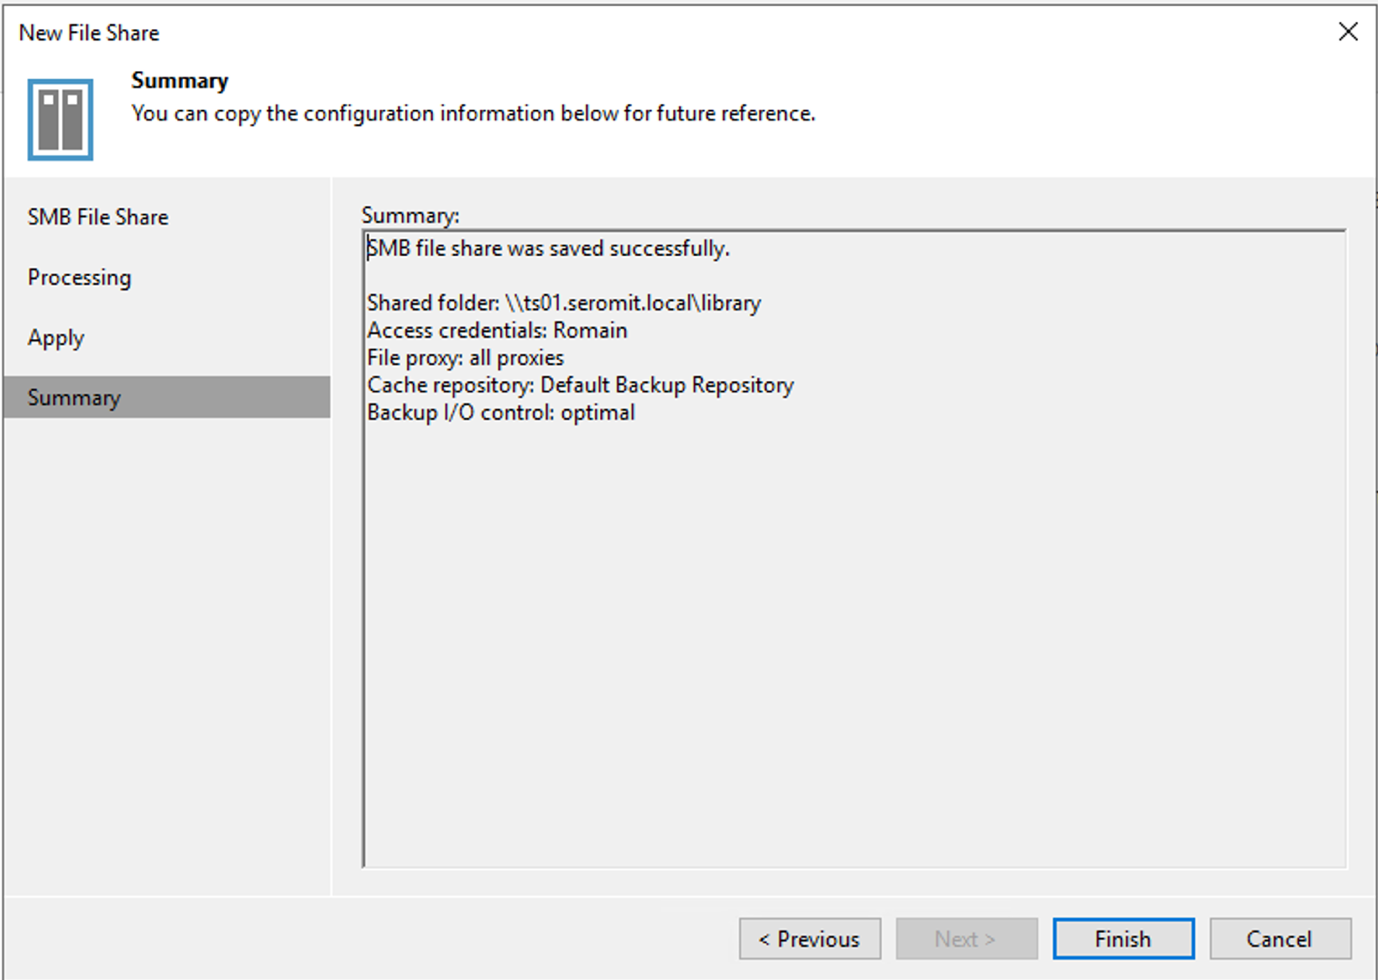
Then click on finish to add the file share in Veeam.
Add the file share to a backup job
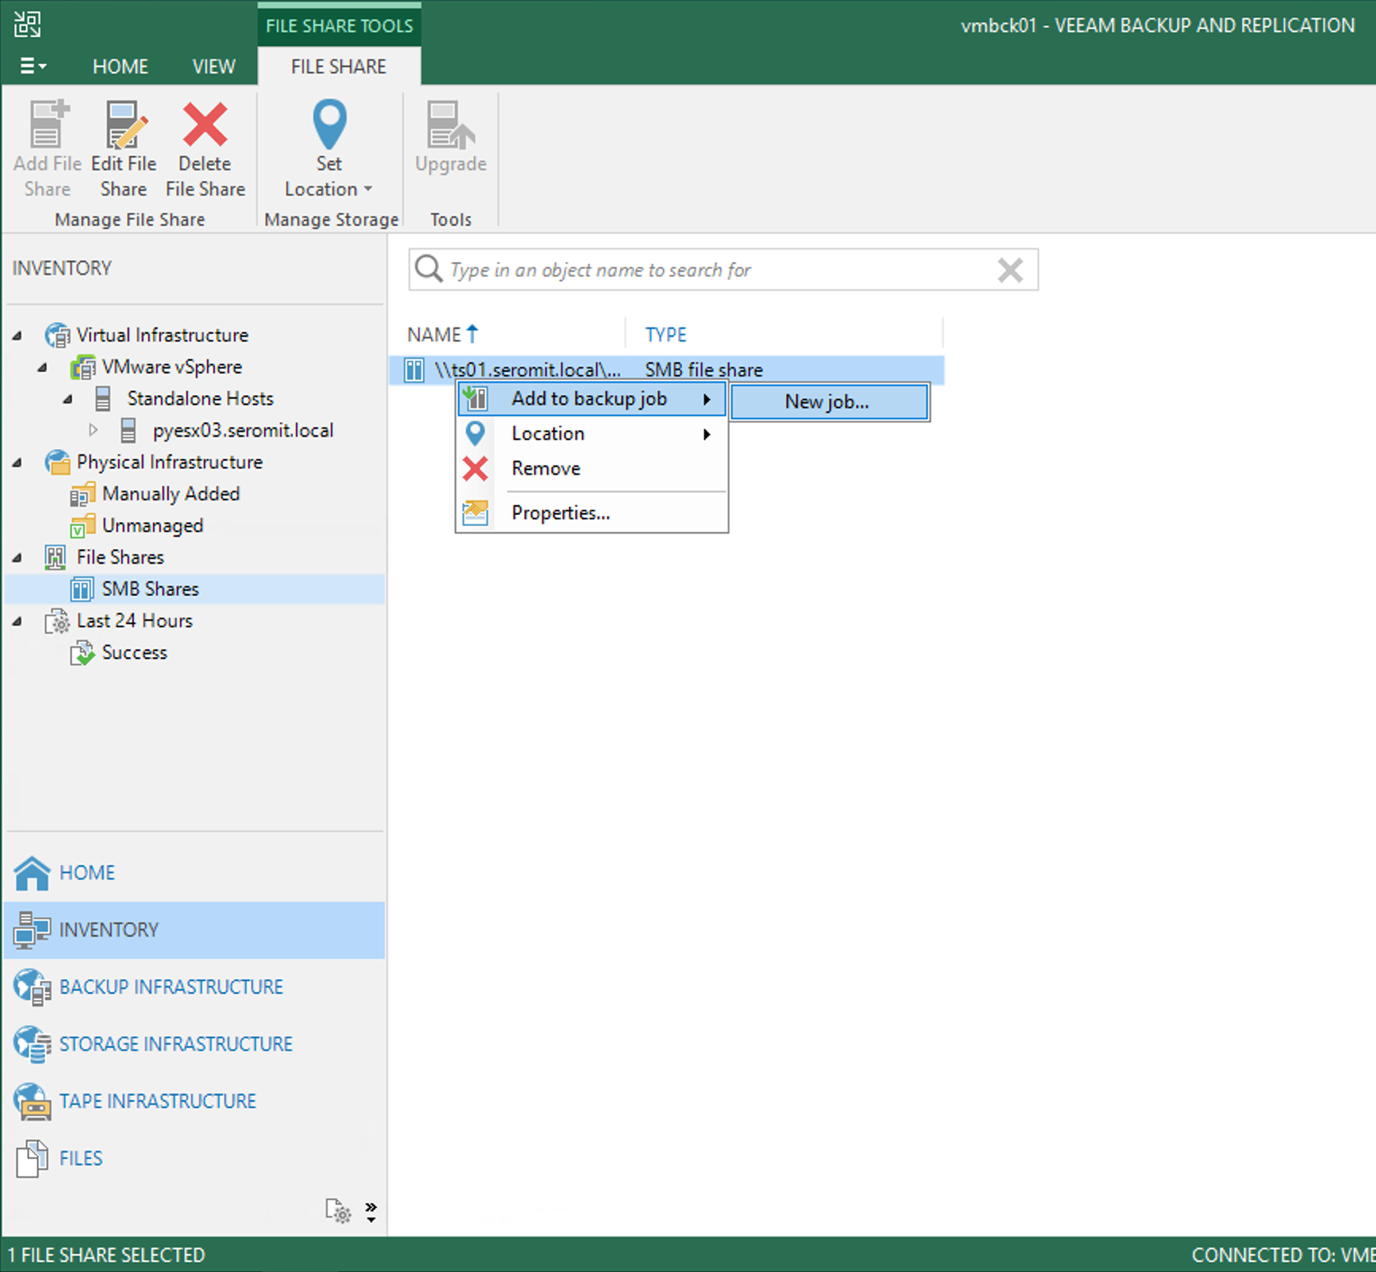
To add the file share to a backup job, just right click on it and select add to backup job
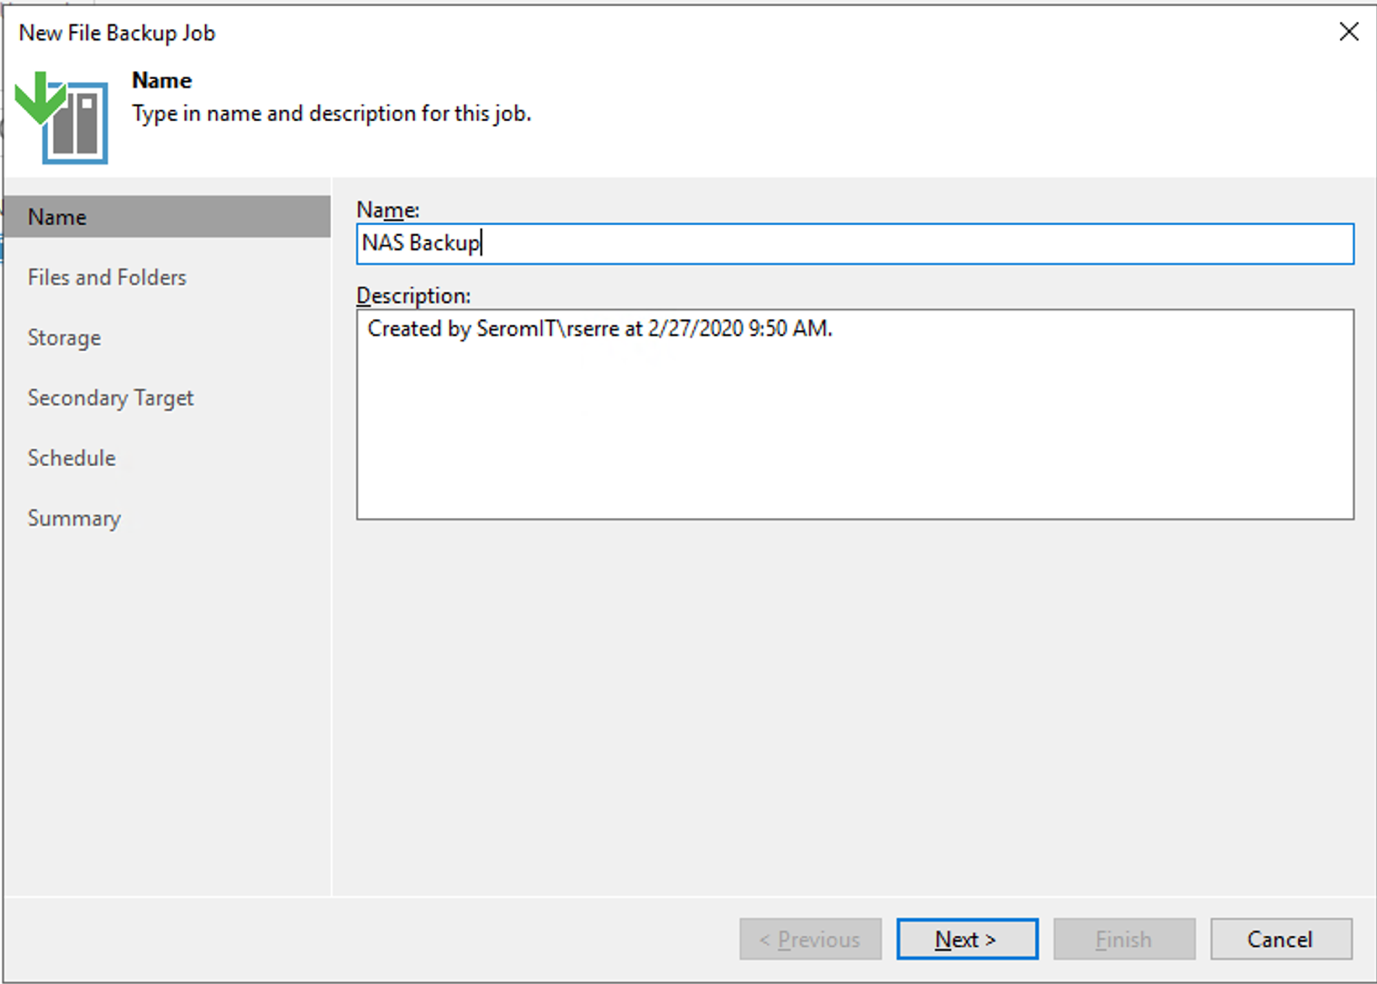
Then specify a backup job name and provide a description.
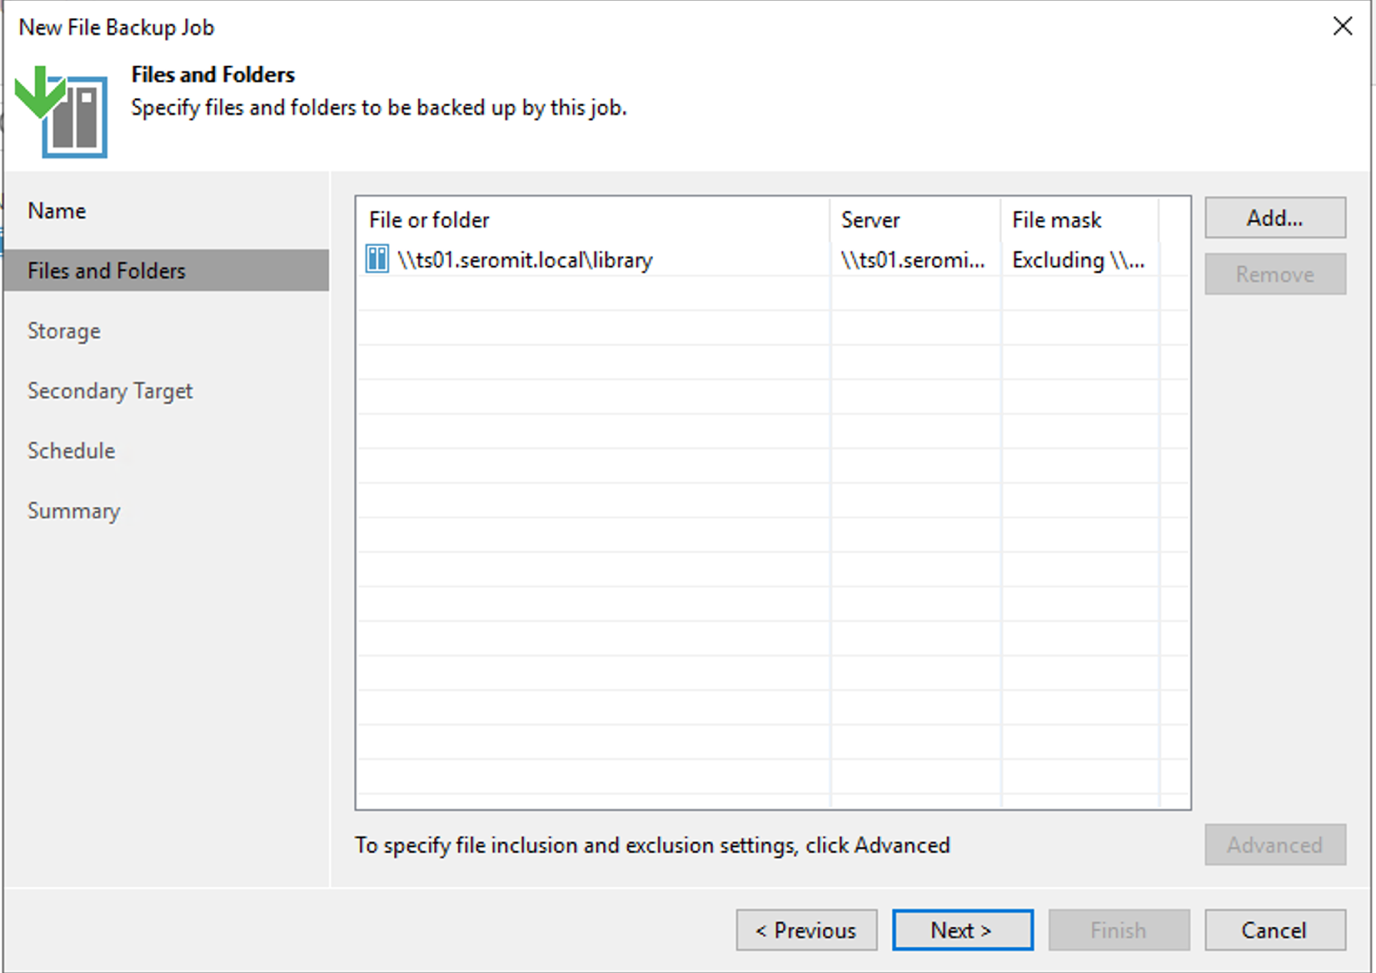
Then add the file shares you want to backup. A single backup job can handle several file share (like the VM backup job).
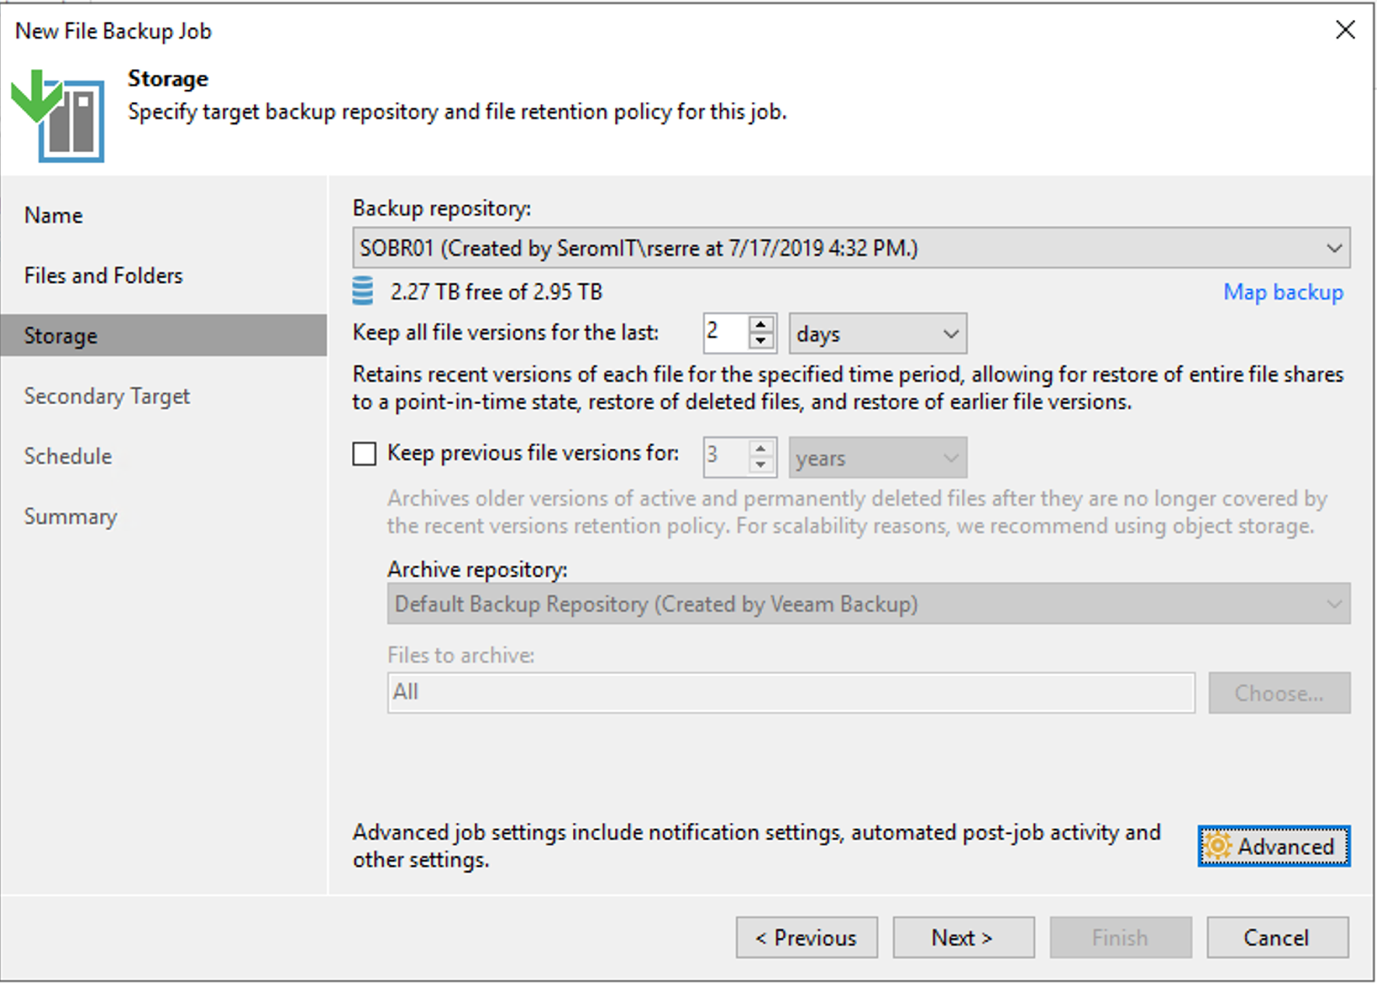
Next specify the backup repository, the retention and the archive settings.
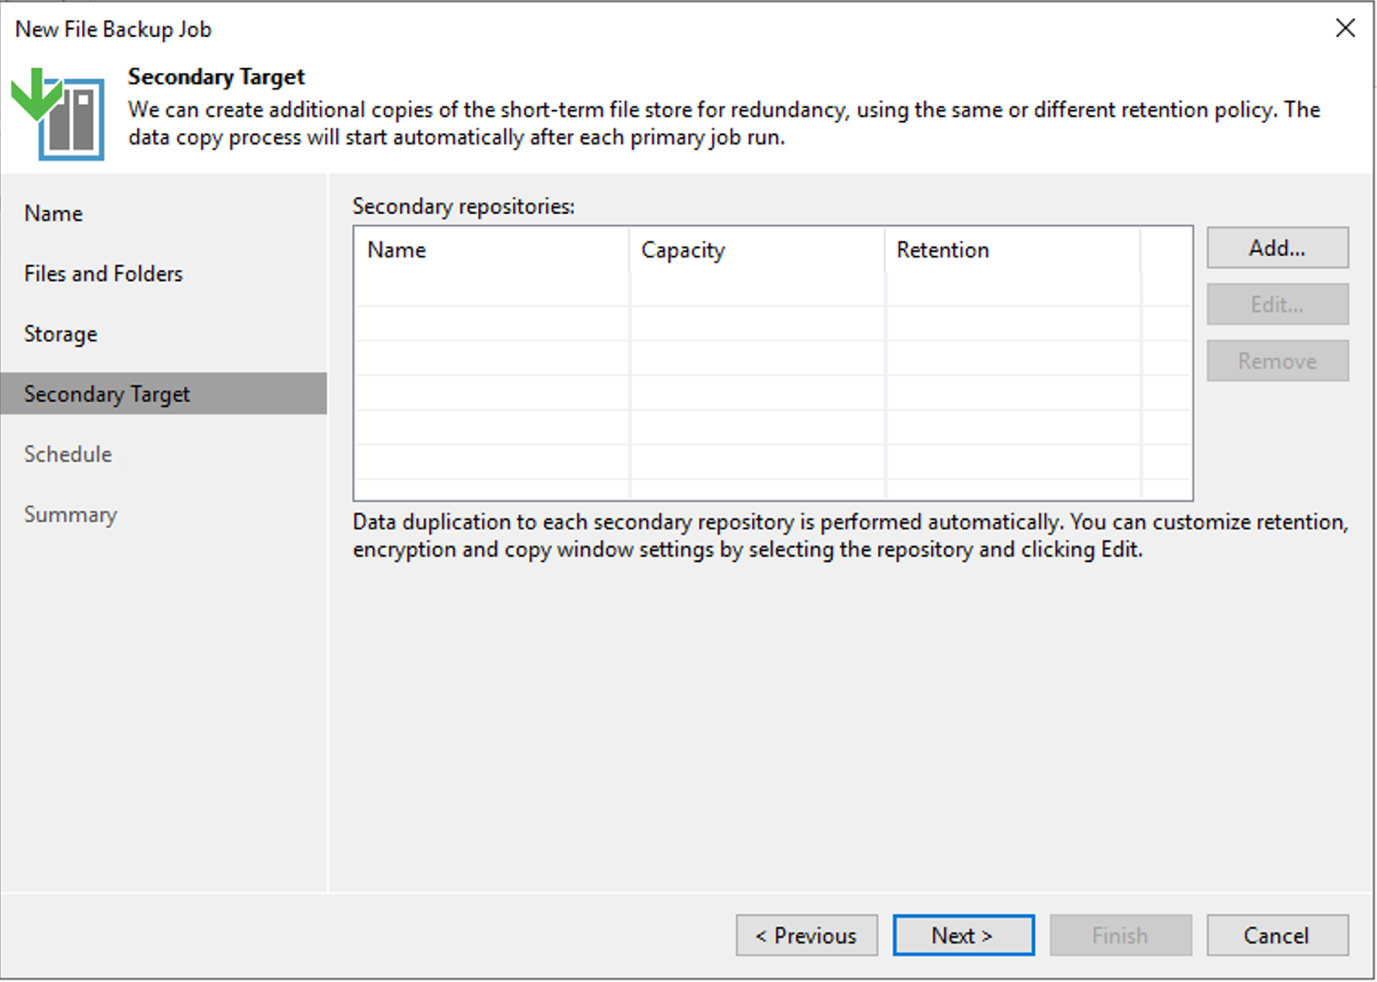
In the backup job, you can specify a target for a backup copy. The backup copy is an additional copy for short-term. If you want an archive, the configuration is in the previous window.
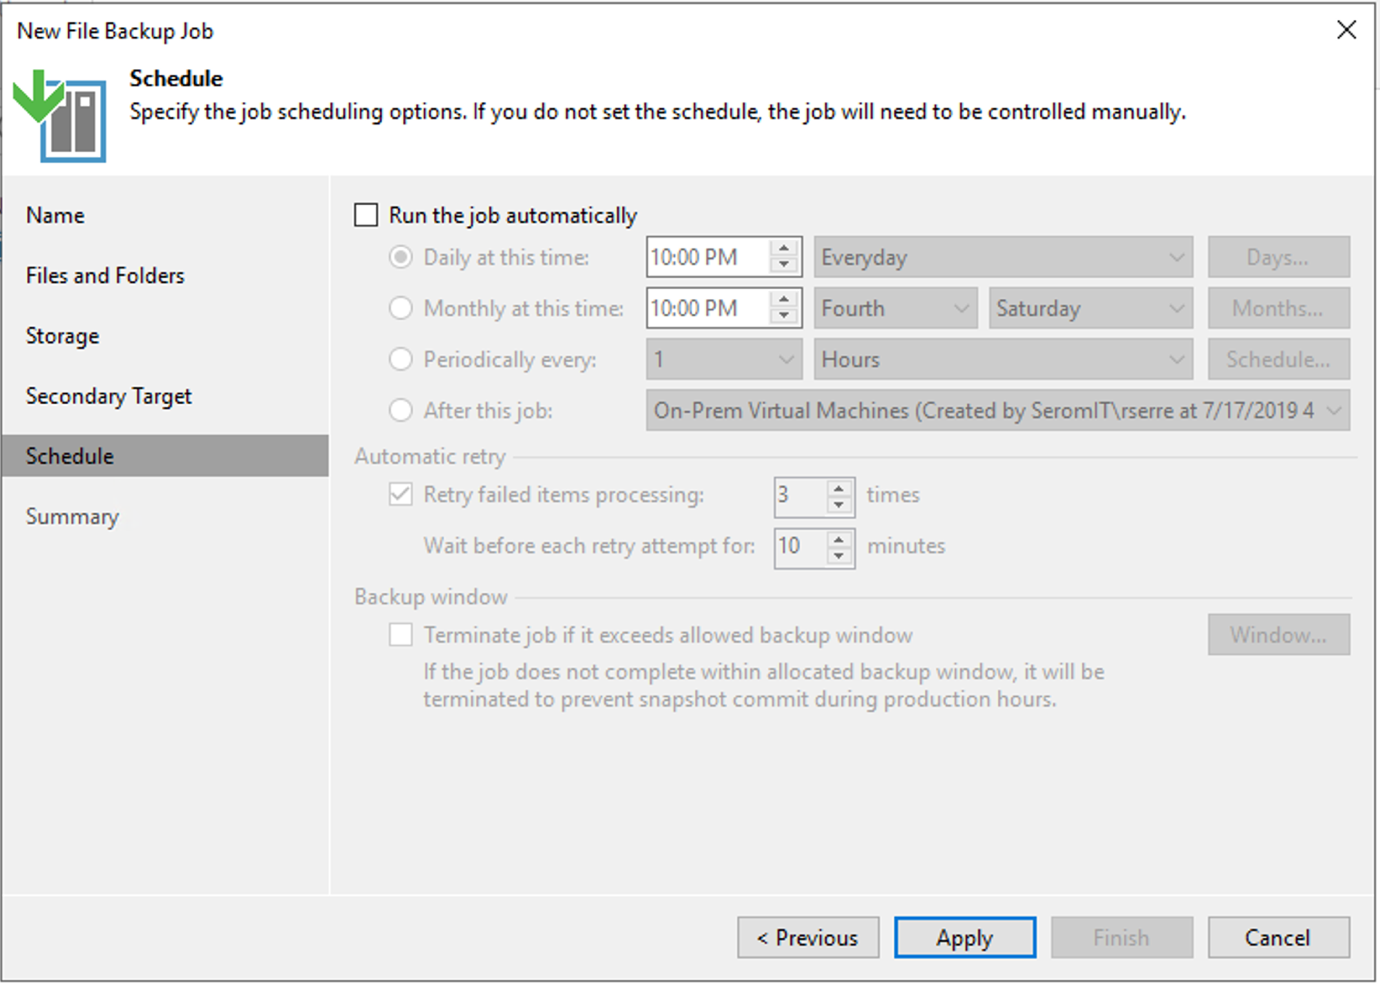
Finally, you can run the job automatically if you wish. Because it is a try, I don’t set this setting right now.
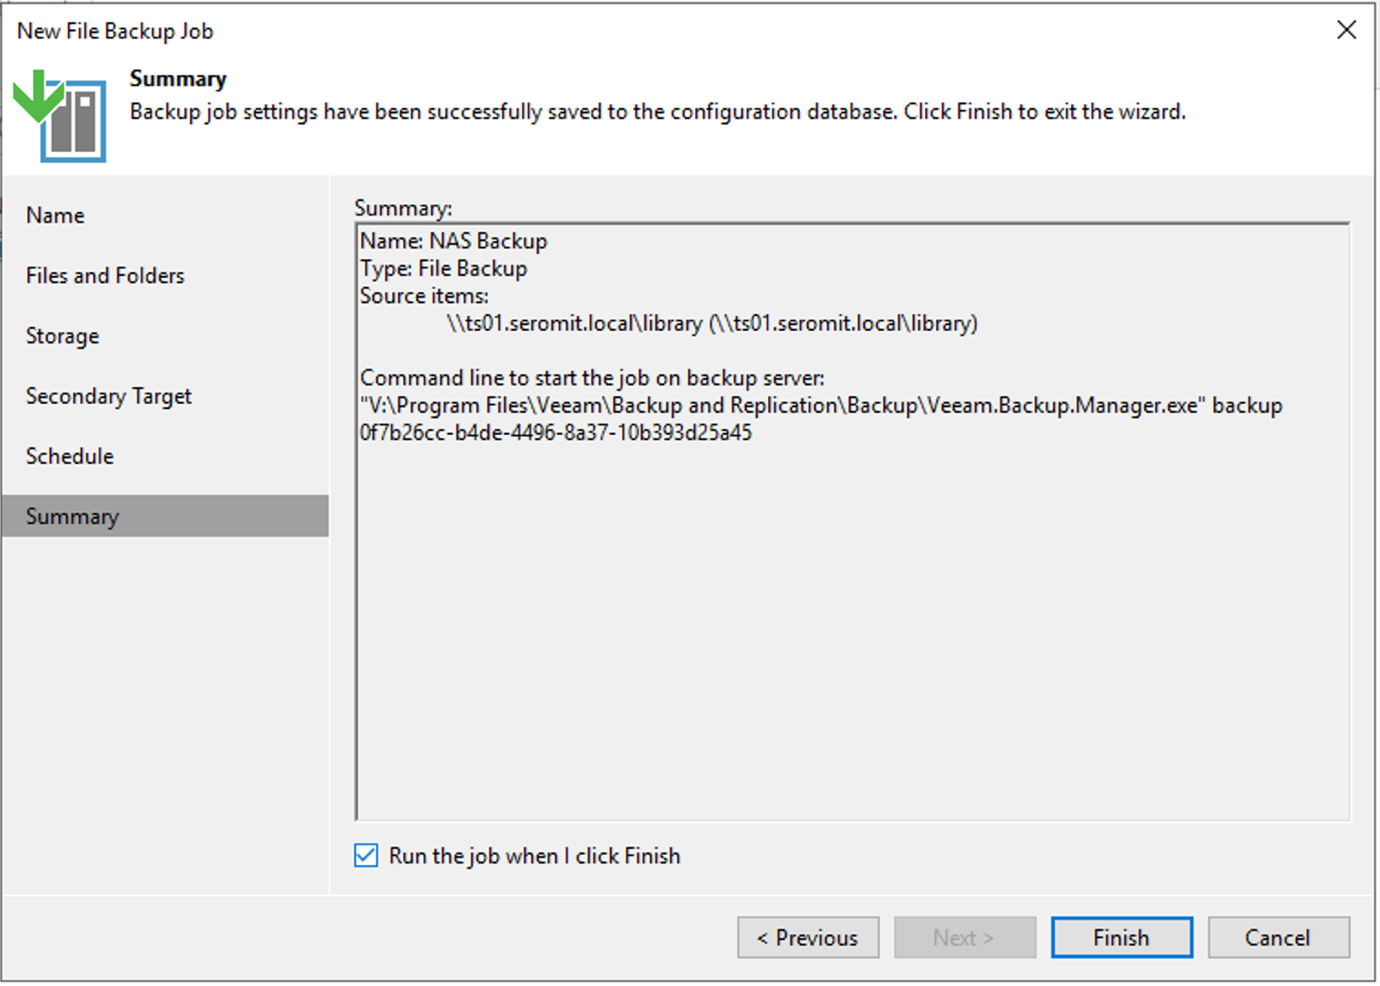
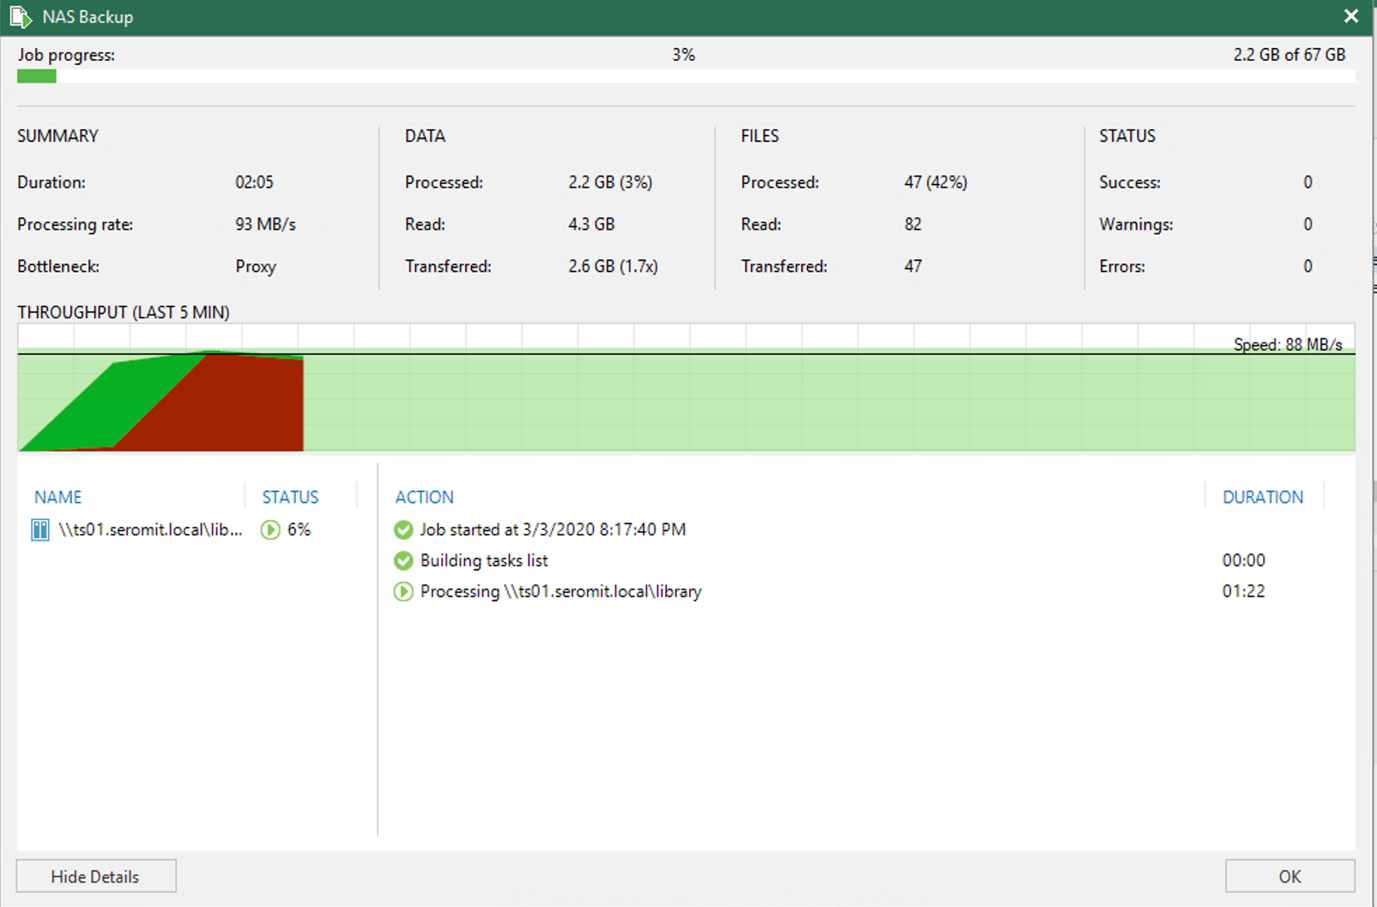
N.B: When I ran the backup for the first time, I got an erroror (access denied) and the process didn’t failback to direct backup. So, I change the backup process to Backup directly from the file share and it worked. I think my NAS is not compatible with Microsoft VSS snapshot.
